You're about to launch your e-commerce store and need product photos? Or want to take photos to boost your sales? We've got the ultimate e-commerce product photography guide for you.
Because photos should be the baseline of every e-commerce sales strategy, we're covering the topic from back to front. From the basics to shooting so you can easily remove the background post-production and how to create an efficient workflow.
Perfect for anyone just starting out, but also for seasoned e-commerce managers who want to take their product photography to the next level.
Let's start with just why product photography is so important in e-commerce and the impact it has on your bottom line.
Sommaire
- The impact of great product photography on your e-commerce store conversion rate
- Basic questions & decisions you need to make
- How to shoot and edit product photos to speed up your workflow
- Best e-commerce photo editing software: remove.bg & Canva
- Want to set up your e-commerce store but not sure what platform to choose? Or want to expand?
- Product photography for e-commerce in a nutshell
The impact of great product photography on your e-commerce store conversion rate
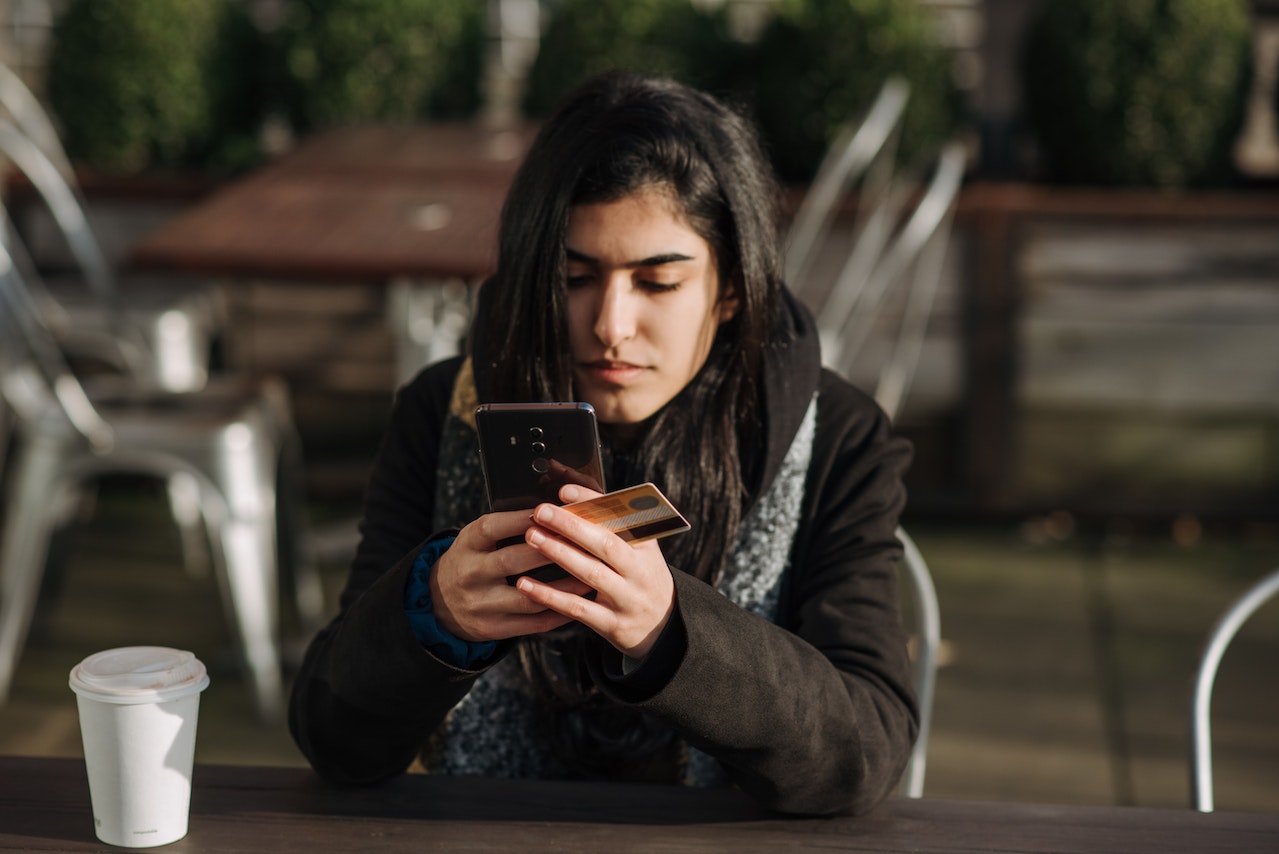
Your most important KPI as an e-commerce manager or shop owner is the conversion rate of your online store. Because if people aren’t buying, your business isn’t thriving.
The biggest ways to increase your e-commerce store's conversion is by leveraging the following:
Creating amazing, professional, and clean product photos (which is the main topic we are going to cover in this post).
Making it easy for customers to navigate your e-commerce store, aka. having an impeccable user experience.
Coming up with great copy for product descriptions.
Making the checkout as simple and easy as possible.
Creating a strong brand that people will love coming back to shop at.
Learning how to optimize your e-commerce images to boost search rankings.
Hosting seasonal sales like Black Friday or Winter Sales.
When it comes to photos, according to an Etsy study, a whopping 90% of consumers consider visual appearance to be ‘extremely important’ or ‘very important’ in their purchasing decisions. We’d argue that if you’re not obsessing over product images, you're losing out on potential revenue big time.
Product photos are also an incredible tool to:
Build a strong and recognizable brand
Tell your story
Visually underline your values
Create an emotional connection with your audience
Give the customer the one and only impression of what they can expect the product to look like when they do decide to order (which should be realistic)
High-quality visuals can increase your conversion rates by a staggering 300%. So let’s dive in and discover how you can start creating photos that will turn scrollers into loyal paying customers in no time.
Basic questions & decisions you need to make
There's a lot to consider when it comes to product photography. Below we coverproduct photography types, backdrops, and shooting locations, as well as the questions you need to be asking yourself to get things right.
But first, let's talk about why it's important to set a guideline to create consistency across your product photography. Just like you might have a brand guide for graphic design elements, we recommend setting up a photography and/or product photography guideline.
It will help:
Keep your product photography process more efficient
Get consistent across your images so that you can create a strong brand
Give you more freedom to live out your creativity when shooting because you'll have fewer things to think about every time you shoot
Ask yourself all of the questions we cover in great detail below. Make a decision on them, and write them down in your product photography guideline so you can always keep product photos consistent. Especially at the beginning — the answers will only be a starting point and can change over time. But they are a great starting point.
What type of product photos do you want to shoot?
Think you need just a single shot of your product? Think again. The best e-commerce stores on the market give their customers several shots. It's the best way for customers to get a feel for the product before clicking on that buy button.
Here are some examples of the type of products you can shoot:
Individual shots: just a single shot of the product, without any other products or props.

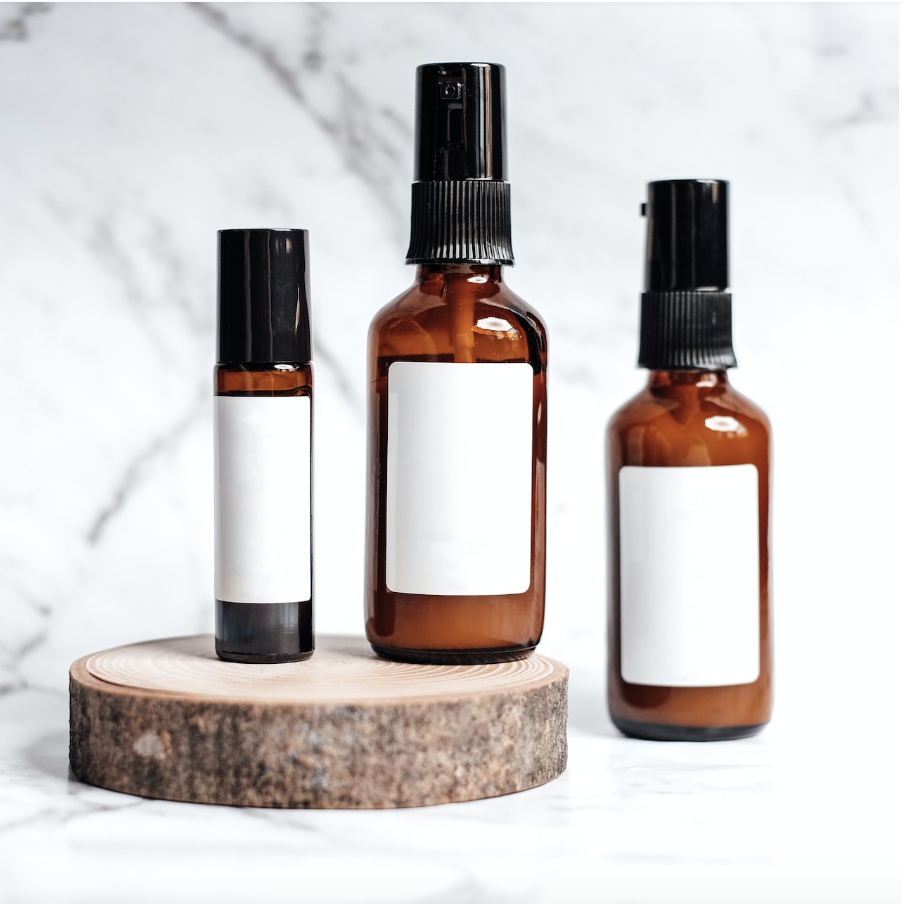
Group shots: feature multiple products arranged together in a visually appealing composition. Like this:
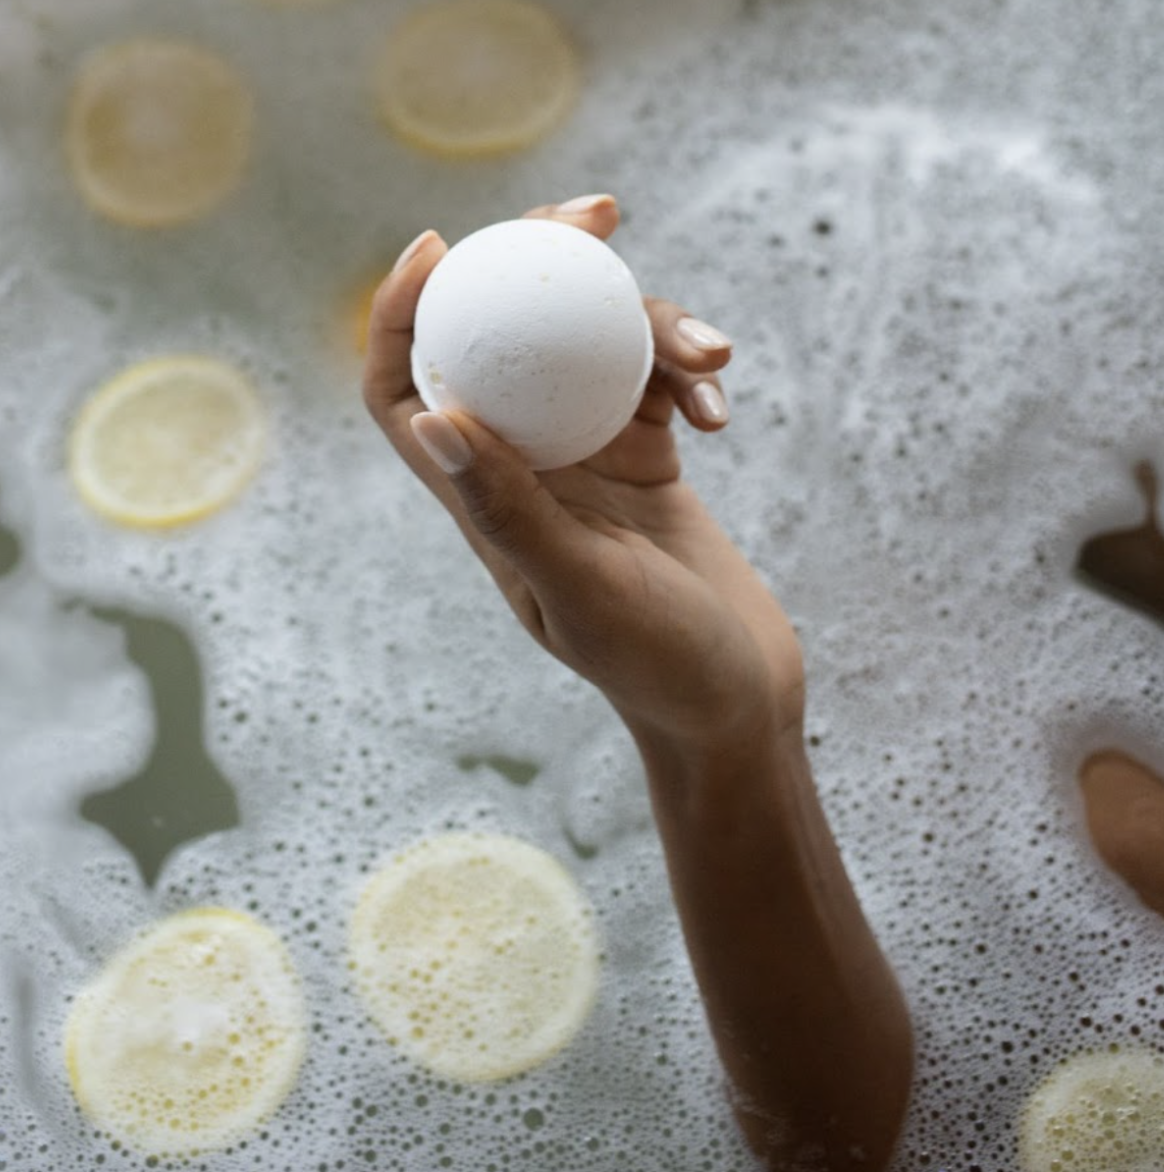
Lifestyle shots: depict products in real-life scenarios, showcasing how they can be used or worn. Like this bath bomb:
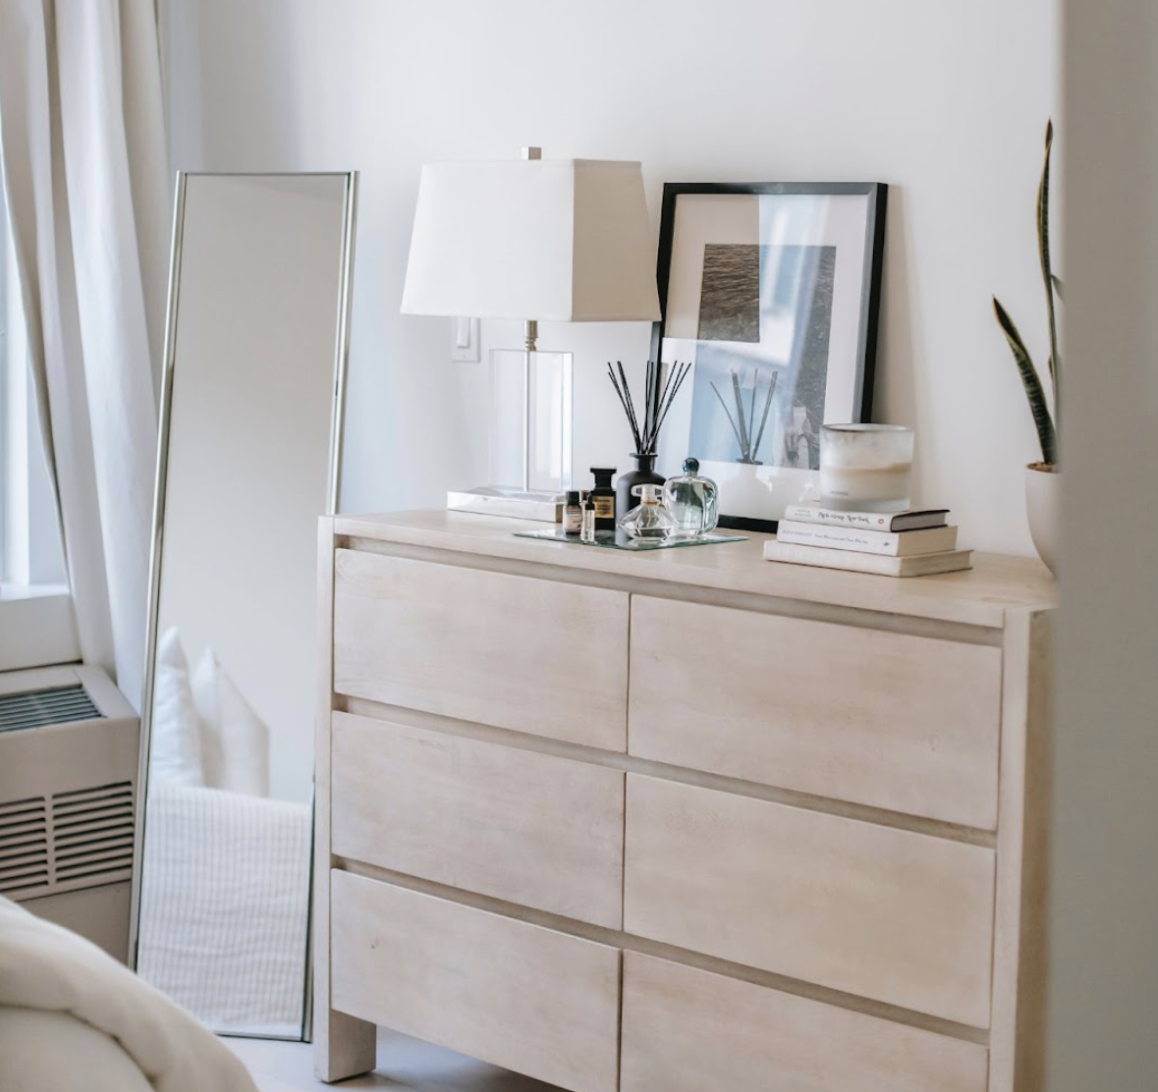
Scale shots: emphasize the size or dimensions of a product by incorporating recognizable objects or people for comparison. Like the picture frame below. Seeing it next to the lamp or compared to the dresser gives you an idea of how big or small it is.
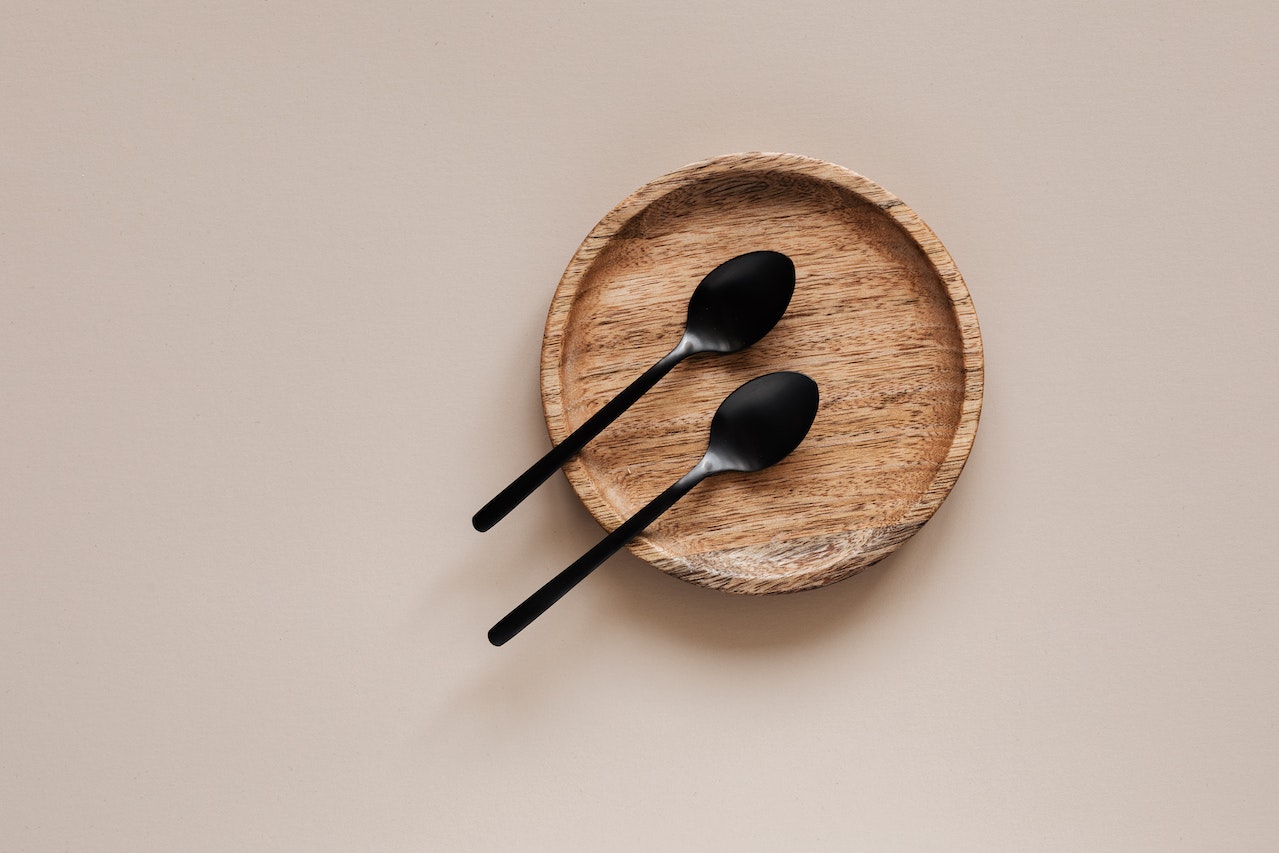
Flatlay: when you lay the product or products and/or props down and shoot straight down from above. Like this:
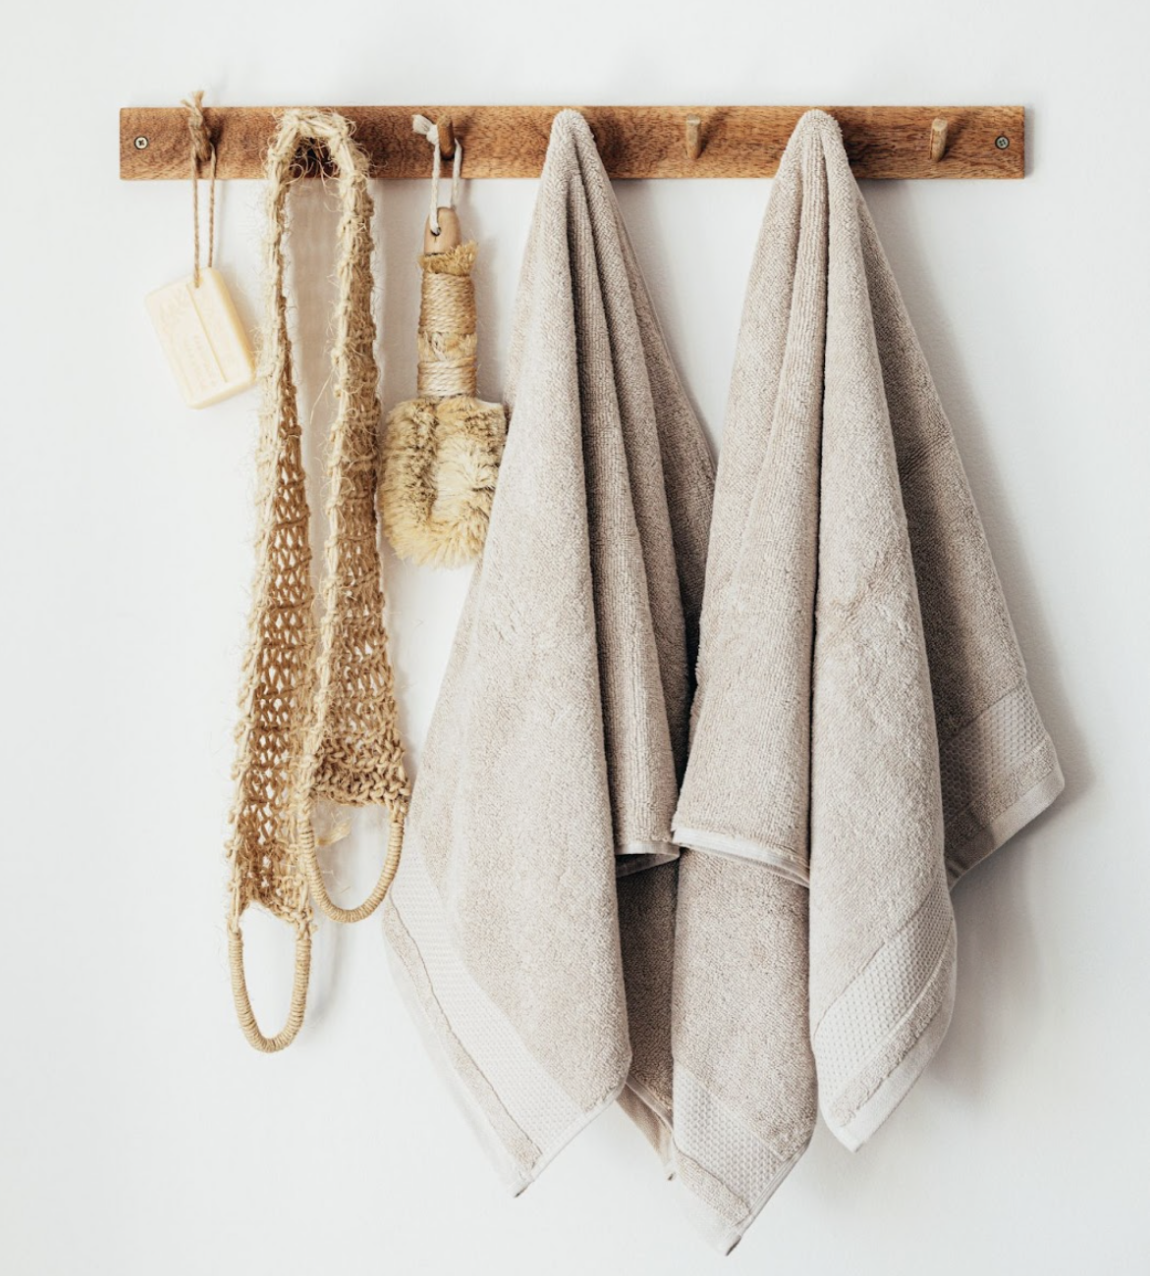
Hanging products: you can hang your item from a hanger or hook or even leave it hanging down while a hand model holds it. This is a great option for a product like a dog leash or a towel. Like this:
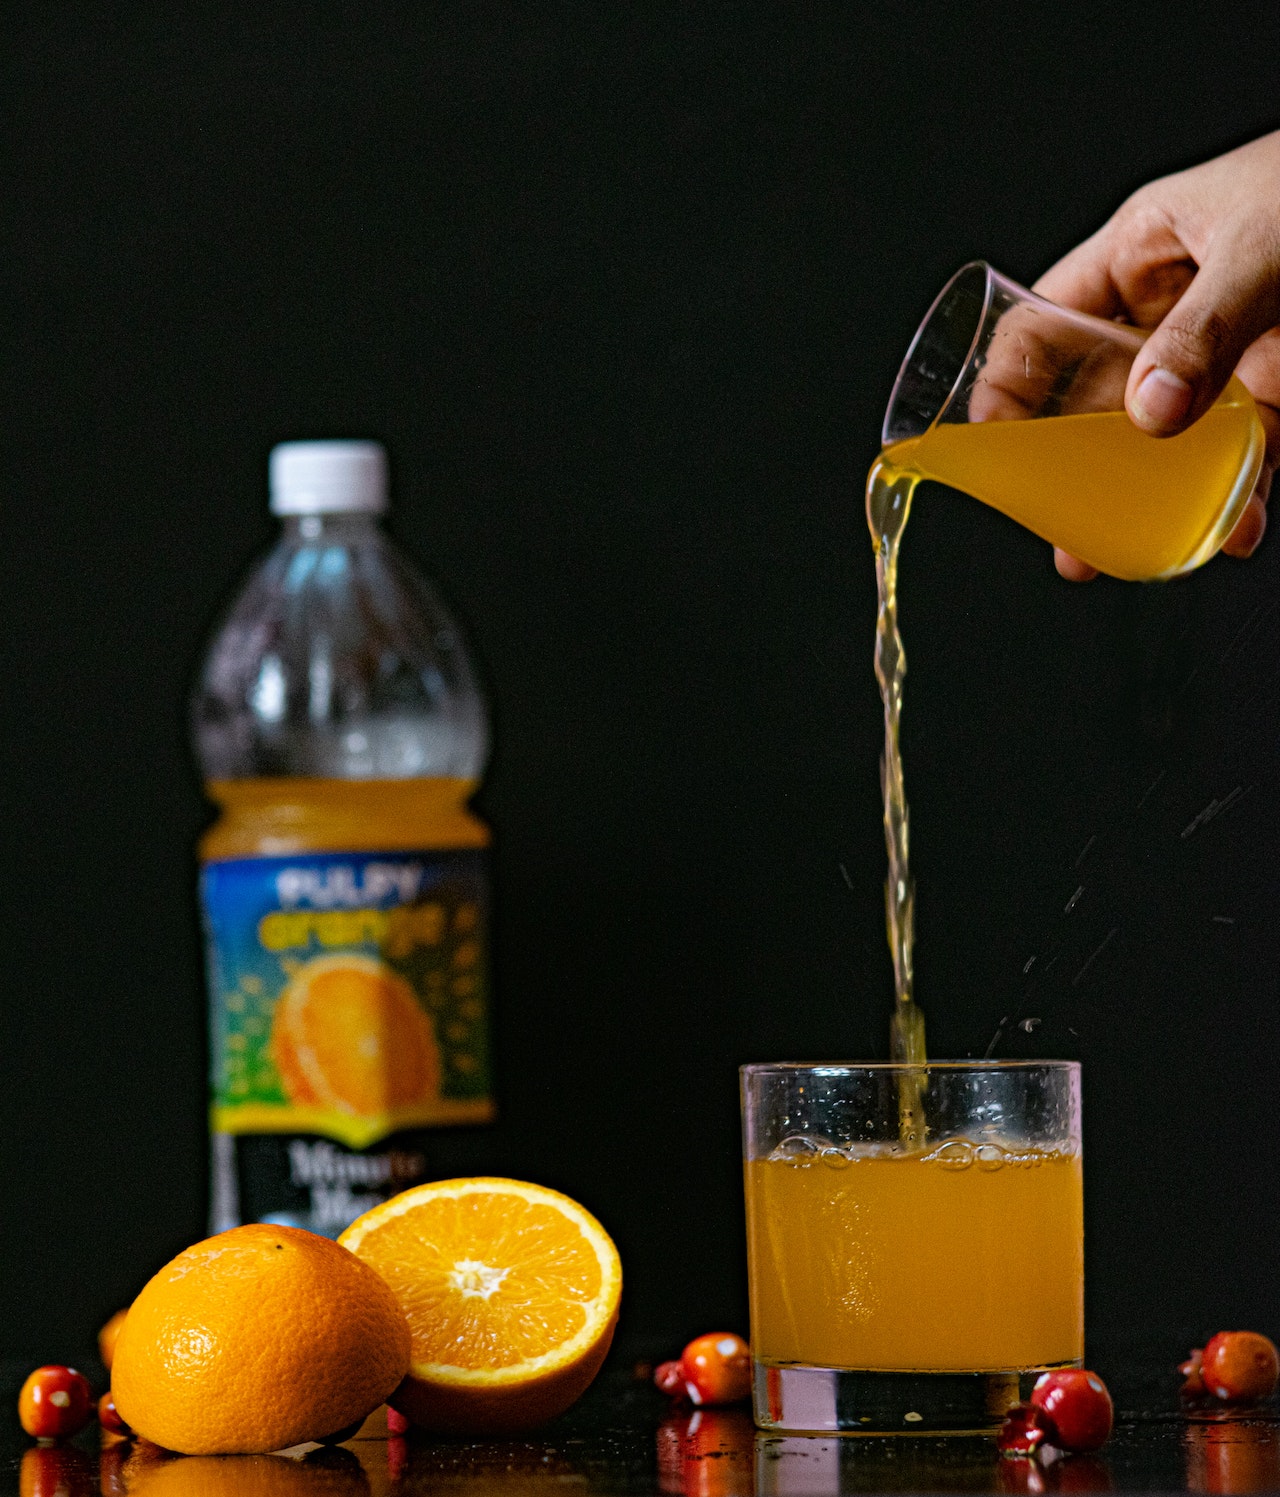
Action shots: seeing the product in action can spice up the photos and bring them to life. Taking a photo of a drink when a hand is pouring it, rather than just its bottle, makes a world of difference.
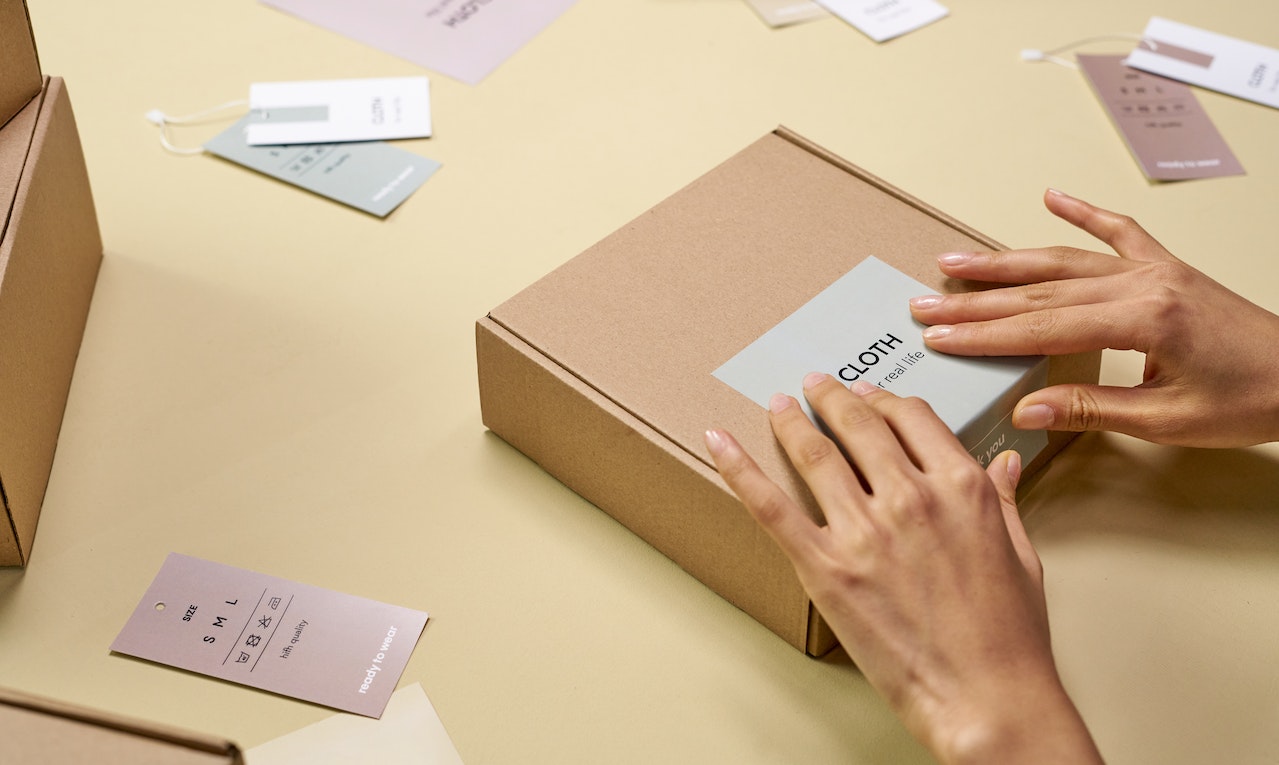
Packaging shots: focuses on showcasing the product's packaging design and presentation. Customers often appreciate well-designed packaging, which adds to the overall brand experience and creates a sense of anticipation and excitement.
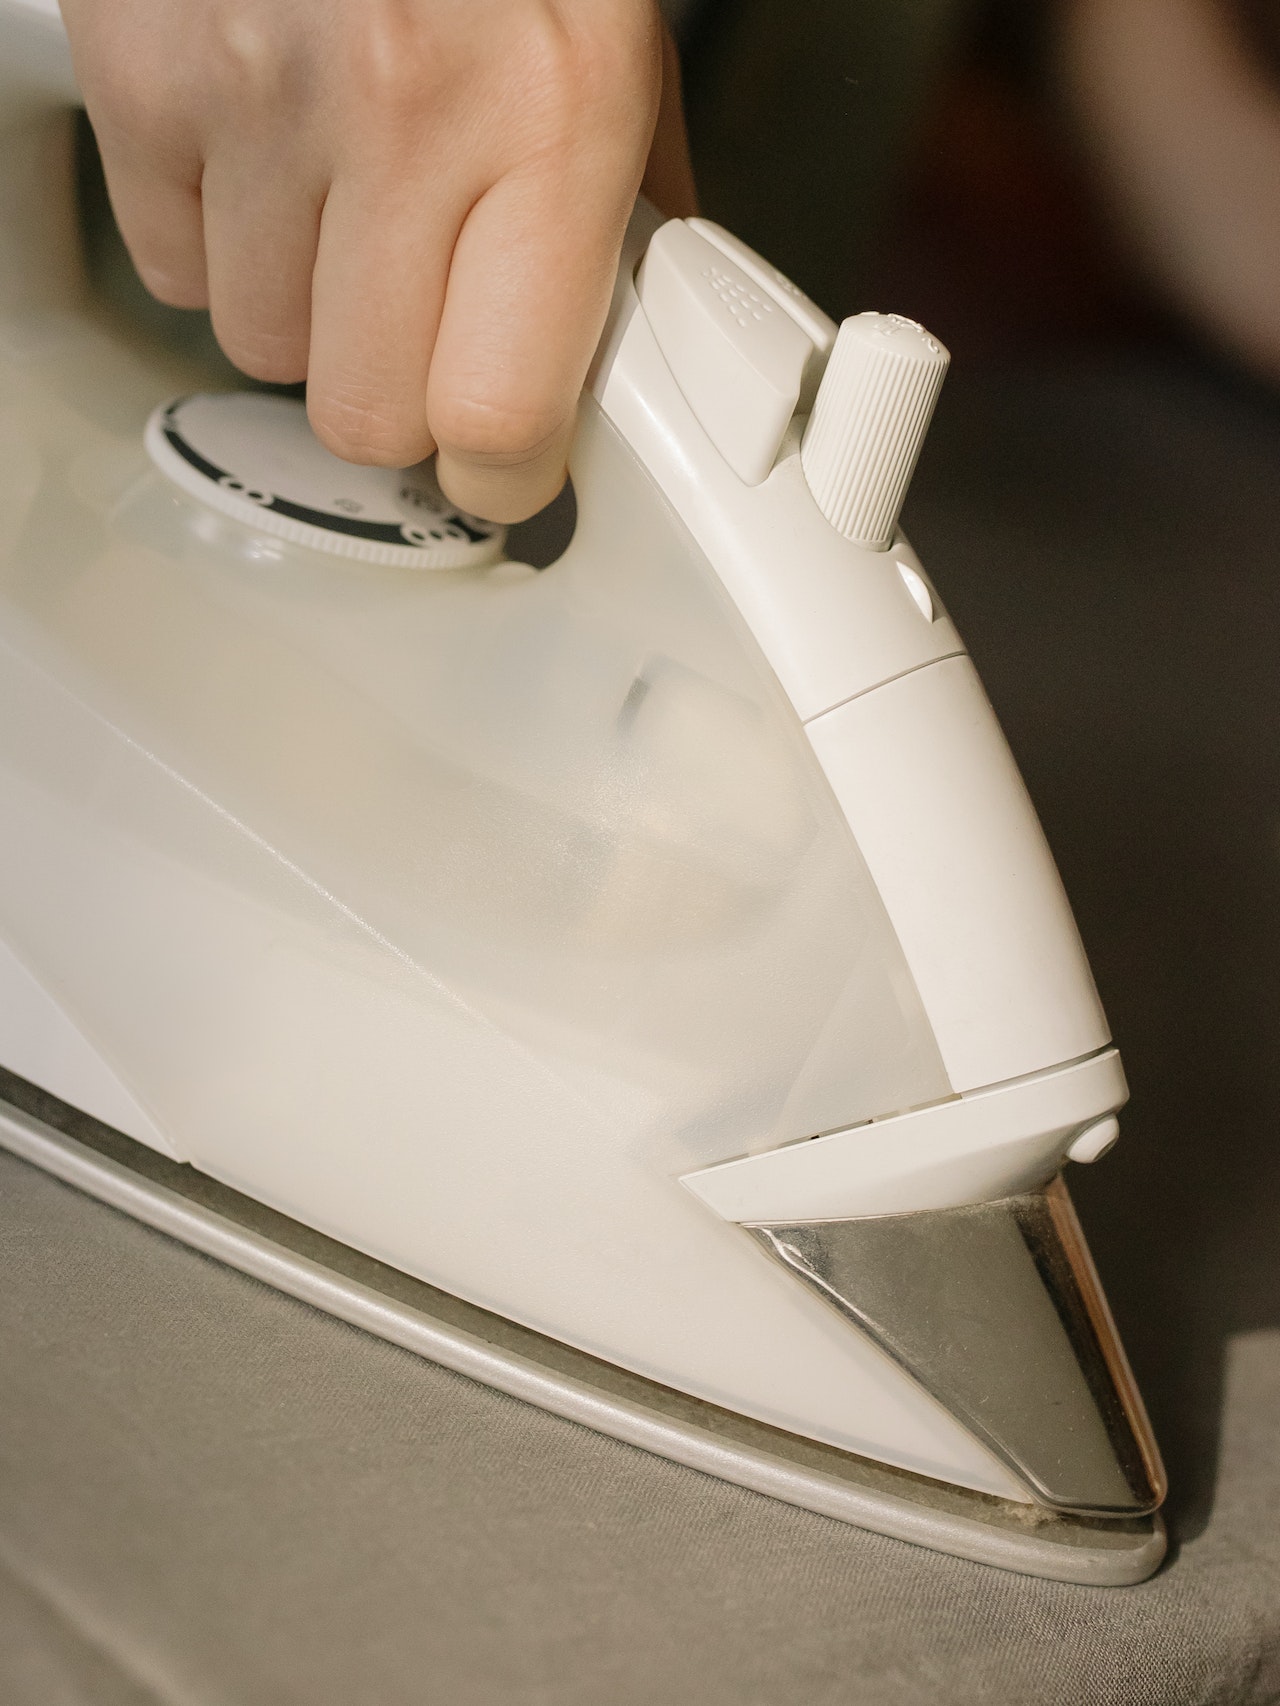
Detailed shots: zoom in on a product's specific features, textures, or intricacies. These shots are ideal for highlighting features, craftsmanship, unique design elements, or any intricate details that make your product stand out. They're usually taken up close, like this image of an iron:
Ask yourself: What type of products am I shooting? What angles would my customers like to see, and what could set me apart from competitors?
If you are shooting clothing feel free to check out our 6 tips on how to take good pictures of clothes to sell.
To recap, here are all the different types of product photos:

What should the product photography backdrops look like?
The background of your product photos is going to make a huge difference to your end result. These are the most popular options you have:
White background: the Amazon standard. A white background is probably the most common one out there when it comes to product photography. It's clean, scalable, universal, and timeless. It's also a great option if you want to remove the background later and replace it with color — simply by using a tool like remove.bg.
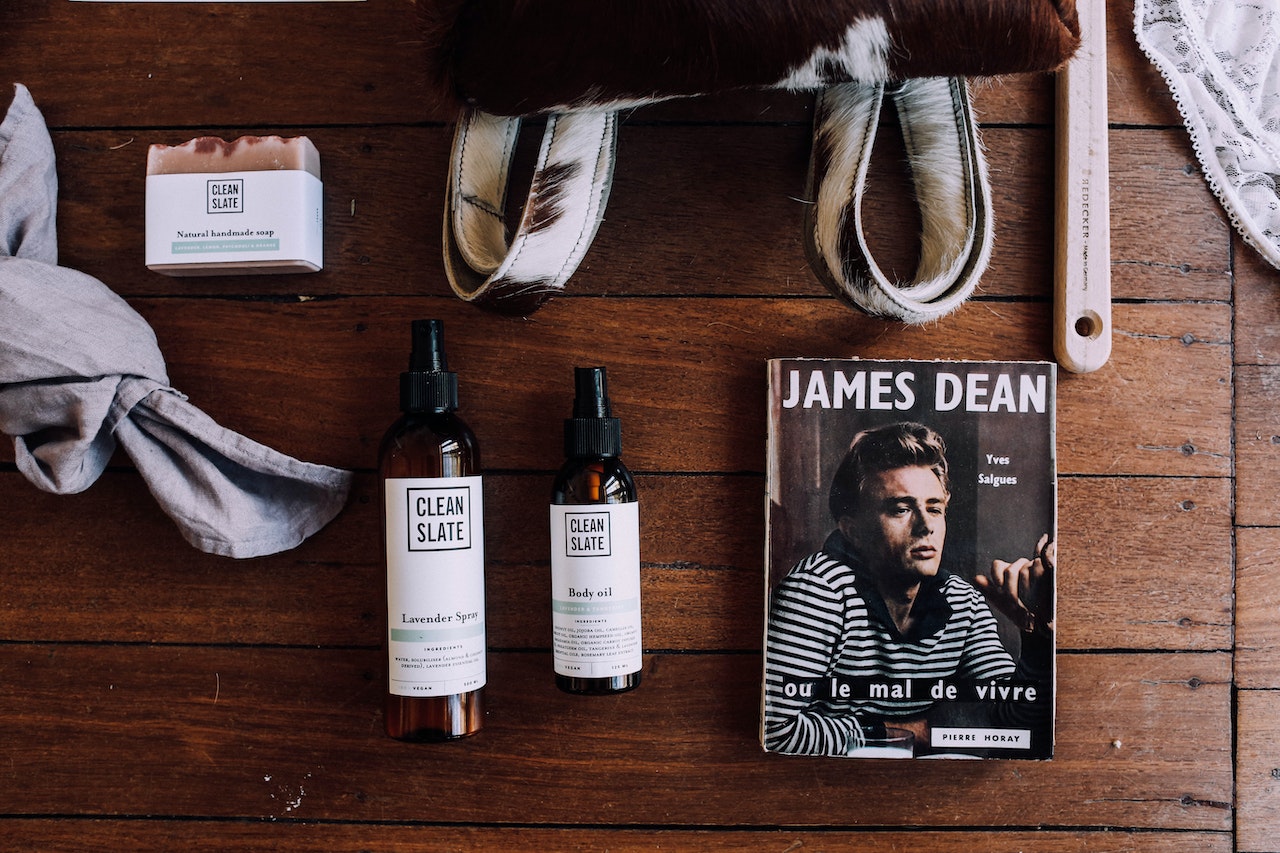
Neutral: the clean, yet aesthetic, look. Many brands use neutral tones nowadays, like beiges, creams, and nudes; it's definitely a trend — colors that go hand in hand with clean aesthetics and often represent a sustainable or lifestyle product. Like this:
-
On set: the best way to showcase what your product could look like in your customer's home. You can also shoot your products with a background typical of where your customers will place and use them, like this soap dispenser:
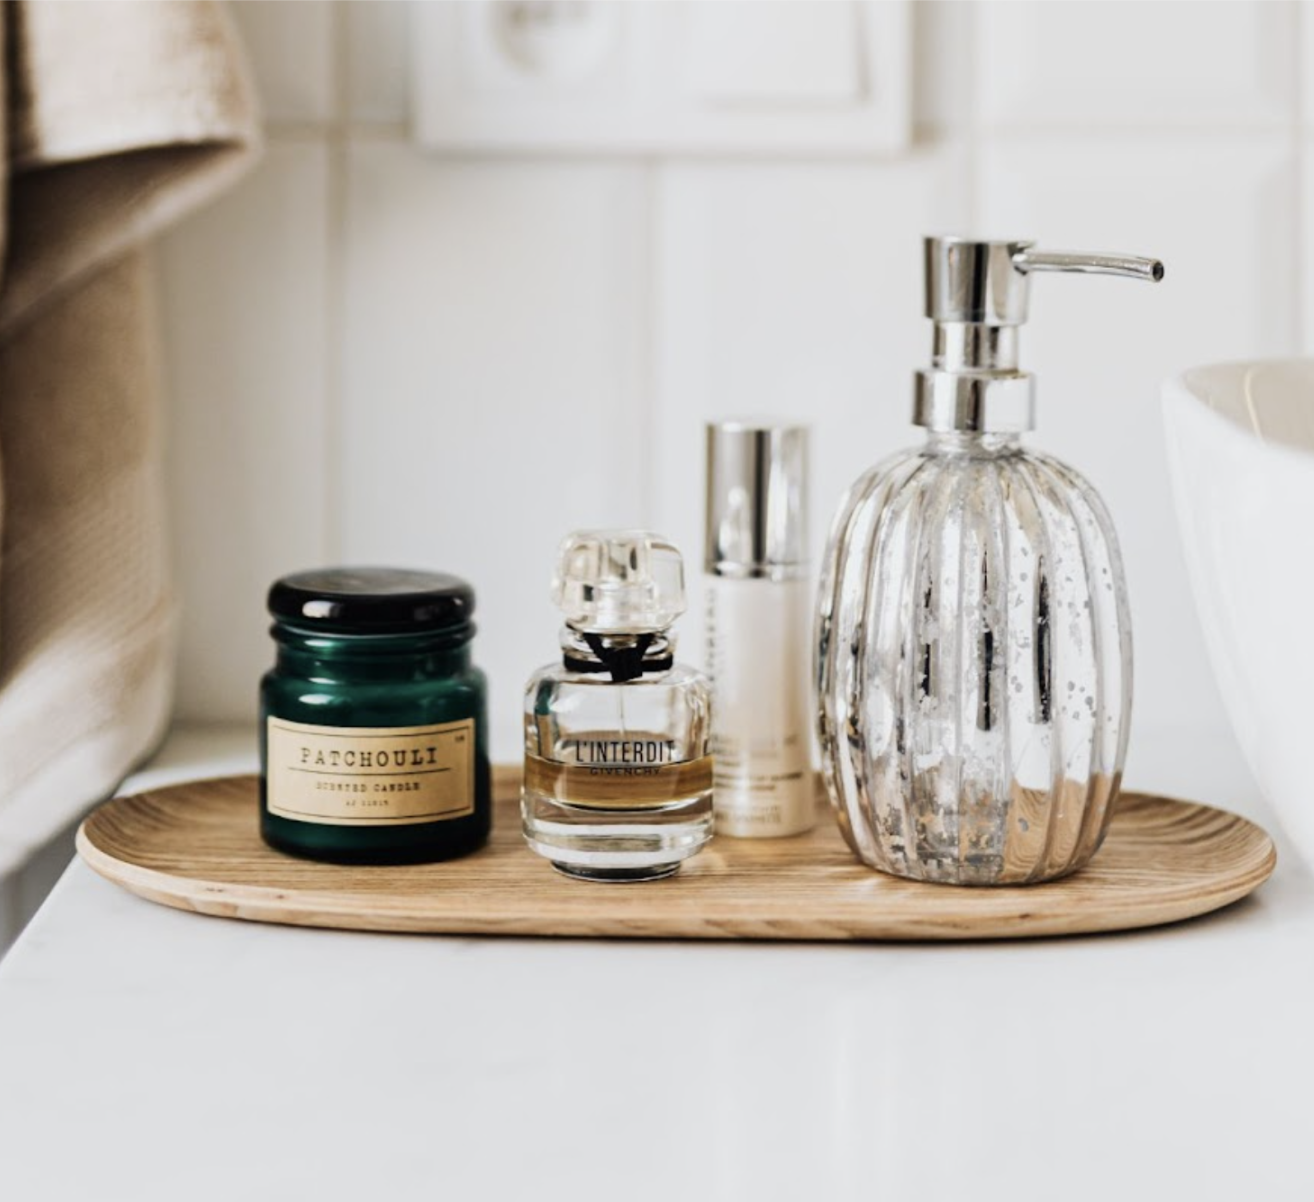
Seeing it amongst other brands gives it more life and context. It’s the best way to showcase the lifestyle the customer will be living when they buy this product.
Colorful yet clean: the best way to establish brand colors and evoke feelings. Using your brand colors as the background of images can create brand consistency and make your customers feel a certain way. You can shoot your product photos with the colored background already in place or change it later using editing techniques.
Ask yourself: do you want a classic white background, a branded color, or your products placed on a set in context with people or other objects? That will affect where you shoot and what background props you do or don't need. More on that later.
What lighting are you going to use?
You can either use natural (like from a window or simply shoot outside) or artificial lighting (e.g. a lamp or lightbox).
Natural light: budget-friendly, natural look
Natural lighting means using daylight from the sun outdoors or near a window. It gives your photos a natural look and feel, like what you'd see in the everyday world.
What you should keep in mind though: natural light can be a bit tricky since it changes with the weather and time of day. A cloud can pass, your picture gets darker, the sun sets, and your lighting warms up.
But if your brand thrives on those natural-looking photos and you're working with a smaller range of products (say around 1-10), this could be a great go-to option, especially if you're looking for a budget-friendly one.
Artificial light: always get the same look.
Now, let's talk about artificial lighting. It's a popular choice, especially for larger product ranges. With artificial lighting, you're in complete control. You can adjust and set up your lighting exactly how you want it.
Plus, it's super scalable. You can recreate the same setup at different times and places. The only downside is that artificial lighting can look a tad less natural and a bit more staged, but that's all about defining your store's branding.
Artificial lighting might be the way to go if you've got a bunch of products (like 10 or more) and plan to expand your lineup if you're all about flexibility and have the budget and resources to back it up, or if you're selling on platforms like Amazon or Etsy that require well-lit shots with white backgrounds, then artificial lighting might be the way to go.
A general lighting tip is to stick to one lighting source, it's easier to keep things simple and avoid headaches. But if you're feeling adventurous and want to mix it up, try enhancing natural lighting with a bit of artificial light. For instance, if you're shooting outdoors, add an extra light source to brighten up one side of your subject. That way, if the weather changes or the clouds pop up, you've got some control over your lighting.
Here's a summary of the different types of backdrops and lighting options:

Where can and will I shoot images?
Next up, you'll want to decide where you're going to take your product photos. You can shoot your product images:
In a home setting (like an Airbnb)
Outside/on the streets
In a photo studio
In your office
Create a home studio
Ask yourself: Do you have an office where you have plenty of space? Do you want to shoot at home or go professional and rent a studio? Write down the options you have at hand.
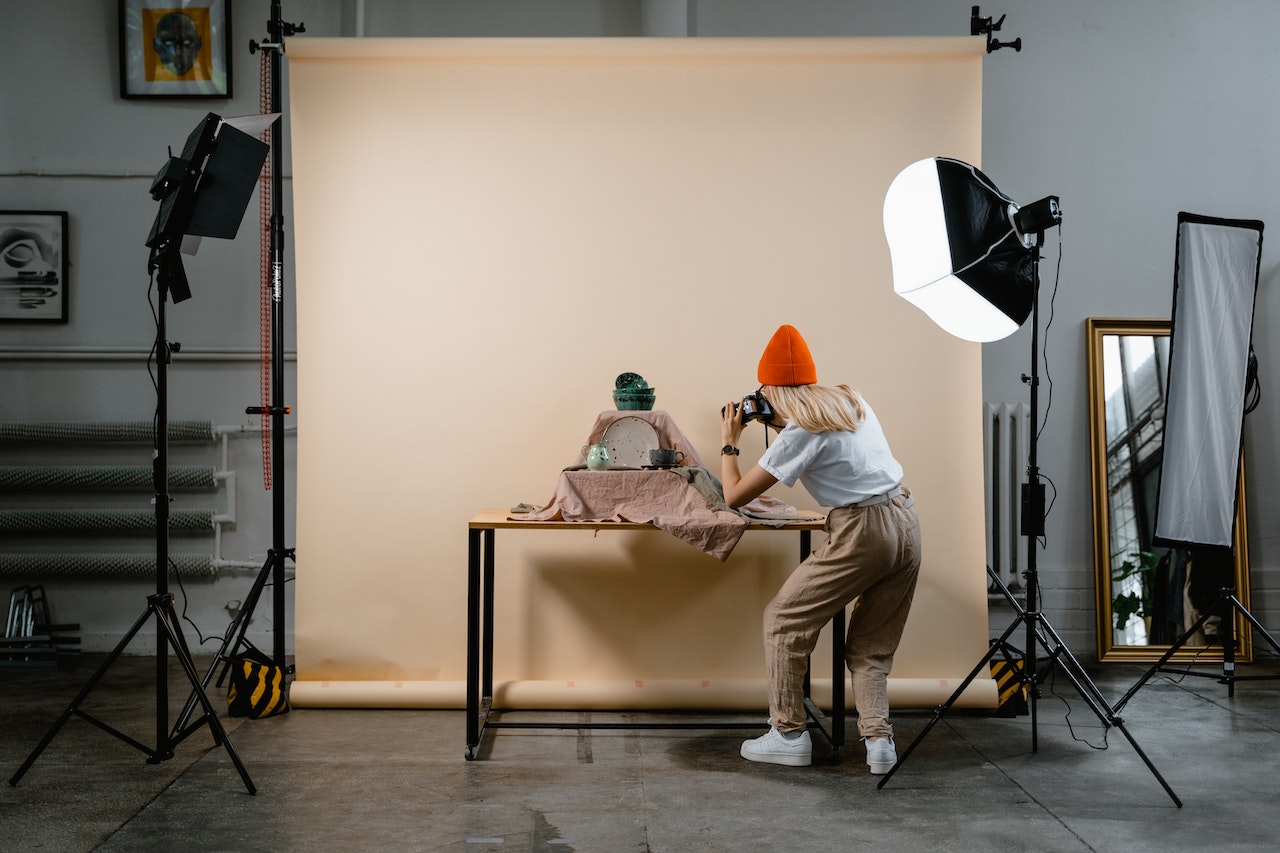
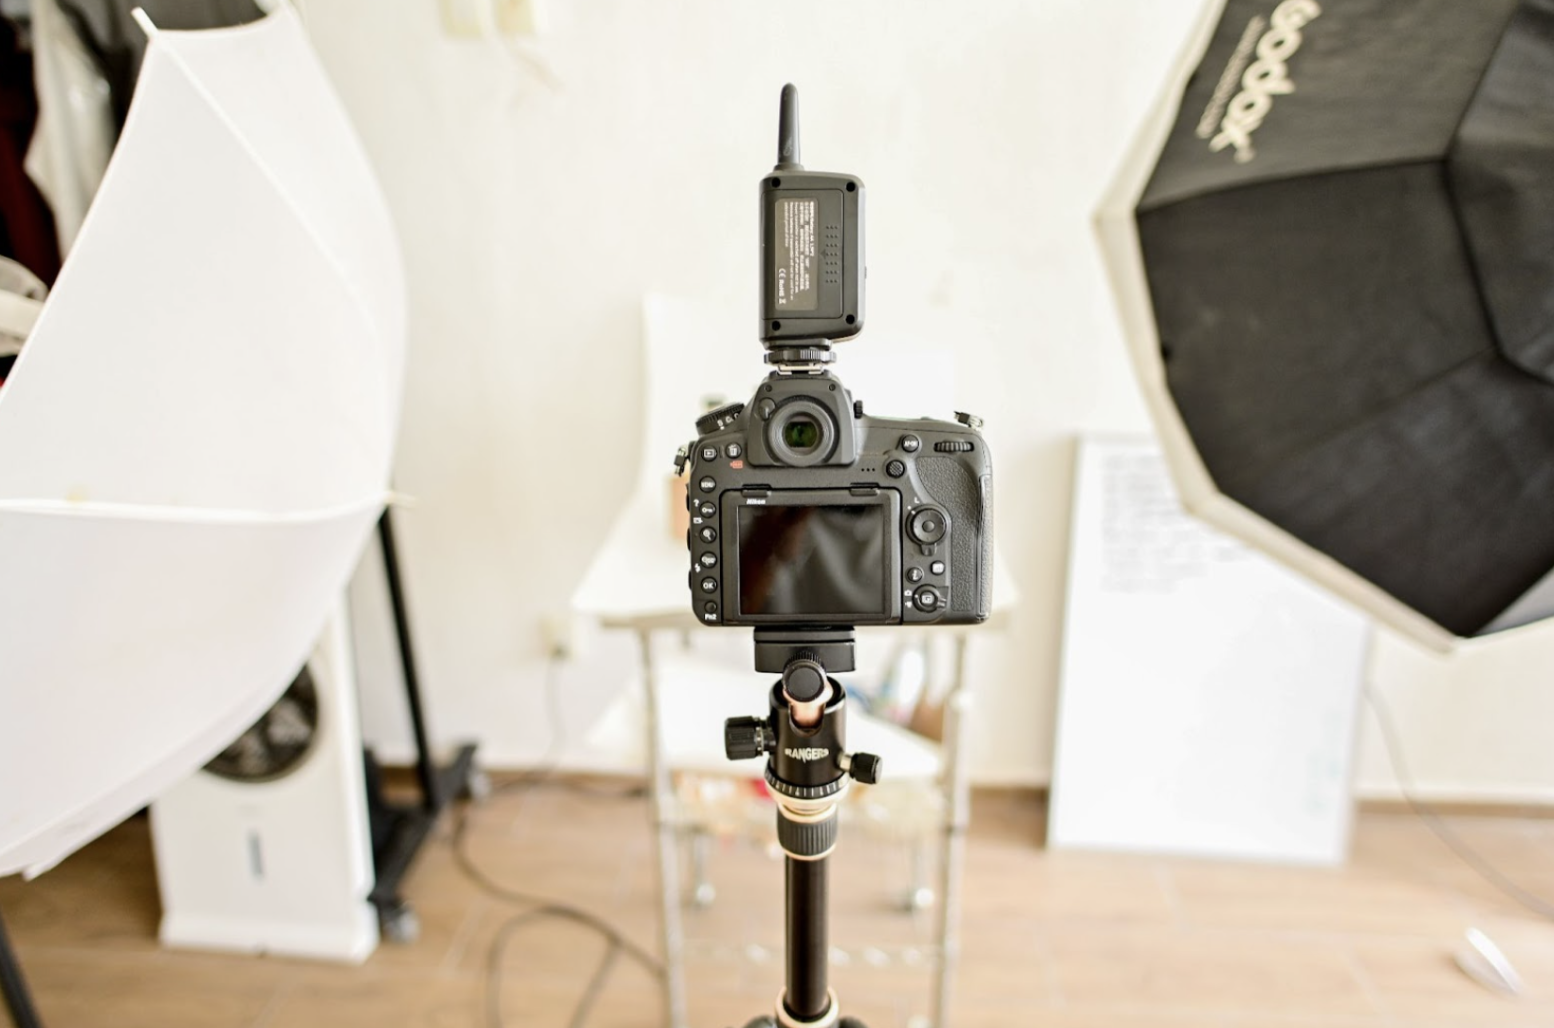
Product photography setup: what equipment do I have available?
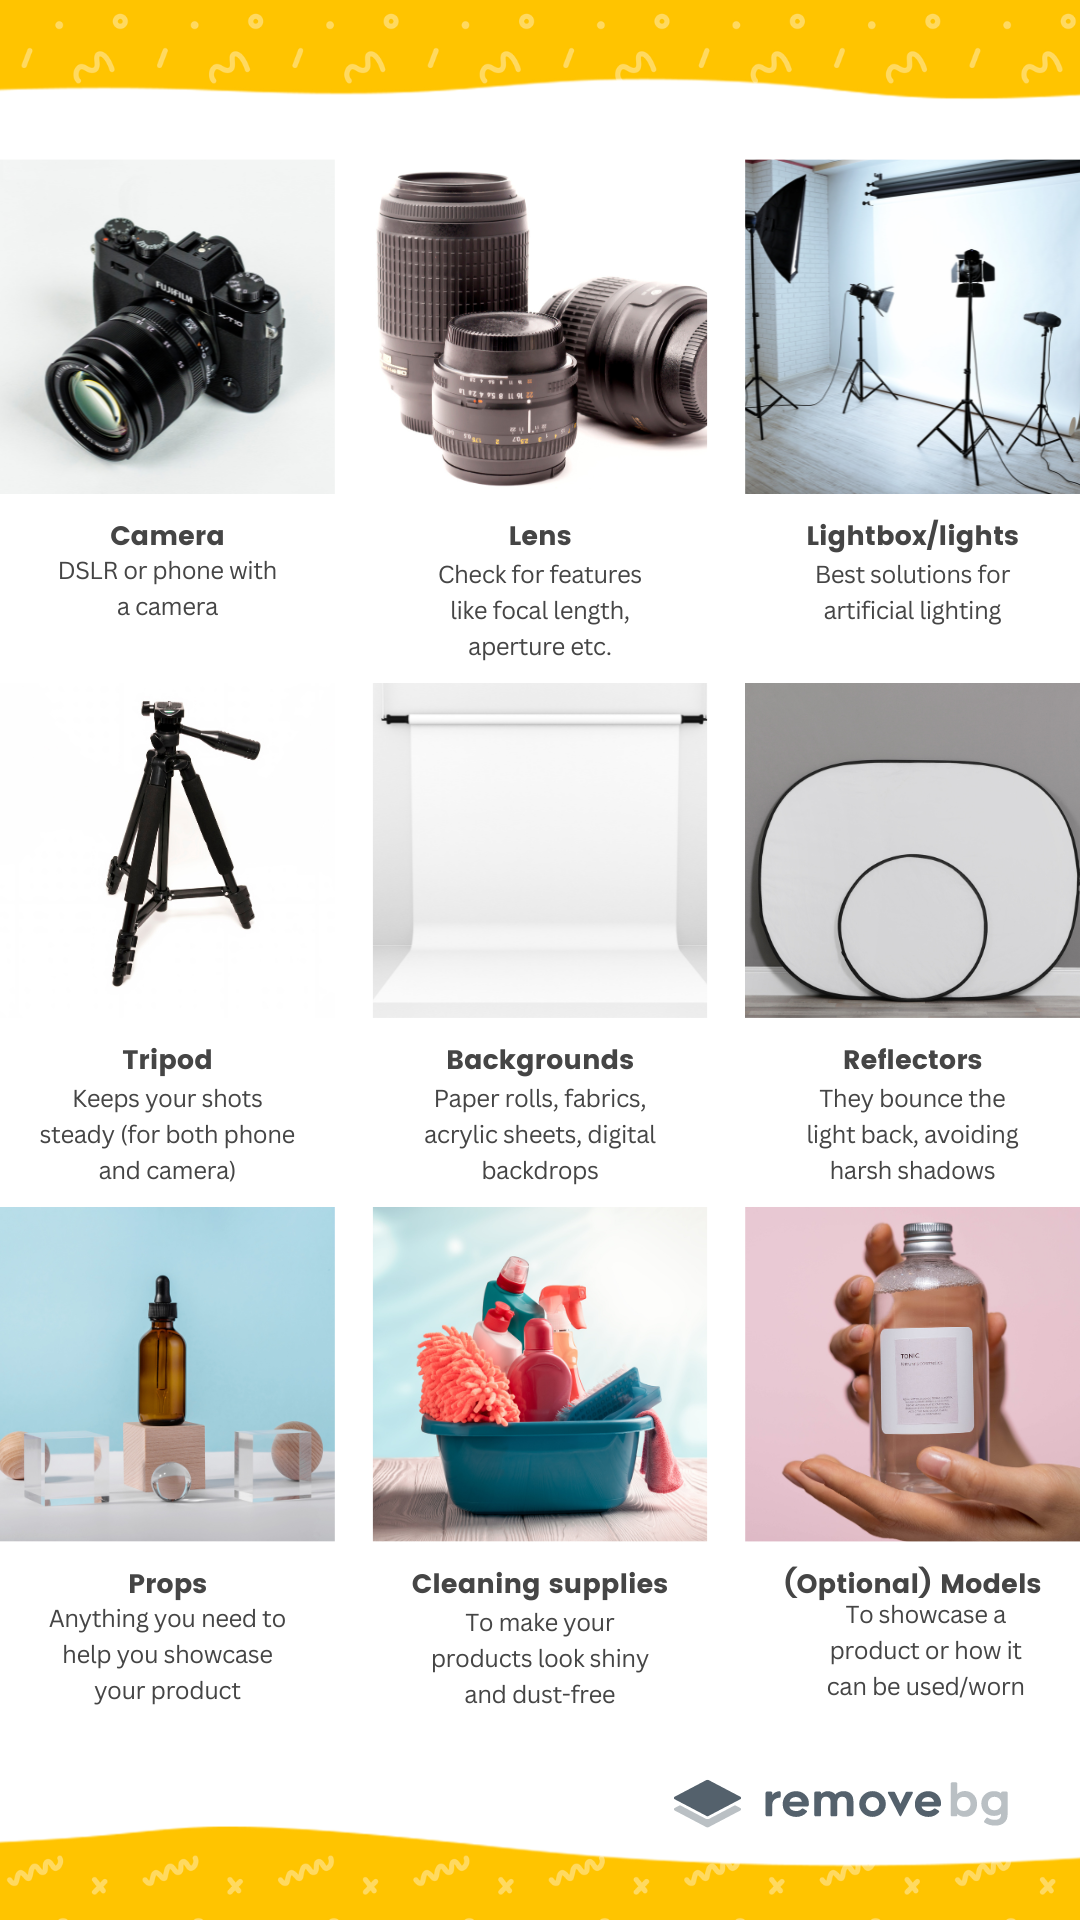
The most important thing to get great shots is great equipment; this is what your setup needs to include:
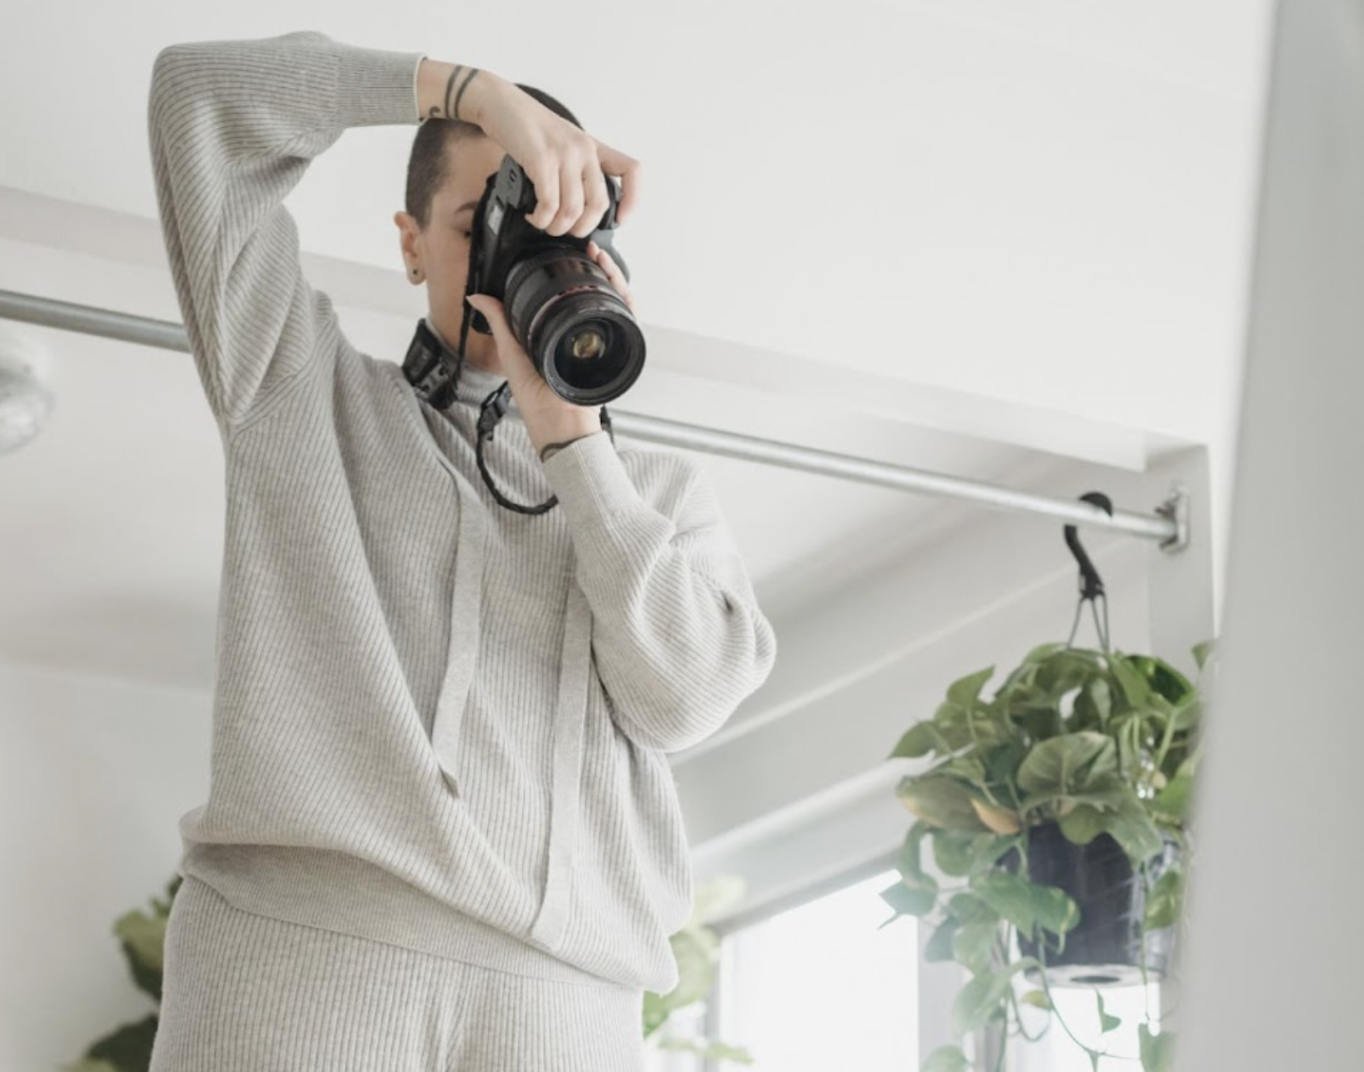
Camera
Your camera (or phone with a built-in camera) is going to be the most important piece of equipment to get the job of creating product photos done. You can use a DSLR or a phone.
The pros of using a phone camera:
Cheaper setup
You can edit your photos directly on your phone and upload them to social media
Easier to master
The pros of using a professional DSLR:
Higher quality
More detailed shots
Can mean less editing in the aftermath
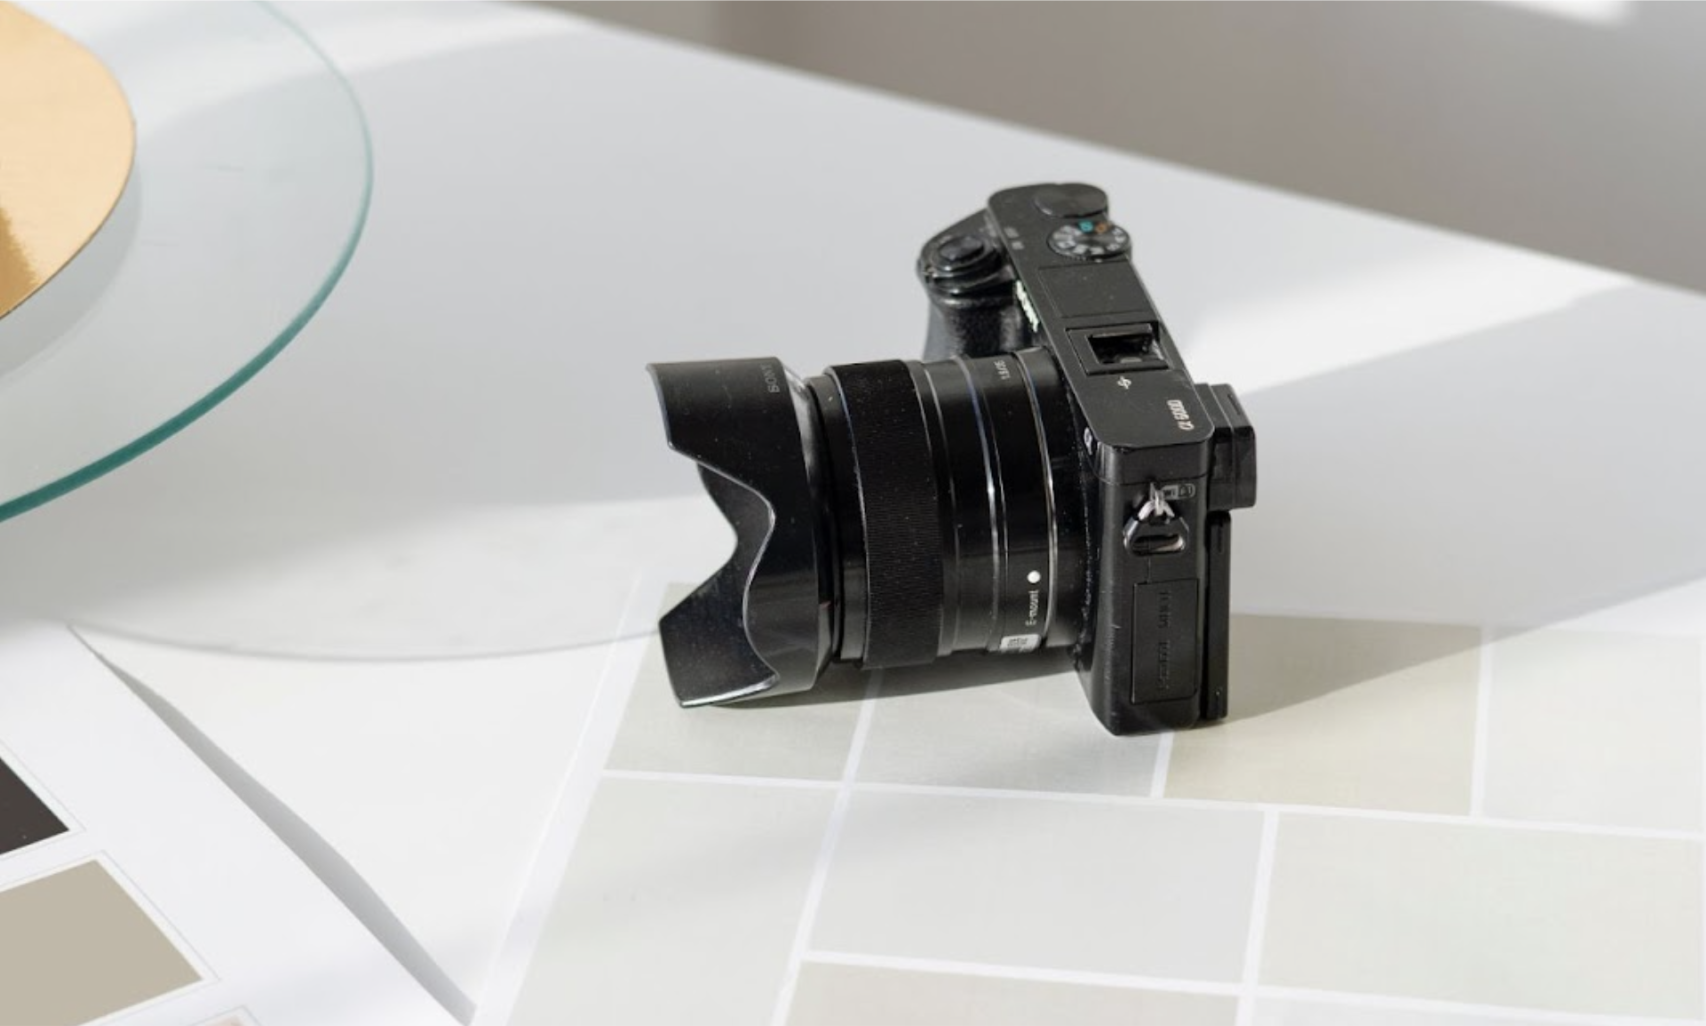
Lens
Your camera lens matters. It's already built-in with a phone, but with a DSLR — it's a whole thing.
Depending on the kind of results you’re aiming for, you’re going to want to look at the type of lens and features like focal length, aperture, and image stabilization — new to those terms? Check out our ultimate camera lens guide for beginners to discover exactly what you need to look out for.
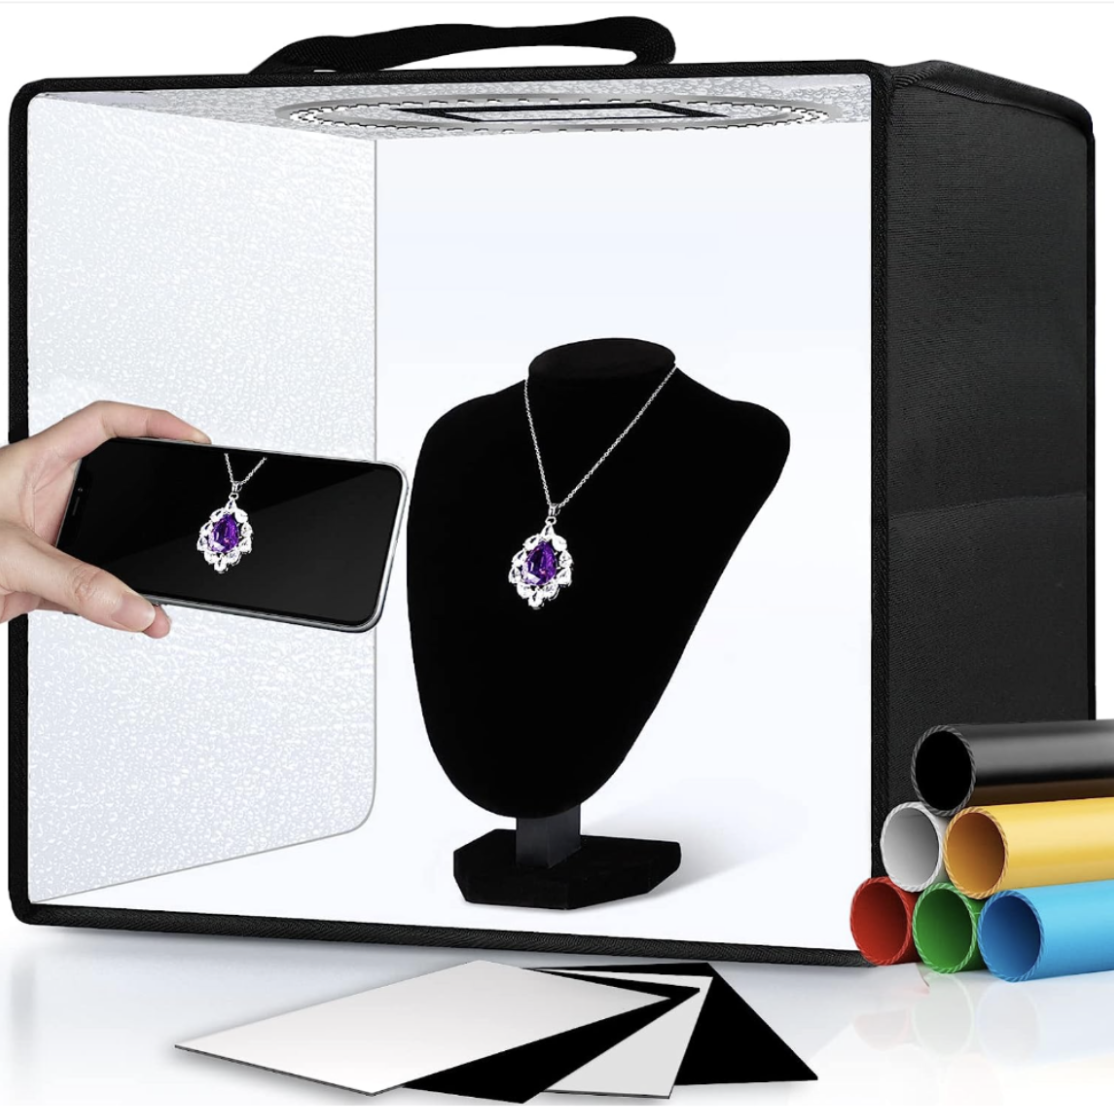
Lightbox/lights
A lightbox is a box with white sides where you can place your product — and ultimately get great shots. It's like a mini photo studio on a table. It's not a must but a choice, but amongst e-commerce these light boxes are a huge hit.
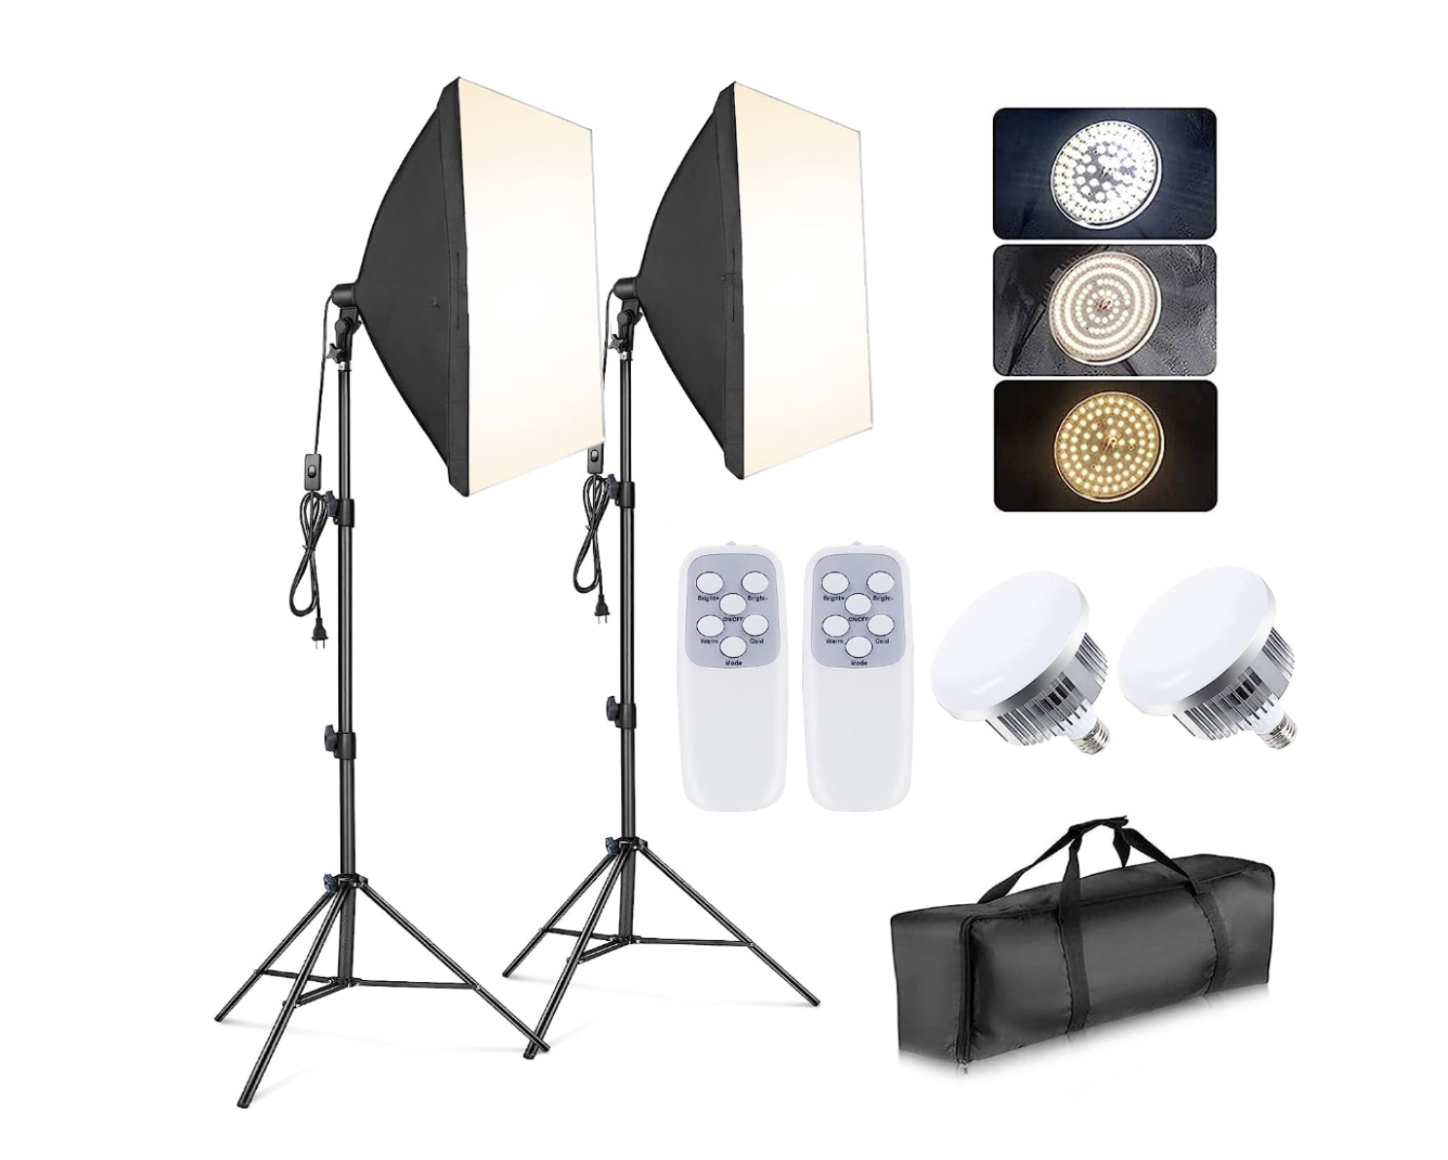
If you're planning on using artificial light — you'll need to grab some standing lights. Like these:
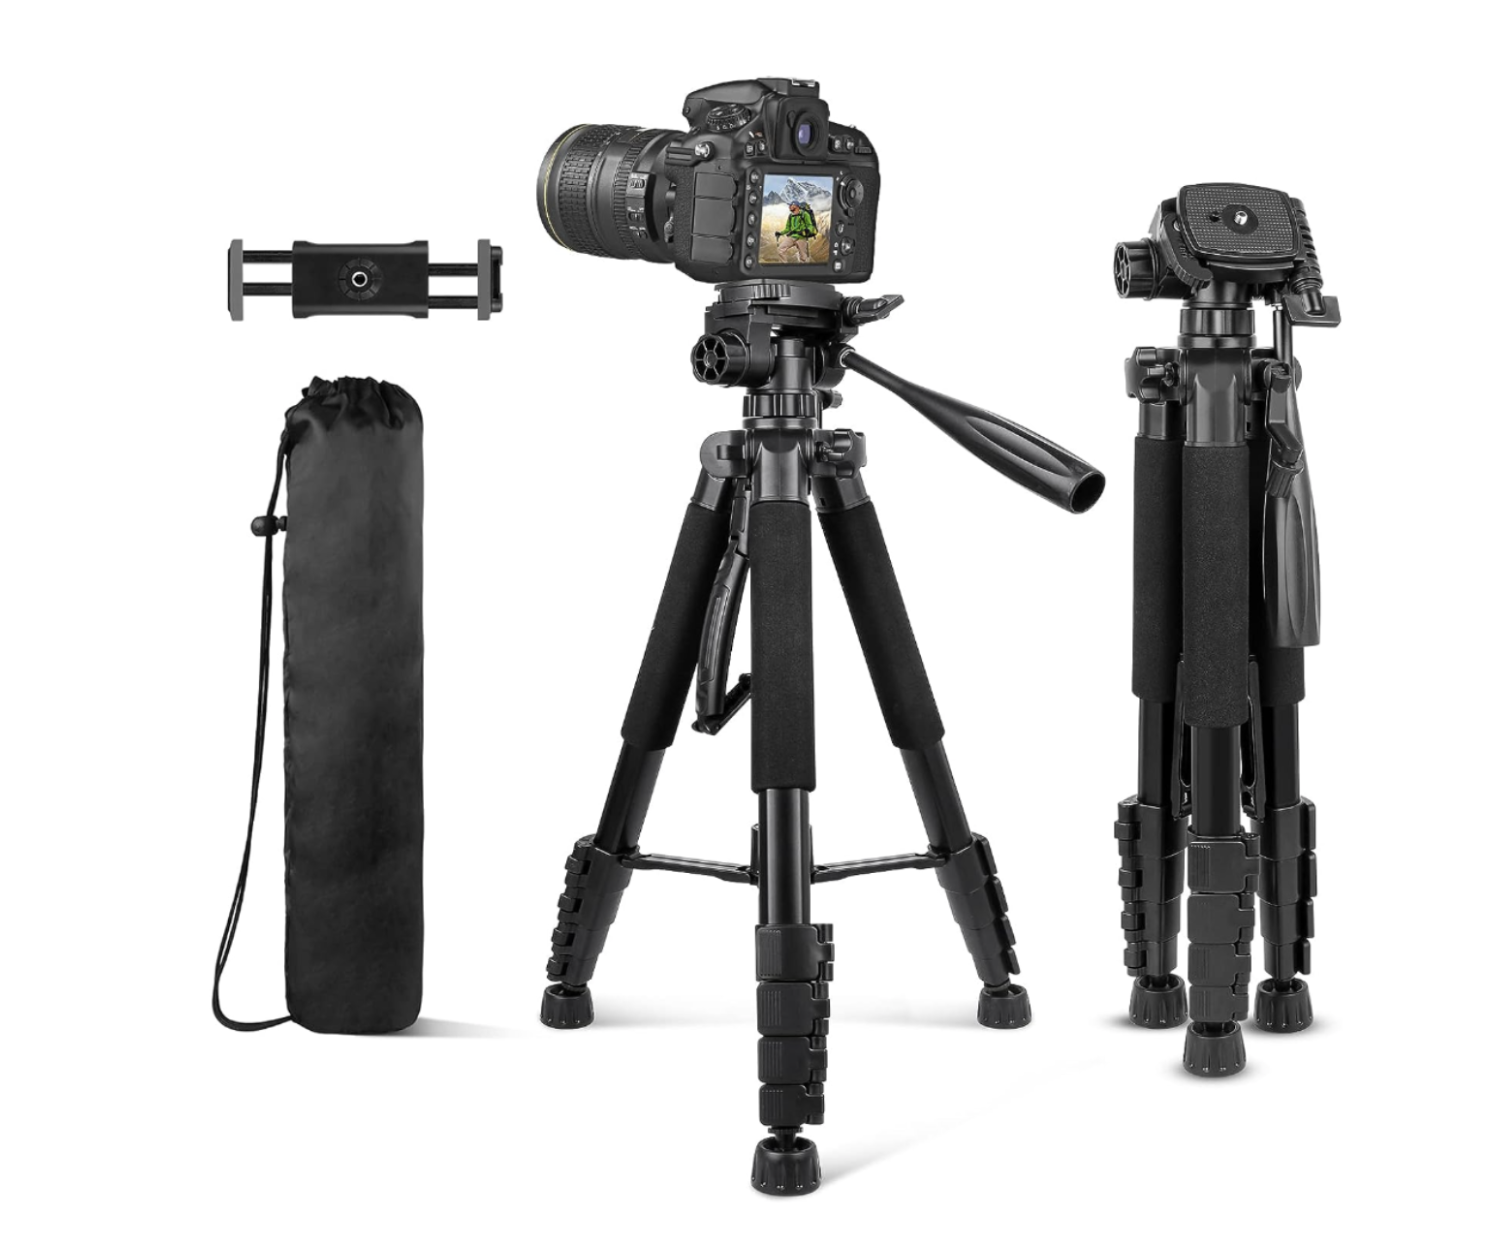
Tripod
The best way to keep your shots steady and blur-free is a tripod. Getting one is a non-negotiable, no matter if you're shooting with your phone or a DSLR. Trust us.
Backgrounds: you can use paper rolls, fabrics, acrylic sheets, or whatever suits your product's style as backgrounds. A plain background is always a safe bet, because you can always change the background after using remove.bg. We will show you how in a bit.
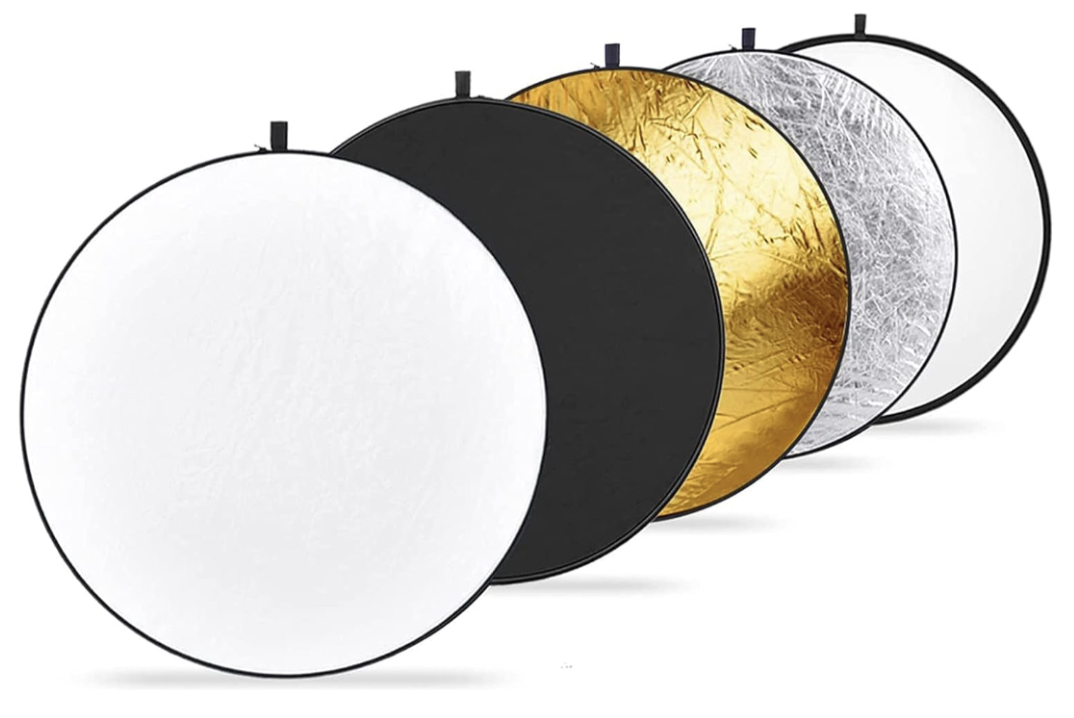
Reflectors: these are great for bouncing light back like a pro. Now you might ask why you need to do that? It’s to avoid harsh shadows. Reflectors give your products that polished, balanced look. If you're on a budget, you can use foam boards or white cardboard.
Props: Have a skincare product? Add towels to the image. Have a drink? You're going to need a pretty glass to go with it.
Cleaning supplies: this is one we like to forget, but you should always have cleaning cloths and cleaner to get rid of any fingerprints and keep your products looking fresh and dust-free. It will also mean less editing after.
Alrighty! That's the lowdown on the essential gear you need to get the job done. Now let's move on to the people you need.
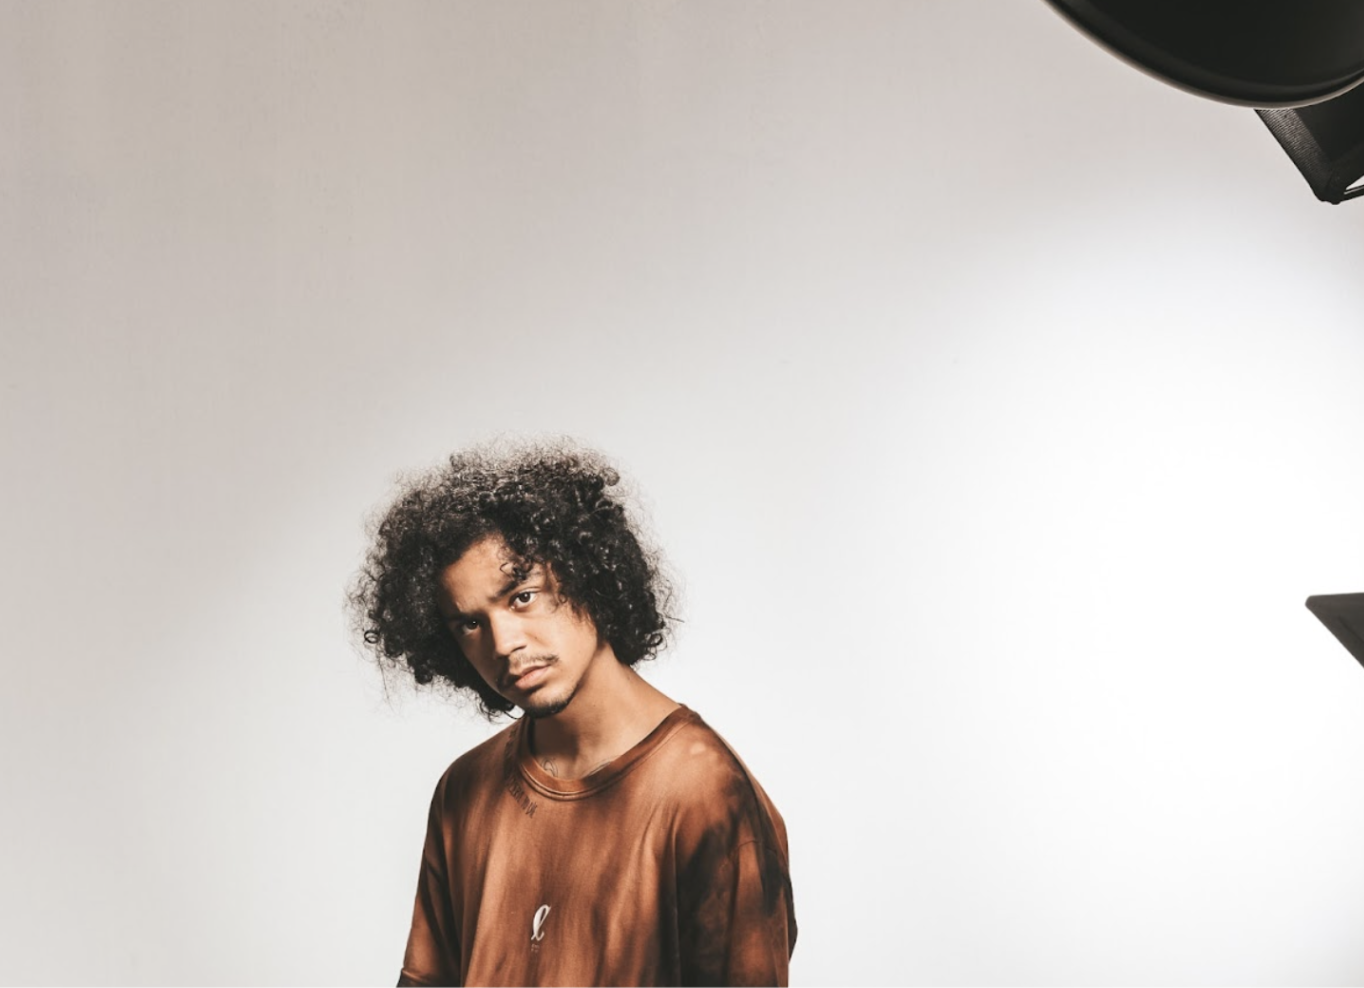
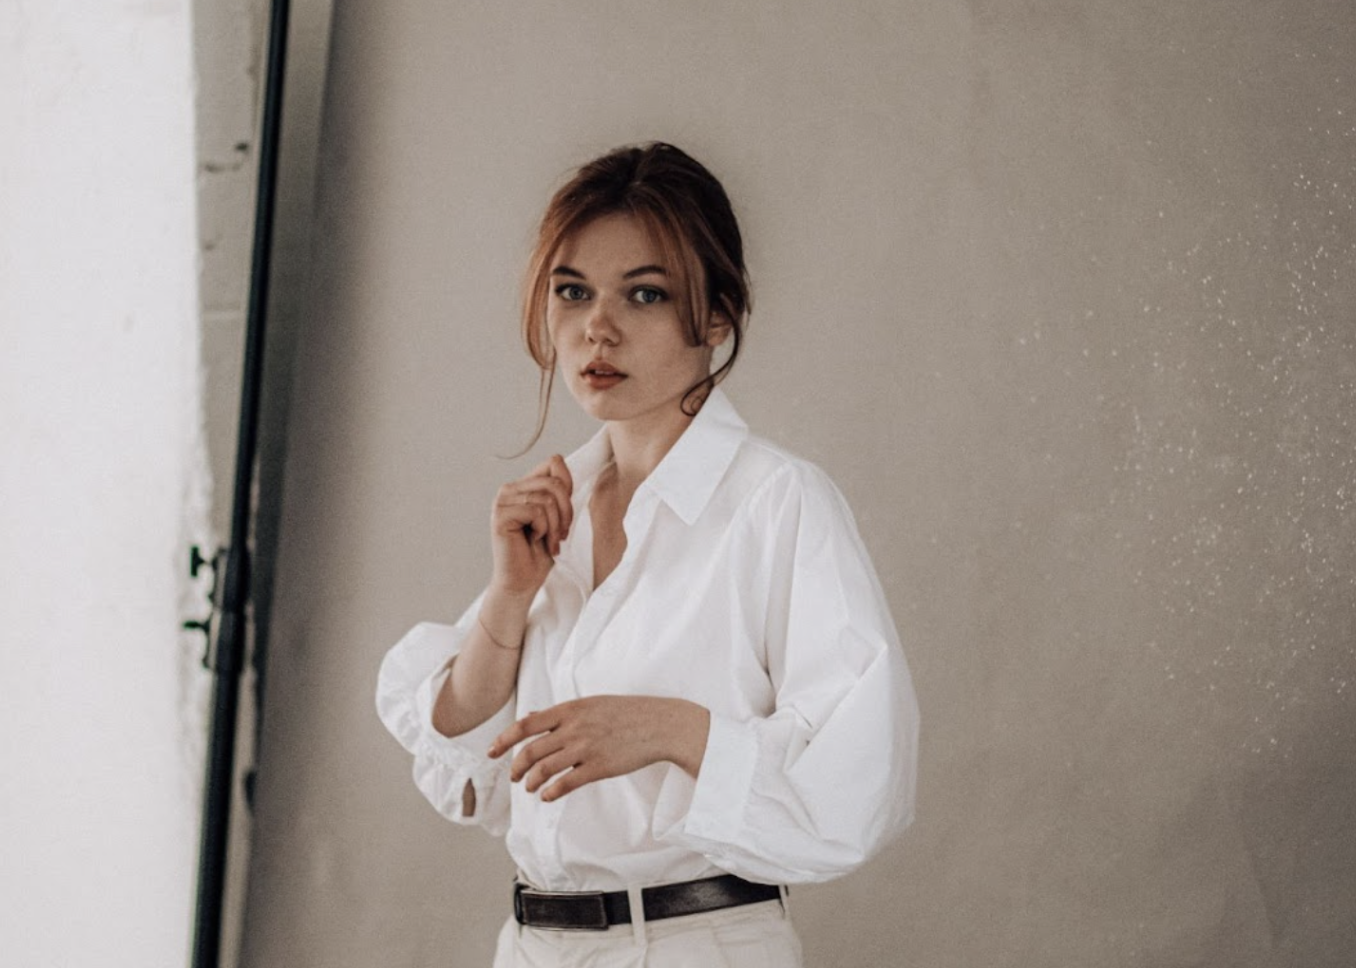
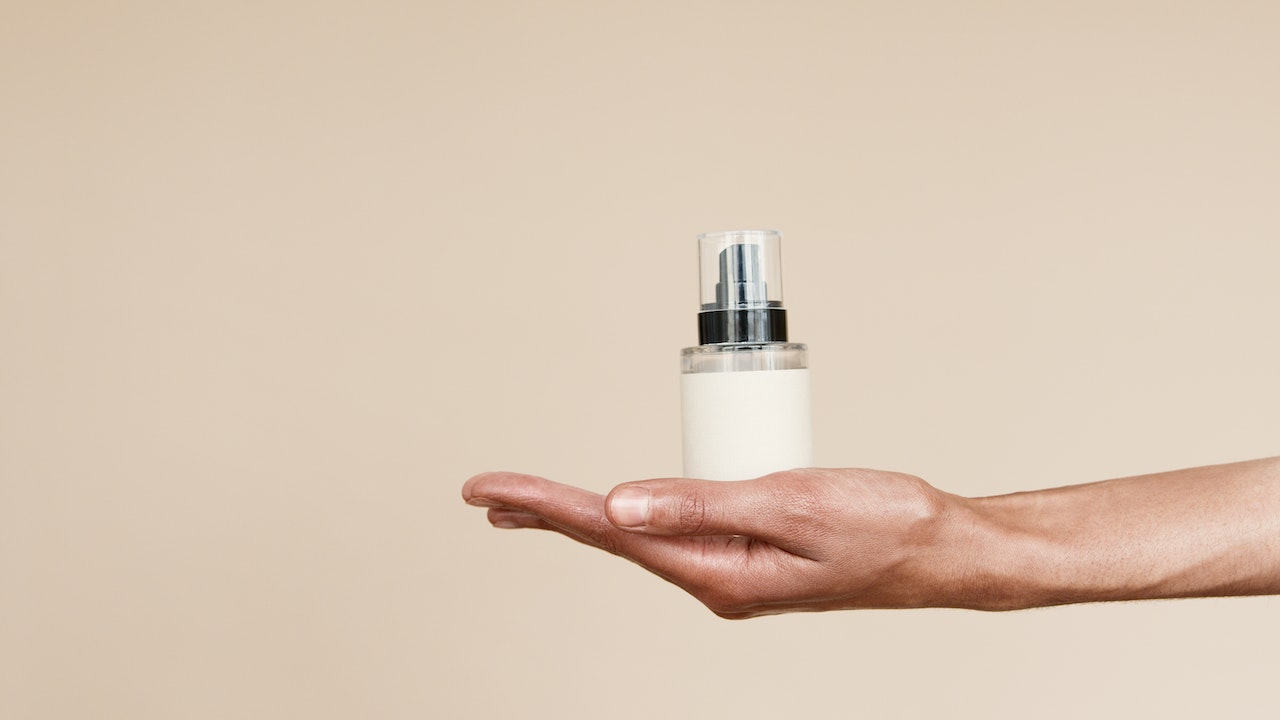
Am I going to have models, and who are those models?
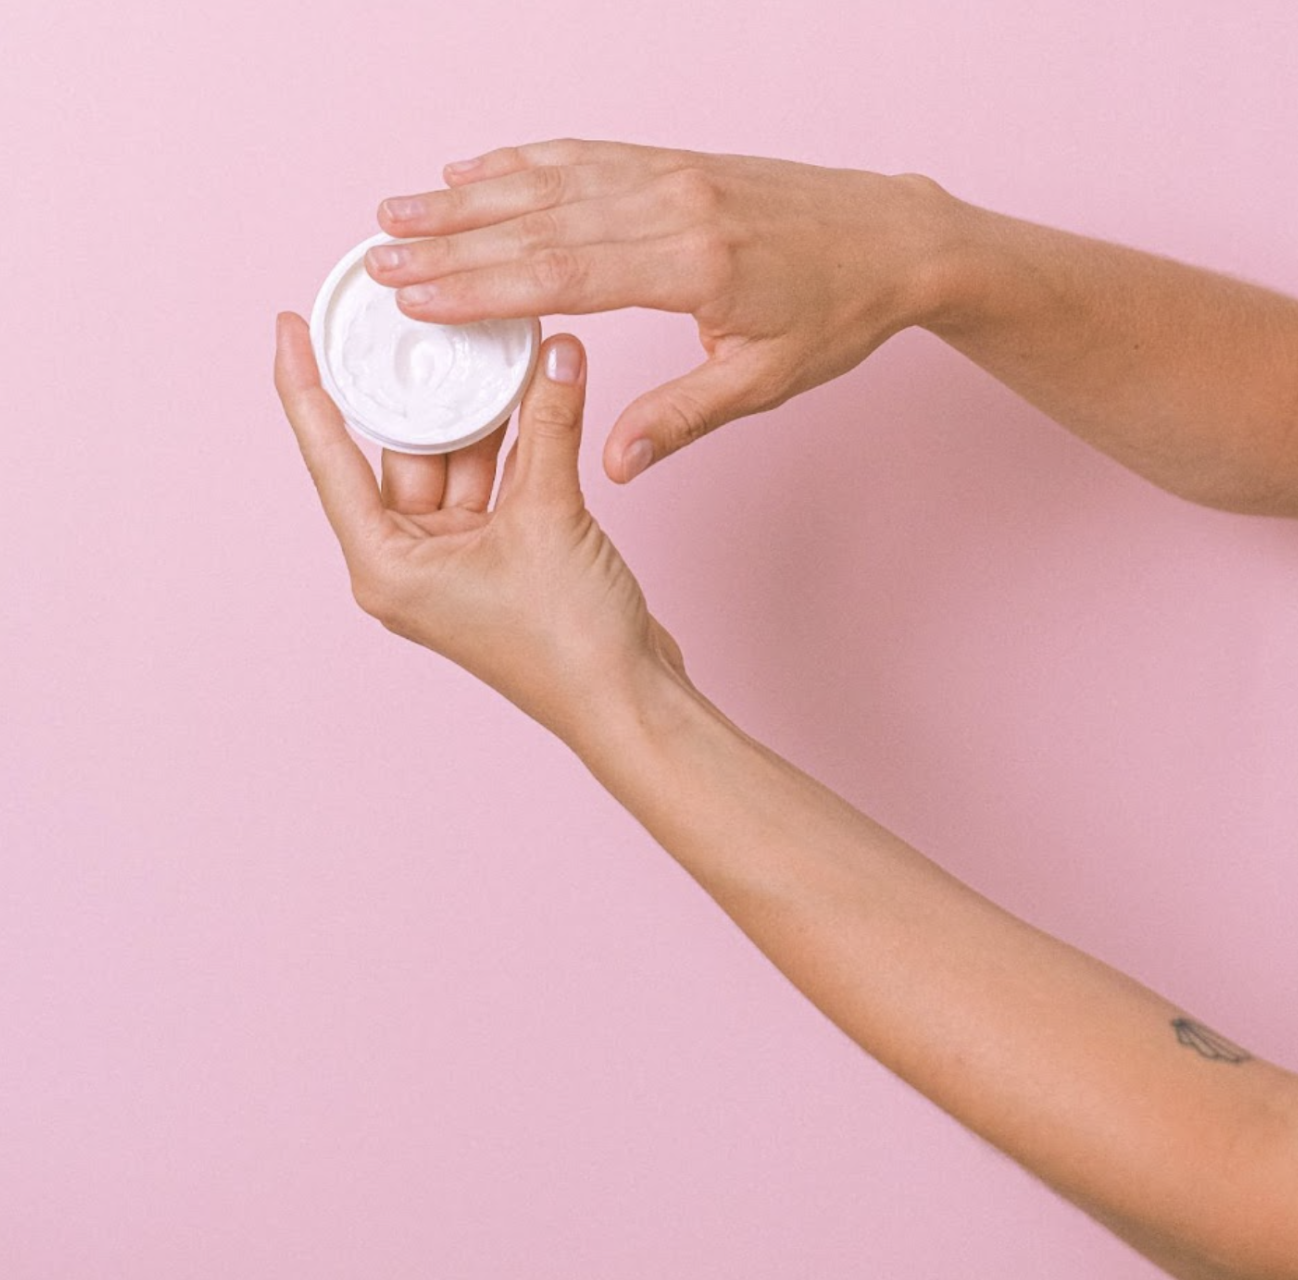
Models are a great way to showcase your products and what they look like when worn — bringing them to life. You can also just use hand models. Like this:
Plenty of e-commerce store managers end up modeling the products themselves. It can save you a ton.
Ask yourself: Do I have contact with people who can model for me? Do I want to do it myself? Is it scalable to include models in my photography? Do I have the budget to invest, or can I create a collaboration with someone?
In short, here's what you'll need before you start shooting:
What e-commerce platform will I be publishing on?
Shopify, Amazon, Vinted? The platform you choose will have an impact on your product photos.
Winning on Amazon, for example, is a whole skill set of its own. The platform is very strict when it comes to - well - everything really; image sizes, background color, the subject of the image, and much more. So if you’re an e-commerce manager or store owner wanting to improve your Amazon product game — there's plenty to keep in mind when shooting those pics.
We cover a full explanation on Amazon’s technical requirements and how to edit photos here: how to shoot and edit product photos.
Ask yourself: what platform will I use to sell? What guidelines and restrictions do I need to keep in mind when it comes to photos?
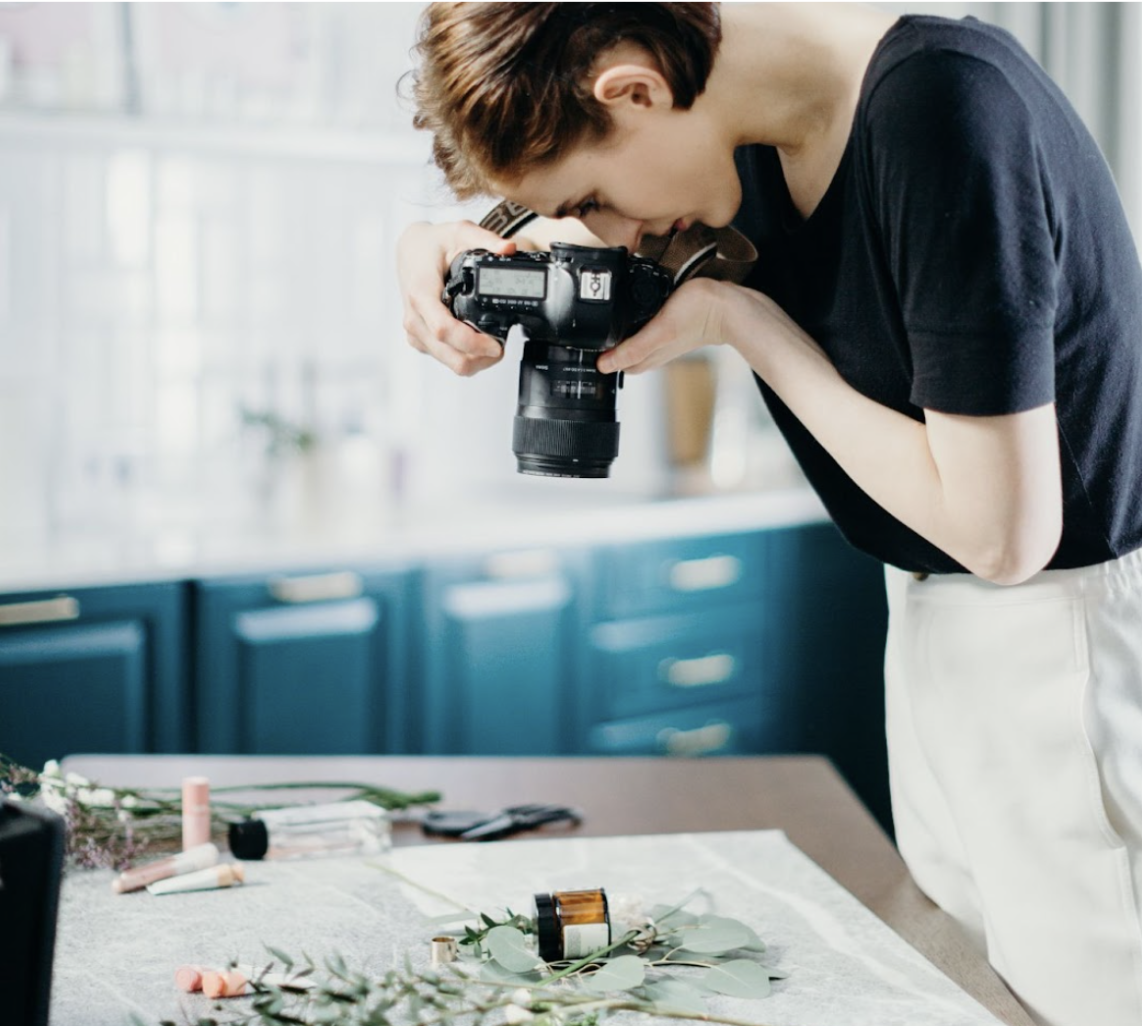
How to shoot and edit product photos to speed up your workflow
Now that we've covered everything you need to know about shooting your product photos, let's talk about editing. Editing your images can take up a ton of time — which is why we recommend taking your editing process into consideration when you’re shooting your images in the first place.
There are a couple of tips and tricks to reduce the amount of editing you need to do.
Things like:
Using a tripod to stabilize your camera
Using a consistent background (or several consistent backgrounds)
Cleaning your products, ensuring there are no fingerprints or smears you would have to remove after
Shooting from the same angle(s) to get consistent shots
Choosing the right source of lighting
Going for an easy-to-use and user-friendly software to edit photos
And much, much more. If you want the full lowdown on how to shoot and edit product photos in a way that optimizes your workflow for speed — read the full article here.
Best e-commerce photo editing software: remove.bg & Canva
Choosing software for editing your photos is another thing you'll have to face. We've got our favorites: remove.bg & Canva. They go hand in hand, are super user-friendly, and you don't need a steep learning curve like Photoshop — yet the results can be just as professional.
remove.bg is your best bet when it comes to removing and changing the background of your product photos. And couldn’t be more simple to use:
Open up remove.bg.
Drag and drop your product photo on to the site. In seconds it will remove the background.
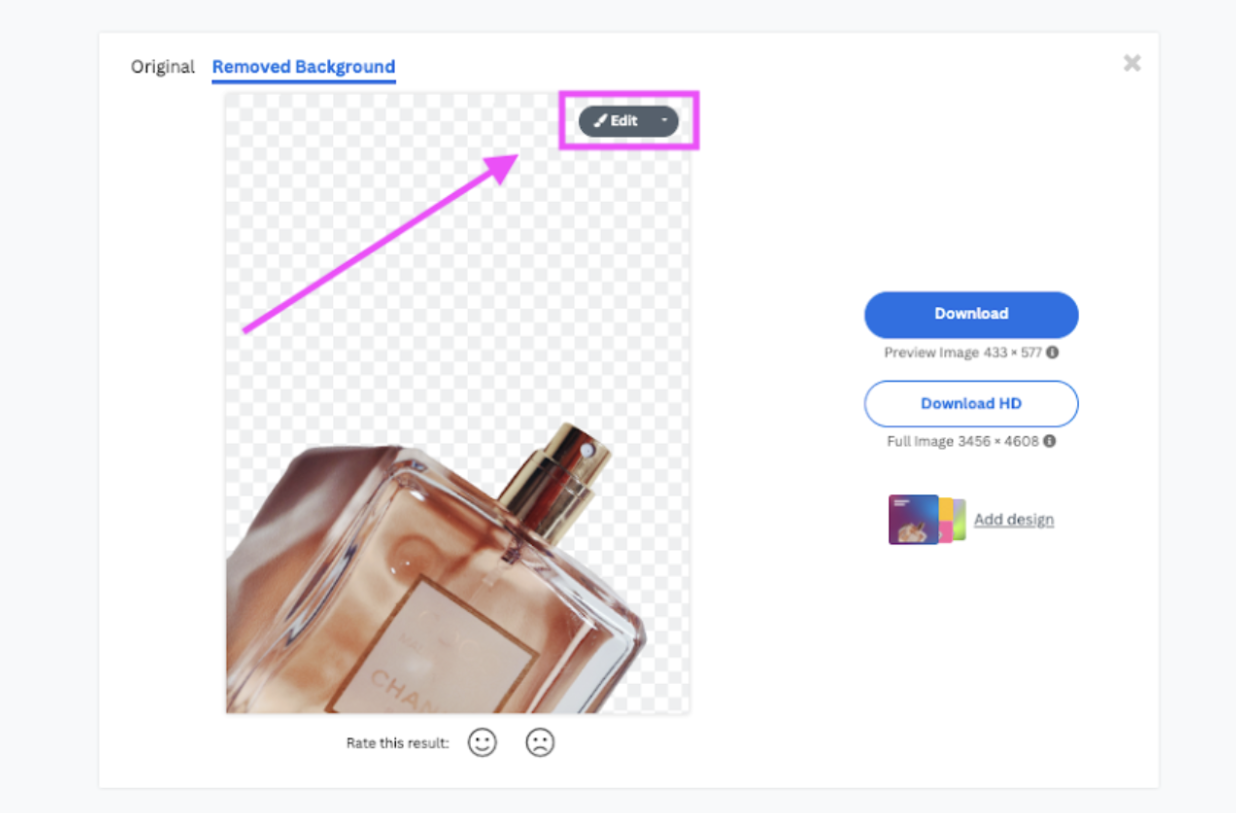
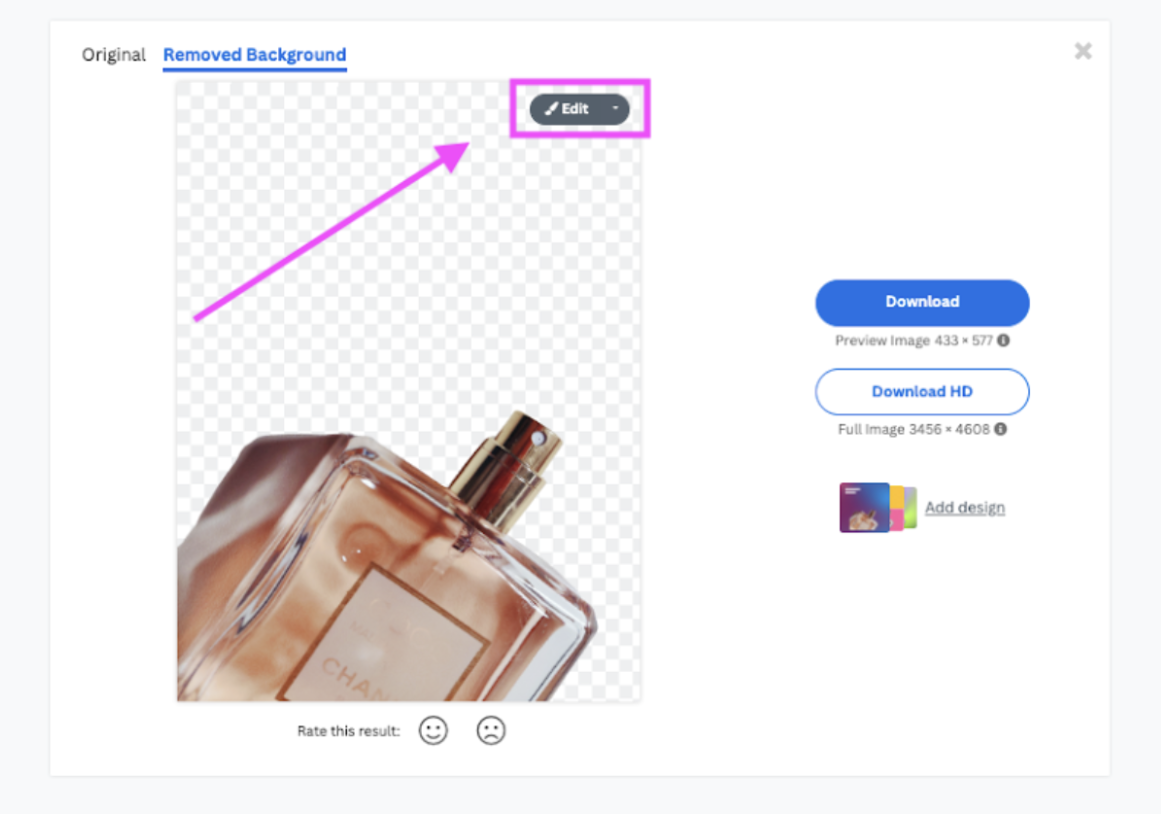
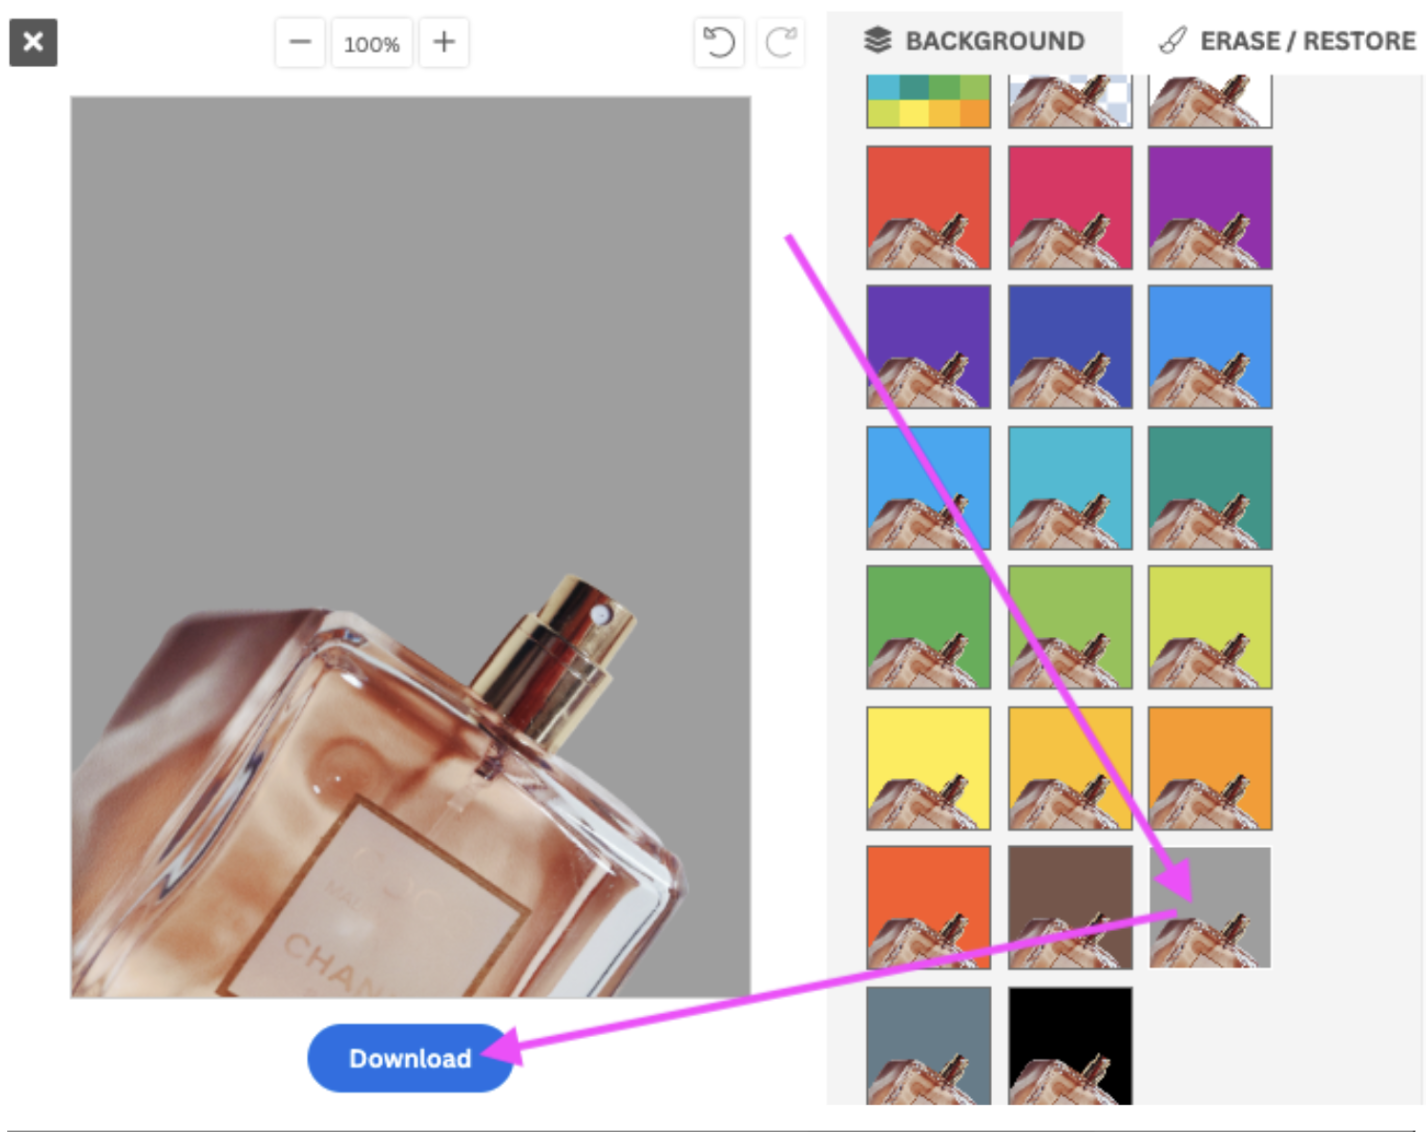
3. To add a color to the background, go ahead and click on > Edit.
You can then choose a color, like a white background.
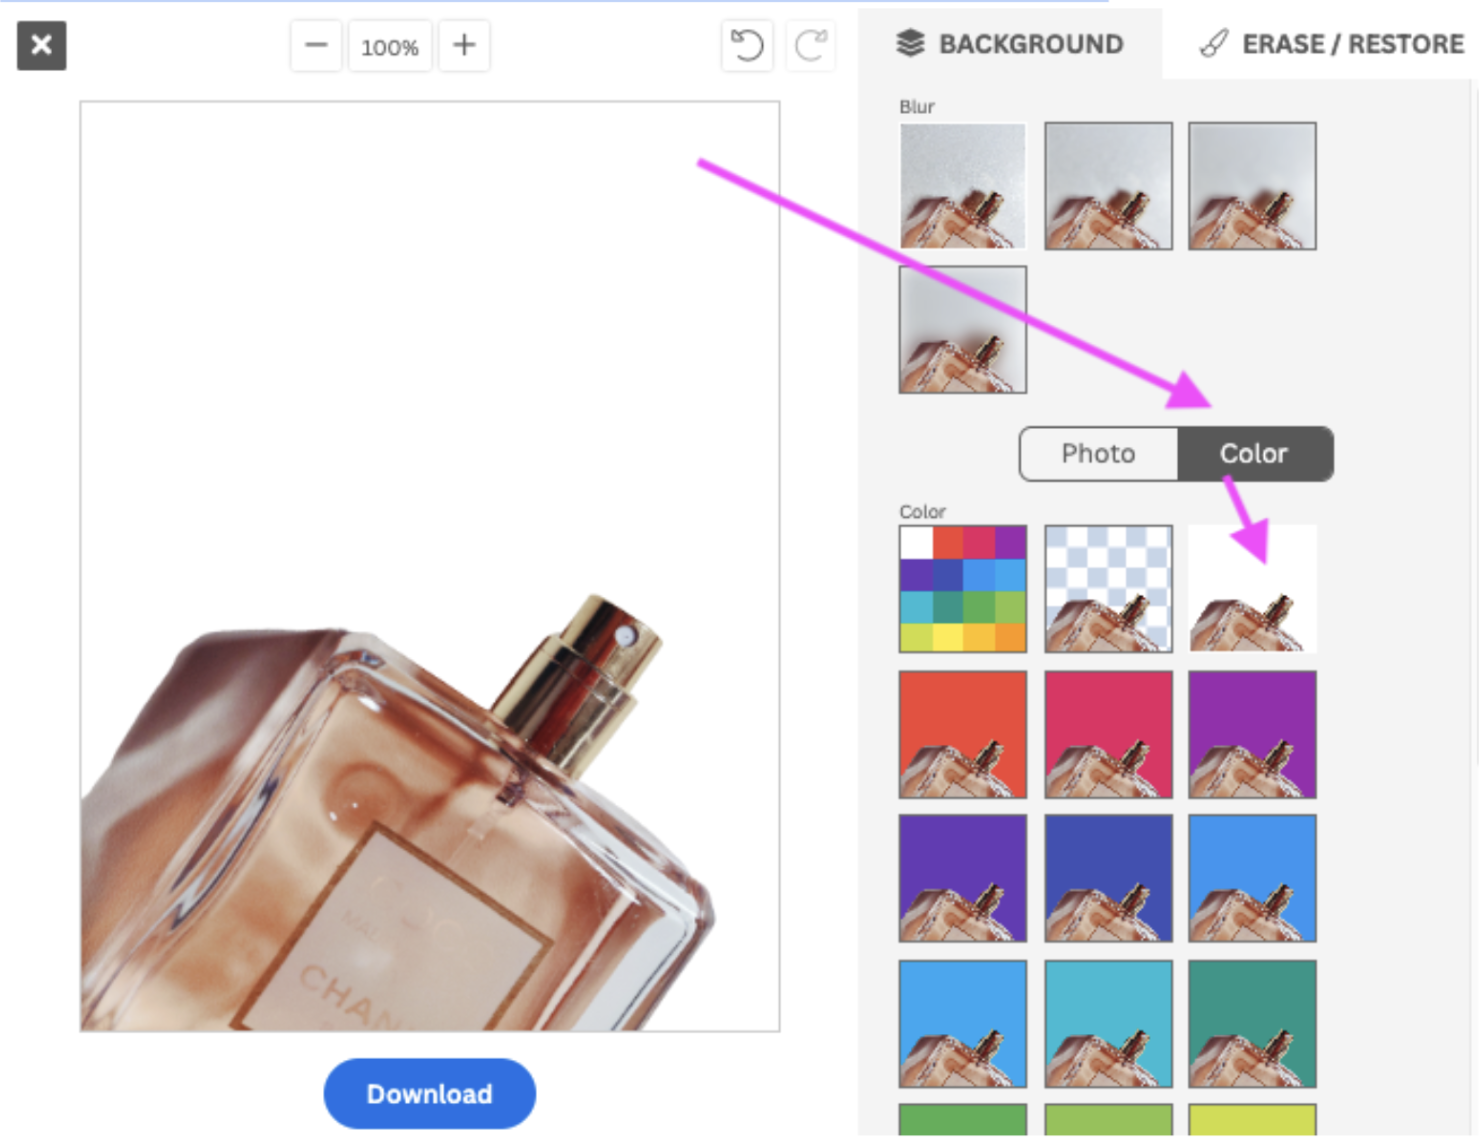
You can also select the transparent background again, if you want to download the product image without a background and add another one in another software.
4. We went ahead and selected this beautiful grey. Once you are happy, you can click on > Download > Download image.
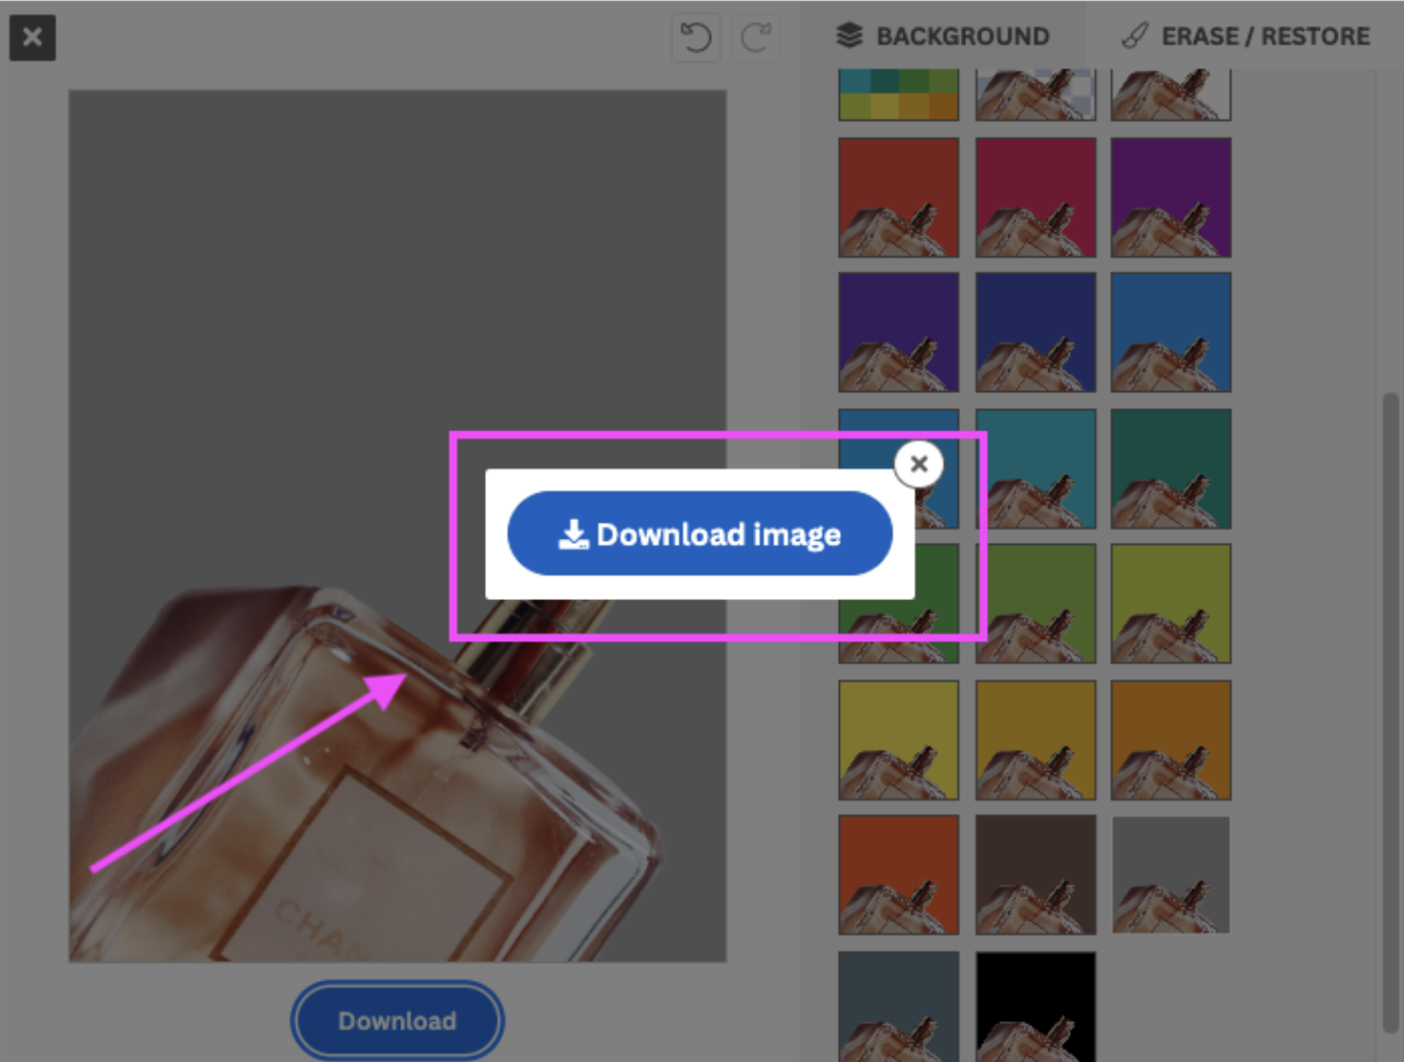
5. Et voila! Your product photo is ready to upload to your e-commerce store in seconds (not minutes or hours).
Want to learn more about what editing your product photos can look like? Check out this article: E-commerce Photo Editing — With remove.bg & Canva.
If you need to edit multiple photos at once, you can have a look at this article.
Want to set up your e-commerce store but not sure what platform to choose? Or want to expand?
Running a successful e-comm store starts with great product photography and ends with setting up one or several storefronts. And every platform has different photo requirements. If you haven't chosen your platform just yet, or are thinking of expanding to another, we've covered how to go about setting up the most popular ones step-by-step:
Getting started is the most daunting part; but these walkthroughs on getting set up are bound to make things easier. It's definitely worth it in the long run — cha-ching!
Product photography for e-commerce in a nutshell
As you can see, there are a lot of things you need to consider, but we hope this guide brings plenty of clarity and inspiration!
In a nutshell, we recommend:
Getting familiar with the basics of product photography and asking yourself the right questions before you ever touch a phone or camera.
Setting a product photography guideline to create consistency for your brand and streamline the process.
Shooting and editing for optimal workflow, with a plain background.
Picking an easy-to-use photo software editing tool like remove.bg & Canva.
And that's a wrap on our ultimate guide to product photography. Product photos are an incredible way to improve your e-comm store, build a strong brand, and drive conversion.
But there's also a ton of other tips and tricks you can leverage.
Check out our 5 top ways to increase e-commerce store sales to continue diving deep into the topic of e-commerce.
Commentaires
Pas de commentaire jusqu'à présent.