Let’s look at the ways Photoshop can help us delete backgrounds leaving your subject intact, as well as a clever plugin, which does an even better job as a background eraser tool.

Sommaire
1. Photoshop Remove Background tool
This is the simplest way to remove the background of your image in Photoshop. This method is most suitable if you are not too fussy about getting clean edges on your subject.
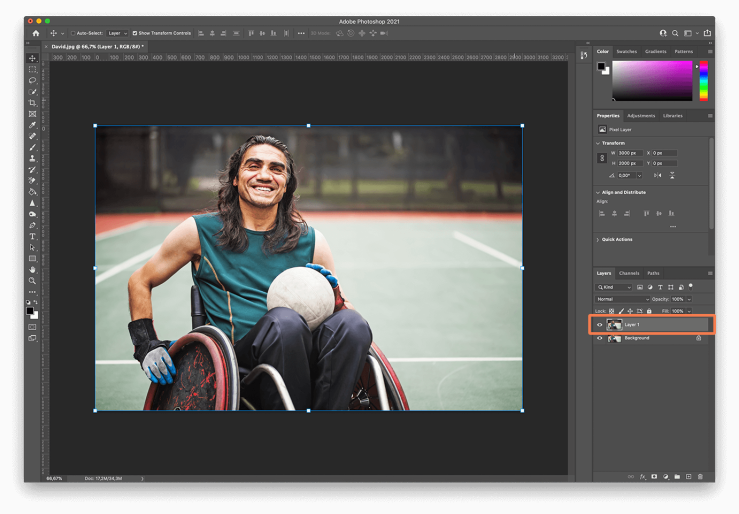
First, open your image in Photoshop and go to the right-hand Layer panel. Duplicate the current layer by pressing Command+J on macOS or CTRL+J on Windows.
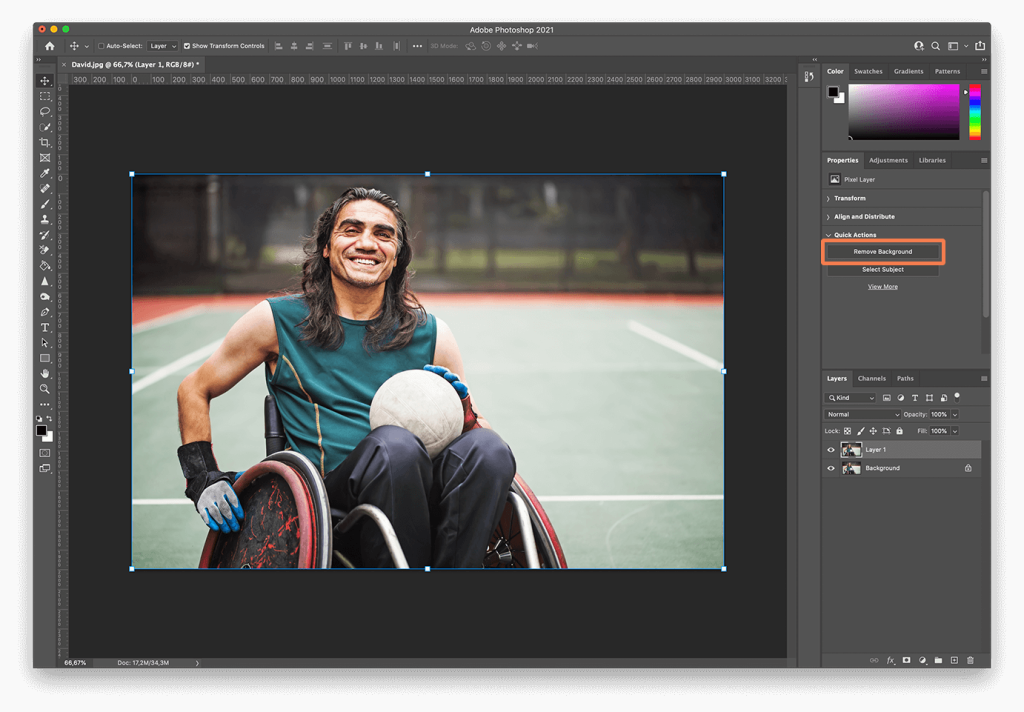
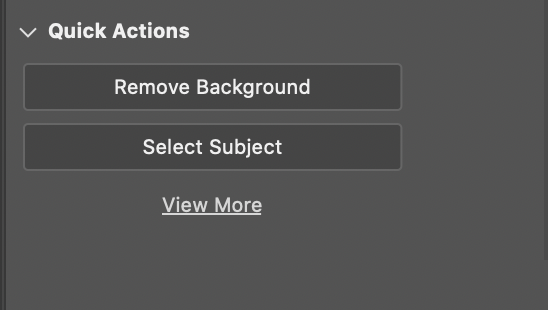
For the final step, go to the Quick Actions panel and click on the Remove Background button, which should then finalize the process of removing the background in Photoshop.
2. remove.bg’s Photoshop plugin
remove.bg’s plugin for Photoshop is the best way to separate the background from the subject.
The plugin is better than the software in isolating complicated elements and edges such as hair. You can also use the layer mask to remove or restore regions of the image – but you still only need to click one button.
Get started by following these steps:
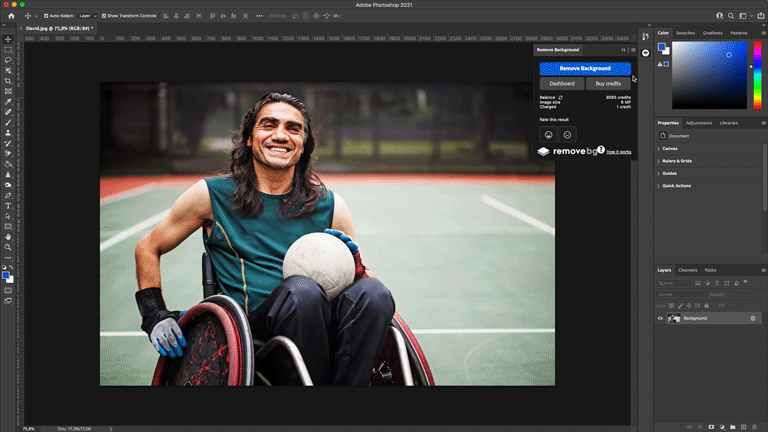
Download the plugin. Downloading remove.bg’s plugin for Photoshop is free of charge. You can also buy credits to process images – which you can use in all remove.bg products and integrations. Once you have installed remove.bg, you will find it in the Plugins drop-down menu.
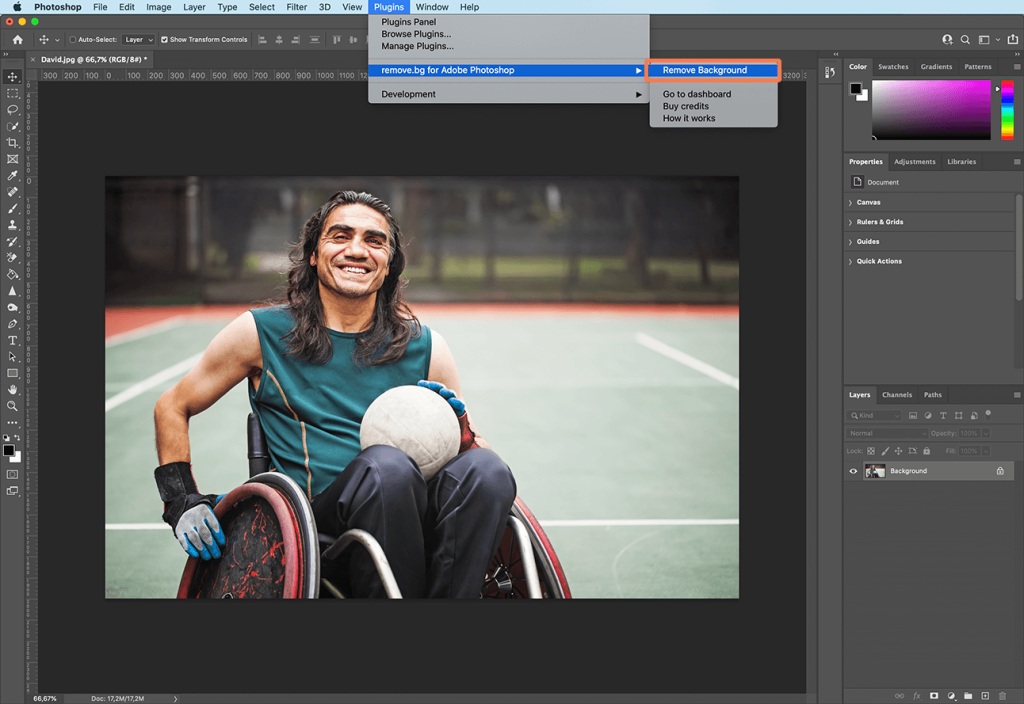
Log in to your remove.bg account and click the Remove Background button anytime you want to remove the background from the currently opened image (or selection) in Photoshop. Bear in mind, the image is processed through the remove.bg API so you need an active internet connection and an API key (which you can find in your account’s dashboard).

Signing up gives you one free credit, and 50 free API calls for preview (lower resolution) images each month.
For more in-depth installation instructions, check out our help page and for more info about the remove.bg pricing, click here.
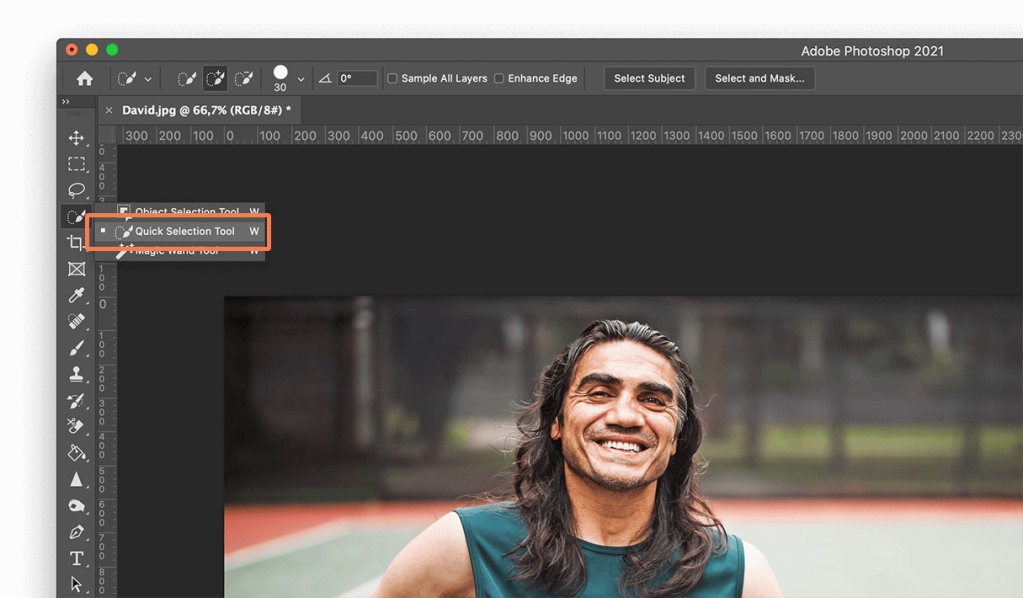
3. The Quick Selection tool
Photoshop’s Quick Selection Tool uses artificial intelligence to decide in real-time where the edges of the subject and the beginning of the background fall.
The tool works best when there is a clear difference between your foreground selection and your background. If there is too much similarity in the pixels, it will get confused and you will spend hours adding and subtracting elements.
Once you’ve carried out the initial selection, you can toggle between adding to the selection and subtracting from the selection in the menu.
How to use the Quick Selection Tool
Open your image in Photoshop.
Find the Quick Selection Tool in the left-hand menu (Photoshop Toolbox). It could be nestled in Magic Wand Tool.
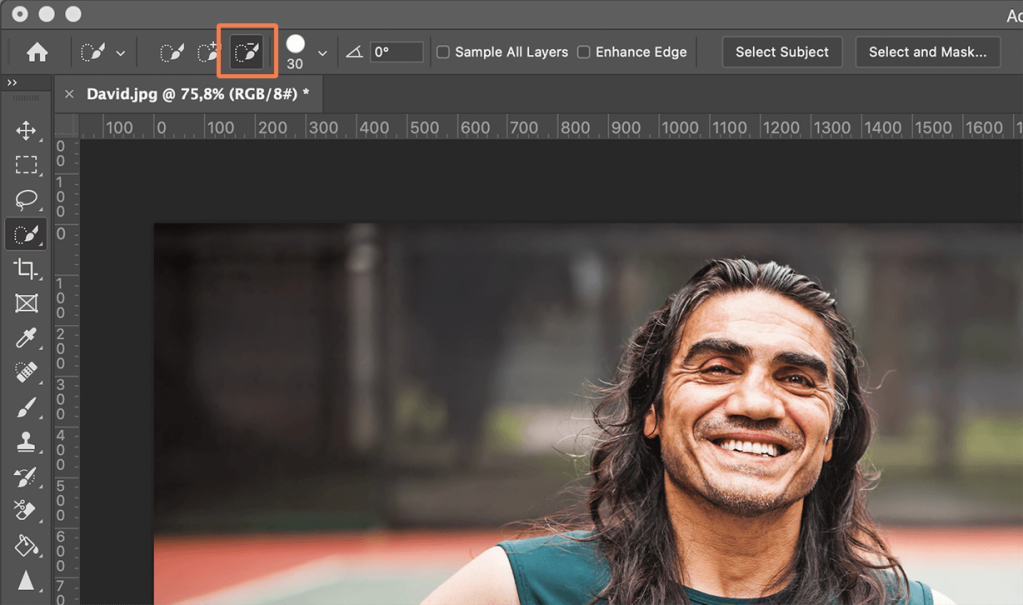
Check Enhance Edge in the Options bar, which should give you smoother, higher-quality selection edges.
Click the button and move the pointer over the area you want to select. Quick Selection will find tones that match the selection until it thinks it’s found an edge.
You might find you want to add to the selection. If so, just click and drag over another area.
If the Tool has been over-enthusiastic, you can subtract from the selection. To do that, press the Option key (macOS) or Alt key (Windows) and move over to the section you want to deselect.
Or you can change the Tool to deselect (minus) in the menu bar to deselect anything you mouseover.
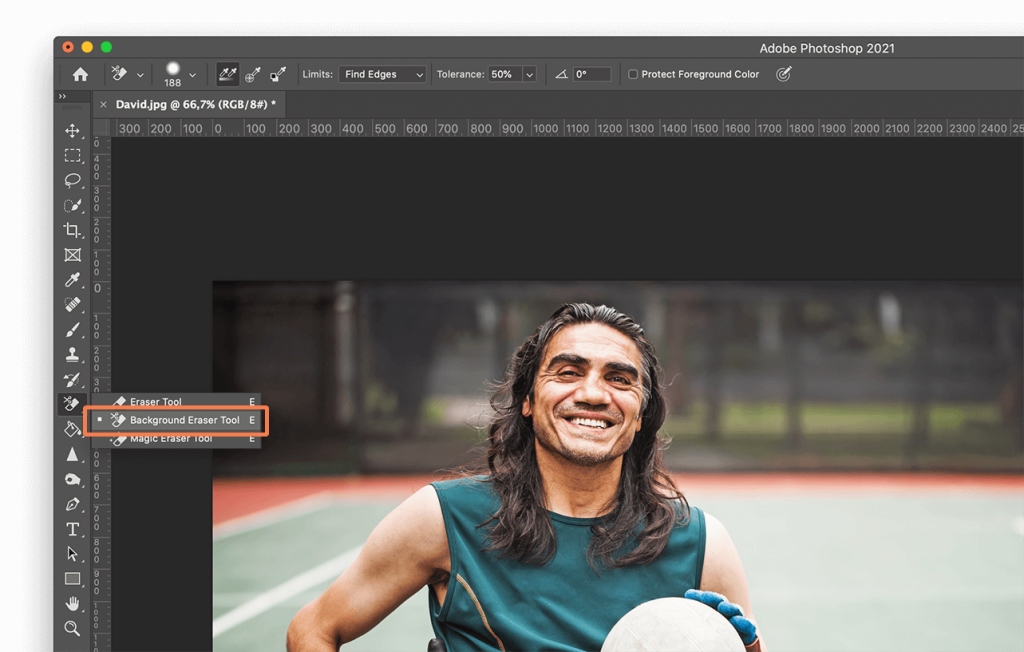
4. The Background Eraser tool
This tool is used to remove backgrounds in images with more than a certain amount of fine detail between subject and background.
It works by taking a sample of the hue at the center of the brush and selecting the same or similar colored pixels as you move the mouse.
How to use the Background Eraser tool
Open your image in Photoshop.
Find the Background Eraser Tool in the Photoshop Toolbox. It might be hidden within the Eraser submenu, so click and hold that or press E to highlight it.
Make sure the brush is the right size. You can use the [ and ] bracket keys or adjust it in the menu bar. A larger brush is quicker but you need precision if you are working in tight spaces. You can and should zoom in, as well.
You want the brush to be nice and hard on the slider, as well. If you have fuzzy edges, you will leave behind artifacts. Shift [ and ] will reduce or increase hardness.
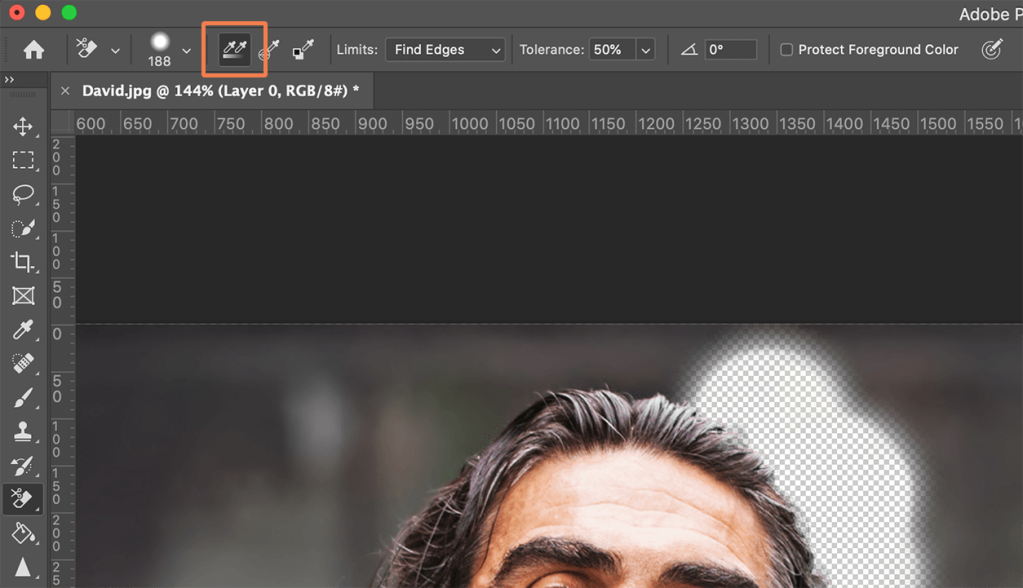
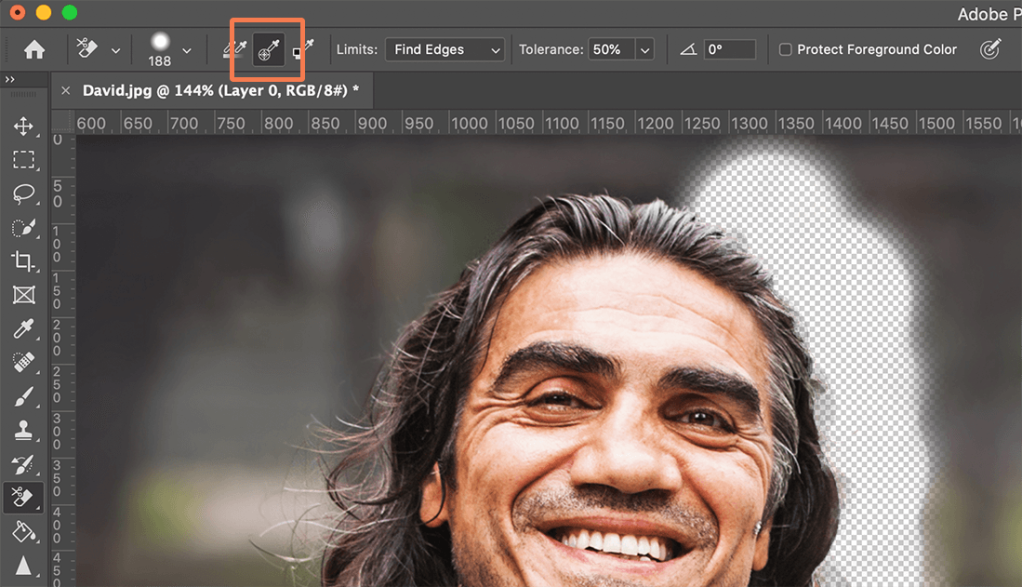
Set Limits on the menu to Find Edges.
Place the center of your brush over the color you want to remove and click. You will get rid of any matching hue within your tolerance (see below) and leave behind other colors – like this.

Tolerance is how wide the bracket of color is that the circle will remove. If you were going to remove this grass from behind the legs, you would want a high tolerance because there are yellowish stalks and brownish leaves. Obviously, if someone was wearing green leggings, you might be in trouble. Start with it set to 25 and see how you go.
Bear in mind that the Background Eraser Tool will erase any matching color its crosshairs are over, so you need to keep those on the background color.
Background Eraser is set to Continuous Sampling by default.
That means it will delete any matching color those crosshairs hit upon. If you have many different hues in your background you will need to keep sampling and deleting them. However, if you only have one hue (or a narrow bracket of hues) such as a blue sky, you can change to Once.
In that case, even if you mouse over a different color, it will only sample and delete the color you started on. You are less likely to delete part of the subject by mistake.
If there’s too close a match between the background color and subject and you keep finding your subject being wiped out, here’s another trick. Click Protect Foreground Colour (far right of the Tool menu). Press and hold Alt (Win) / Option (Mac) key and use the eyedropper tool which pops up to sample the hue you want to protect from destruction.
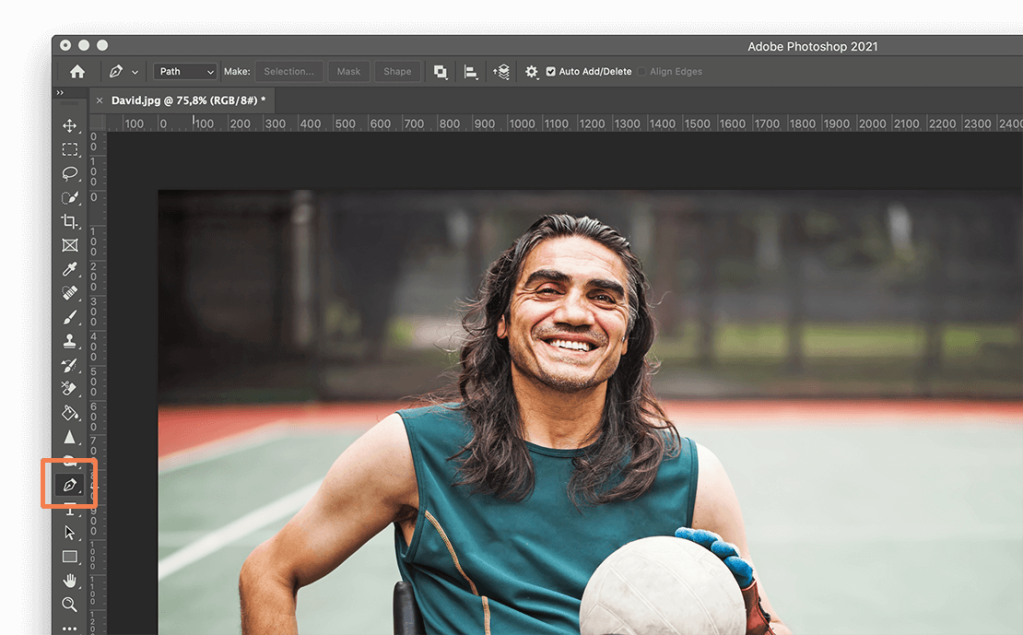
5. The Pen tool
The Pen Tool is the furthest from AI selection you can get without going freehand. (Freehand is, of course, an option you can use–in Layer and Mask– especially if fuzzy edges are OK, such as a light sea against a light sky.)
Anyway, the Pen Tool allows you to draw around an area using a combination of straight lines and flexing curves. You can toggle between the two by mousing over a node and pressing the Control/ CTRL-key.
Because the tool is so intuitive, it’s quite hard to describe how to use it in words! The best thing to do is to watch this video by Phlearn and then feel your way into using it. It’s pretty fun.
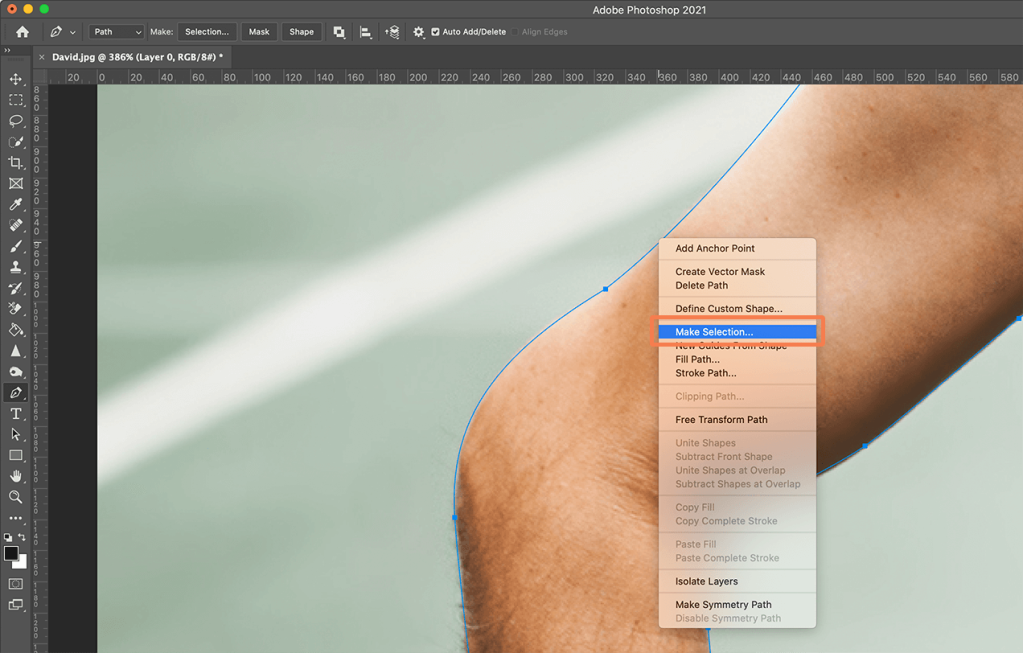
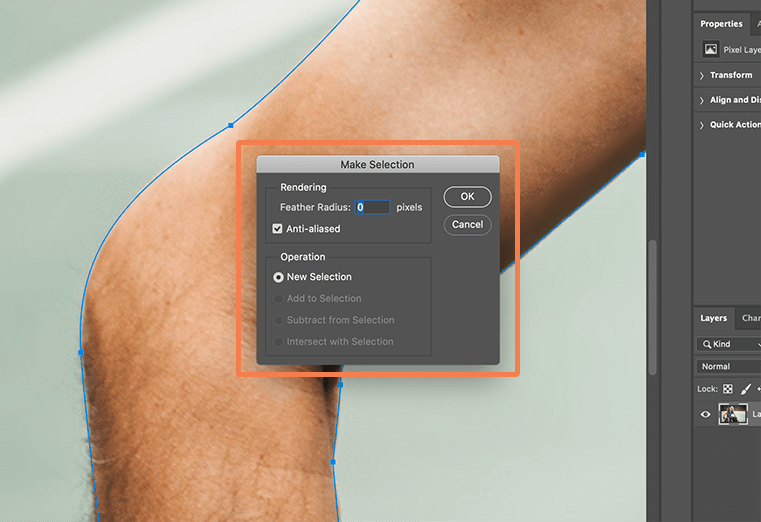
You want to use the Pen Tool to create a Path (on the far left in the layer panel). Then right-click on the selection and press ‚Make Selection…‘ to change a Path into a selection.
If you are working with a selection, you might want to increase the feathering of edges a little bit because hard edges can look unnatural, especially against a bright background.
Refining your selection
We’ve shown you a variety of ways on how to remove the background of an image in Photoshop.
You have probably already discovered that no one way is perfect (you might get left with areas of color in between hairs, you might find parts of your subject get cut off).
Luckily, you can combine methods, especially if you work in Paths, meaning you can alter the outline of a selection as you go along.
You could select the subject with the Quick Selection Tool and then use the Background Eraser Tool to eliminate background colors left behind by that method.
Another way of going about things is to make your initial selection and then click the Select and Mask button.
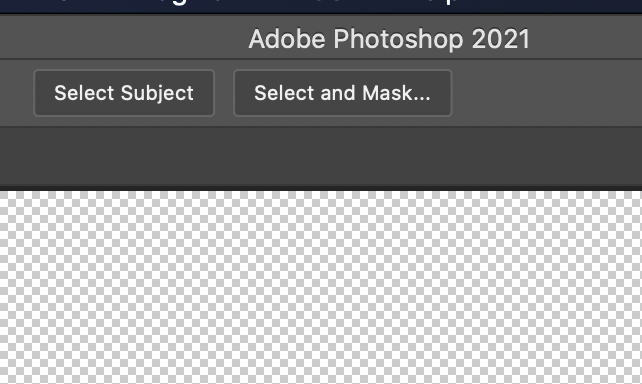
This will bring up a whole new set of options that allow you to alter the edges of your selection or change the nature of the edge (for example, you can feather it to make it softer or increase the contrast to make it harder).
You will recognize some of the tools from the main Photoshop menu.
From top to bottom, here are the edge-changing tools:
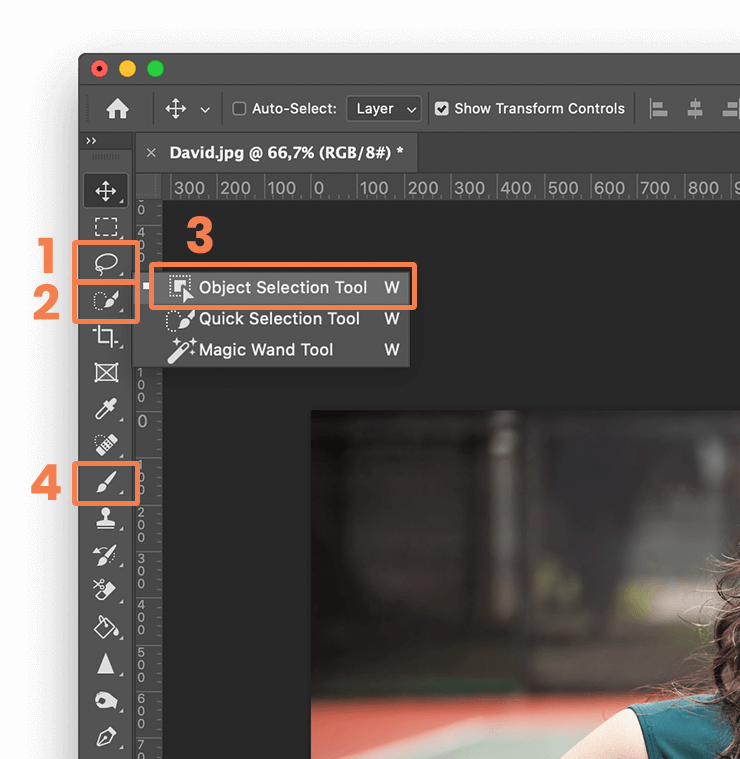
Lasso Tool giving you the ability to create a freehand selection.
Quick Selection, which we have already covered.
Object Selection Tool. Choose this option and Photoshop will try to identify the boundaries of discrete objects or shapes within the mask.
Brush Tool, allowing you to directly paint onto your selection to add to it. (Don’t forget to zoom right into your image and adjust the size of your brush with ‚[‚ and ‚]‘ keys.
Learning how to remove the background of an image in Photoshop opens a door to many new creative endeavors such as collage, collateral design and greetings cards and other bespoke items for your family and friends.
The practice of removing backgrounds can be straightforward or complex. Our guide gives you everything you need to create the images you want combining speed and precision.
Now, if you are looking for a more straightforward way to remove image backgrounds, you can always use remove.bg. Your background will be removed in 5 seconds and you’ll be left with a flawless image even in the most challenging of corners. But don’t take our word for it. Give it a try and see it for yourself.
Commentaires
Thanks!