Whether you’re a professional chef or food content creator — having scrumptious images of your food will skyrocket your career. But it’s not as easy as it looks, right?
Maybe you’ve even tried it but then decided to hit Google for some tips on how to take things to the next level. We’ve got you.
Creating amazing recipes takes a lot more than having a fancy camera. It’s all about staging your food, choosing the right background, lighting and props. Here are our food photography top tips that will take your pics from good to bomb.
Table of contents
How to stage food for photography
Before we get into food photography, let's talk about staging. Staging is all about setting up your food in the most appealing way. The food doesn't just taste good, but it pops in your photos and makes your readers and followers want to hit that subscribe button.
Here are some staging tips that will make sure your food photography is Pinterest-worthy.
Define your style
If you take a scroll through your Pinterest or Instagram feeds you will see that there's plenty of food photography and yummy recipes out there. To truly stand out from the crowd you're going to have to find your very own niche when it comes to the style of your food photography.
Is it going to be airy and light? Or is it going to be moody and dark? Think about the types of recipes and foods you're going to be photographing: what message do you want to convey? How do you want someone to feel when they look at your food photos?
A great idea before you even start shooting is to create a mood board to which you can add:
Ingredients you frequently work with.
Images that portray the feelings you want to evoke through your cooking.
Colors and fonts you want to use in your branding.
We used Canva to create one in less than ten minutes. It’s a super simple tool where you can find images, even get suggested color palettes, fonts, and more.
Add movement
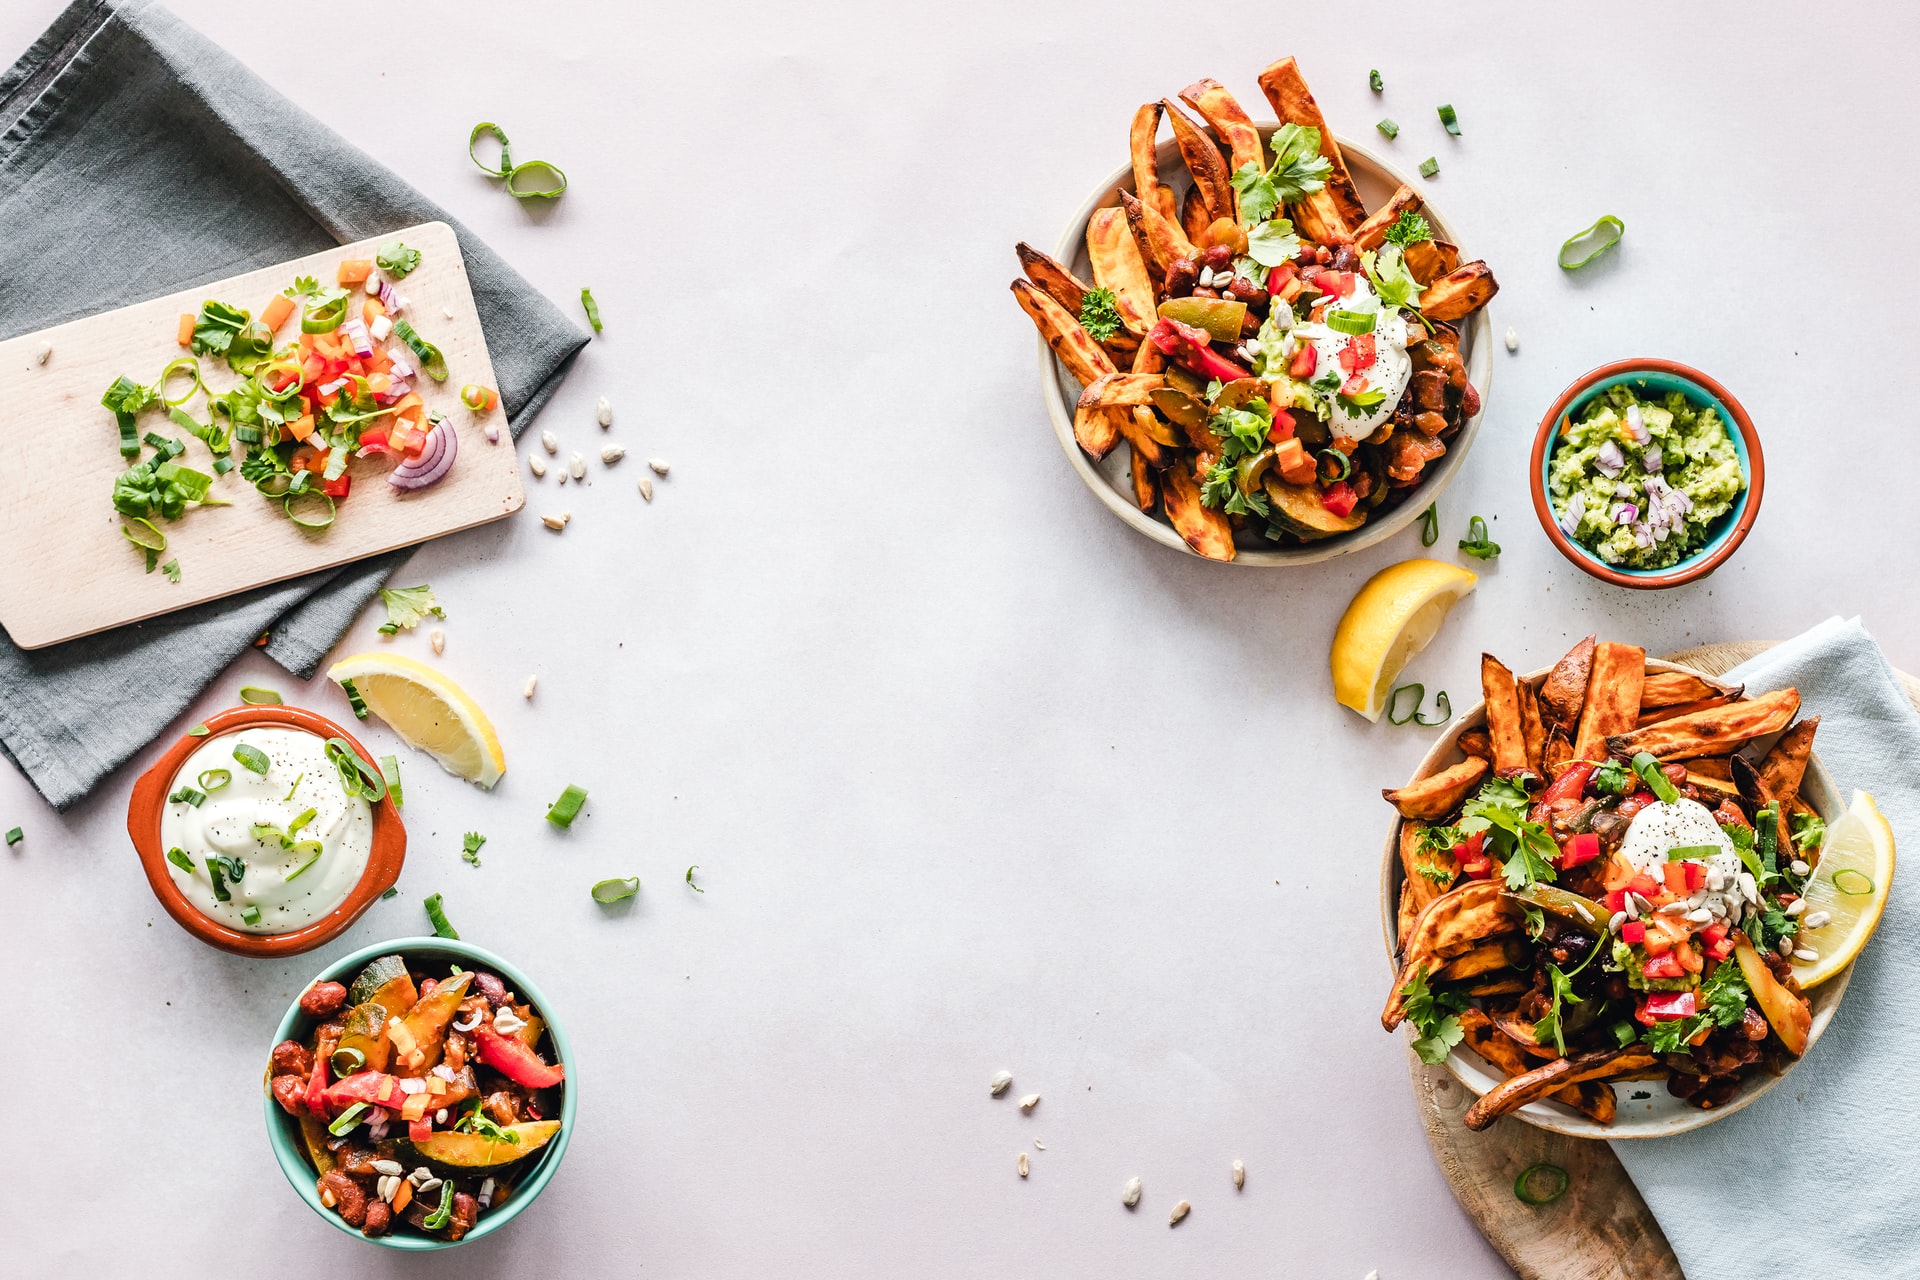
The next great tip when it comes to staging your food photography is to add movement. Do this by:
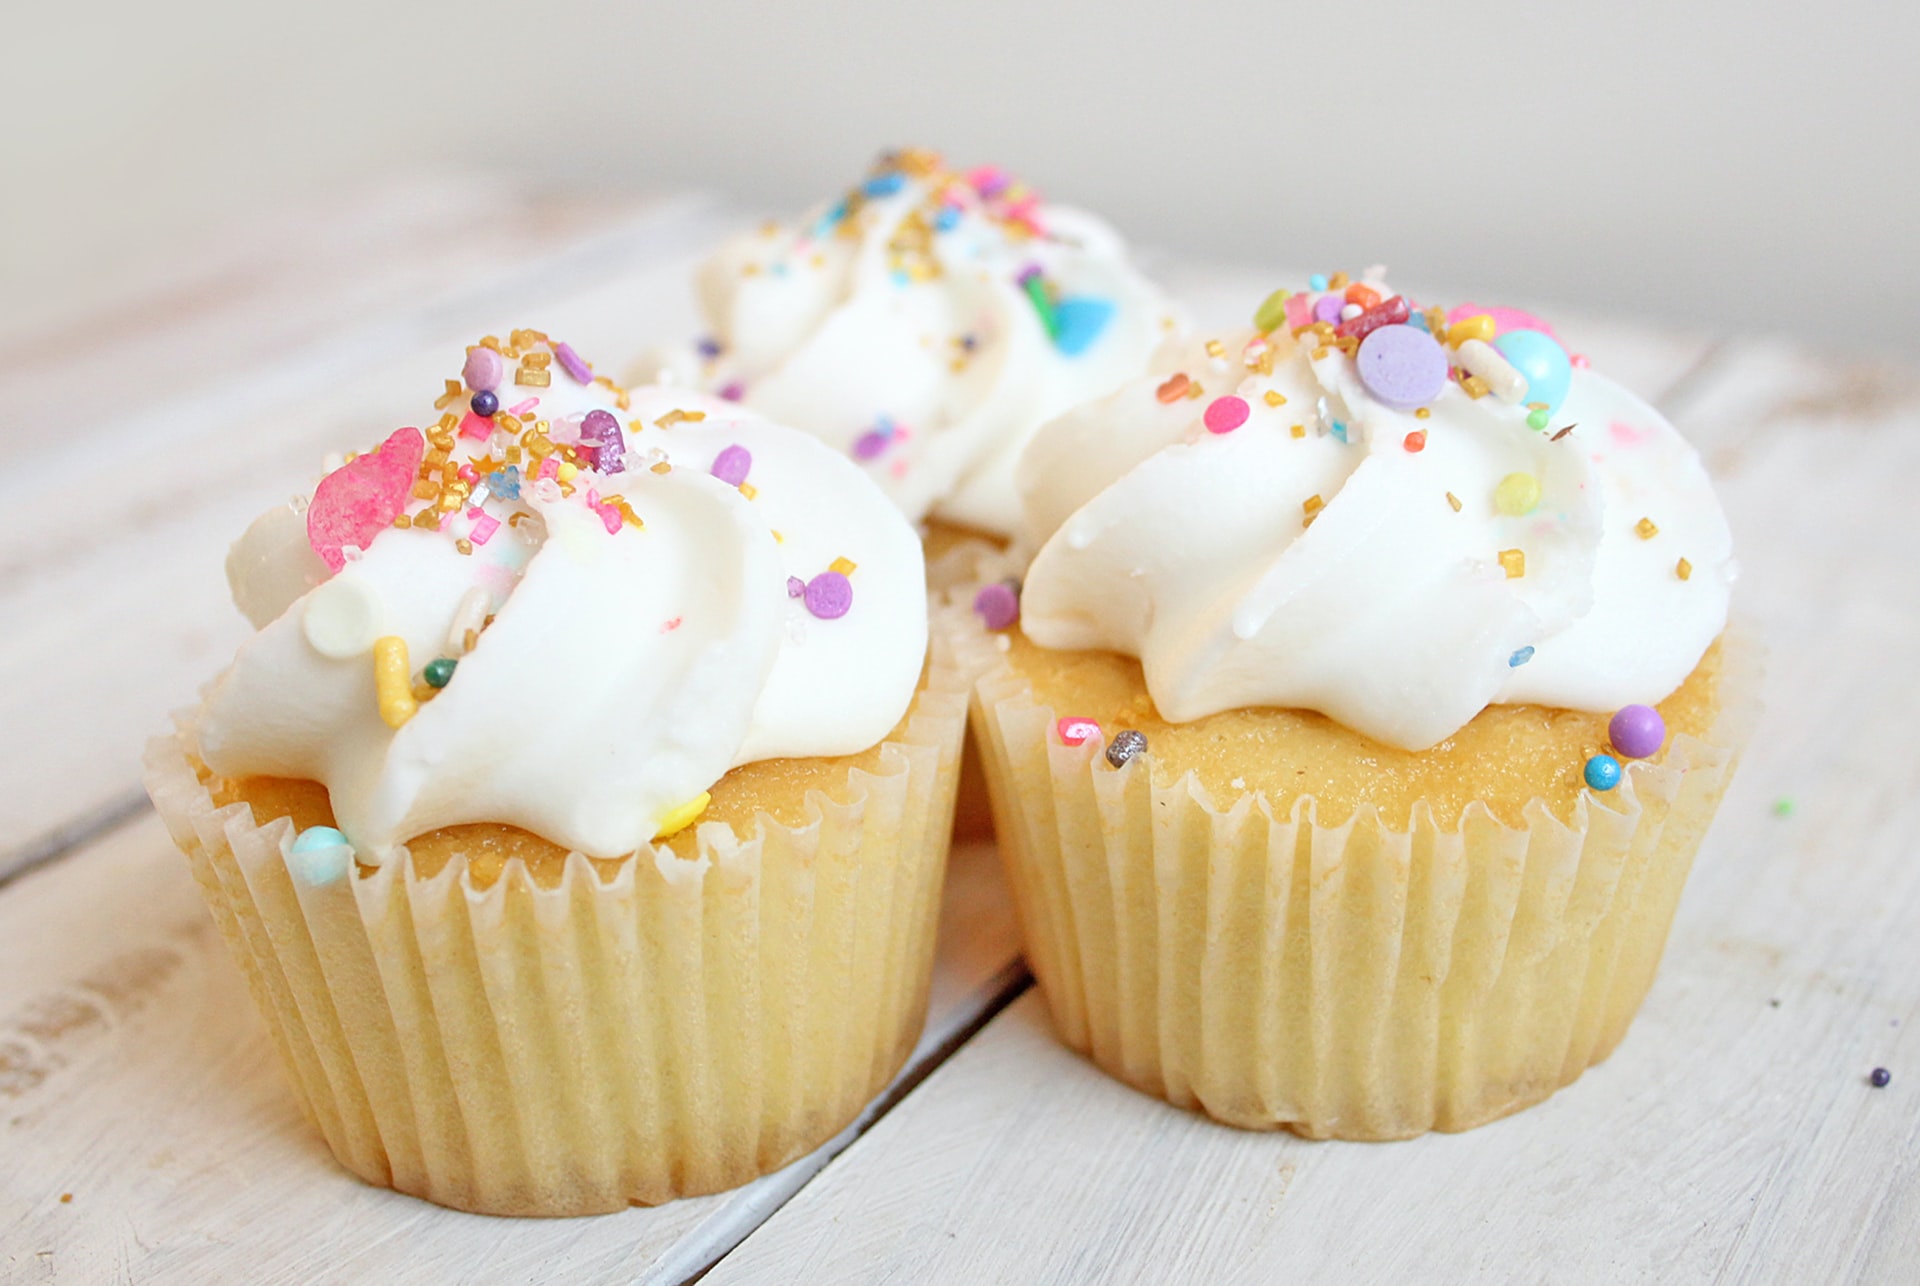
Sprinkling your garnish.
Adding a hand scooping or cutting the food.
Leaving some crumbs around your plate.
Getting someone else to be a hand model for example squeeze lemon over your salad while you're shooting the picture.
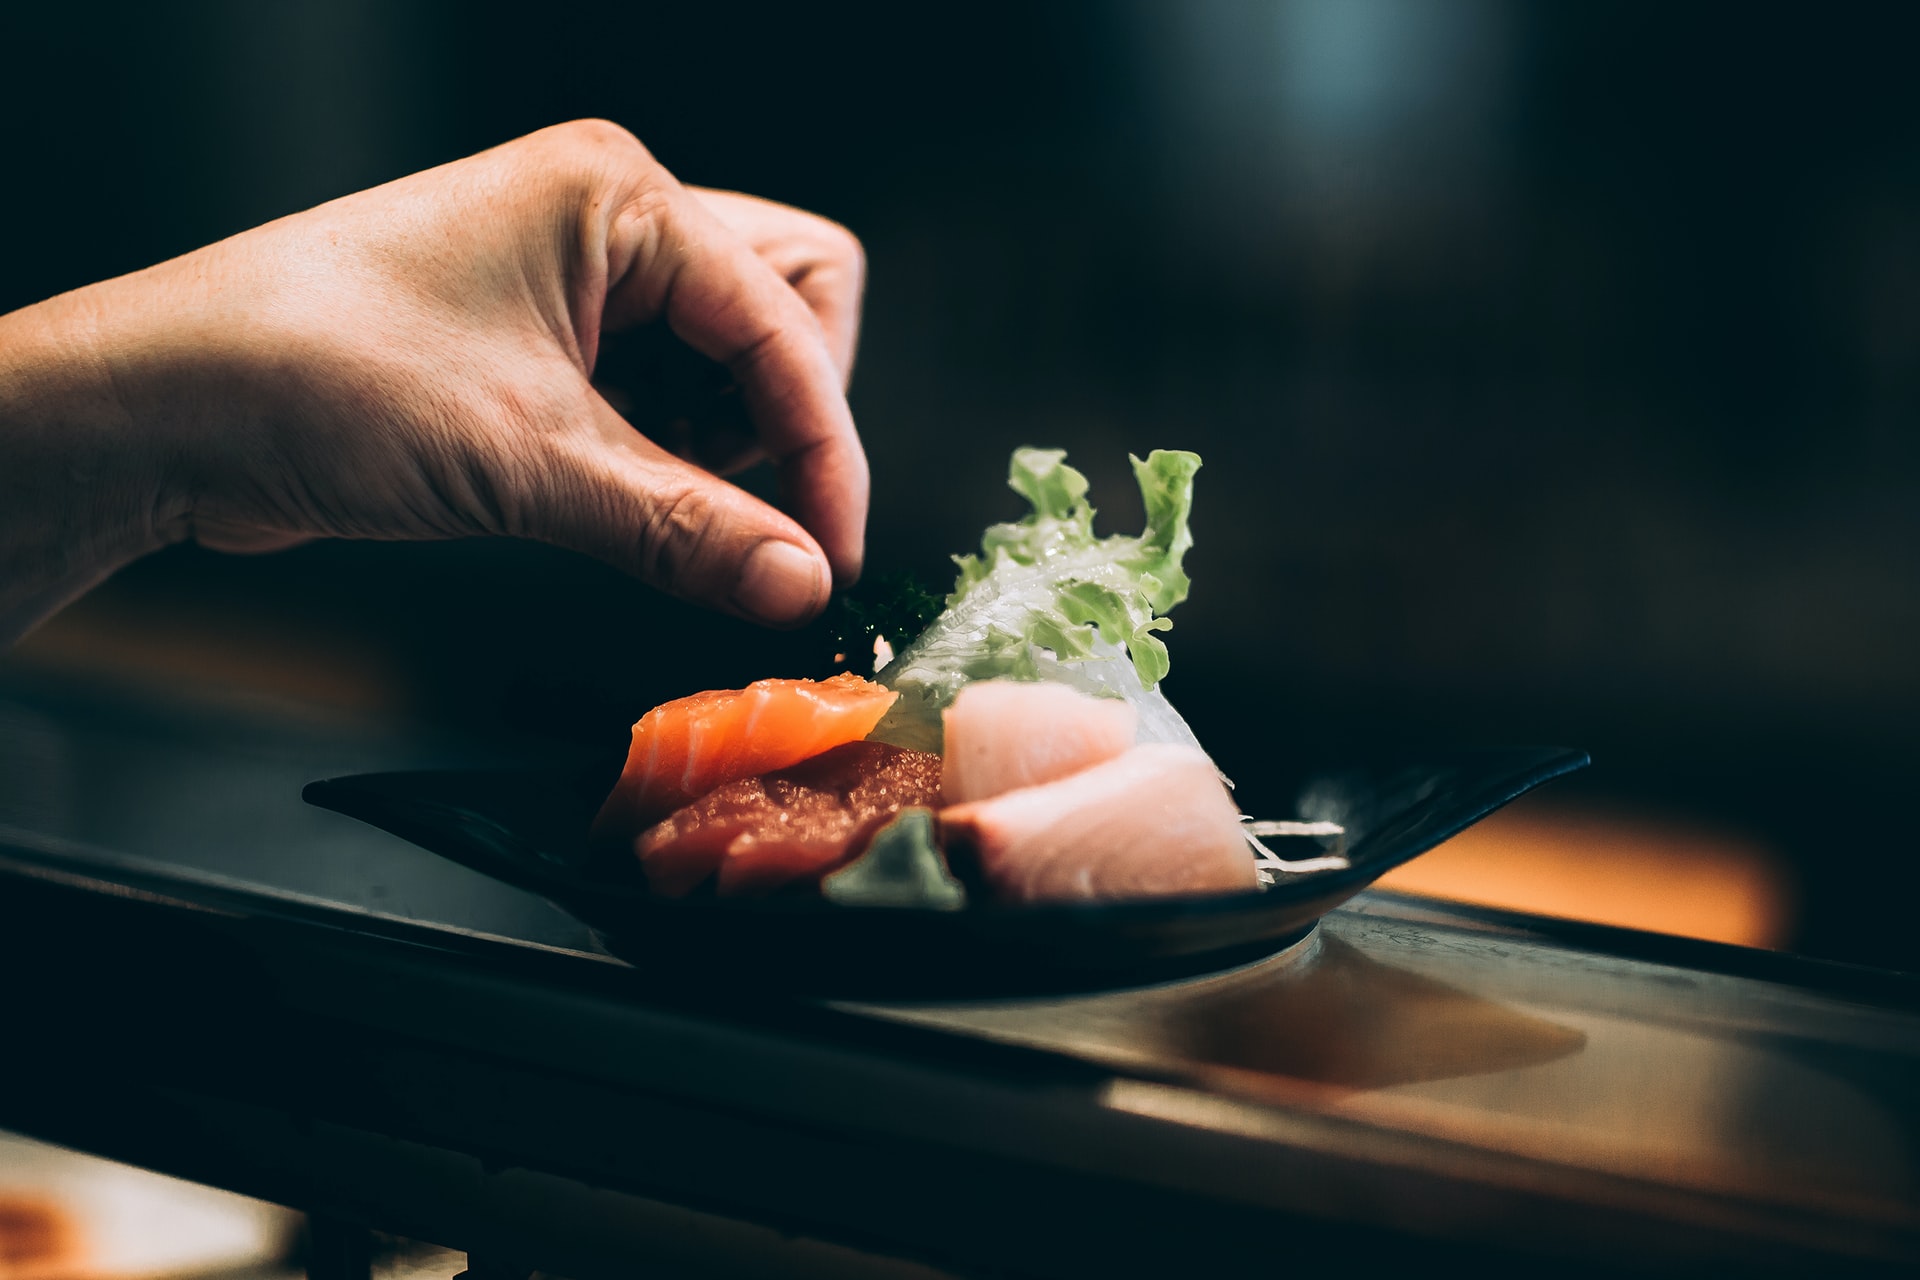
Adding movement to your food photography engages the reader and already has them thinking about how they too can squeeze that lemon over that salad.
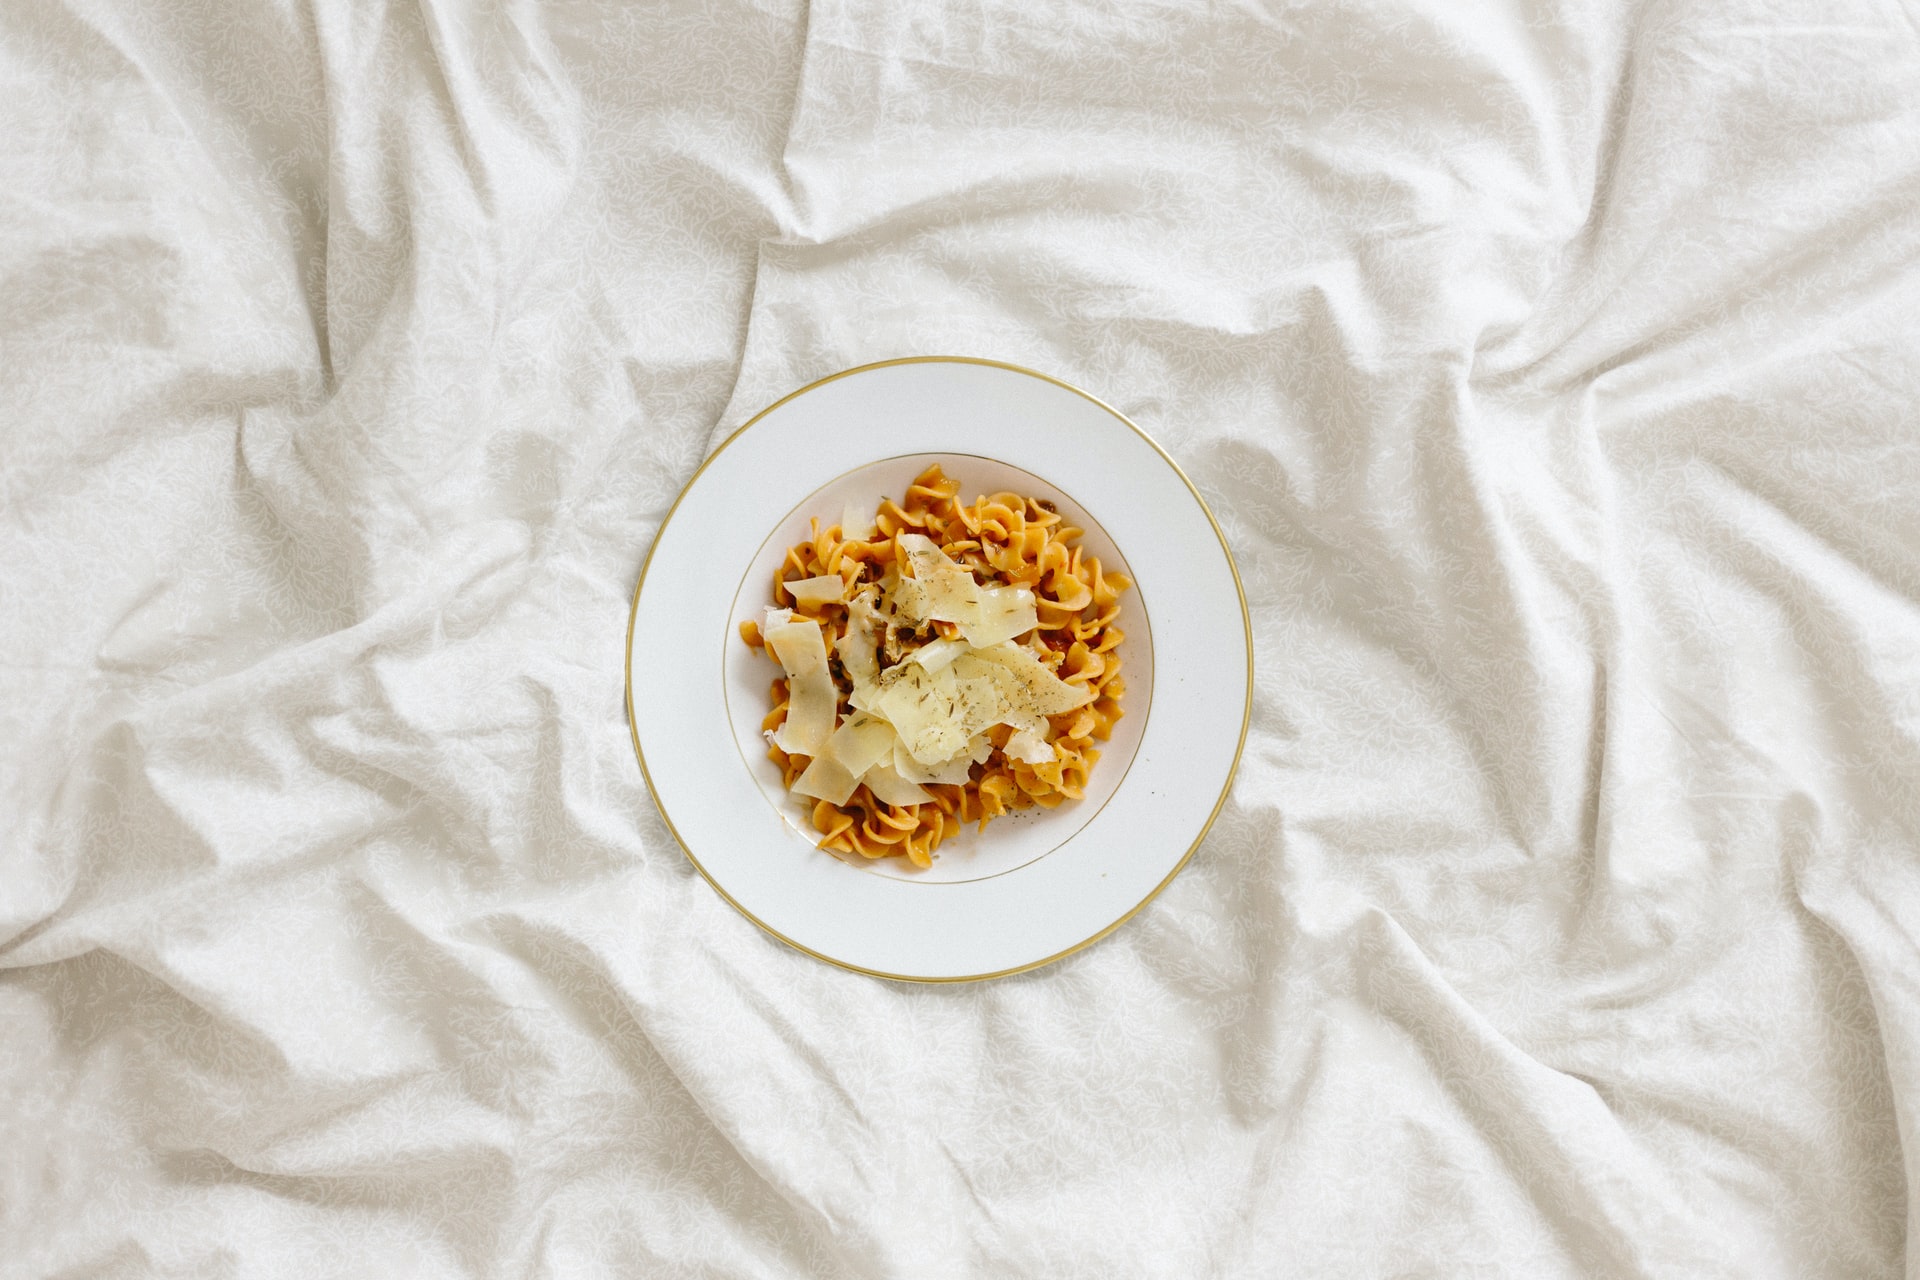
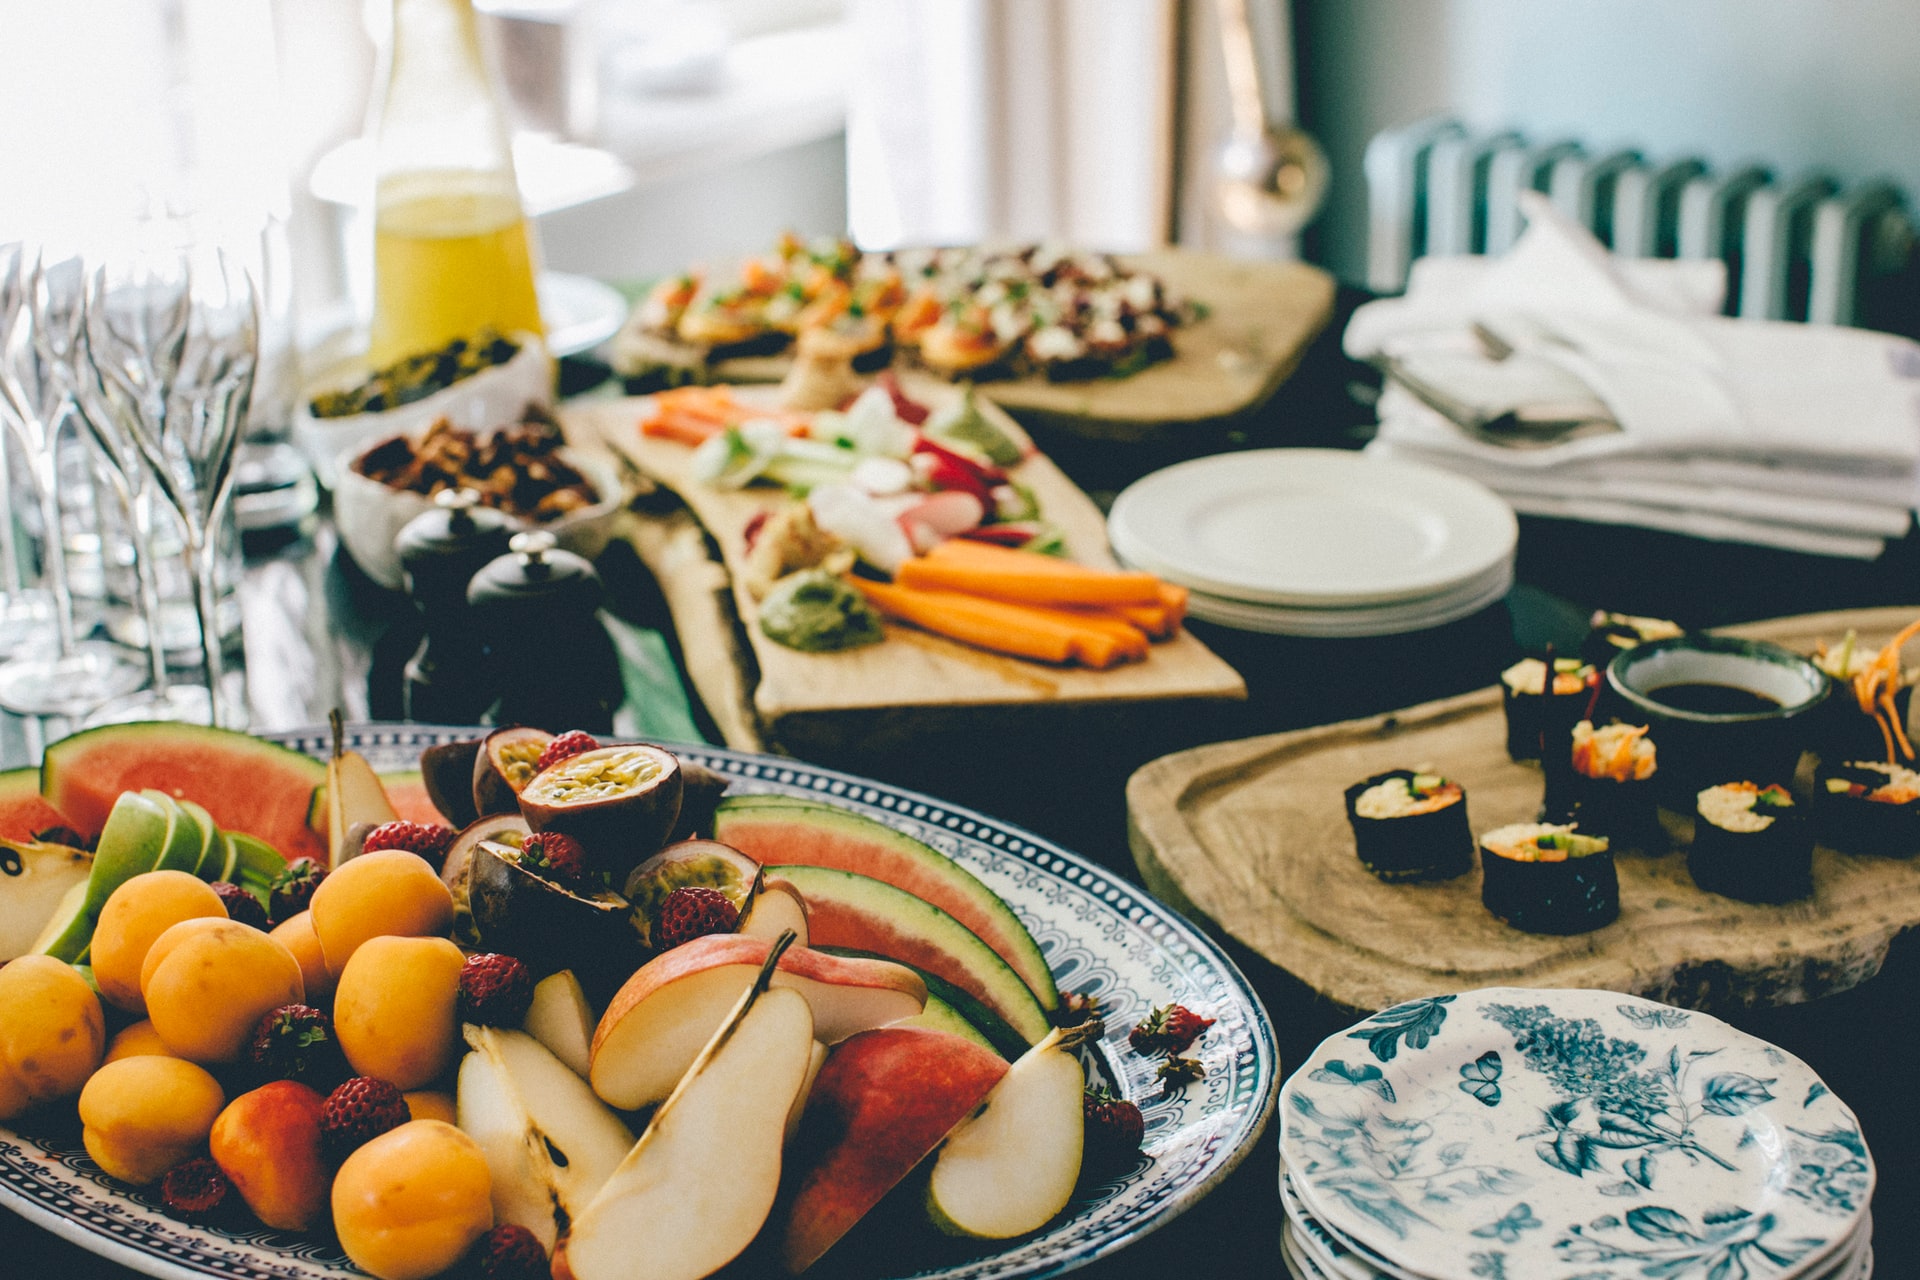
Use textiles to create texture
Just like in art photography, mixing textures adds depth to your photo and can give it a certain mood. Play around with different textures such as linen, cotton, or even baking paper to create a different type of look and feel.
Linen gives your photo a cozy, warm feeling whereas baking paper makes it crisp and fresh — it depends on what look you're aiming for.
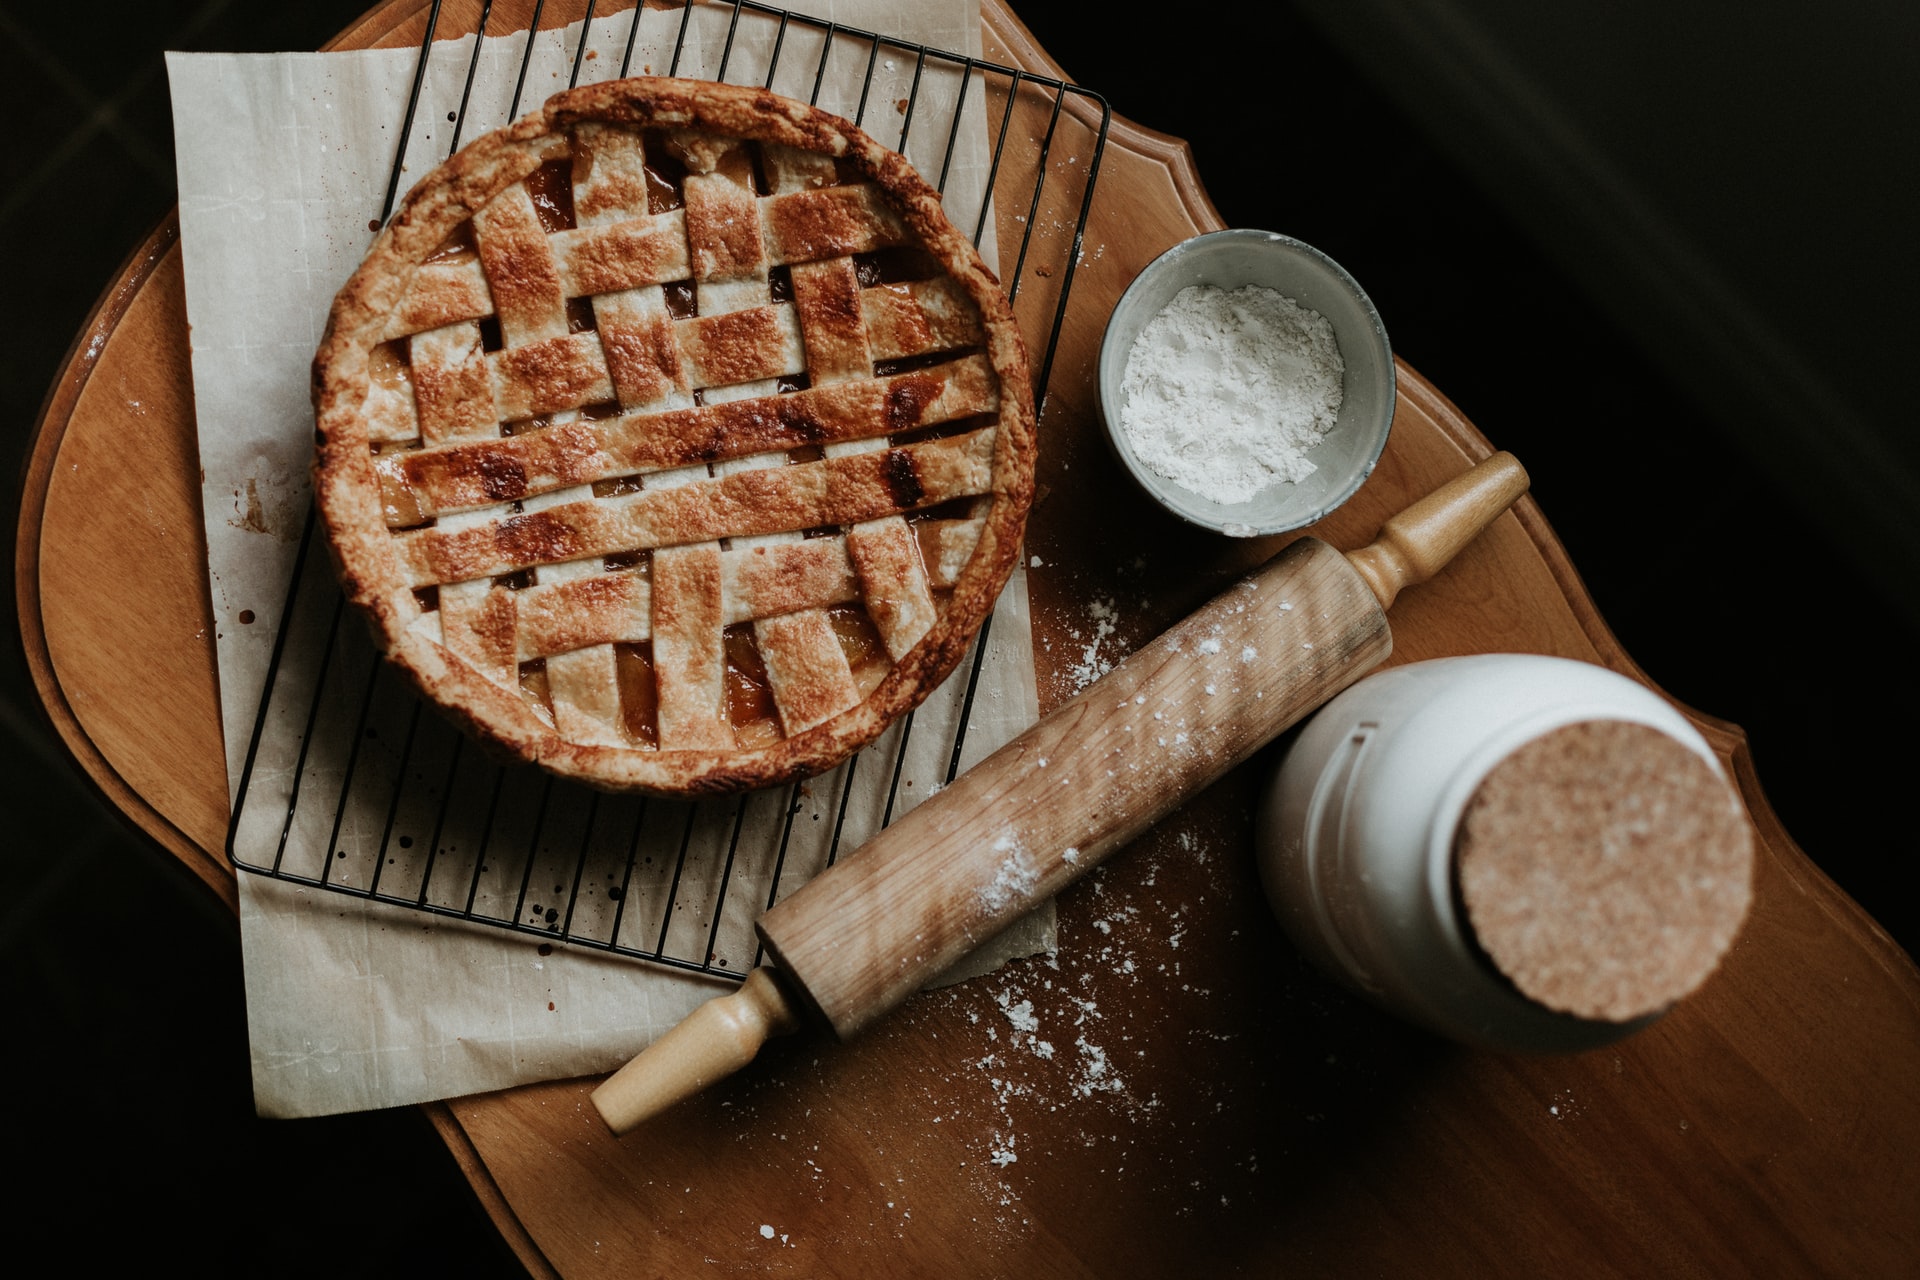
Don’t be afraid to spill the beans
All right we're not talking about dropping the latest neighborhood gossip, we're saying there's no need to strive for perfection here.
Take a look at your kitchen countertop the next time you're baking a cake. Is it perfect? No. You have crumbs lying around maybe even a dirty spoon — that's just real life and people like to see real-life photos.
Embrace the crumbs, spill the beans and see your food photography not only come to life but become a lot more approachable too.
Invest in some fancy plating
A prop you definitely can't miss when it comes to food photography is proper plating. Shop around some vintage stores or even message your favorite local potter for collaboration. Plating truly sets the stage for your food, just make sure it doesn't steal the show.
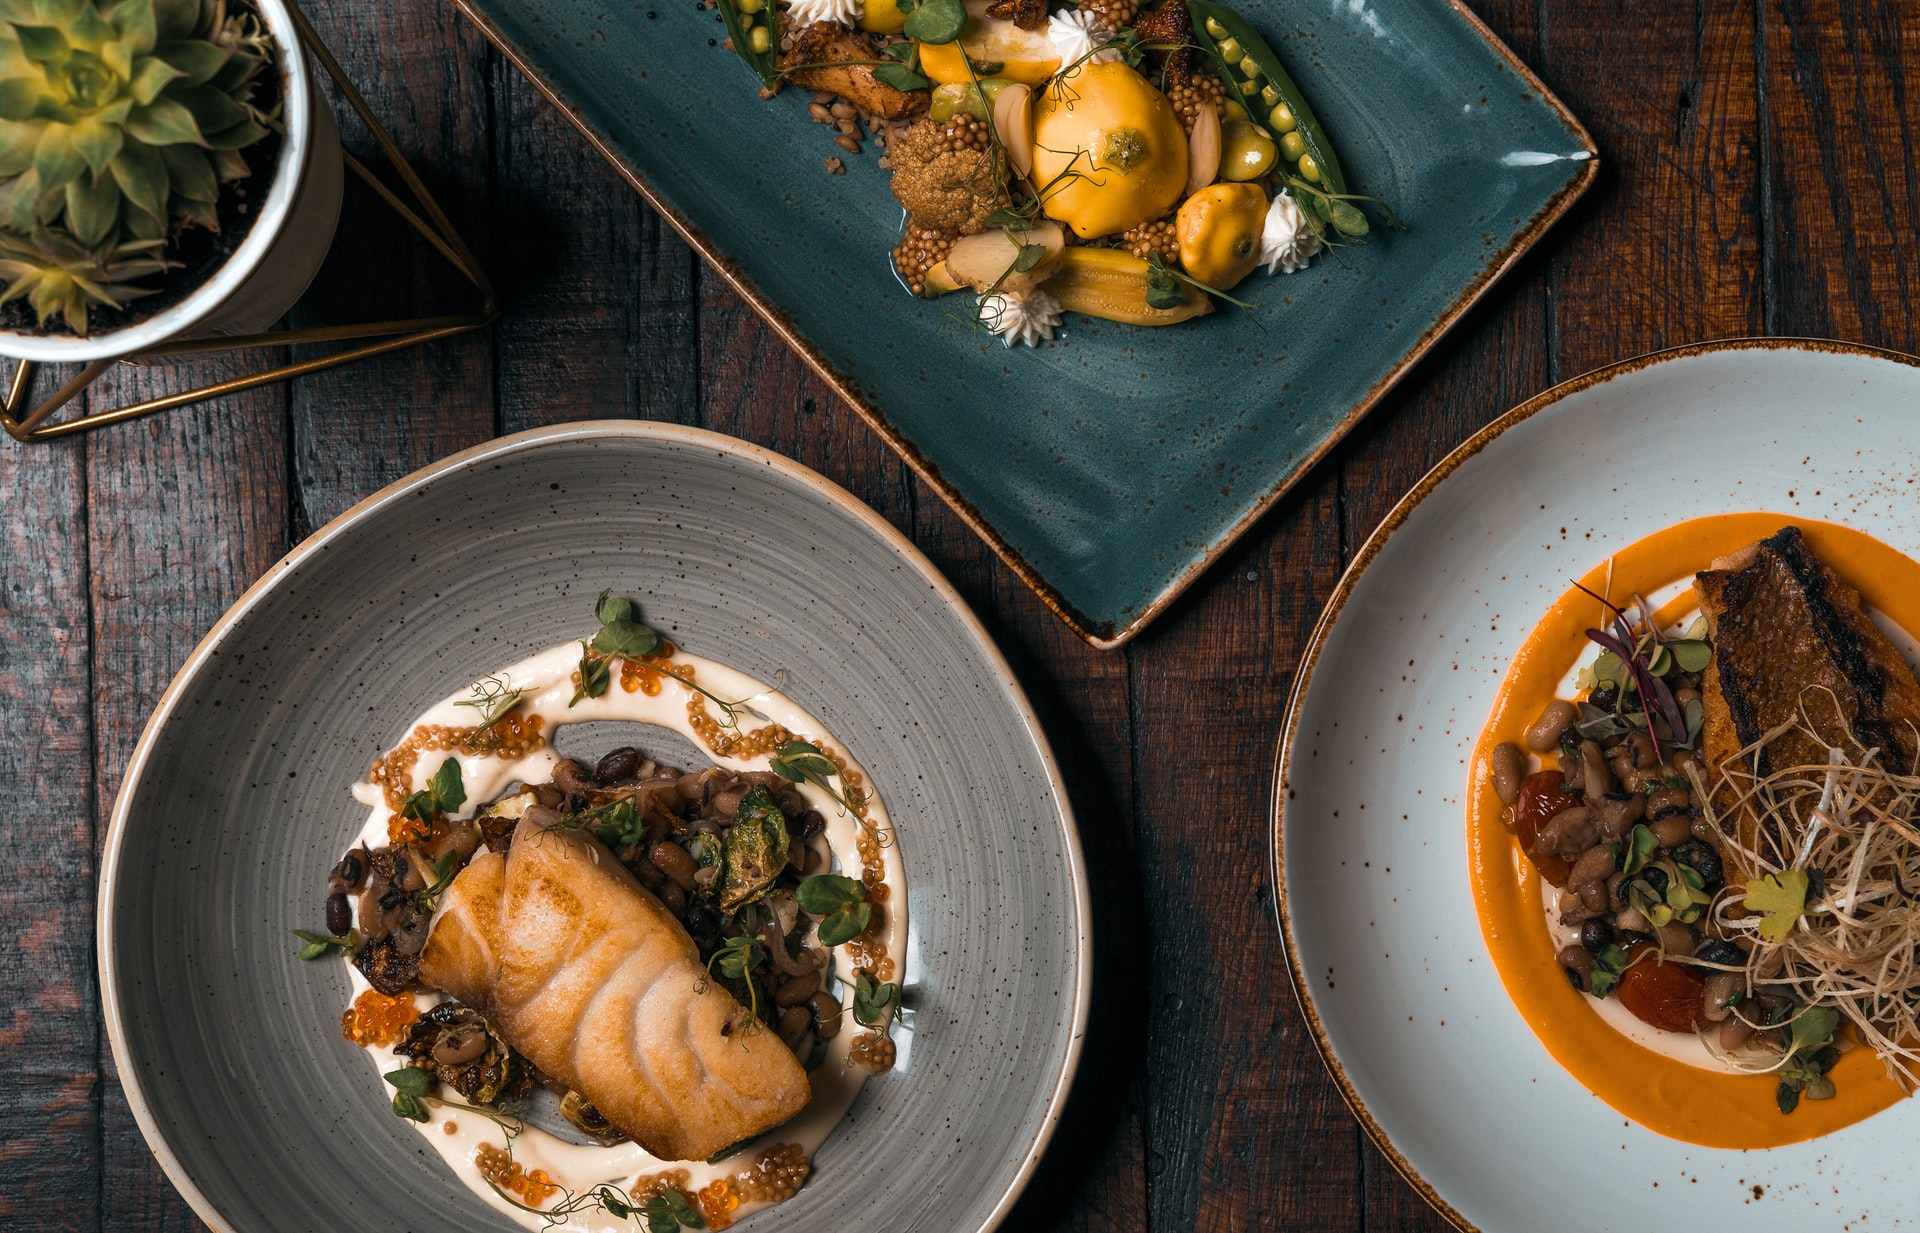
Use nice food photography backgrounds
When it comes to your background you can either use a kitchen as a backdrop or — to keep things more consistent and simple — you can use a sweep. A sweep is a simple background often used in product and food photography that usually doesn't steal the show but adds simplicity to your shot.
If you’re shooting from overhead, we’ve got the ultimate hack that will cut your budget in half and make your food photography extremely scalable - our recipe photo designer template.
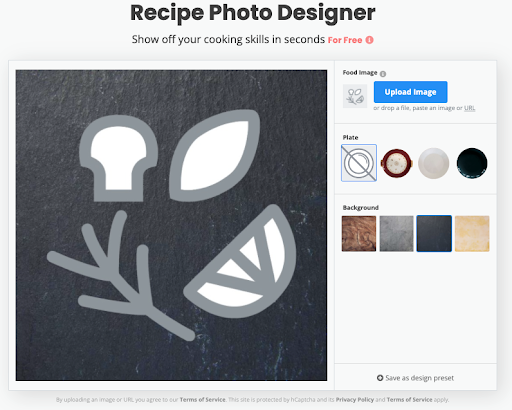
With this tool you can not only change the background of your shot — you can even place your food on your kitchen countertop and add a plate using this insane AI technology.
To change the background of your food photo simply:
Drag and drop your photo onto the Recipe Photo Designer Tool.
-
Then go ahead and select the background you like — you can click on them all and a preview will appear.
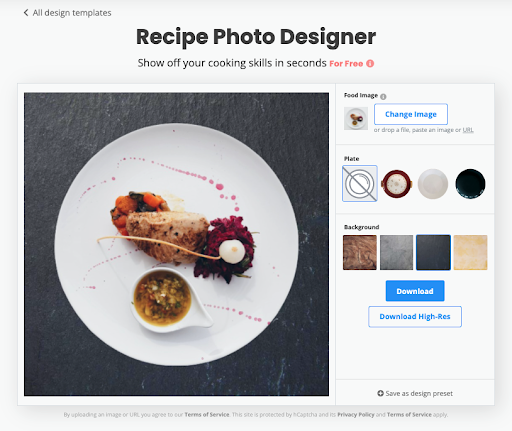
Hit download — and that’s it.
You can also download the photo in high resolution by signing up to one of the remove.bg subscription plans. One high-resolution download will cost you one credit.
Choose whether to shoot vertically, horizontally or both
Another thing you need to consider when staging is whether you want to shoot vertically or horizontally — or both. Most food content creators shoot vertically because they will be posting their photos online. Both Instagram and Pinterest give a bigger stage to vertical photos.
If you're shooting for a cookbook, it's going to be up to you what way you want to shoot and the way you want the layout of the book — just be sure you know which one you’re choosing before you get started.
Play around with angles
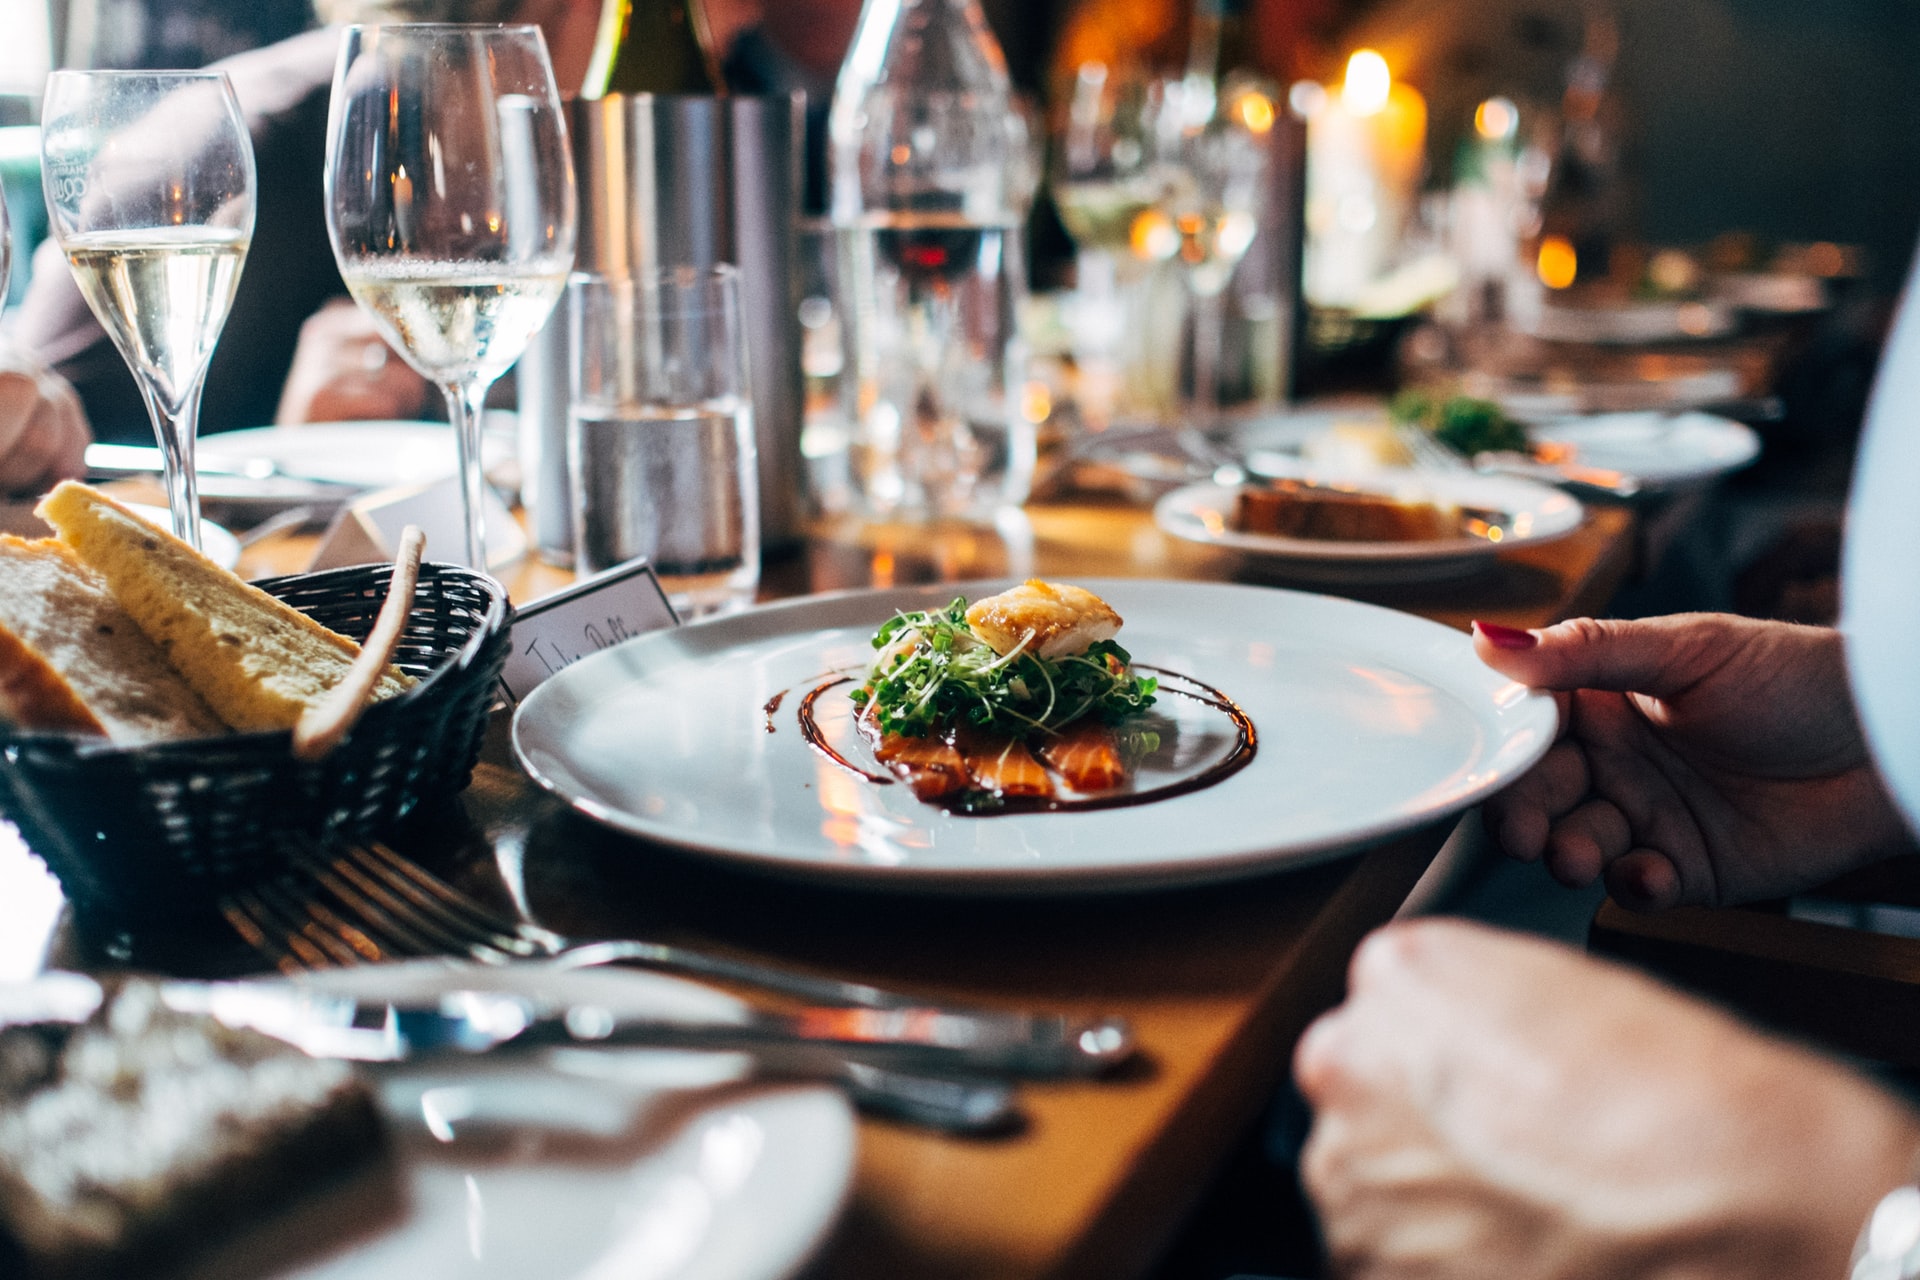
Keep in mind that you generally have three options when it comes to what angles to shoot your food from. You can either shoot from:
a 45-degree angle
overhead
the side
This is a 45-degree angle shot and probably the most dynamic and popular one of all.
You could, of course, use all three of them — just keep in mind that in certain shots you will see more of the background, and in others, you will see less.
To get an idea of what exactly the background would look like just use a simple prop like a plate with a phone on it to take some test shots.
Practice, practice, practice
Food photography isn't an easy task, and to be honest you will only figure out how to best choose your food photos by trying out different styles, angles, and more. Practice makes perfect so start shooting before you're ready.
Food photography lighting
When it comes to your food photography lighting, we highly recommend staying away from artificial lighting and going for natural lighting. Staged lighting just doesn't work as well with food compared to other products.
Find a location where you have plenty of windows — it doesn't necessarily have to be the kitchen; you can also head to the bedroom as long as it's got good natural lighting.
So, switch up your locations and see which one you like best. At the same time, keep in mind that the time of day and where the sun is shining will impact the mood and lighting of your photo.
Your food photography will be warmer and less bright if you shoot at sunset. Whereas at midday, the image will be bright and crisp.
Food photography props
There are a couple of things you can't go without when you're shooting visual food content.
Tripods
A tripod will make sure your photos are never shaky, and you can create a certain consistency in your shots, vital for food photography in cookbooks and print.
The resolution needs to be high, and you’ll be shooting several dishes — inconsistent angles will make your book seem messy.
Light reflectors/diffusers
Although artificial lighting is a no-go for food photography, light reflectors and diffusers can help soften shadows and make your food pop all around.
Plating, cutlery & glassware
You're going to have to put your food on some light plates or wooden boards at least. But of course, you can set the scene even more by adding fancy cutlery or glassware with wine to get things going.
Voilà! That wraps up our top tips on food photography — from staging to lighting and more. Have you shot some food photos, and you’re not happy with the background? Then, hop on over to remove.bg to switch it up.
Comments
Thanks for the sharing.