Want to create a design template you and your team can use time and time again? There’s no better way to save a ton of time creating content. And Designify has everything you need to create custom templates for automation in no time.
You can use the preset templates and customize them to match your unique style and/or branding. Once you’ve customized your template, you can save the design and use it again whenever you want. Keep reading to find out how.
목차
How to create a custom design template
-
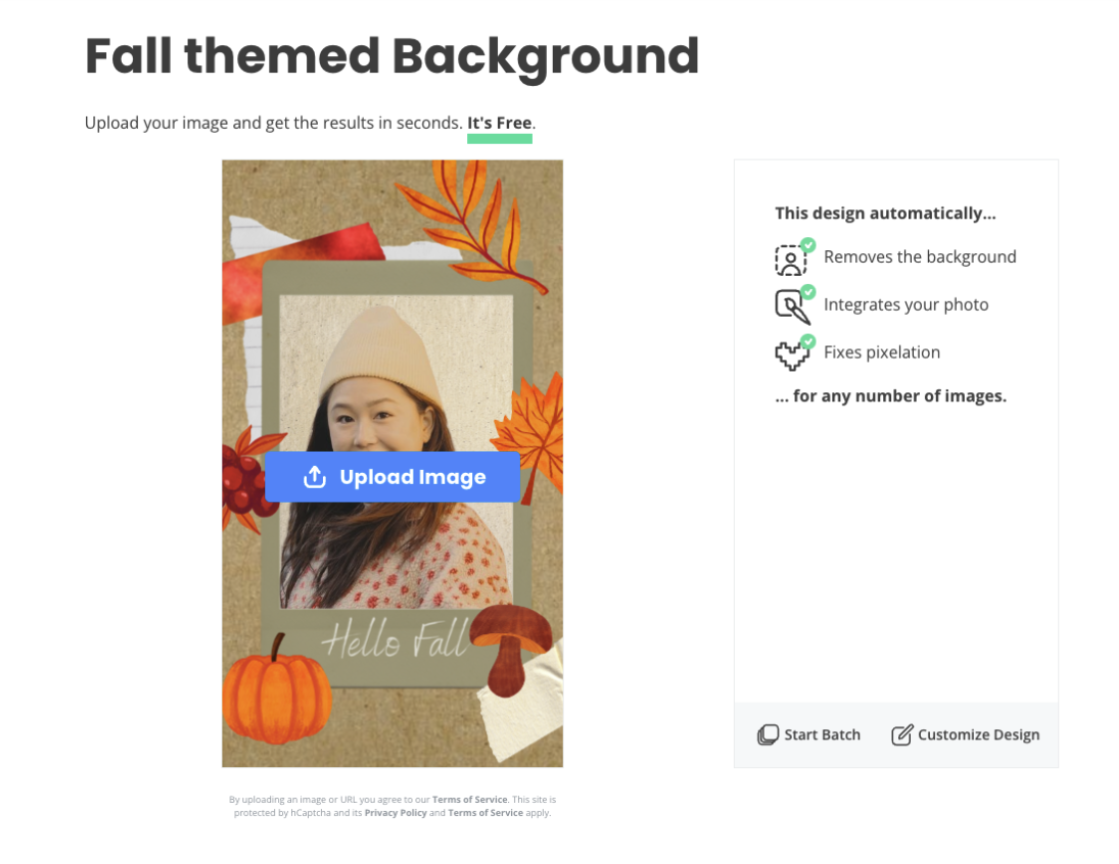
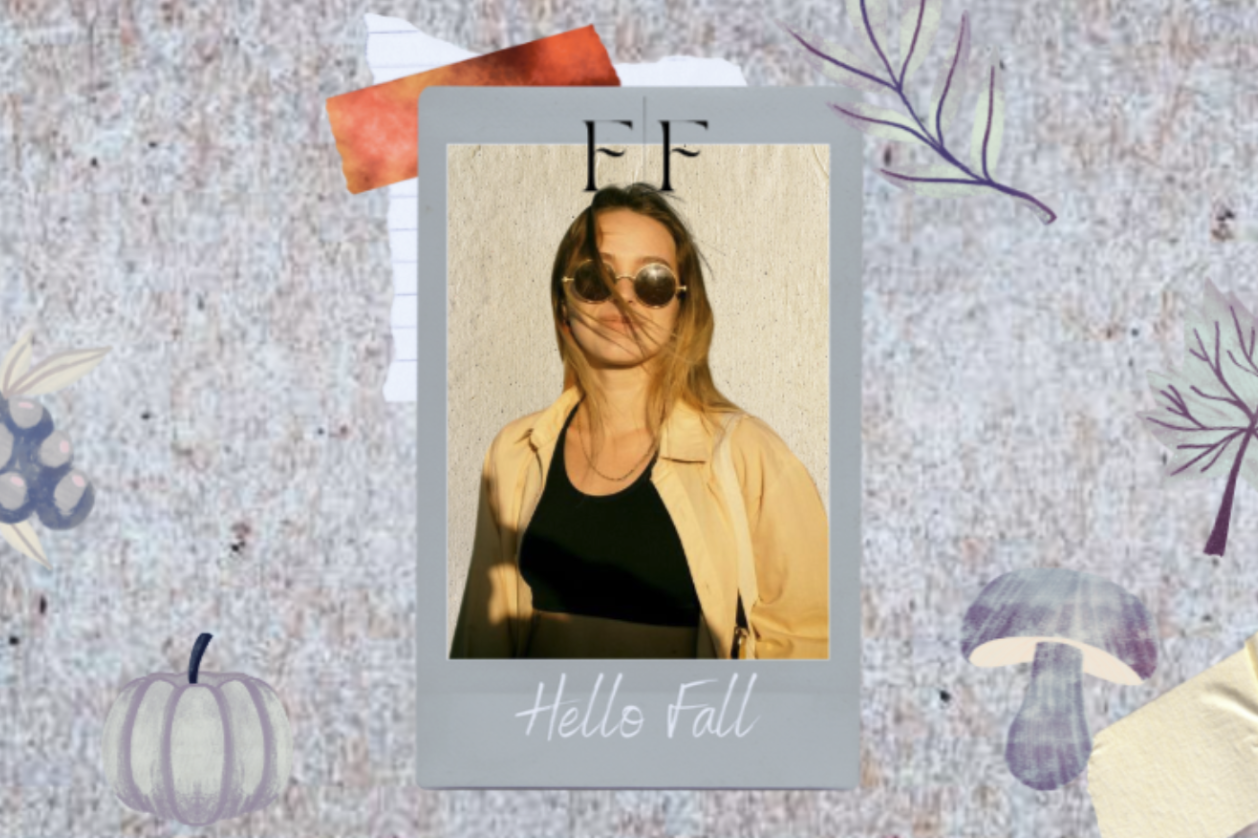
Open up a template that takes your liking; since Fall is just around the corner, we opted for this Fall Themed Design:
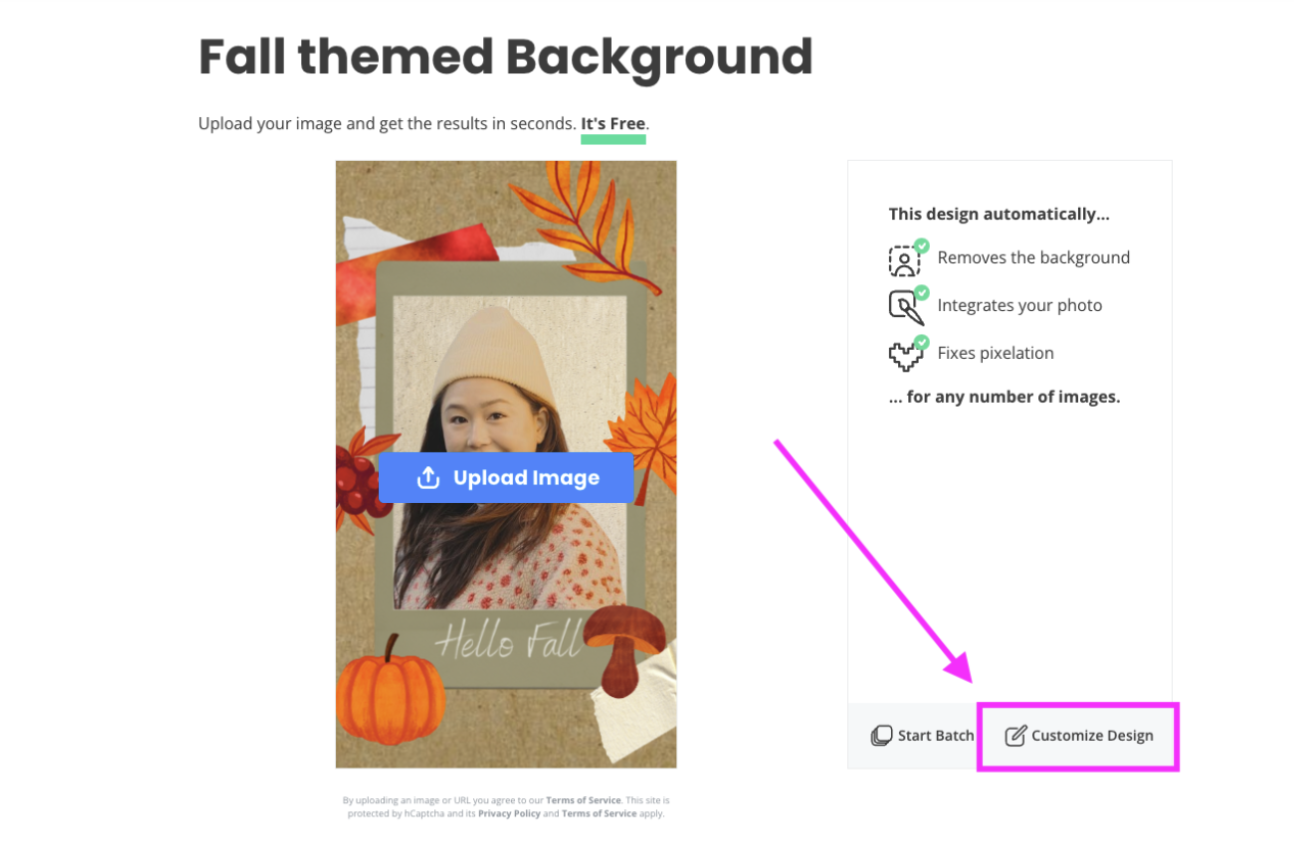
2. To start customizing your template, go to > Customize Design.
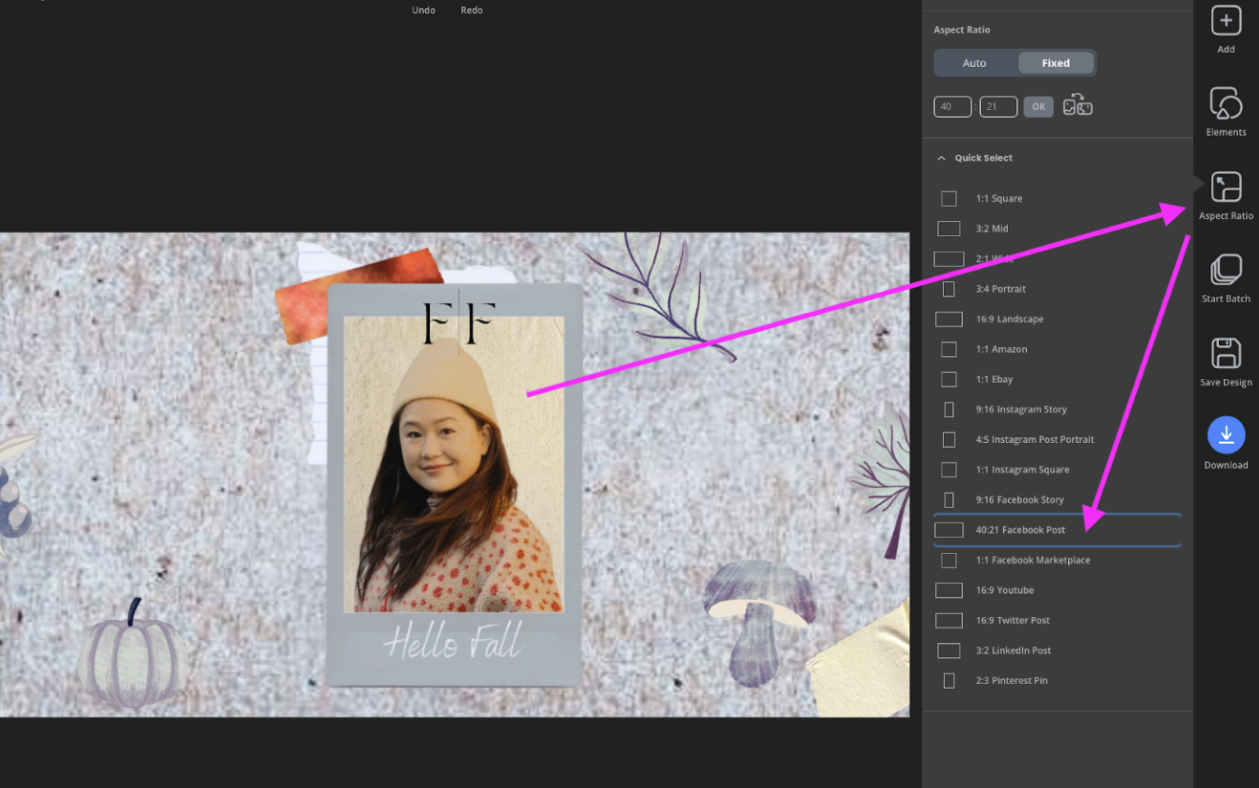
3. First things first, you’re going to want to customize the size of the image or post. You can do that by going to > Aspect Ratio and selecting the format you need.
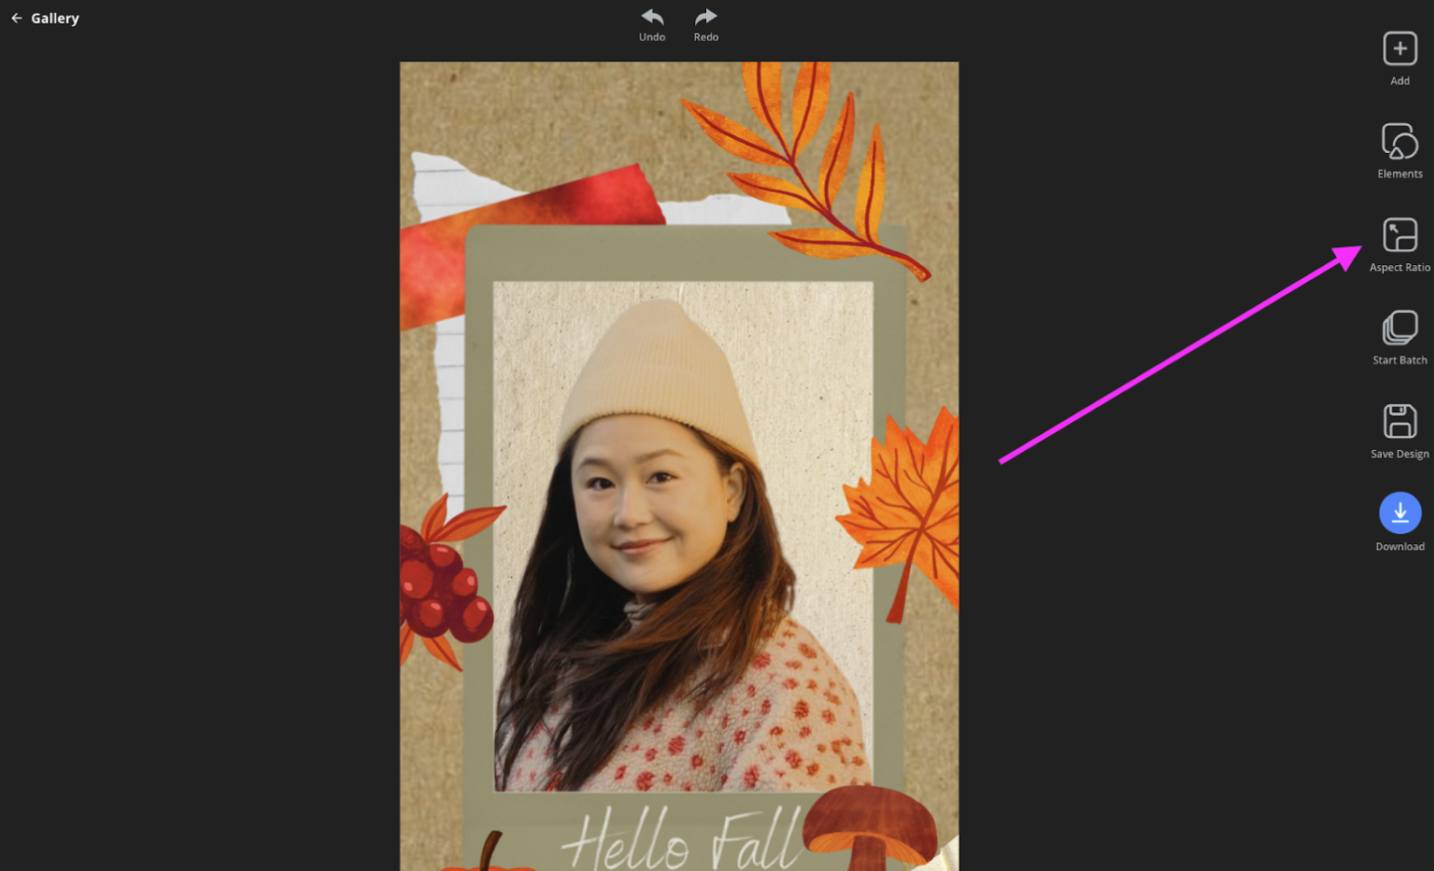
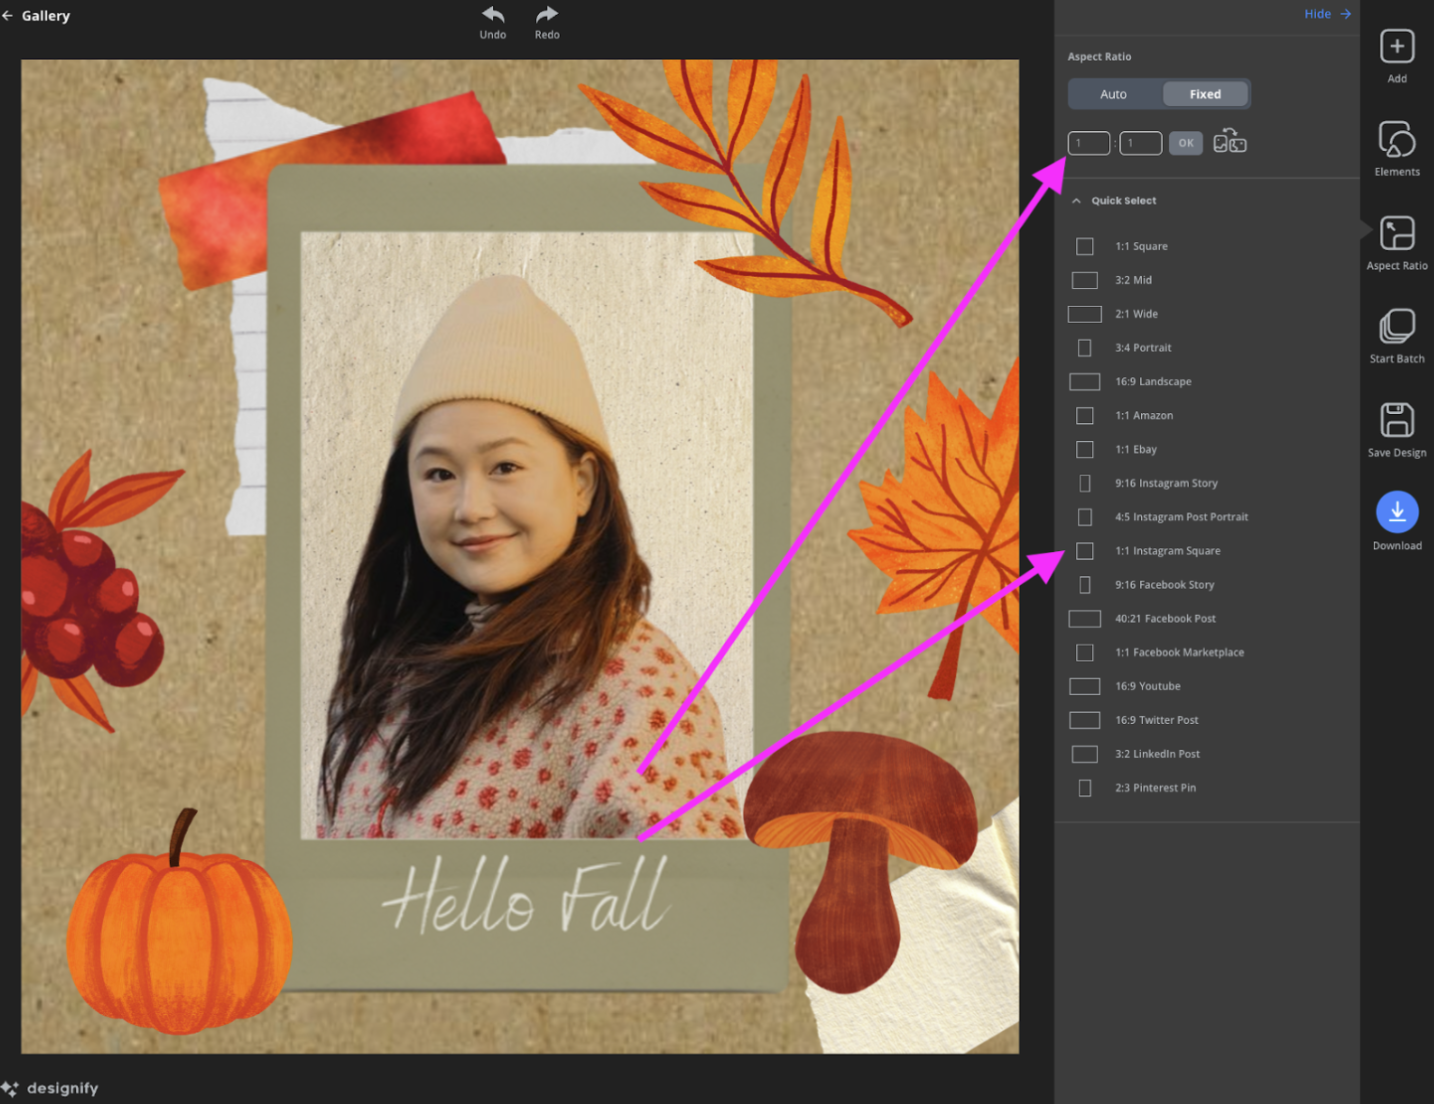
You can also add your aspect ratio if you need unique sizing.
Not sure what format you need for which social channel? Check this guide.
We went ahead and opted for the Instagram Square.
4. Let’s say you now want to change the background color and icons. To do this, simply go ahead and select the element you want to change the color of like this:

To change its color, you can select > Style > and pick and choose a color you like. We opted for gradient 1.
5. Now, you might want to change the color of all other icons by clicking on them and selecting the same gradient — of course, you can mix and match if you like. But we liked the consistency:

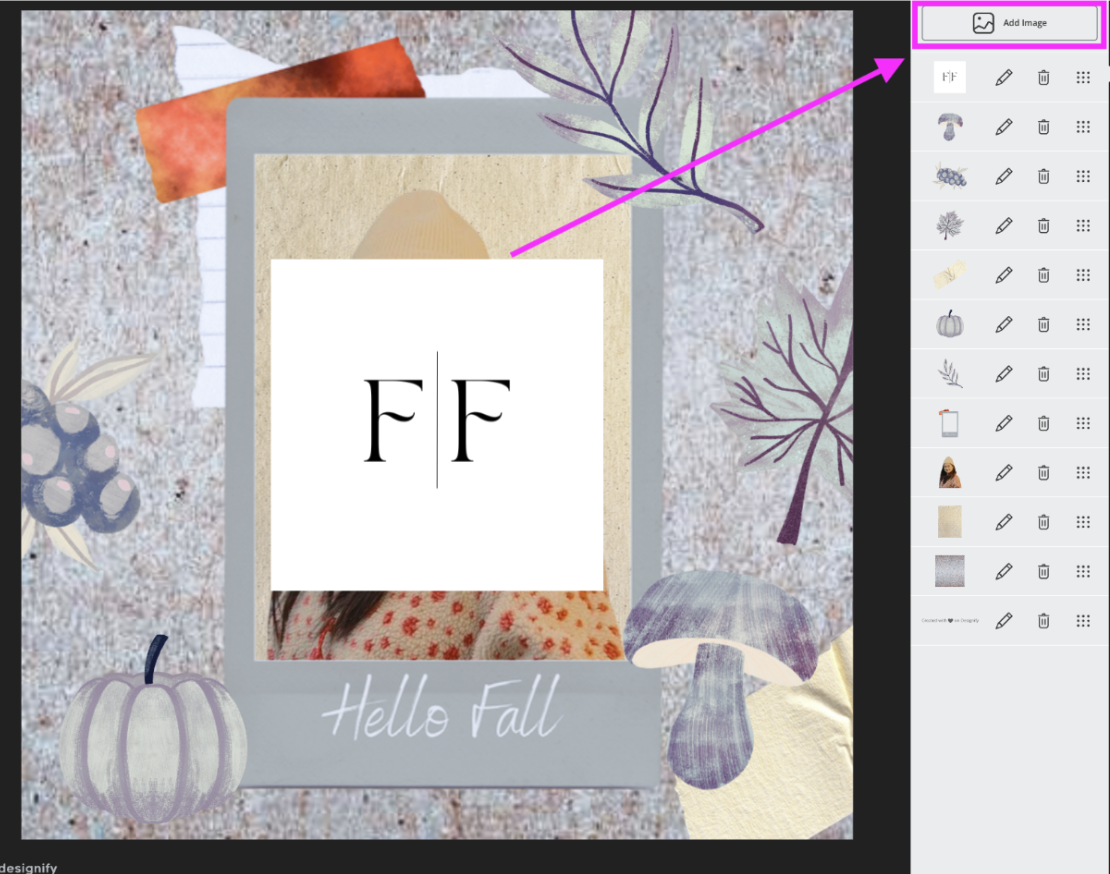
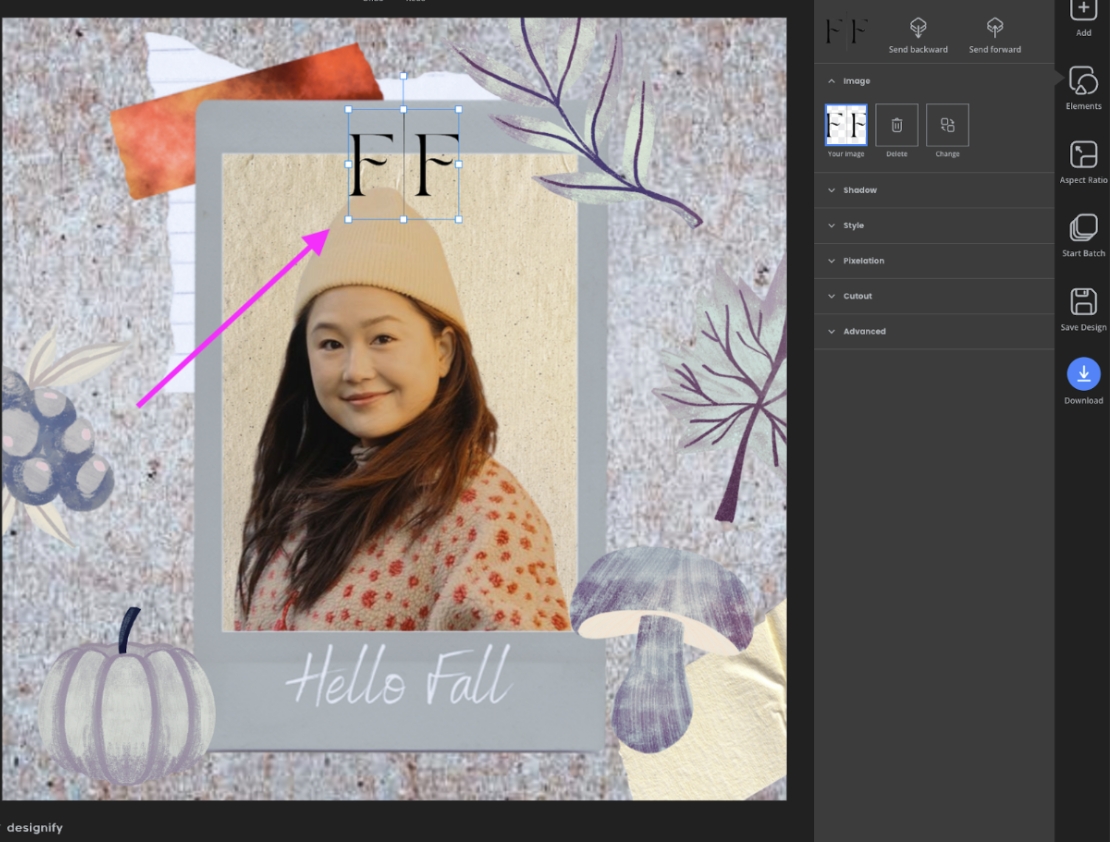
6. Now, add a logo to your post. You can do this by uploading your company logo to > Add image.
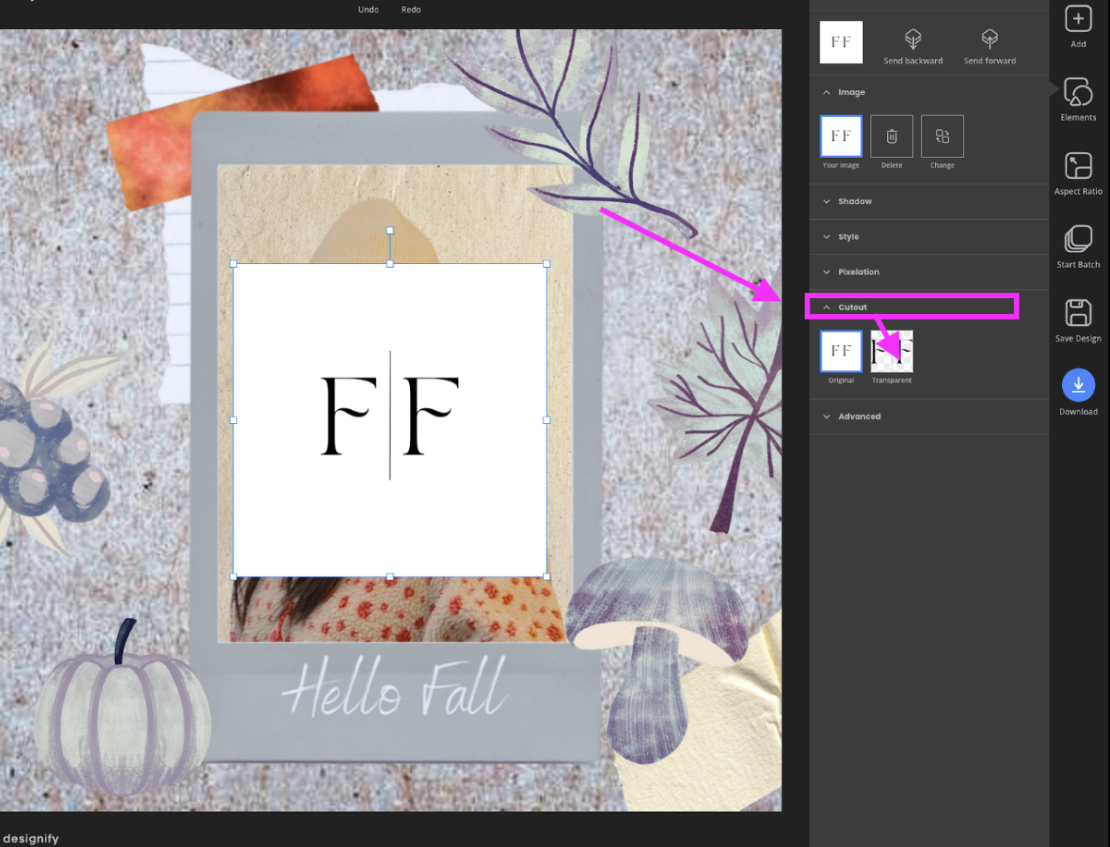
7. To remove the logo's background, select it by double-clicking on it and going > Cutout > Transparent.
8. Now, you're going to want to shrink down the logo and pop it into a more subtle spot. To change the size, select the logo element by going to > Elements and selecting the pen icon.
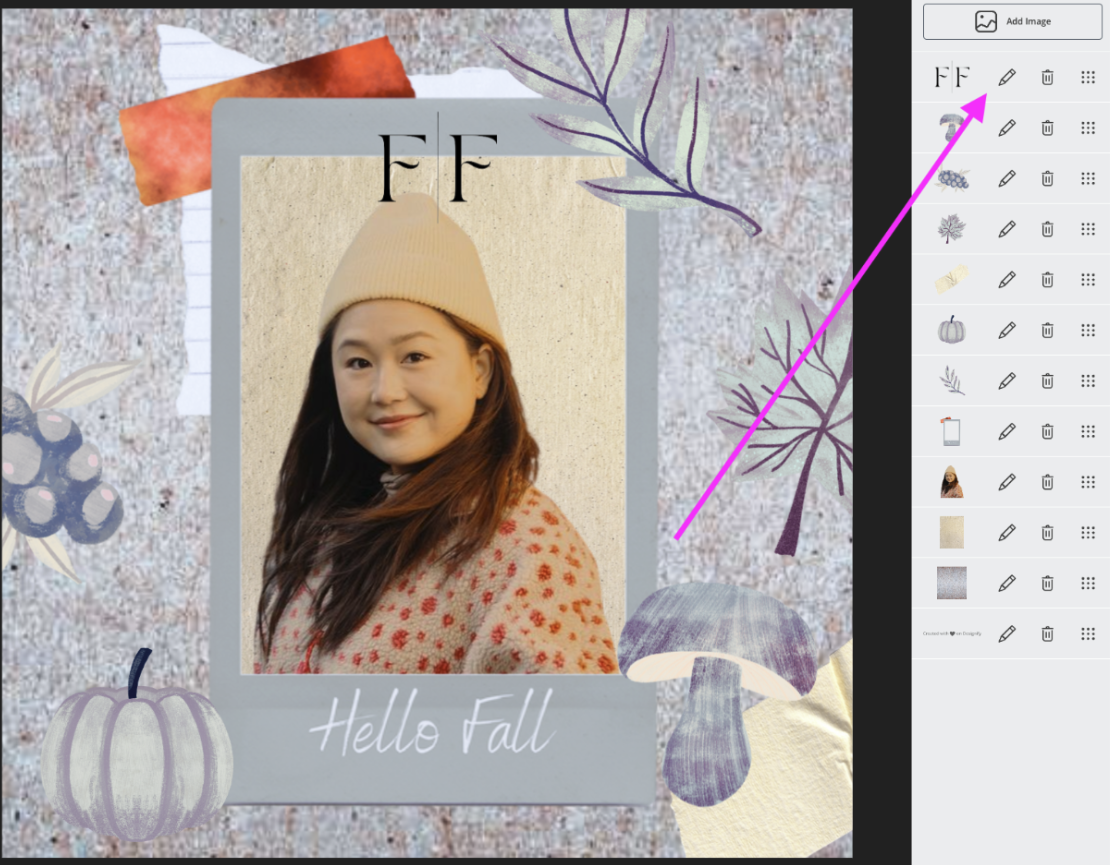
Now, you can drag the corners to adjust the size.
9. Alrighty, now you’re ready and have your customized Instagram post template. This is an incredible baseline to batch-produce content. This type of post can look great on your Instagram feed with different people or models as the main character — you can use this type of post to introduce colleagues or share your team’s favorite activities in the fall in the caption. The sky's the limit when it comes to ideas.
10. Before you start batching content, you’re going to want to hit > Save Design to ensure it doesn’t get lost.
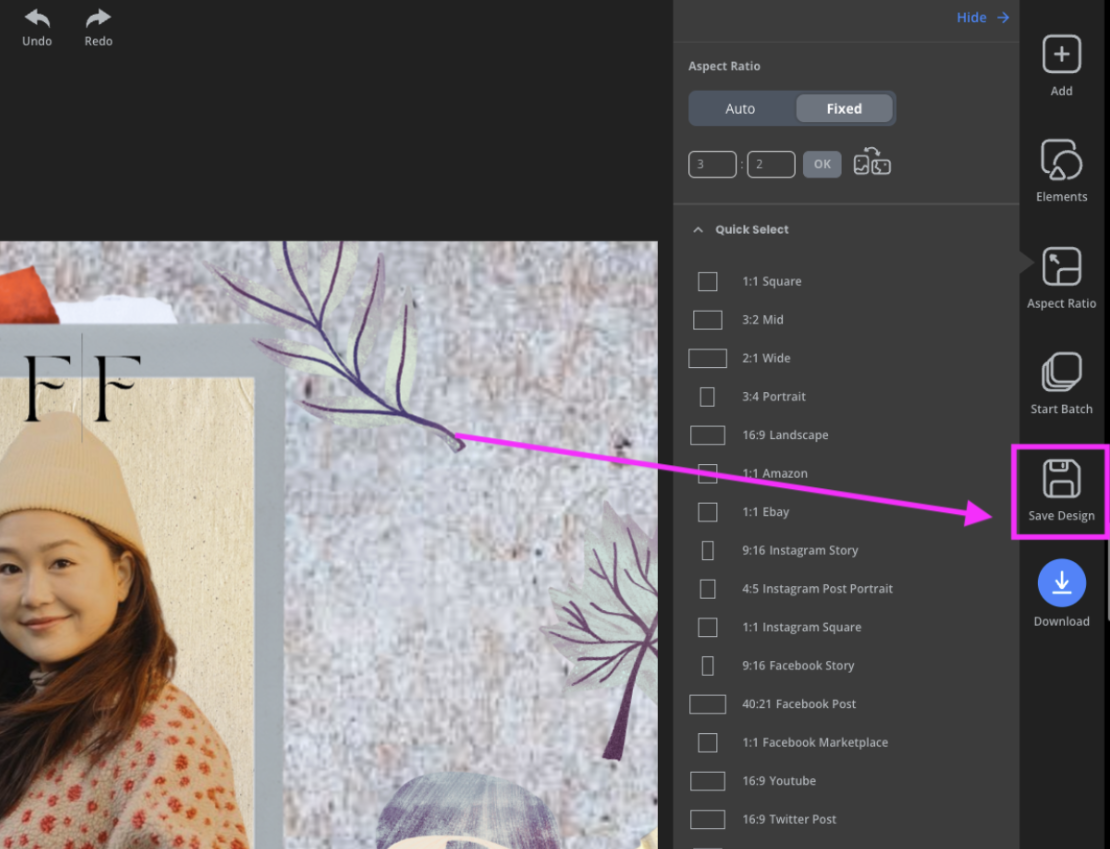
That way, you can use this design time and time again and repurpose it into other posts — we’ll quickly show you how to do that below.
How to batch-produce content with Designify in no time
The amazing thing about customizing your design on Designify is that once you’ve saved it, you can batch content — in seconds or minutes. It’s like magic.
All you have to do is upload different images that will replace the main image — in this case, it’s the woman smiling into the camera with the beanie hat.
-
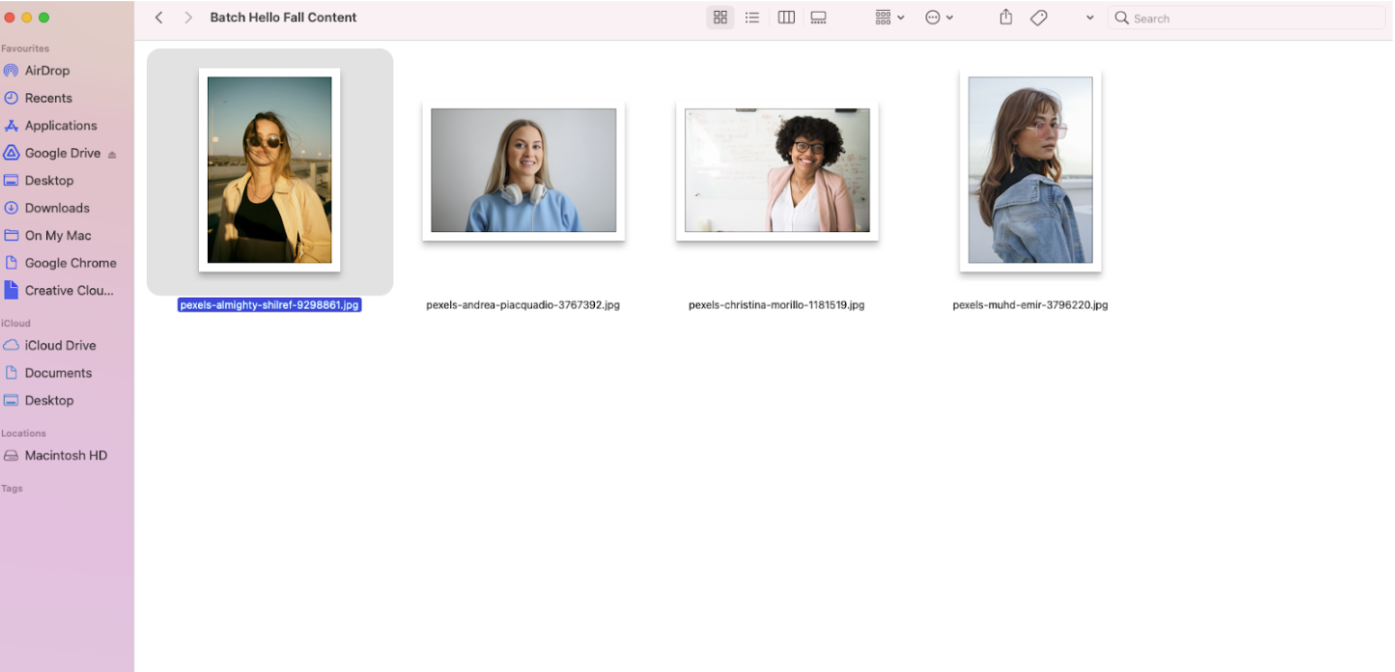
First and foremost, you're going to want to gather all of your images on your computer, ideally in a folder to keep things organized. For this design, we created a folder with 4 headshots of people. Like this:
-
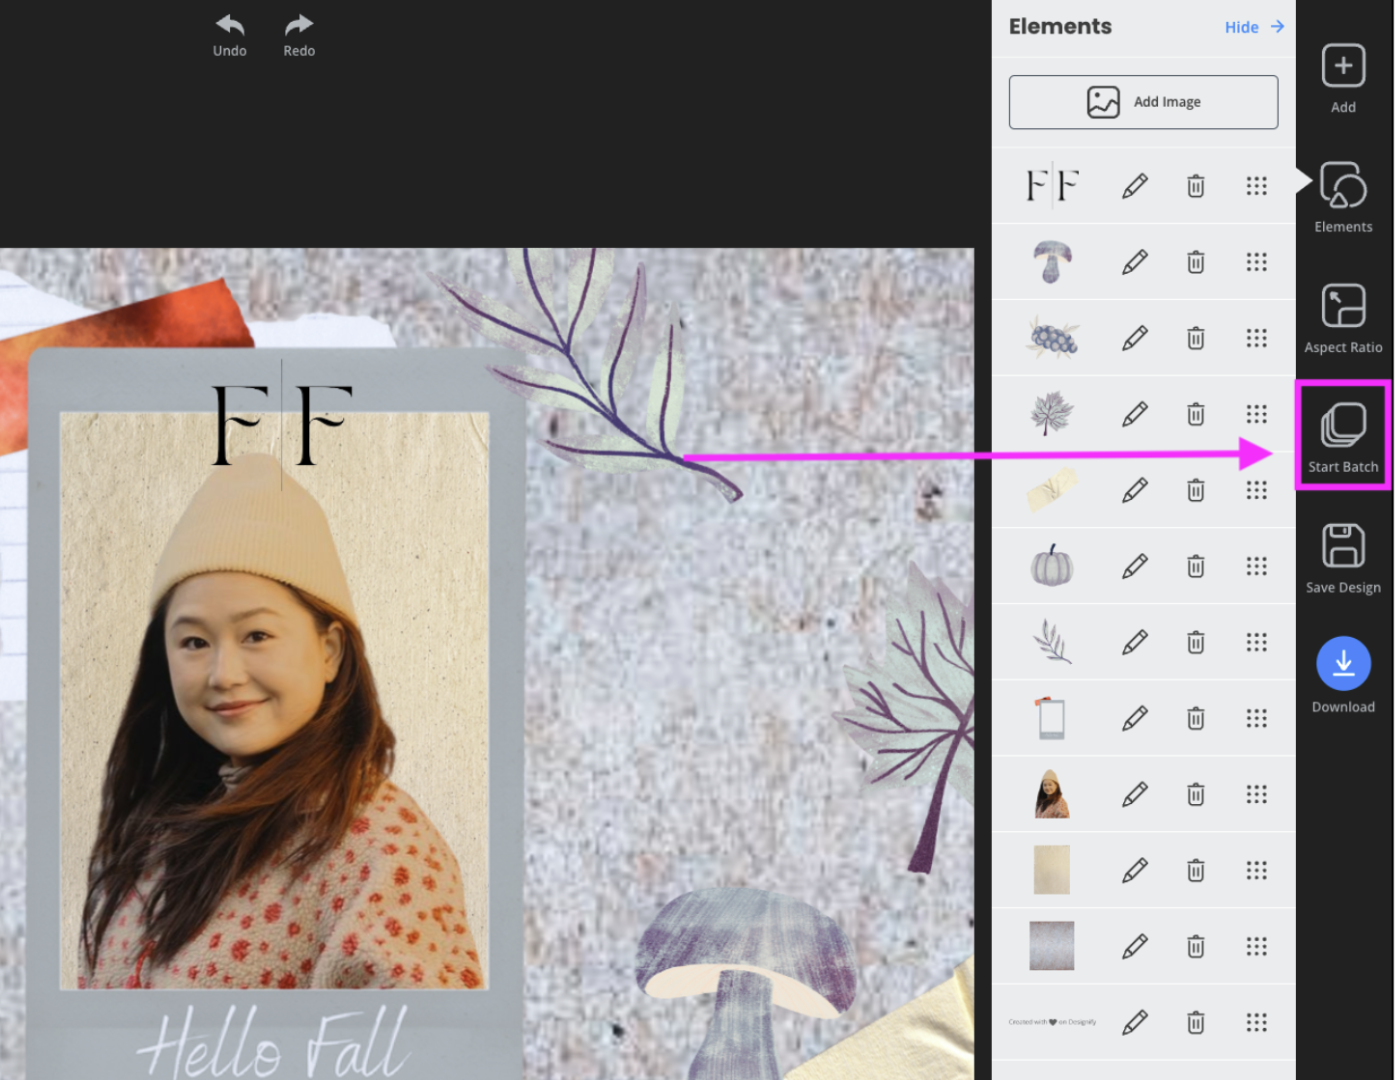
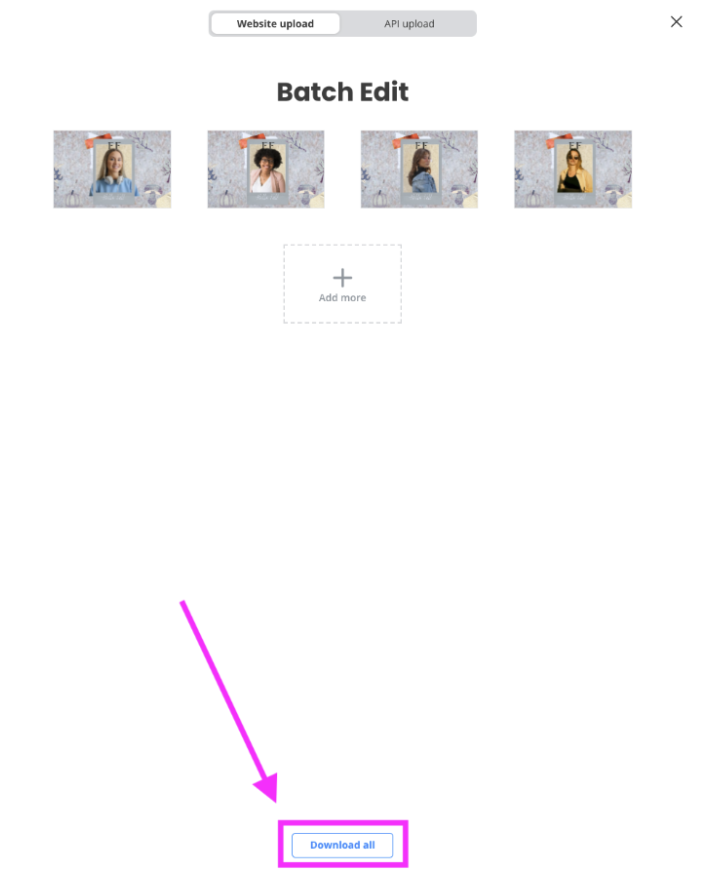
To batch-produce a bunch of these posts with your new customized design, go ahead and select > Start Batch.
Go ahead and drag and drop all of your images onto Designify. It will batch-edit your content in just a few seconds. It truly is AI magic that will cut your work down from hours to minutes or seconds.
-
To download the designs, go ahead and select > Download all.
-
The files will be saved as a ZIP file to your desktop.
Batching content has honestly never been easier, and the results speak for themselves:


How to batch-repurpose content with Designify
The next efficiency hack we’ve got for you is repurposing the content into a different format. So let’s say, instead of producing an Instagram post format, you now want to make a bunch of Facebook Posts.
All you have to do is:
-
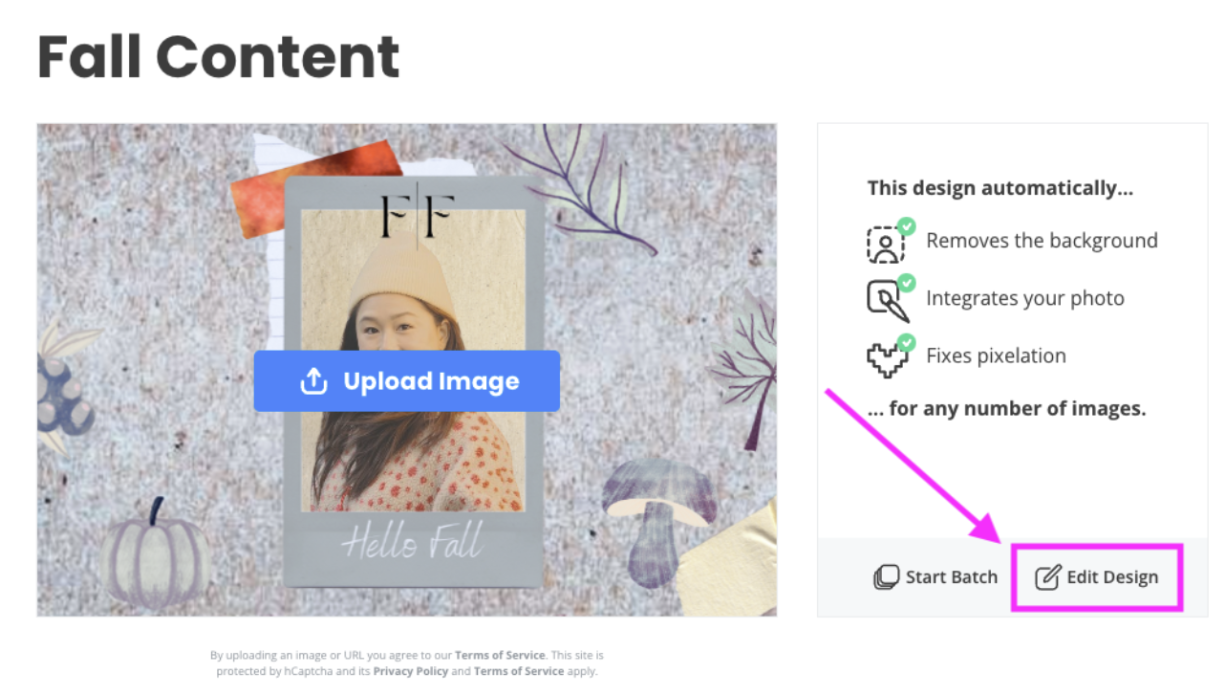
Open up the saved Designify file you just worked on by going to Designify and selecting the tab > Designs. Under this tab, you will find the section My Designs right at the top. Go ahead and select the design you’d like to batch-repurpose.
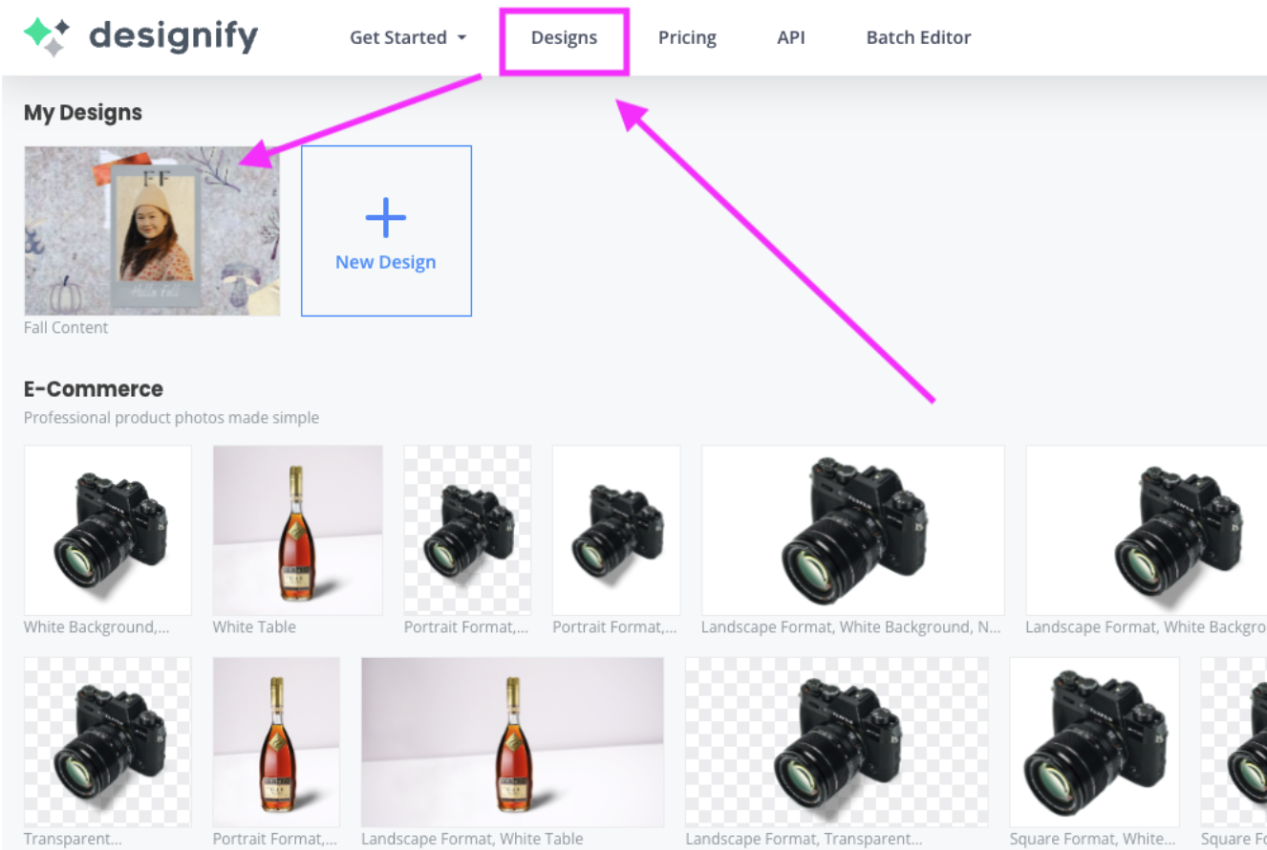
Click on it and select > Edit Design.
-
Now, you’re going to want to go to > Save Design and select the small arrow next to save. Then select > Save as copy.
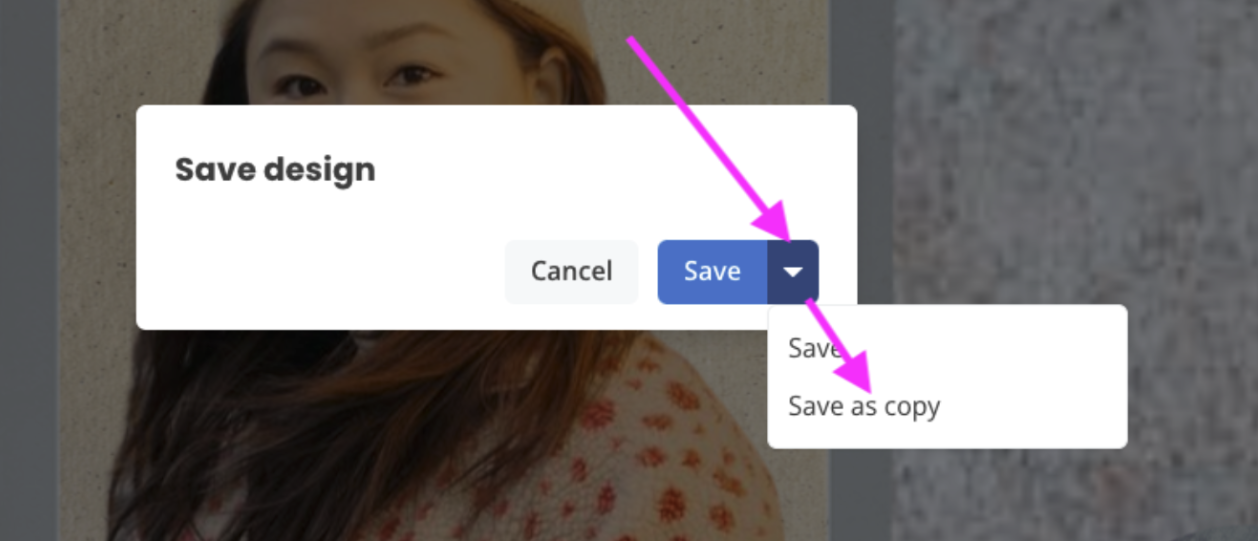
That way, you can keep the original. Add the name you want for the new design and hit > Save.
-
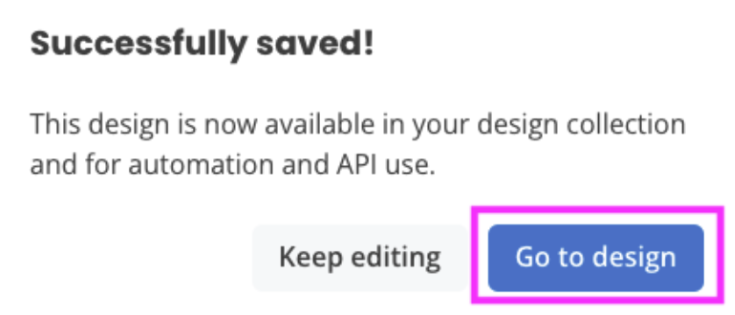
Designify will notify you that it’s been successfully saved; now go ahead and select > Go to design.
Then hit > Edit Design again.
-
Now, you’re going to adjust the Aspect Ratio to the new format you want to create. For us, it’s going to be the Facebook Post format. You can select whatever format you need.
Then go ahead and hit > Start Batch again.
Upload your images by dragging and dropping them in, and — voilà! You’ve got amazing repurposed posts.
-
Go ahead and hit > Download all to save them to your computer.
Create a custom template with Designify and start automating your design process
Alrighty, that wraps up our guide on how to create a customized design template — it’s pretty simple, and the best way to figure it out is to get started now. Customizing a template on Designify and batch-producing content will save you hours of work. It's automation at it's best.
To get started:
Choose one of the Designs as your baseline.
Start customizing by adjusting the size and colors and adding a logo.
Make a copy of the template and resize it so you can repurpose the design for other platforms and batch produce.
Want to give it a go? Hop on over to Designify and start scrolling through the designs today.
댓글
지금까지는 댓글이 없습니다.