So you, your friend, sister, daughter, or son, have just gotten engaged, and you want to create a personalized wedding or engagement card? There's no better way to do it than with a personal photo.

In this article, we're going to show you how you can create a personalized engagement and wedding card in just a couple of minutes with Designify.
We'll also show you how you can create a personalized wedding invitation or card for the big day and get it printed and sent to your home in less than 10 minutes.
Sommaire
How to create a personalized engagement card with Designify

Hop on over to Designify’s engagement template.
Go ahead and nab your favorite image of you and your partner or the couple who just got engaged. Pro-tip: go through their Facebook or Instagram profile; they'll usually post their favorite ones of themselves there. But you can, of course, also use one that you took or that reminds you of them.
-
Drag and drop it onto the site, creating a designed card within seconds. Like this:
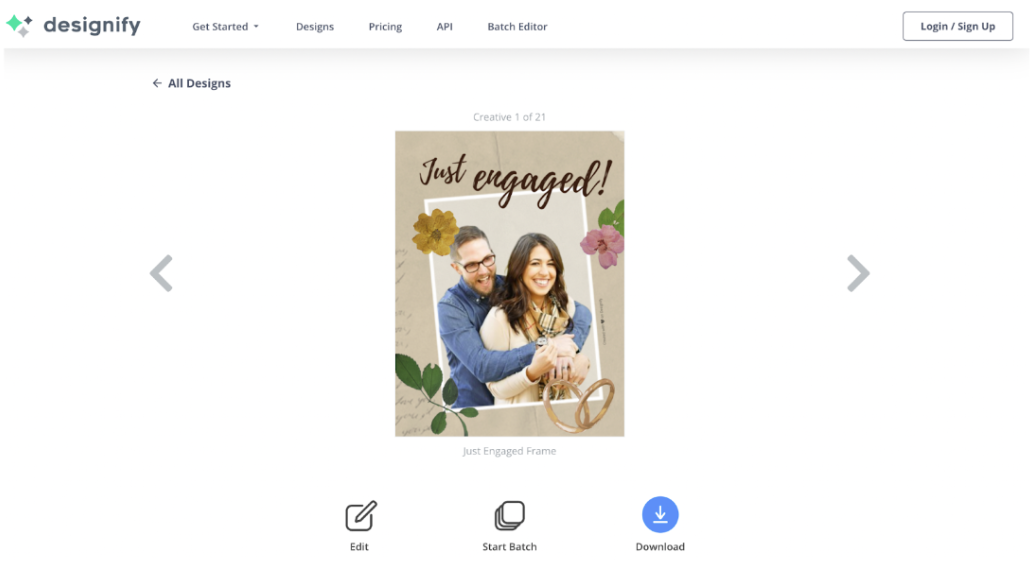
-
If you're happy with the preset design, you can go ahead and hit > Download and either send it to your loved ones digitally or get it printed.
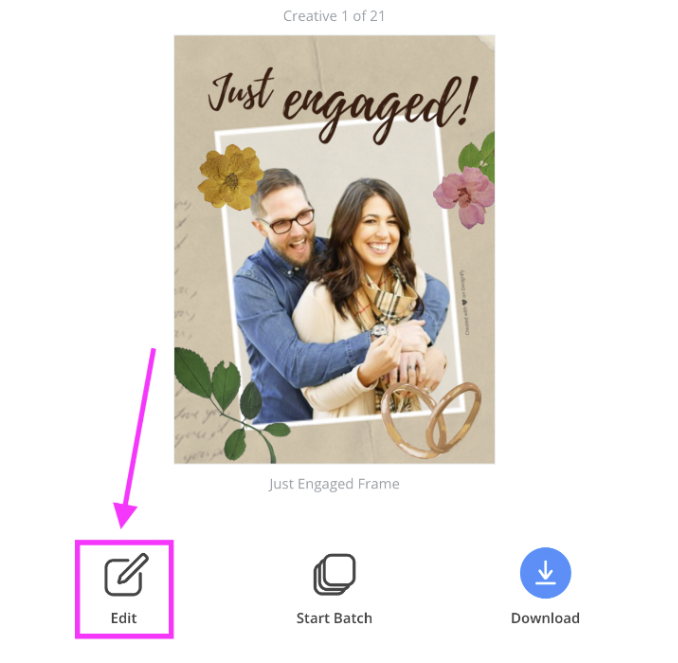
But if you want to get a bit more personal and add different icons, colors, and patterns that might even reflect the personalities and hobbies of you and your partner or the couple you're gifting the card to — sit tight.
-
Click on > Edit, and you will enter the editing mode, where you can make many, many changes to the design in seconds.
-
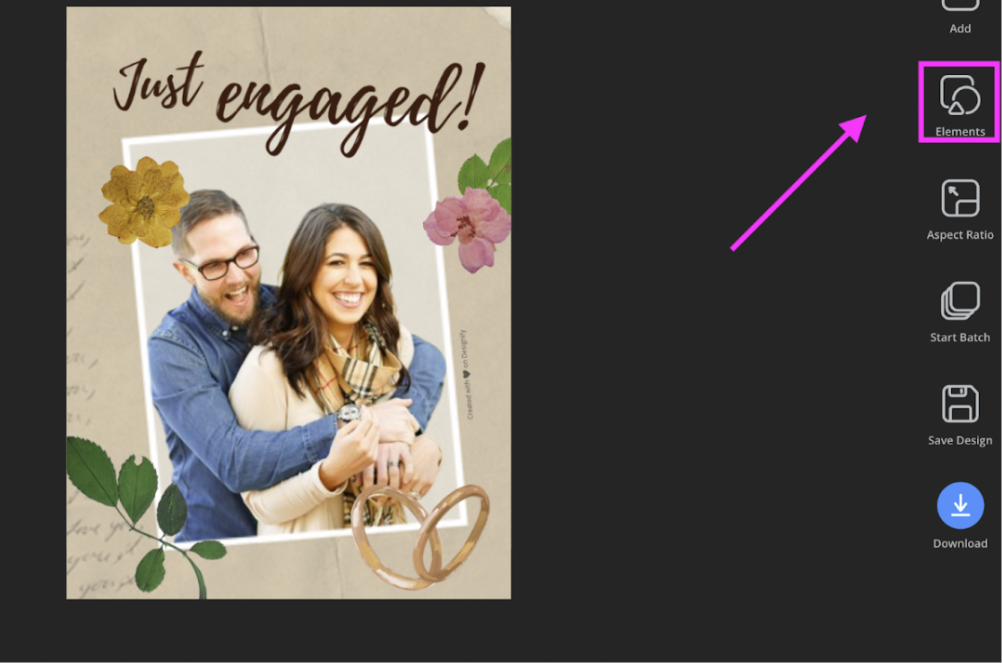
Then select > Elements.
-
By clicking on one of the icons (like the flower), you can start editing it.
-
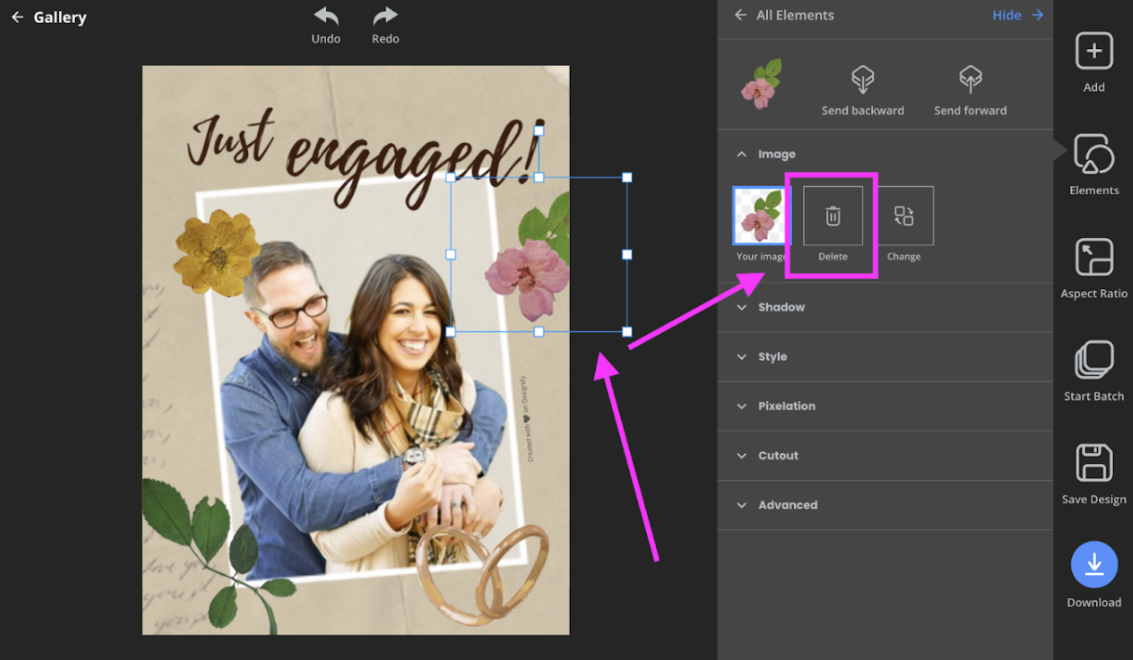
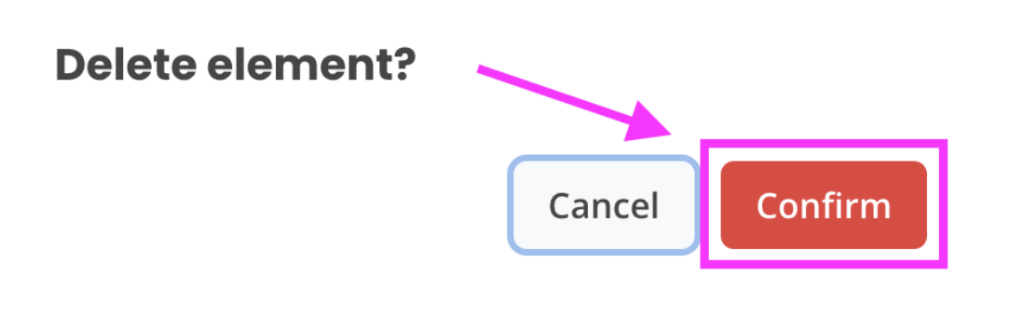
To delete it, select > Delete > Confirm.
Now you can change, add, or remove them. For example: let's say the couple has a dog, the guy loves baseball, and she loves motorbikes. You can change the icons — but first, you need to find images for the icons.
You can use your own images, or if you don't have a photo of his baseball cap or her motorbike at hand, you can hop on over to Pexels and find images by simply typing what you're looking for into the search bar.
-
To add an image, go to > Add and select the image you want to add.
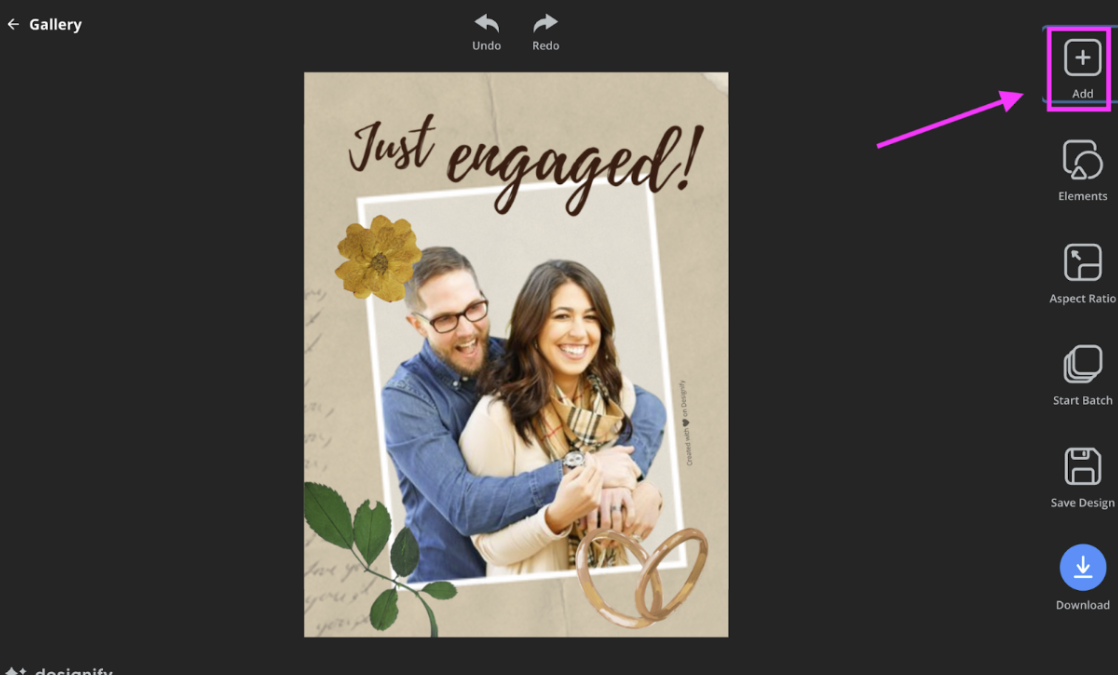
Alternatively, you can go to > Elements > Add Image.
Now, it's time to do some fine-tuning. You can move around your icons by clicking, dragging, and dropping them. You can also adjust the size by clicking and dragging the corners of the elements.
-
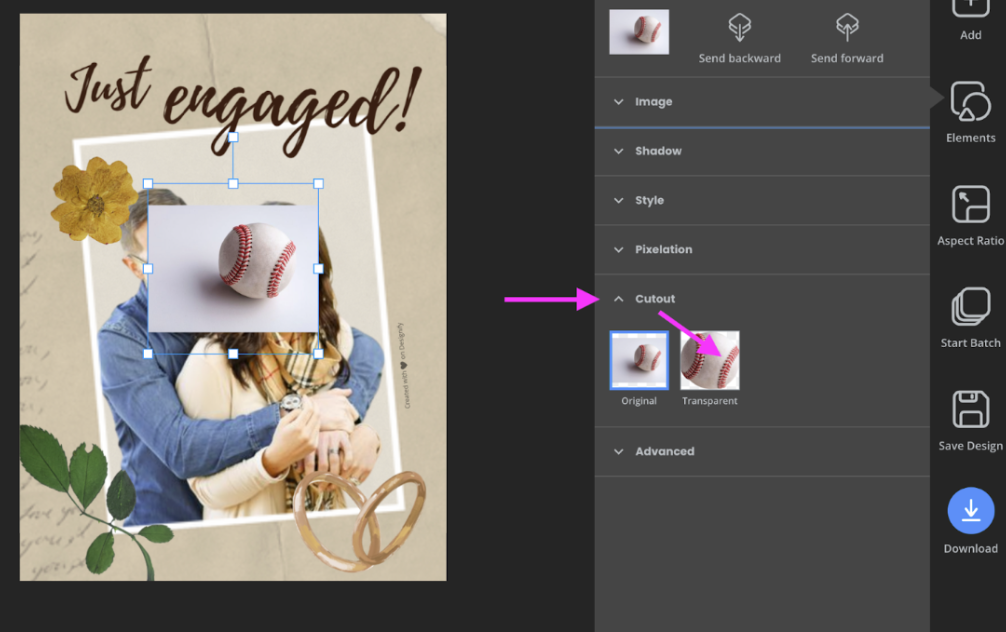
To remove the image's background and just have a cut out of the main object, select the image and go to > Cutout > Transparent.
-
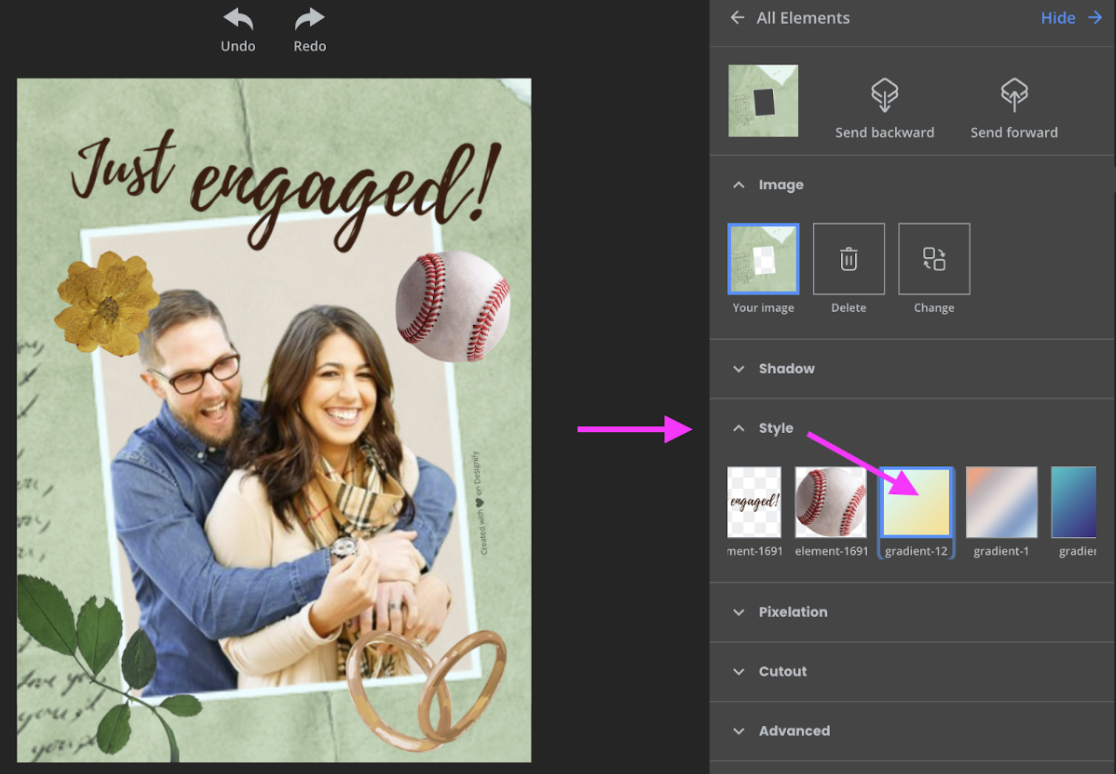
You can also change the background color by going to > Style and scrolling to the right. Here you can select different gradients; simply click on one to see the end result.
You can, of course, play around with the other Designify features; simply click on > Undo at the top of the page to undo anything you don't like. Once you’re happy, you can go ahead and select > Download.
Et voilà! The PNG will save to your desktop; you can print it at home, send it off for printing, or simply drop the couple's image into their WhatsApp inbox.
Next up, you're going to have your wedding or the happy couple's wedding — for which you can easily create invites or a personalized card too!
How to create personalized wedding invitations or cards: simple steps

For the wedding — you can also create a personalized card using Designify. It will only take you a few minutes. You can easily create a consistent look and feel with all the settings and colors.
If you're the bride or groom — you can also use Canva to create the rest of your wedding stationary, like welcome signs, menu cards, seating charts, and place cards. Canva makes designing these on your own super simple. But let's start with the invites:
-
Go ahead and grab your favorite image of the couple and have it ready on your phone or laptop. We're going to use this one:

Super cute, right?
-
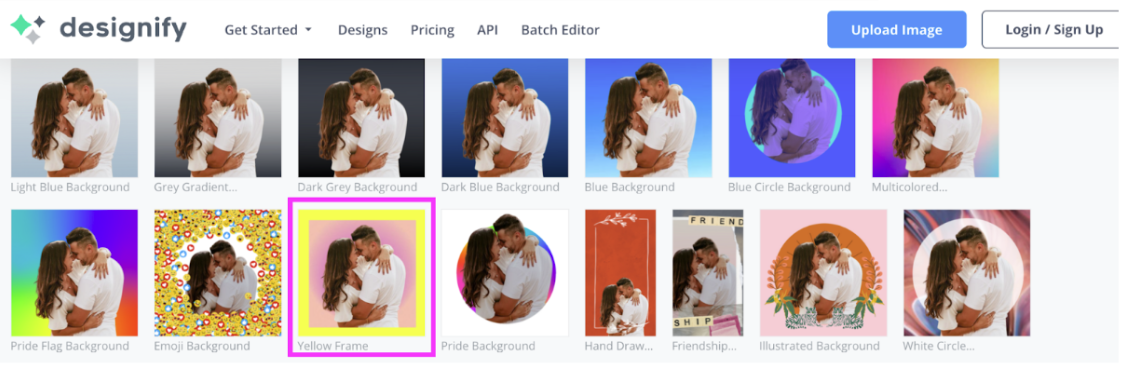
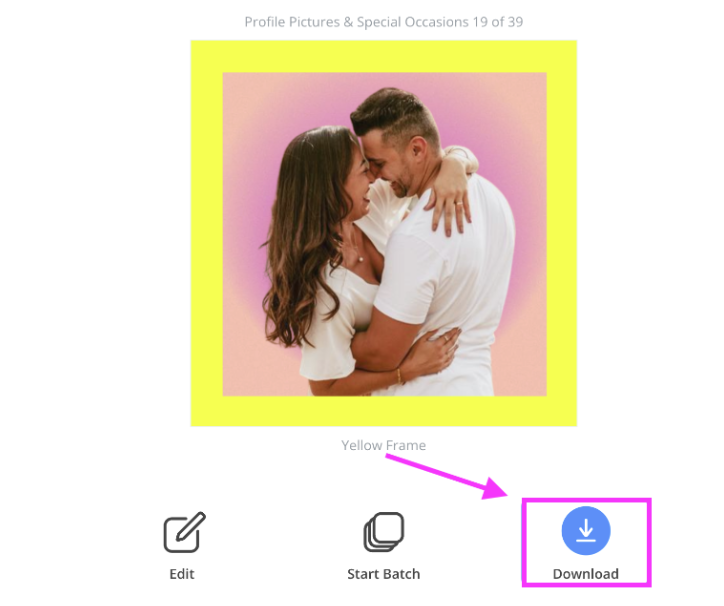
Hop on over to Designify and drag and drop your image onto the site. Designify will then create an entire gallery of different designs you can choose from to create your card — the opportunities truly are endless!!! Keep scrolling until you find one that takes your fancy. We went ahead and selected this one:
-
Now we're going to go ahead and download it — so we can use Canva to add writing to the card.
-
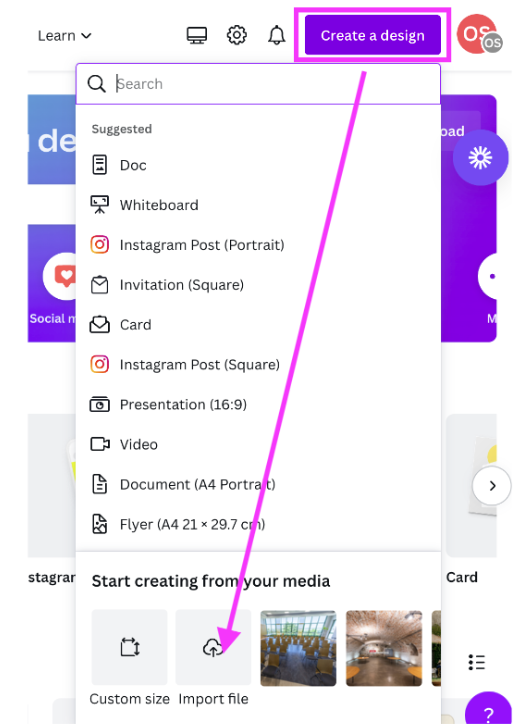
Head to Canva, then select > Create a design > Import file.
-
Then select > Use in a new design.
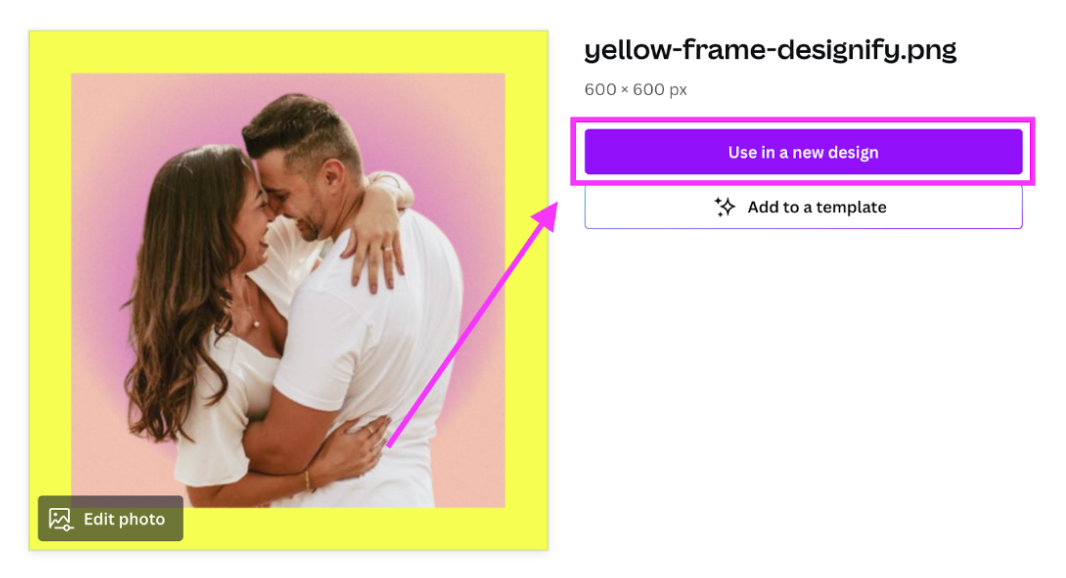
Now type "card" into the search field and select the first 5 x 5 in card format.
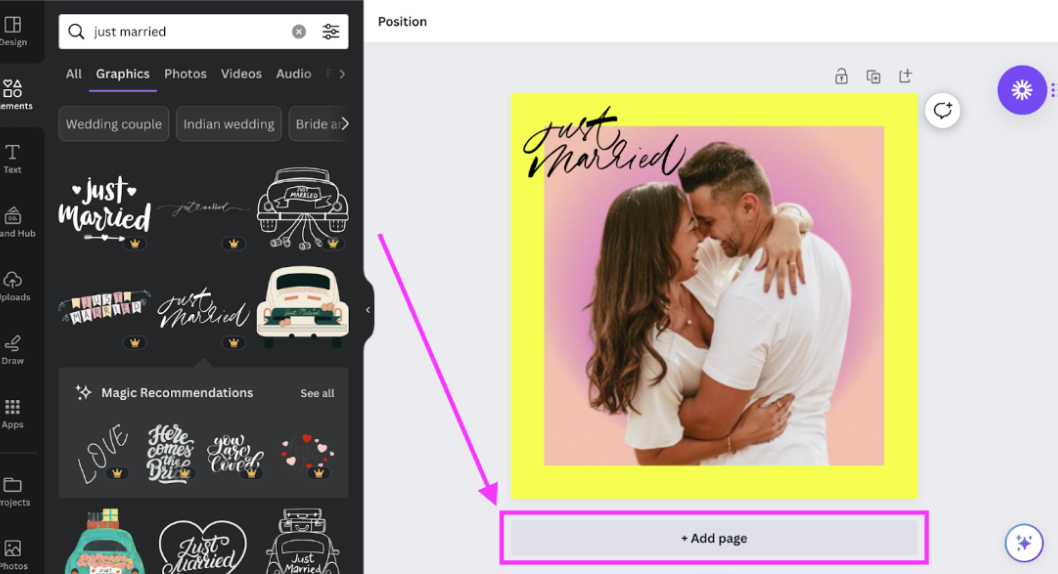
Now go to > Elements and type in "just married" into the search field — you'll then get a ton of different elements to choose from.
The great thing is you can also create the inside of your card.
Go ahead and hit > Duplicate page.
-
Then select > Add page.
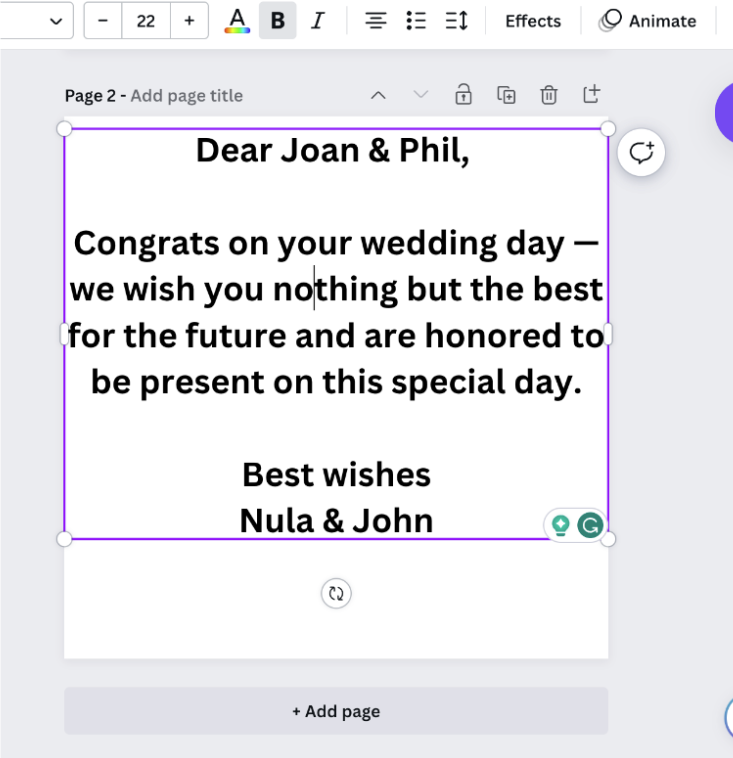
Then go to > Background color, select > Text, and > Add a subheading.
-
Type in the text you'd like to share with the happy couple. Like this:
-
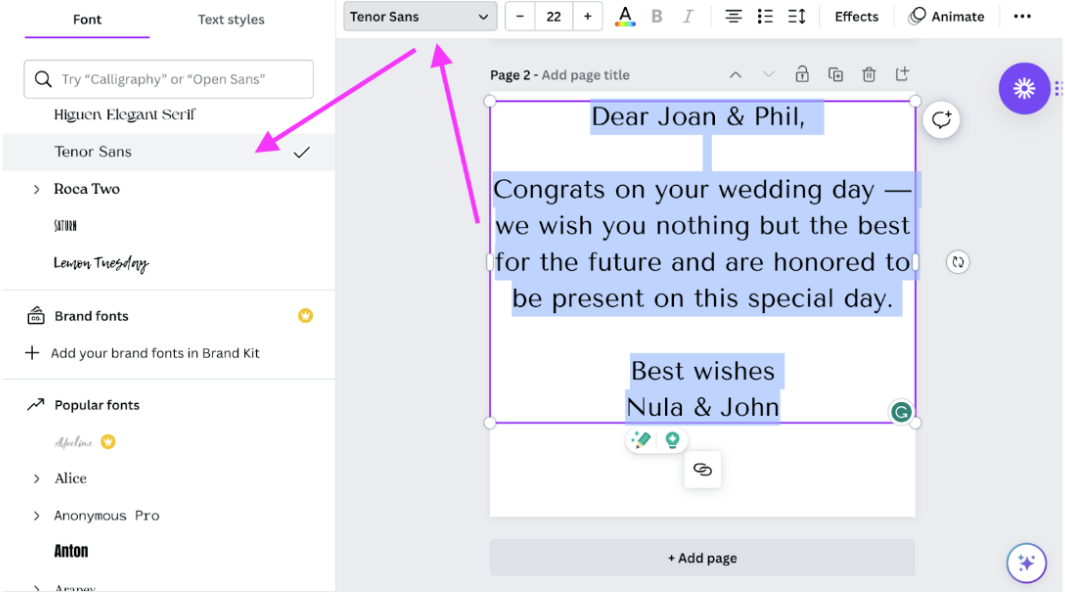
Then go ahead and select the text and choose a font you like just above the design.
-
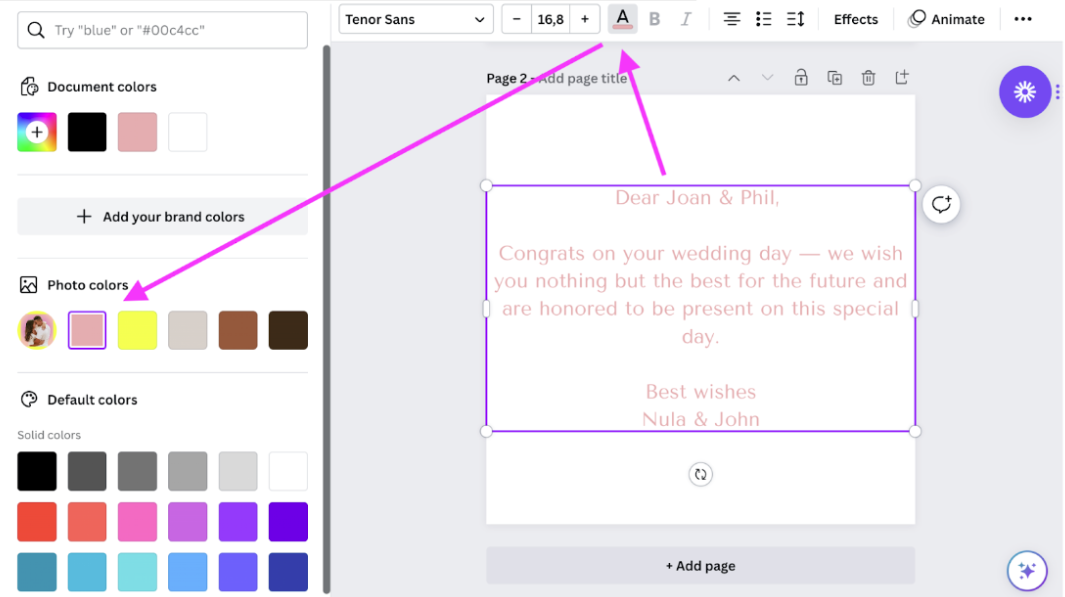
We also recommend matching the color of the font to the photo on the front of the card to keep the design consistent. You can do that by selecting the 'A' symbol just above the design and selecting from the 'Photo colors.'
-
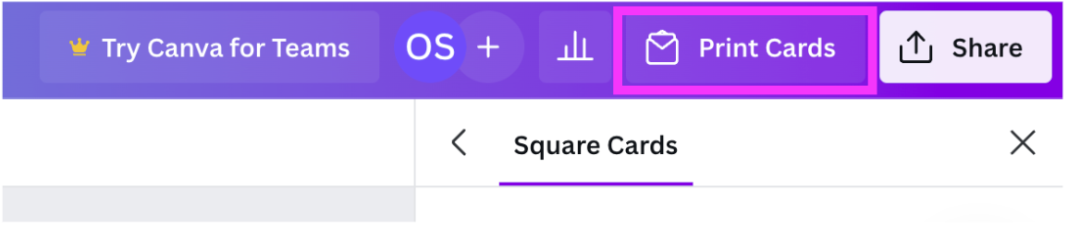
Once you're happy, you can either download the design by going to > Share > Download OR you can do what we find best: print the card right away so you can bring it on the wedding day. You can do that at the top of the page by selecting > Print cards.
-
Choose the type of paper you'd like to print it on (aka matt or glossy etc.), and then go ahead and select one card under 'How many?'
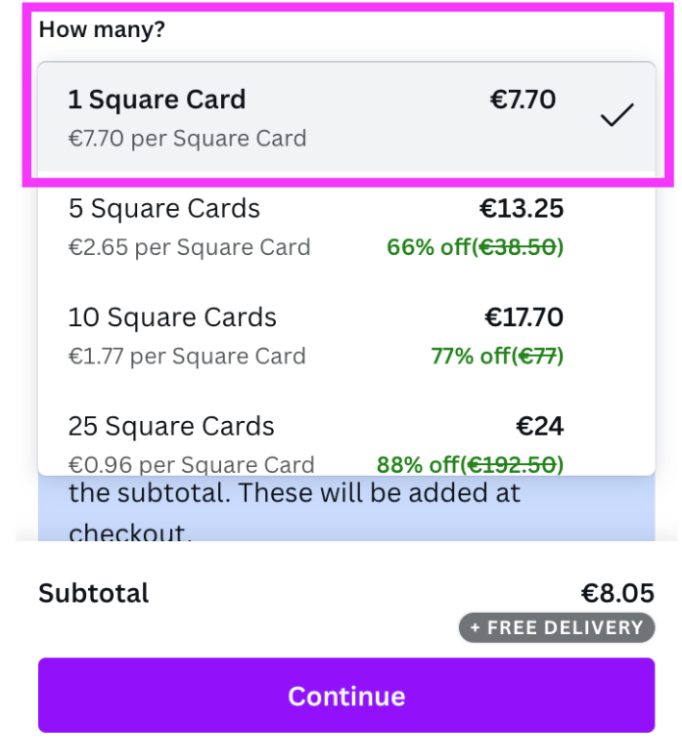
You can get it delivered right to your doorstep.
Canva makes finalizing and printing it super, super easy, and simple. All in all, it took us about 10 mins to create this beautiful card — and your friends or family are going to love the personal gesture.
How to create a personalized wedding invitation
Planning your own wedding and want to include a pic of you and your husband- or wife-to-be? Sure thing.
-
Grab your favorite image of you two. Think loved up and romantic, yet completely authentic to the two of you. Like this:

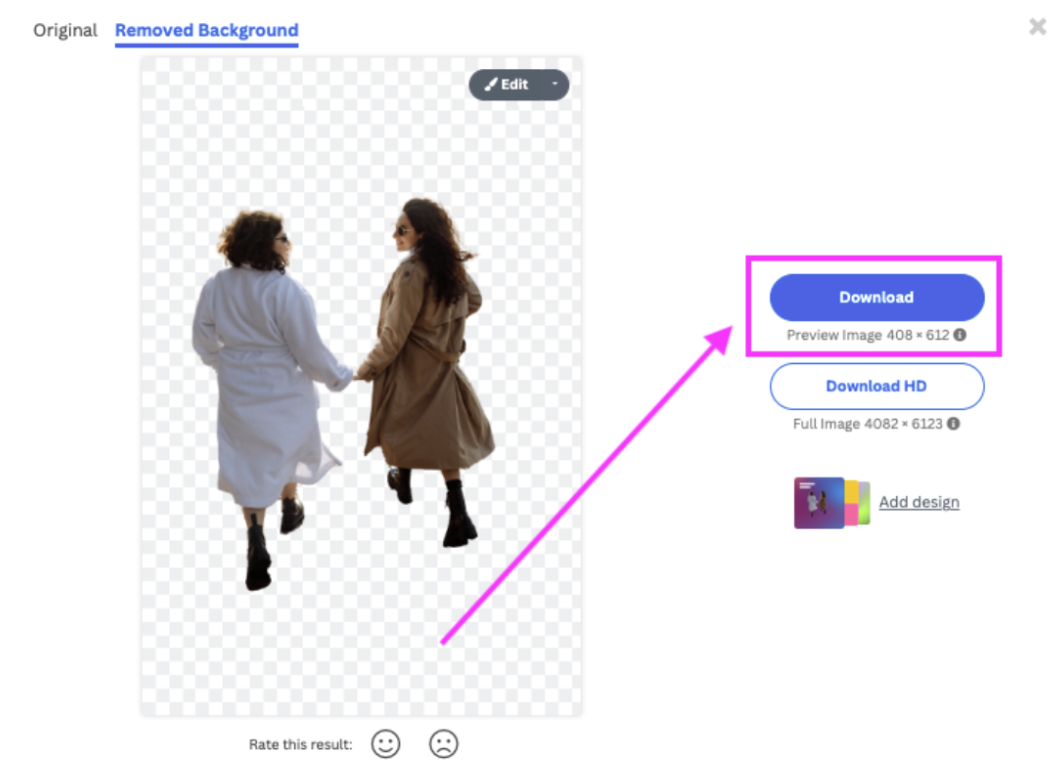
Hop on over to remove.bg and drag and drop your image onto the site. It will remove the background of the in seconds.
-
Then hit > Download, and the image will save to your desktop (without the background of course).

-
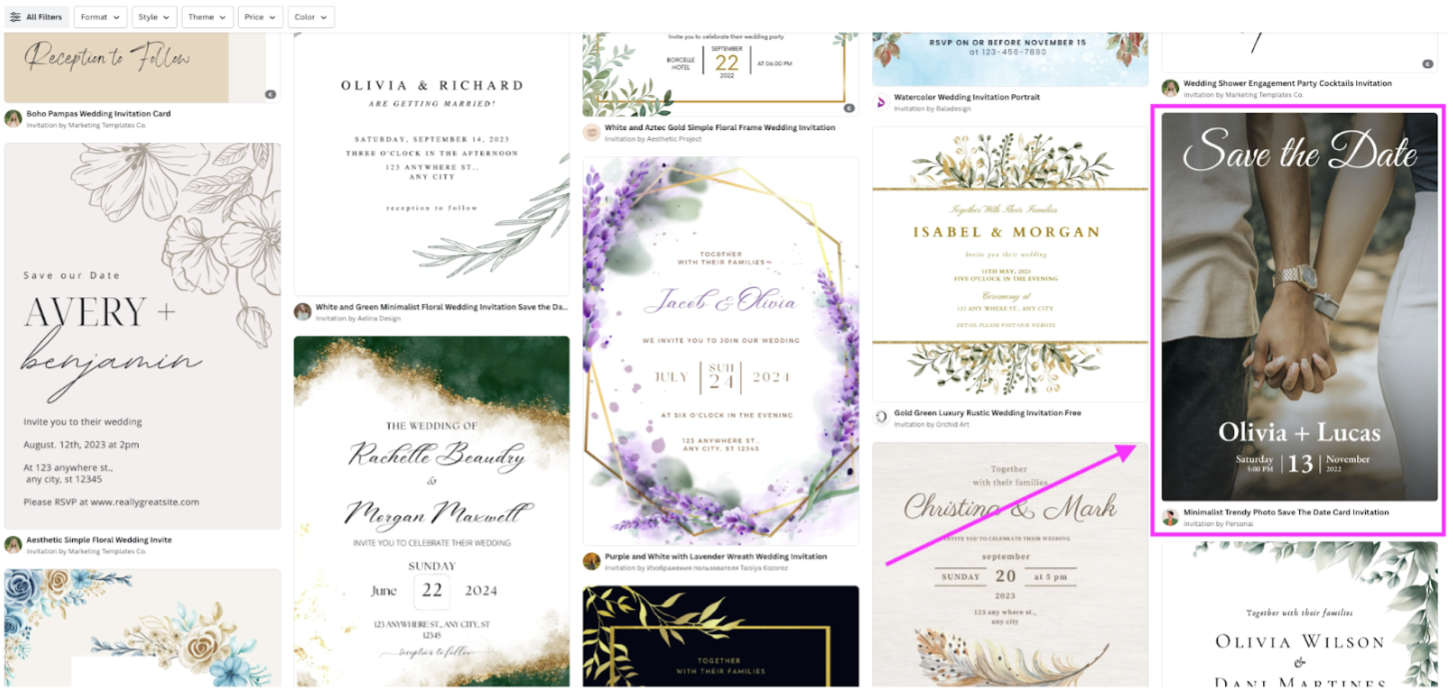
Then go ahead and open up Canva’s wedding invitation template gallery and pick and choose your favorite design. We decided to go for this one:
-
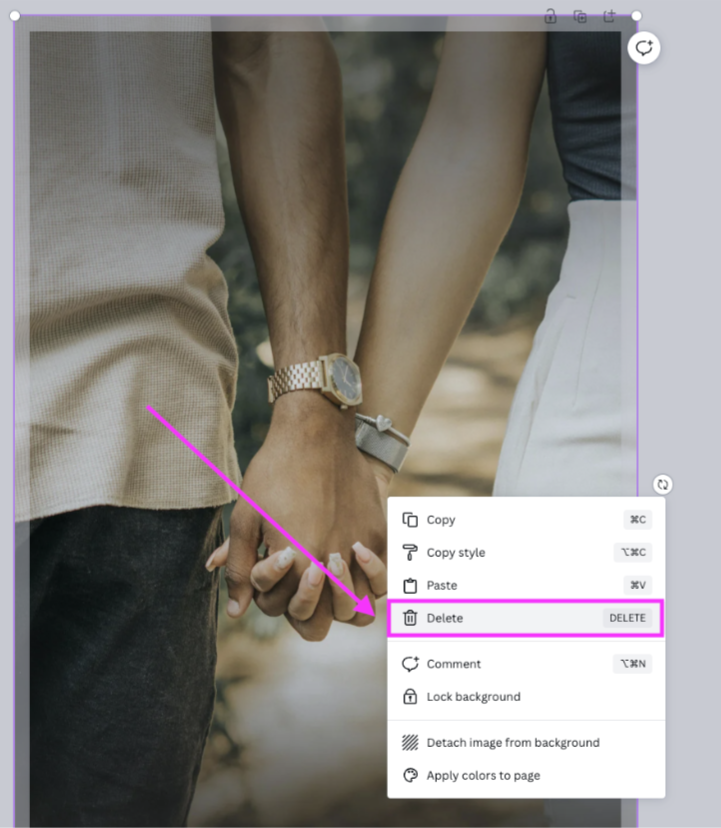
Once you’ve opened up the template, go ahead and select the background image by double clicking on it. Now go ahead and right click and select > Delete. This will remove the image of the couple’s hands and just leave the font.
-
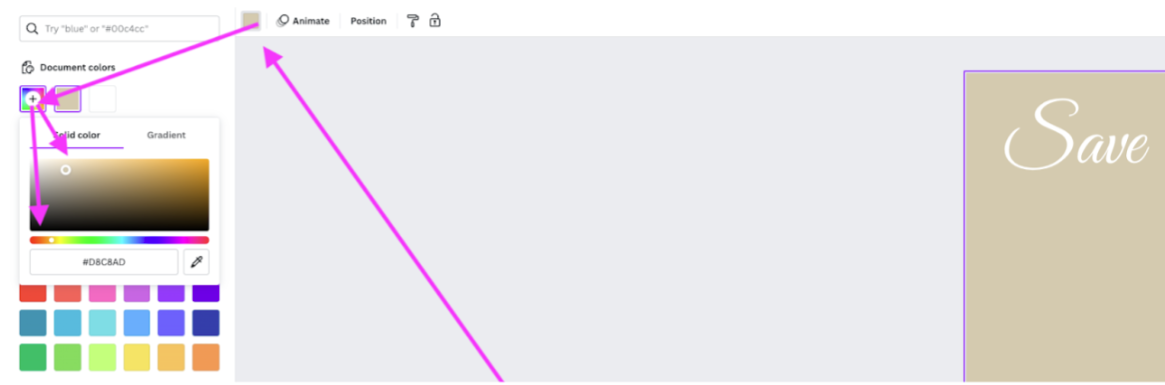
Next, you’re going to want to add some color to the background. Select the background by double clicking on it. Then go ahead and select > Background color just above the canvas. Use the round dials to select the color that takes your liking. If you want a little help with finding a color palette for your wedding invites and more, feel free to use the Canva color palette generator and tool.
-
Next you’re going to want to upload your image without the background, my dragging and dropping it into > Uploads. Then use the corners to click and drag the image and adjust it’s size. By clicking and moving your mouse around, you can also adjust it’s position. Canva will show you some guidance lines that indicate whether the image is centered or not.
-
Now you can go ahead and adjust the messaging on the invitation by double clicking on the writing and simply typing in what you’d like the invite to say.

-
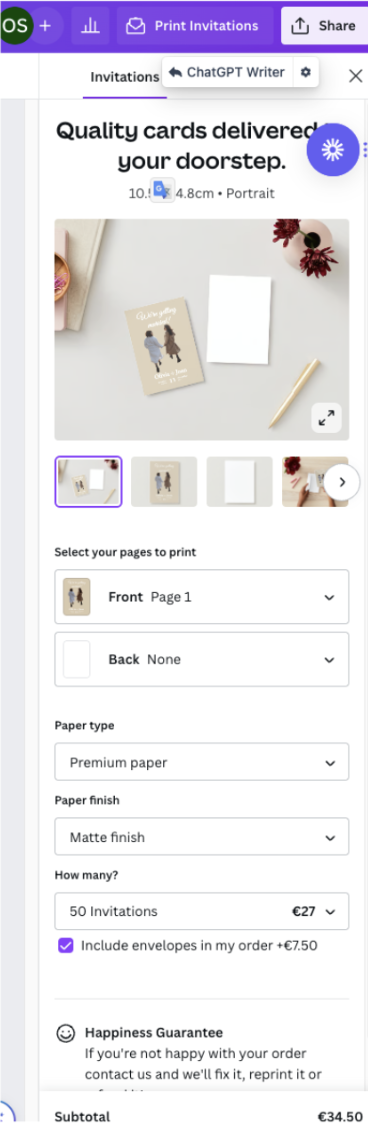
Ready to get your invite printed? You can actually do that directly within Canva, which is just insanely handy — don’t you think? Select > Print Invitations at the top and then you get to select all the print details, from the type of finish to the number of invitations you’d like to have printed.
-
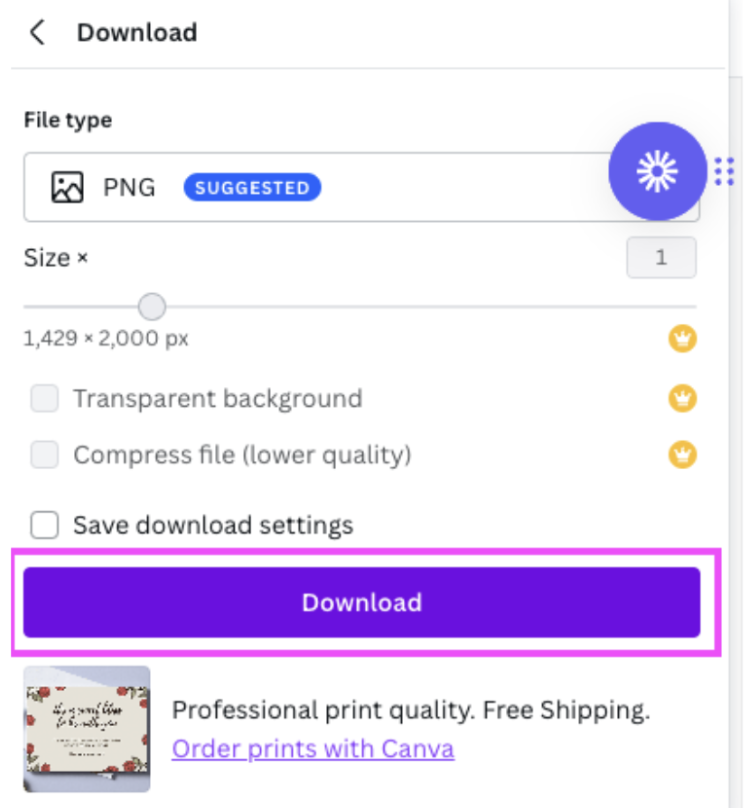
Want to get your invites printed locally so you can see a sample instead? No problem. Simply go ahead and download your invitation design by going to > Share > Download. You can find the share button in the top right-hand corner just above the design.

Then go ahead and select > Download. The design will save to your desktop, you can either load it onto a USB stick or send it to your printer via a transfer tool like WeTransfer. We wouldn’t recommend using email because the quality can be compromised.
That’s it! Creating a wedding invite has never been easier.
Get creative and create a personalized wedding card
We absolutely love love love this idea of a personalized engagement, wedding card or invite. It's easy, unique, and personal — whether it's for your wedding; or someone else's!
To summarize the steps:
Grab your favorite couple's pic.
Go to Designify's engagement template or go to remove.bg to remove the background.
If you opted for Designify, adjust the design and upload icons that match interests.
Download the design.
Hop on over to Canva, select a template or start from scratch.
Edit the design until you are happy.
Print the design and get it sent straight to your doorstep.
Want to start designing your personalized engagement or wedding card today? Hop on over to Designify and get started.
Commentaires