Car photos are everything when it comes to your car dealership. It’s the first thing your customers see. They spot a car they like online, and if the photo is to their liking — they’ll probably decide to stop by your dealership and take a look in real life. So really, having a great photo can make or break your sale.
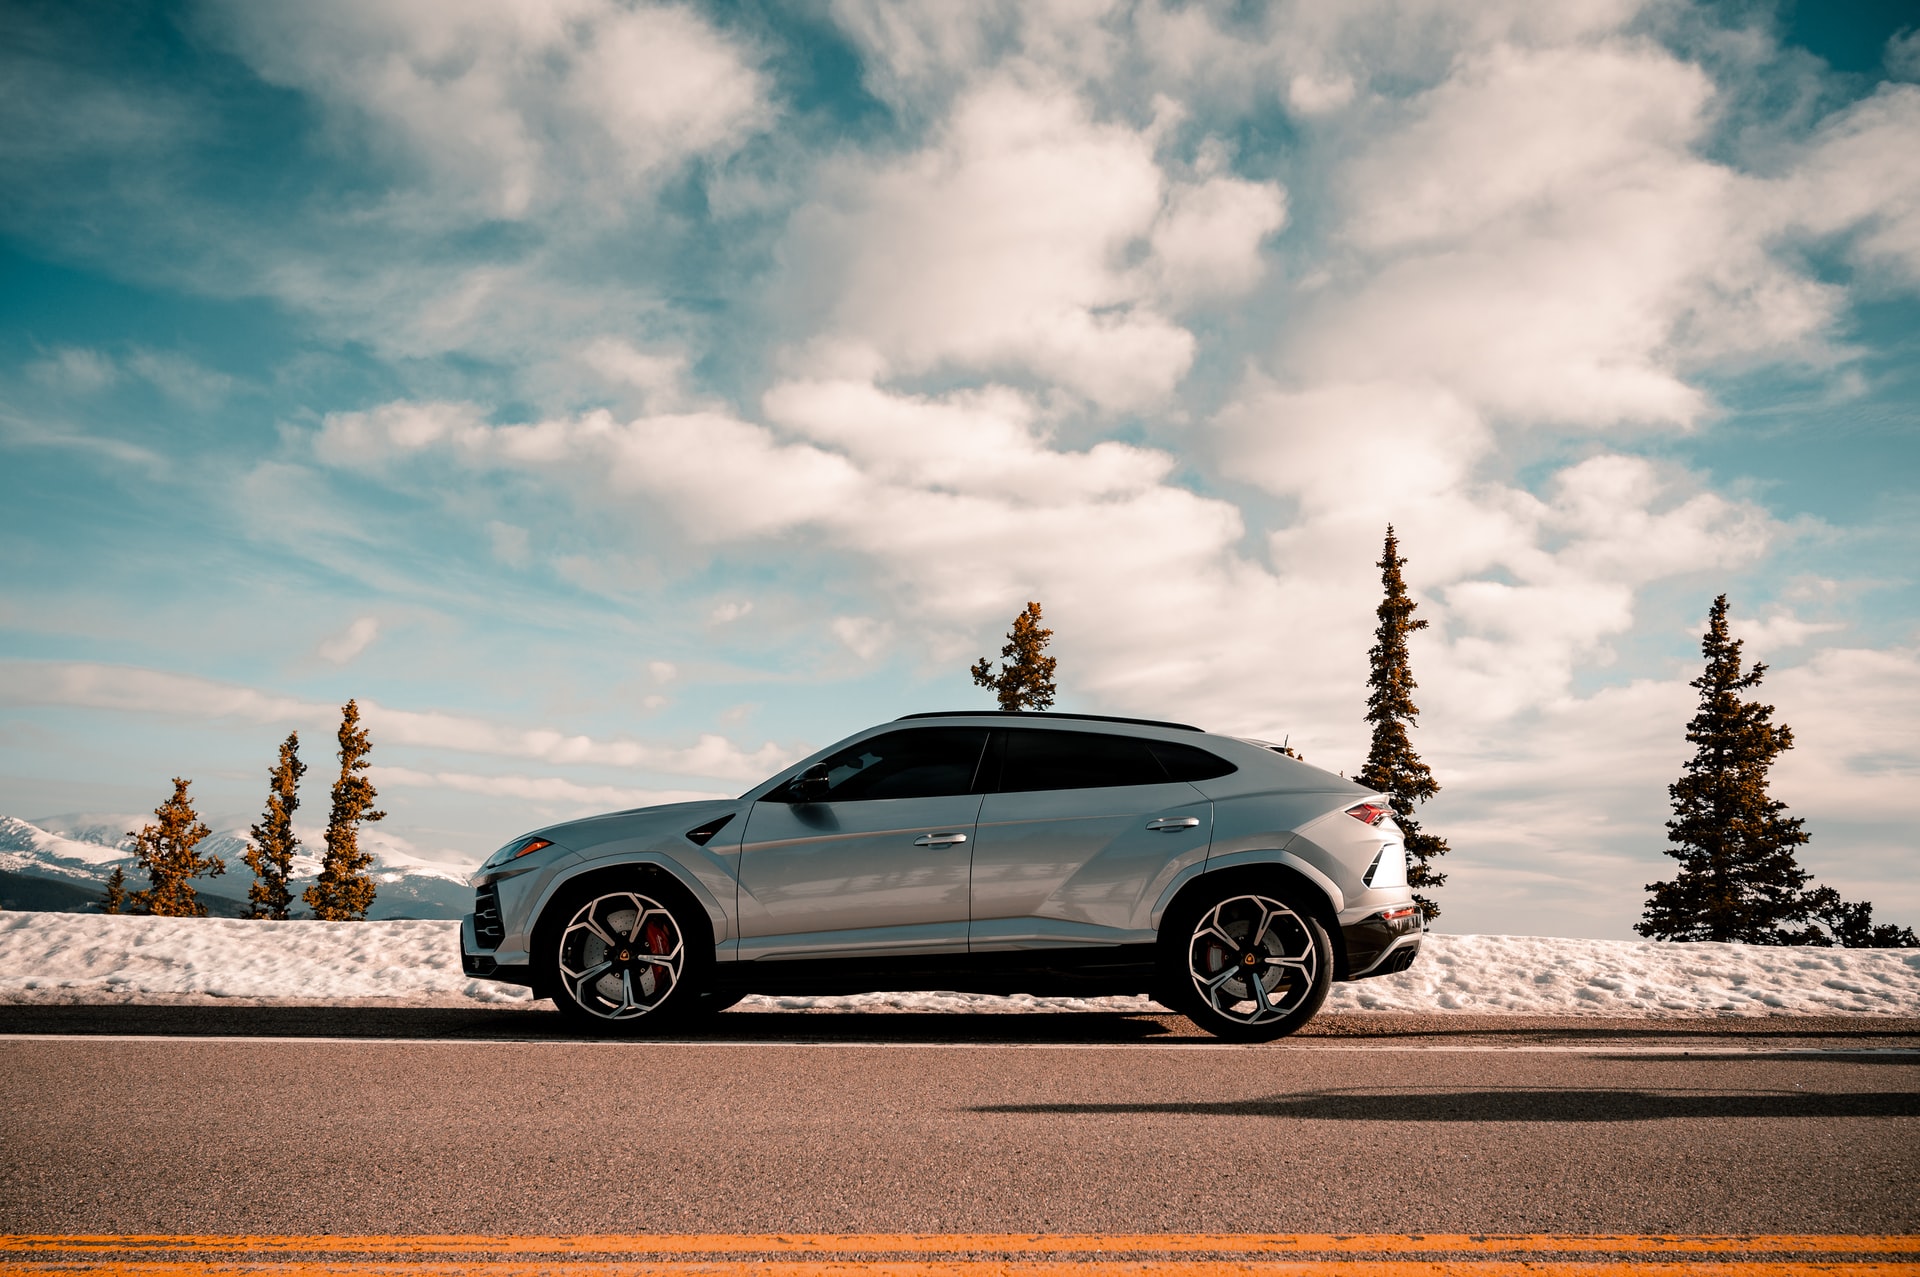
Things like your lighting, location, and photo styling can make a huge difference. Wondering how to take the best car photos? We’ve put together what automotive photography is and our top car photography tips in the past. Be sure to check those out if you haven’t shot your photos already.
Table of contents
How to edit your car dealership photos
In this post, we’re going to talk about how to go about editing your car dealership photos to ensure they have potential customers reaching for their car keys to come to see you. But most importantly — we’ll show you how you can use Designify to bulk edit your car dealership photos and cut your editing time from hours to minutes.
Overall car editing tip: keep it realistic
There are some great tweaks you can do to your photos to make them look more professional and genuinely show the perks of that particular car. Things like color correction, adding shadows, changing the background, and adding your logo.
But one thing you should keep in mind throughout the editing process is to stay realistic — which is why we recommend avoiding over-editing your car dealership photos. Your goal will be to portray the car in the best way possible, yet hiding things like dents or blemishes on used cars is just going to backfire once the customer shows up.
Below you’ll find our best-kept tips on how to edit your photos for your car dealership. So your cars are looking fabulous, flashy, and ready to sell.
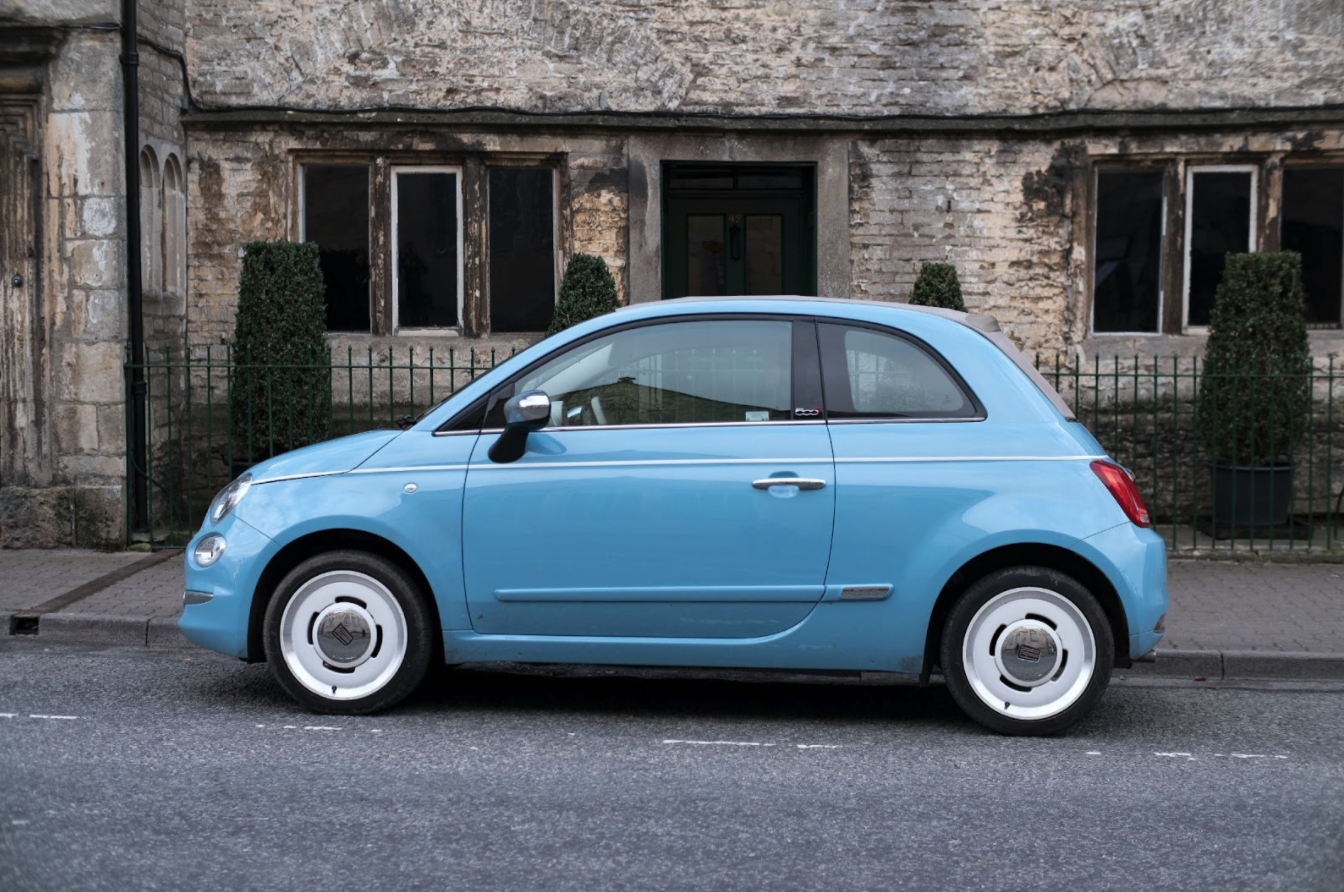
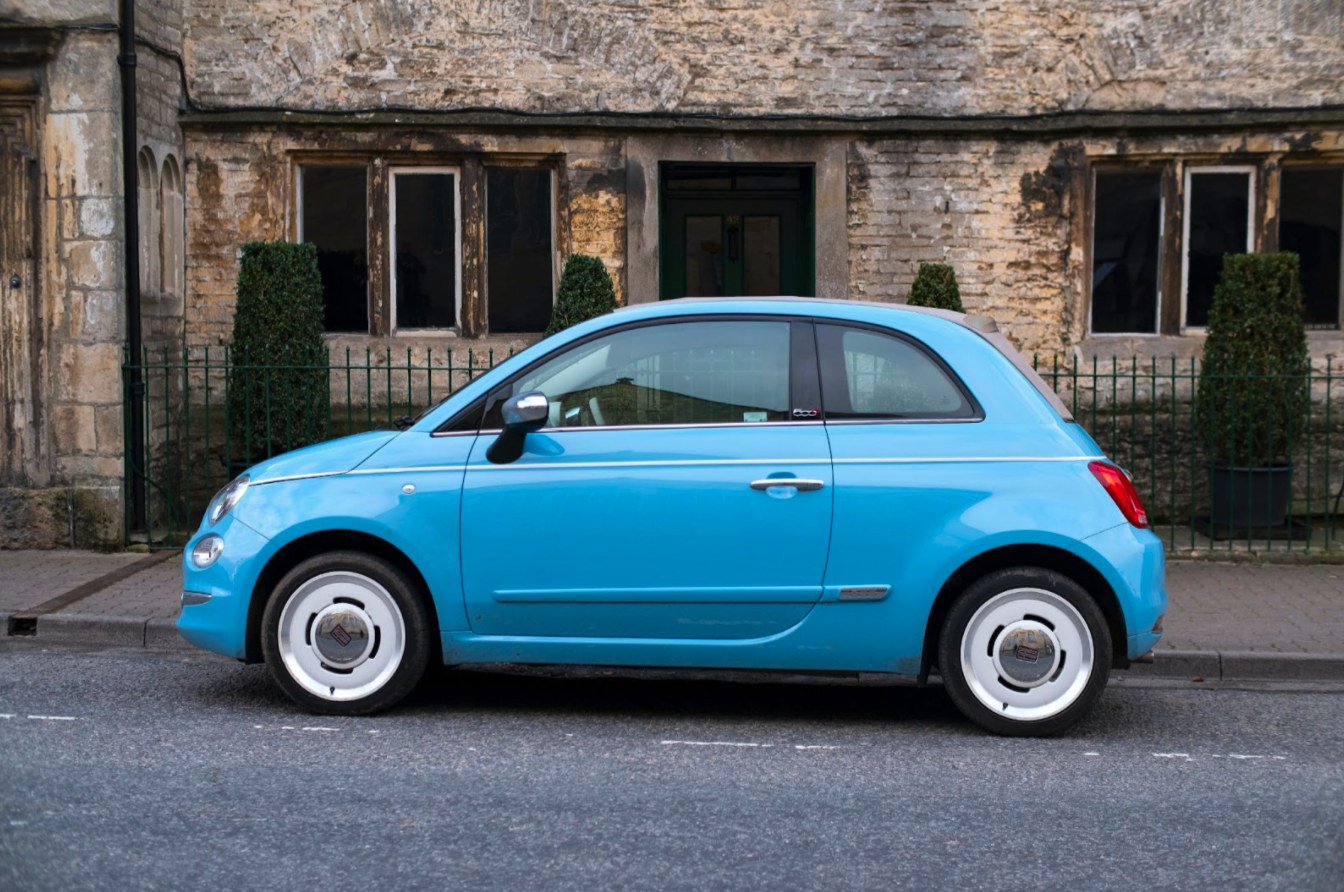
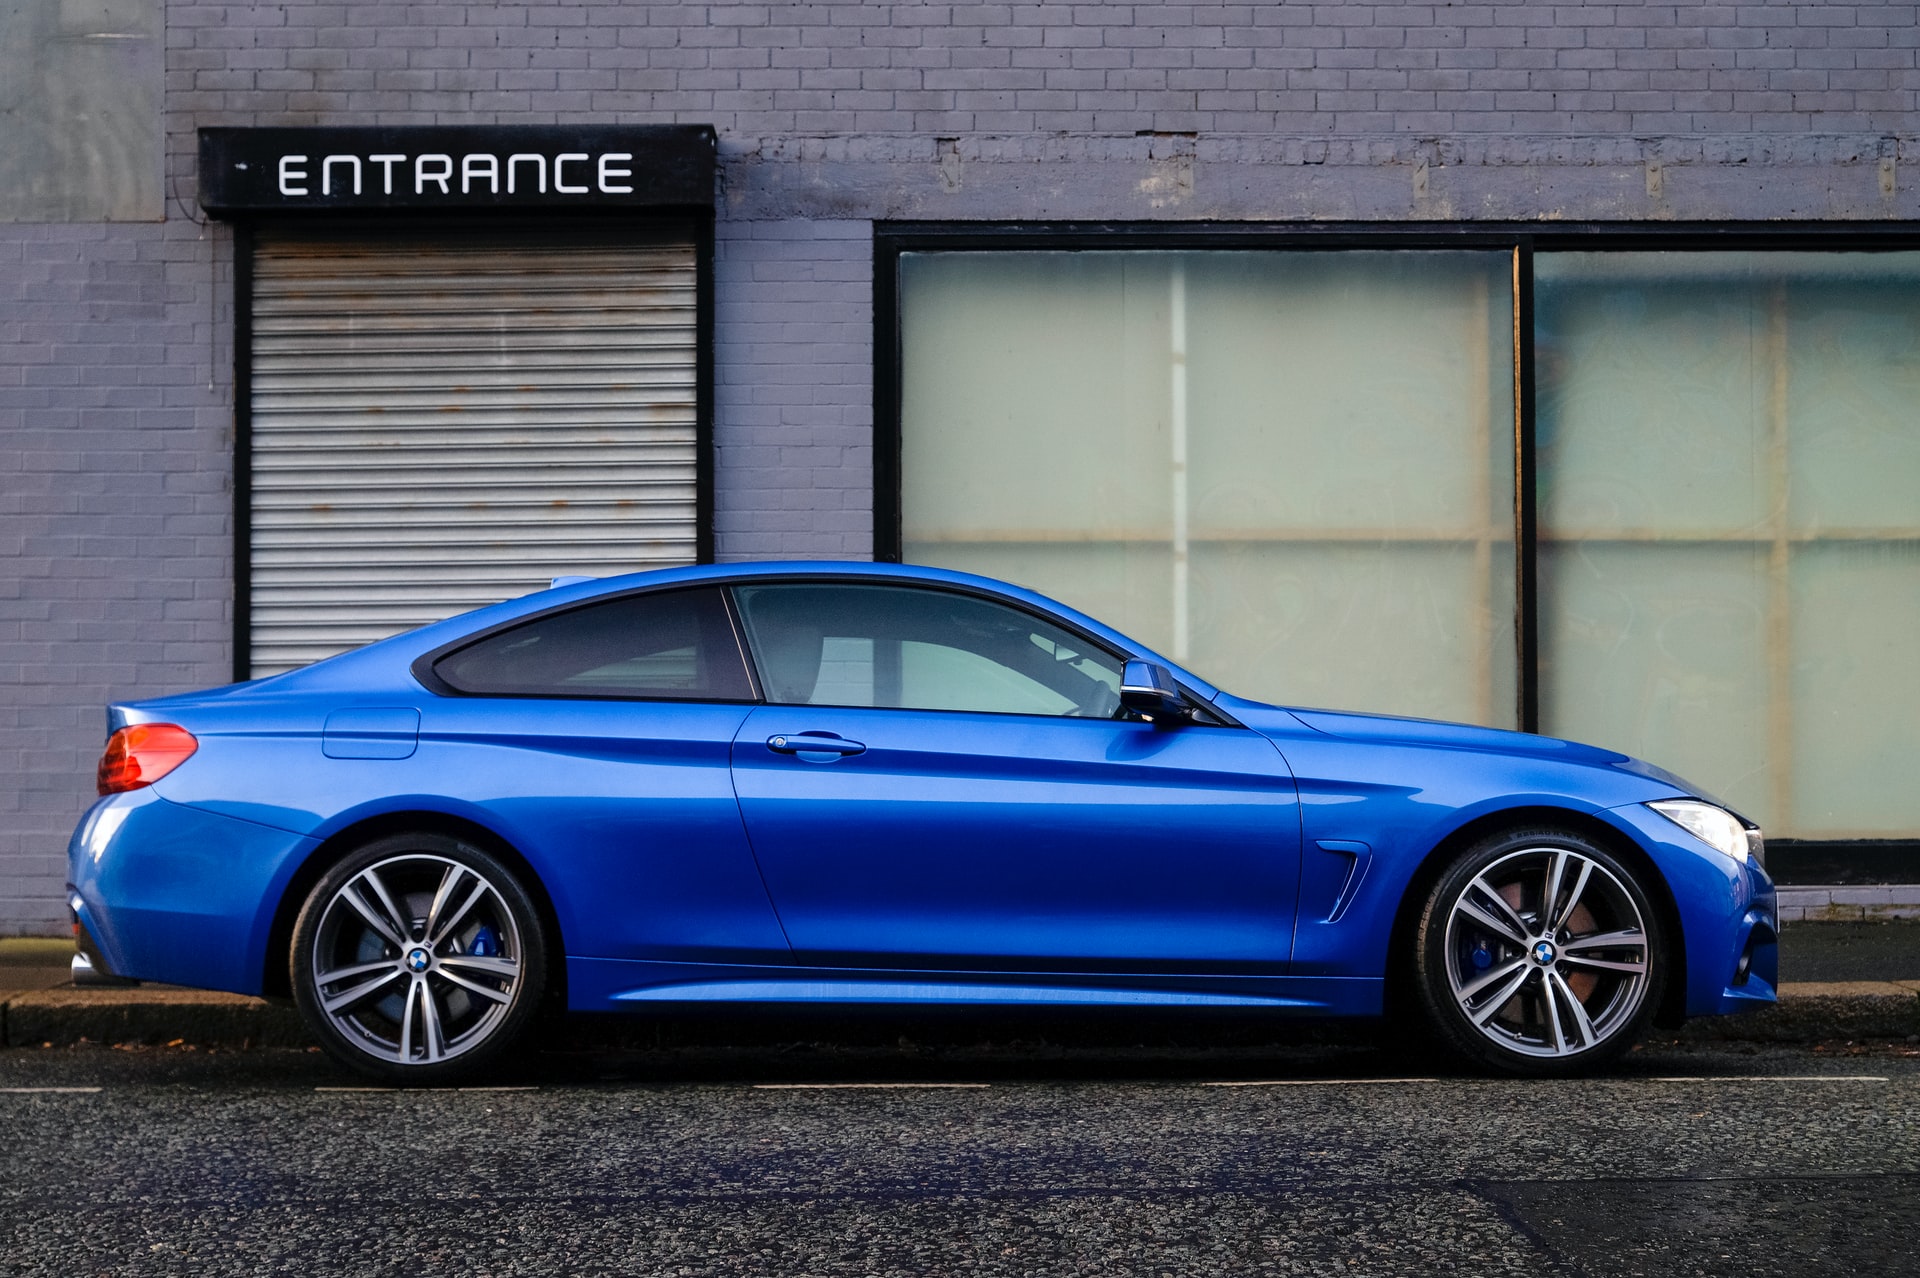
We’ll walk you through these steps using this cute little Fiat 500 as an example:
Color correct your car photo
One of the most simple edits you can make to your car dealership photos is to enhance the colors a little. You can play around with things such as:
Saturation
Temperature
You can do this in most simple photo apps or desktop applications, straight on your phone or your laptop — there’s no need to use any other fancy tools. These simple edits will do; as mentioned before, we don’t wanna overdo it.
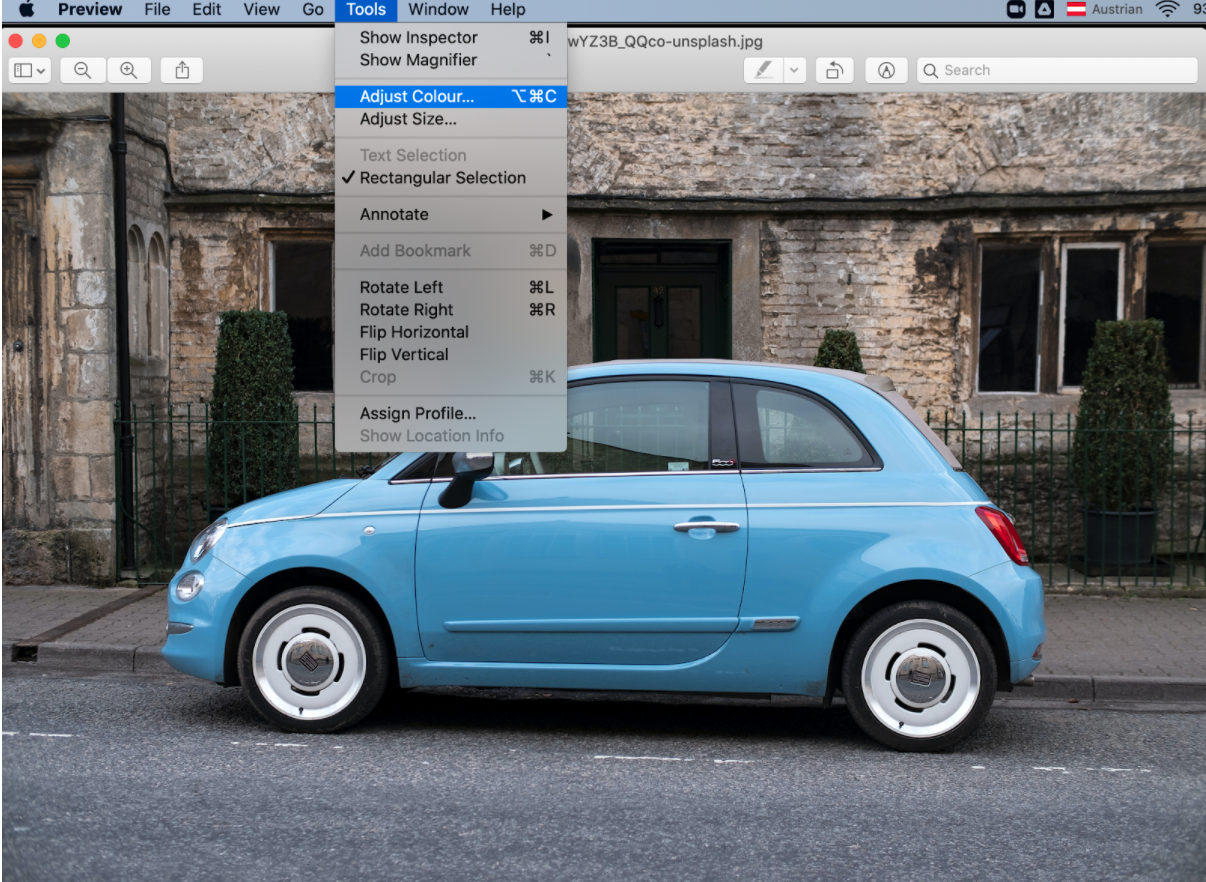
We opened up the photo on our Mac and went to > Tools > Adjust Color. Then we cranked up both the saturation and the temperature to these settings (originally, the dials were in the middle).
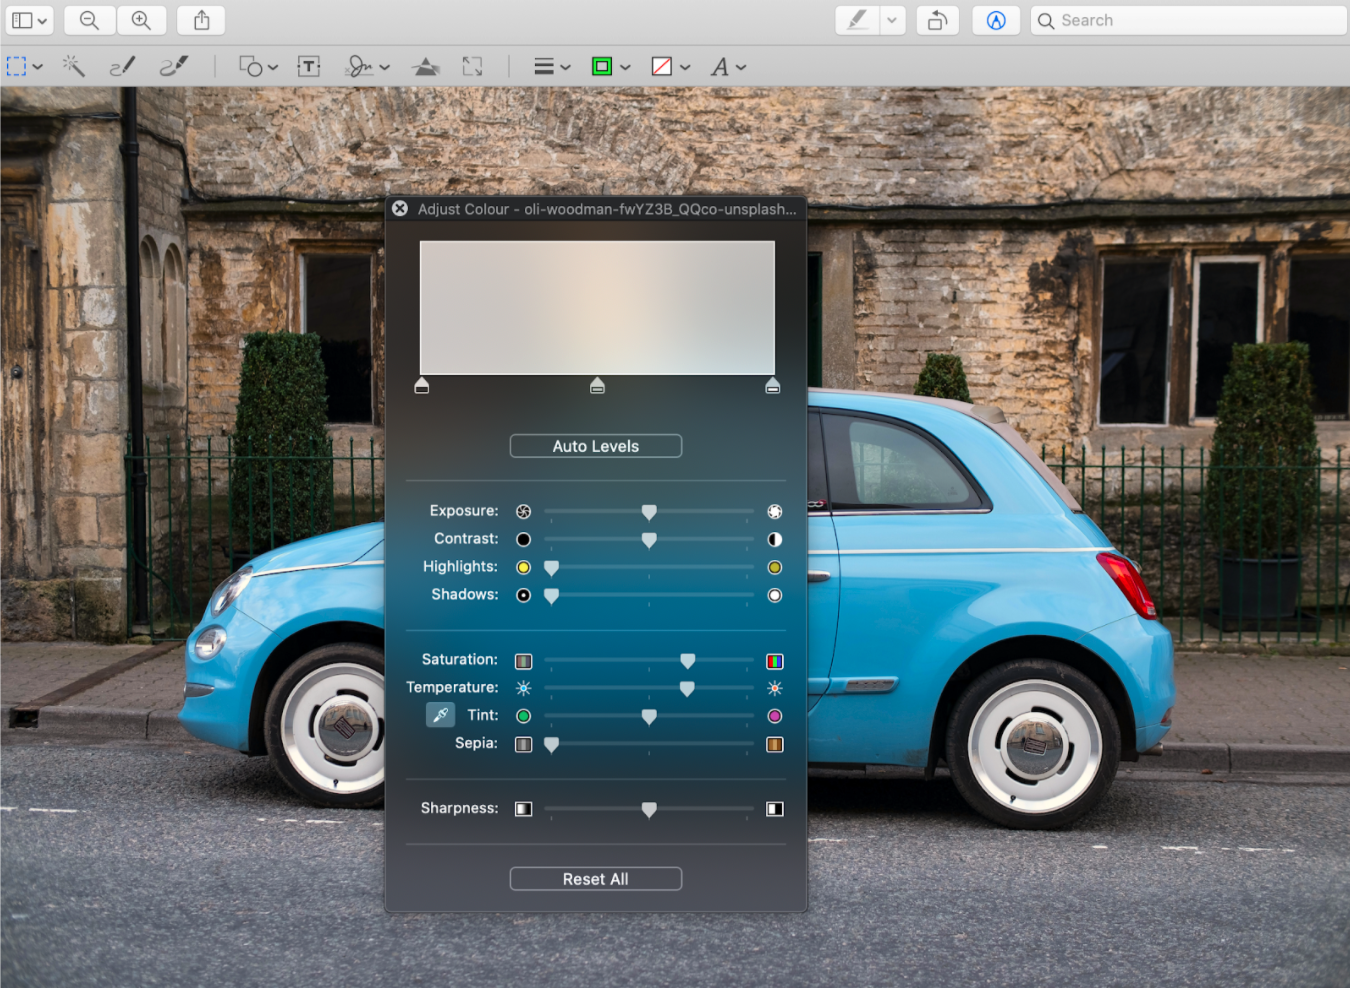
If you take a closer look at the background, you will see that the bricks and the trees have become warmer, as if there was some sunshine on that day. That’s what the temperature does; it makes the photo warmer.
If your brand is warm and friendly, this may be the look you want to opt for. On the other hand, if your car dealership wants to give off a cool, slick vibe, you might set your temperature to lower.
The saturation affects how strong the colors come across. So if you compare the first photo with this one with the dials set higher, you might notice that the blue of the car is brighter — which makes the car pop a little more and sets it apart from the background.
Pretty neat, huh?
If you want to go even more professional, you can check out photo editing tools such as Lightroom and Photoshop for color correction. To find out more, check out our post about color correction and changing the mood of your images. But before you do that, let us show you an even quicker way of doing things below.
Add your logo or a price tag
Alright, now that we’ve got the colors of your car popping, it’s time to add that sprinkle of professionalism. Plus, it’s the best way to position your brand and stay top of mind. So it’s time to add a logo to your photo.
To do this, simply:
Hop on over to Canva and choose > New Design.
You can now add your custom size of the image you’ll need — we went for 6000 x 4000 pixels as it’s the same as the photo we picked.
Go ahead and drag and drop your car photo into > Uploads in the left-hand sidebar. It will appear on the canvas by clicking on it — drag the corners to adjust it to fit the canvas.
Now go ahead and upload your Logo by repeating the step to drag and drop your logo > Uploads. Ideally, the logo should have a transparent background; if it doesn’t already, hop on over to remove.bg to get rid of it in seconds.
-
Once it’s uploaded > click on the logo, it will appear on top of the canvas; you can move its position by clicking and dragging it. Or make it bigger and smaller by clicking and dragging the corners of the logo. We didn’t have a logo; maybe you don’t either and want to add a price tag instead? Great stuff.
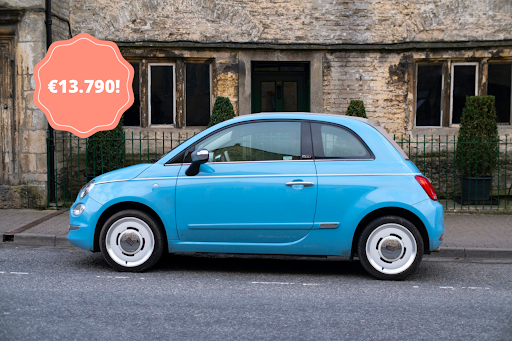
Simply click on > Elements > and type ‘Logo’ into the search bar. Choose an option to your liking; we went for this peachy waved circle.
Then go to the left-hand bar and select > Text > Add a heading. Next, adjust the color and size in the top bar. And once you’ve set it to your liking, go ahead and click and drag over the logo and price so that you can move it around; by clicking on the corner, you can make it bigger or smaller.
How to automate car dealership photography editing
The above edits are amazing and achieve great results, but if you want to skip all the manual work, we also have a sure-fire way of automating the editing process. Car dealerships (such as yours) often have dozens if not hundreds of cars to photograph and edit. Here’s the shortcut you’ve been looking for:
2. Go ahead and drag and drop the photo of your car onto the website.
3. We did it with our lovely little blue Fiat 500, and in seconds Designify started doing its magic. See the glitter?
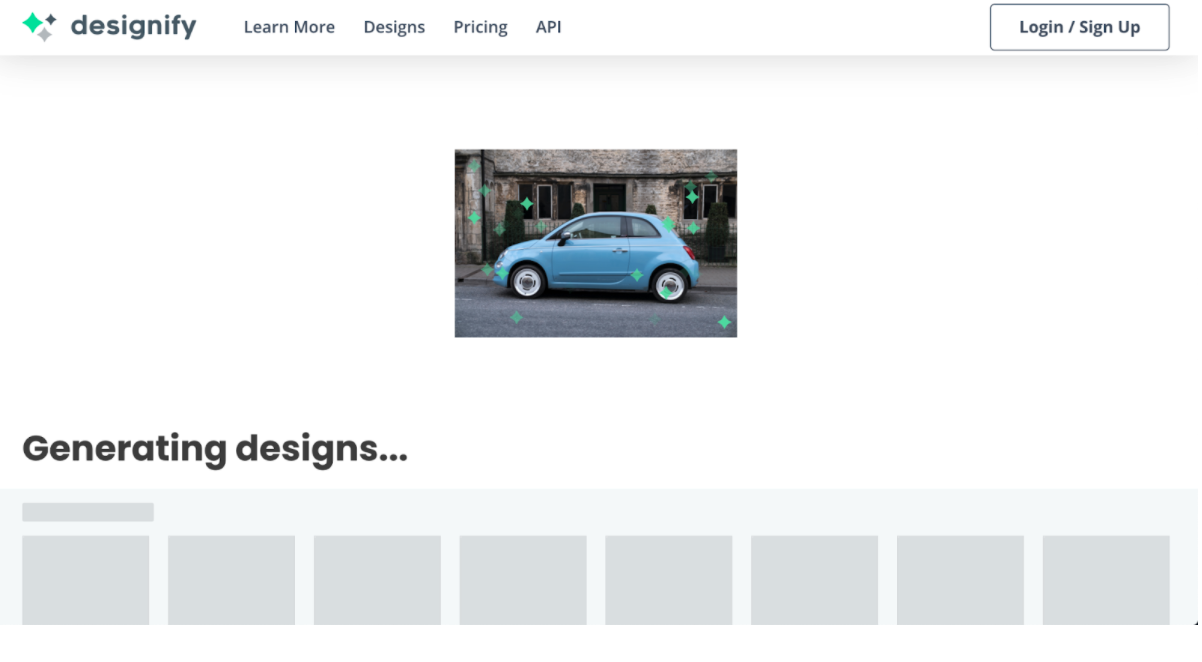
4. Designify is backed by super-smart AI that will remove your car’s background and even detect you’ve just uploaded a car. Once the AI has done its magic, you have a ton of car dealership photo designs you can choose from.

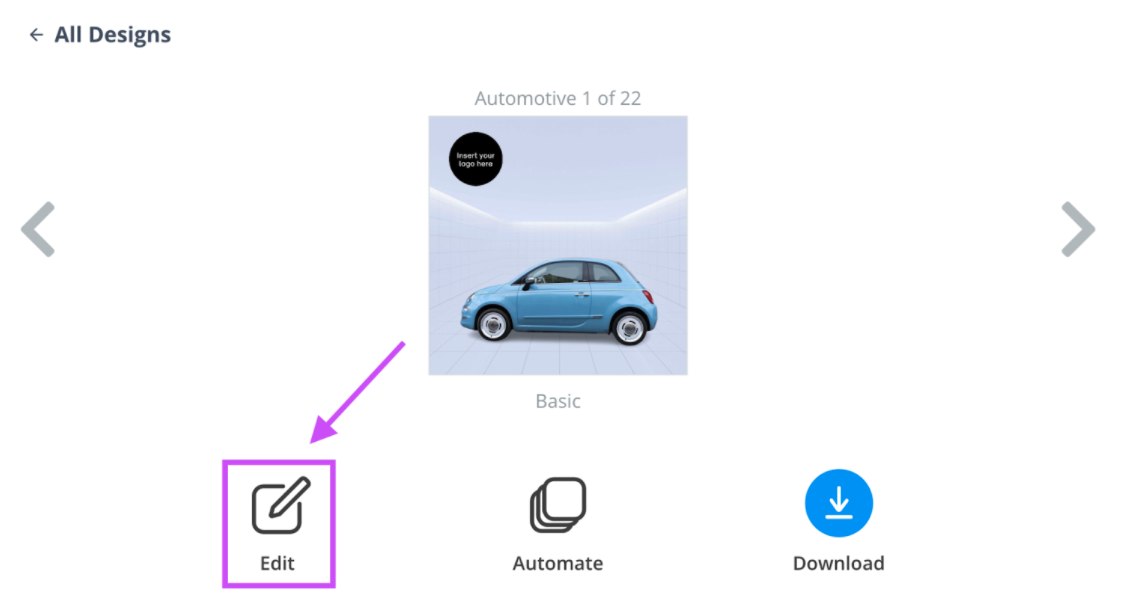
5. Once you like one, go ahead and select it — you can then also switch and scroll through the different styles and see a preview of the designs.
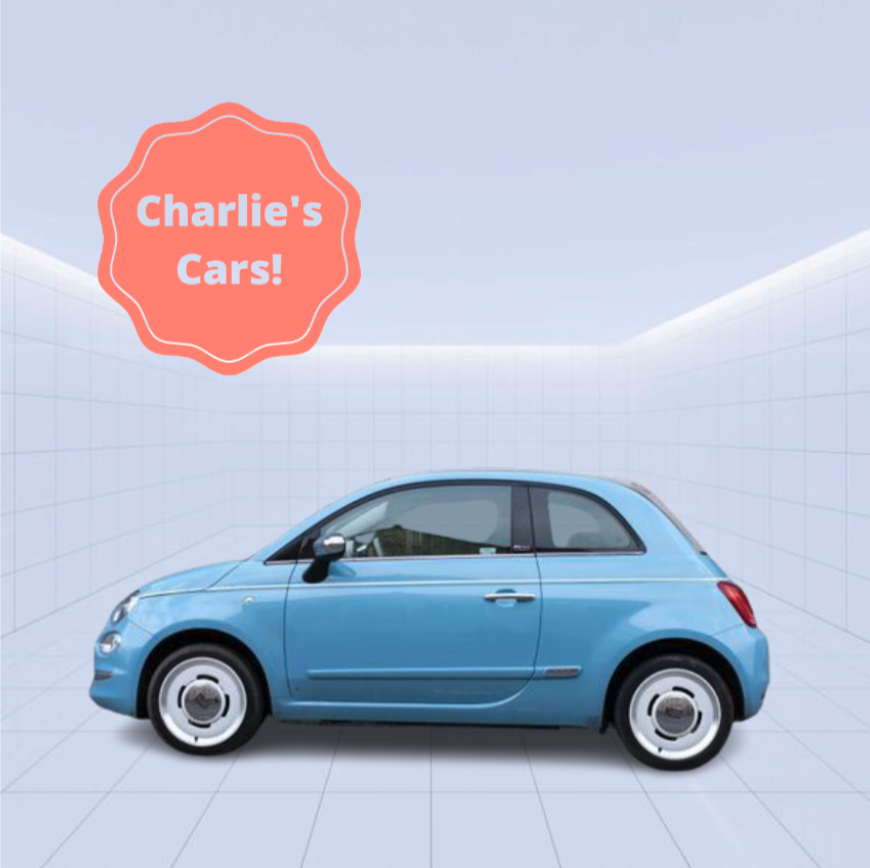
We went for the basic design because we feel this is quite versatile and clean. If you take a closer look at the design, you will see that Designify did many things we already talked about — within seconds. It color-corrected your photo and enhanced the car’s colors; it put a placeholder there for your logo to make it look more professional. And last but not least, it switched up the background and added a shadow to your photo. But best of all? You can still make even more edits.
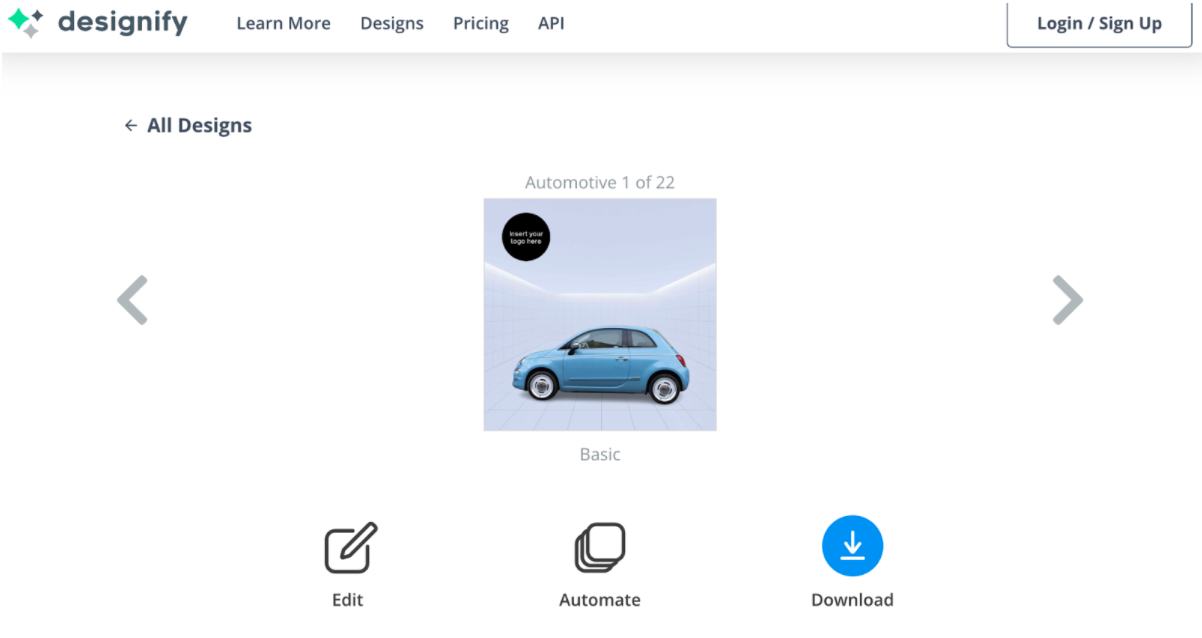
Want to make some more refined edits? Go ahead and hit > Edit.
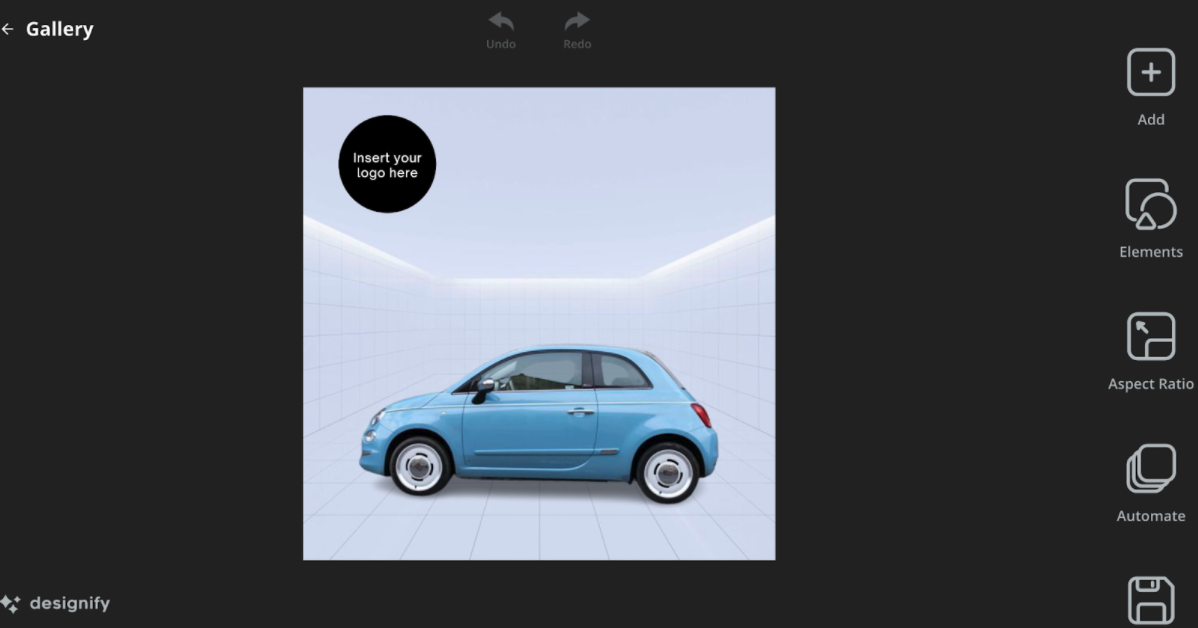
Now an edit mode like this will appear. Here you can make more refined edits, implement color correction, add or remove your logo or pricing, and much more. Just like you could do in your photo app and Canva — but here you not only have everything in one place, you can automate the editing process by then applying the edits to a ton of photos.
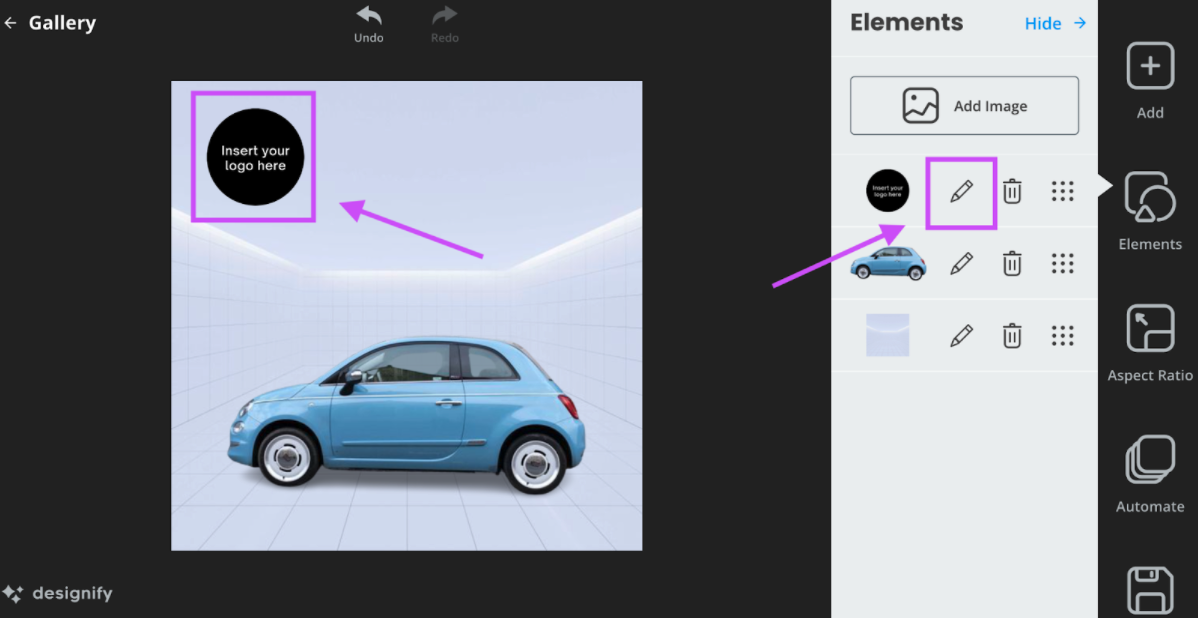
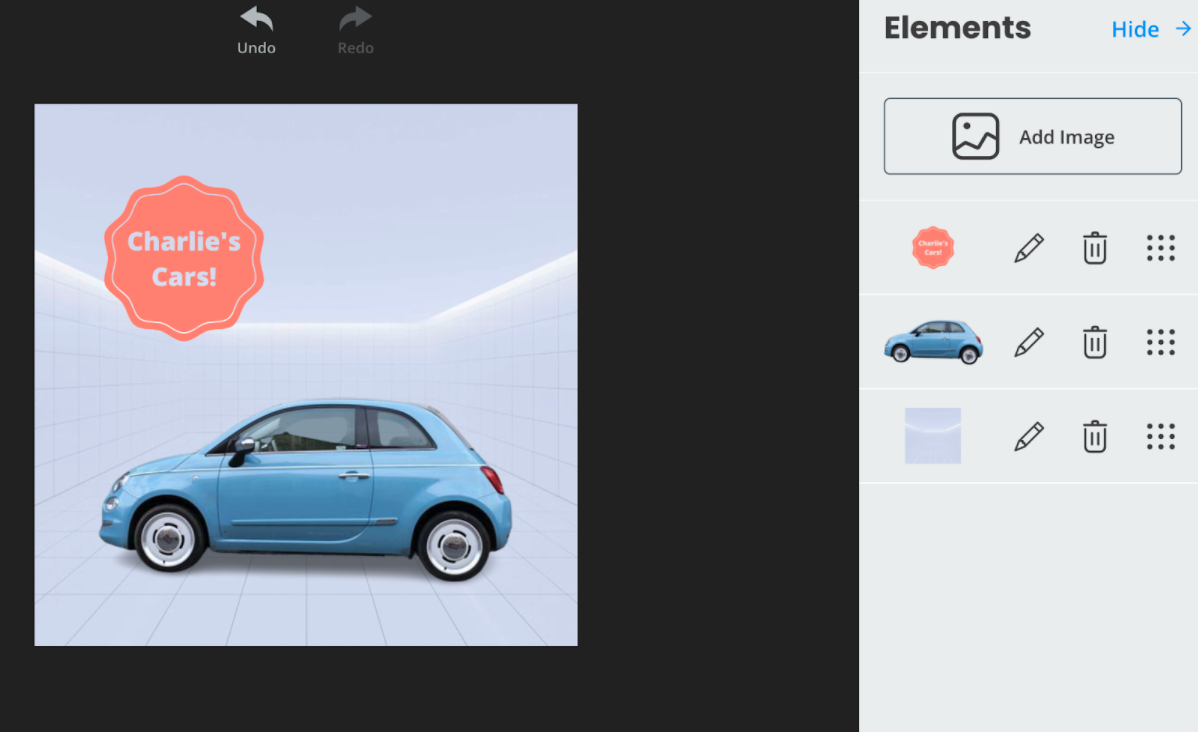
6. By clicking on > Elements, you will see a menu appear with all the elements visible in the design — such as the background, the logo, and the photo of the car. Each element will have its own so-called ‘layer,’ which means you can edit them all separately.
7. To add your logo, go ahead and click on the Insert your logo here layer and click on > Pencil icon.
8. Then go ahead and click on the button > Change next to the ‘Insert your logo here’ image. Now go ahead and upload your very own logo.
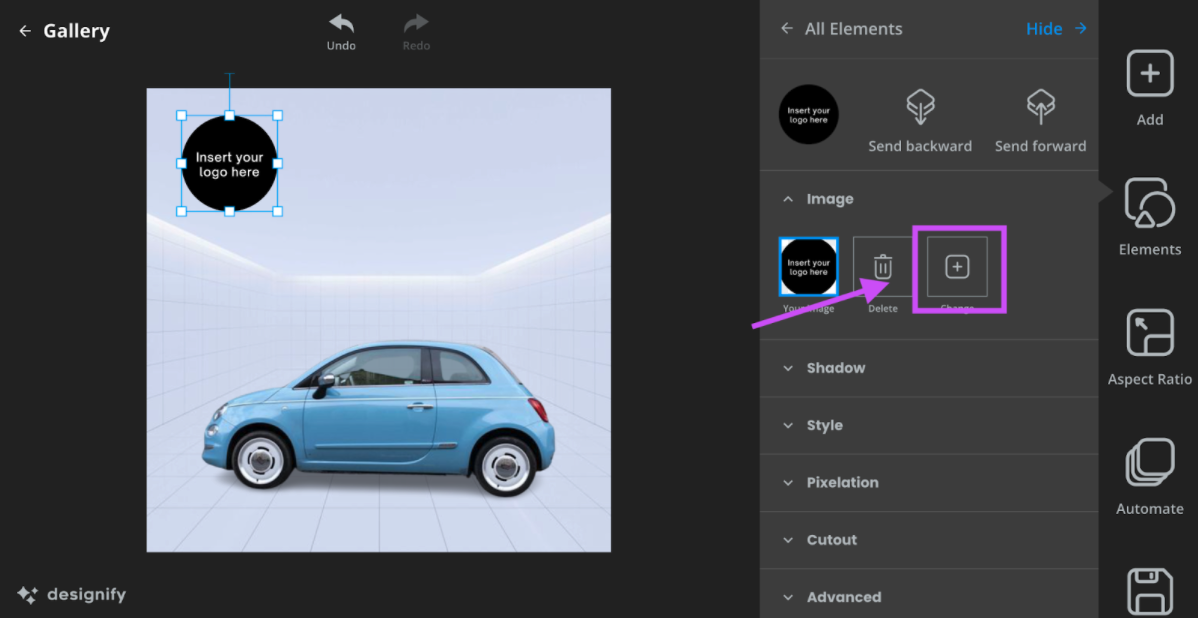
9. Ours ended up looking like this:
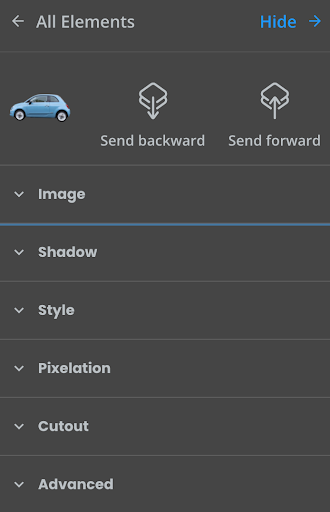
How to add a shadow to your car dealership photo
Now that you’ve got the branding sorted, it’s time to make some other adjustments. Let’s take a look at the shadow below the car. You can edit it within Designify in seconds. Simply go ahead and:
Click on the car, and the right sidebar will open up.
Now go to > Shadow.
-
You can adjust the dial to your liking. For example, moving the dial to the far right will make the car’s shadow darker, moving it to the left lighter and less prominent. We adjusted it to about 75% (¾ to the right), and it looks like this. Pretty neat, right?
There are a ton of other functions you can use in Designify to edit your photos; things such as changing the background, style, pixelation, cutout, how your car fits into the design, and more. Play around with this sidebar, and see the edits come alive in the preview to the left.
How to automate editing your car dealership photo
Now this, my friends, is the juiciest bit of all — not only can you edit your car dealership photos in seconds. By going to > Automate, you can apply the same editing settings to up to 10 photos online. Alternatively, you can apply the settings to any number of images using Designify's API upload.
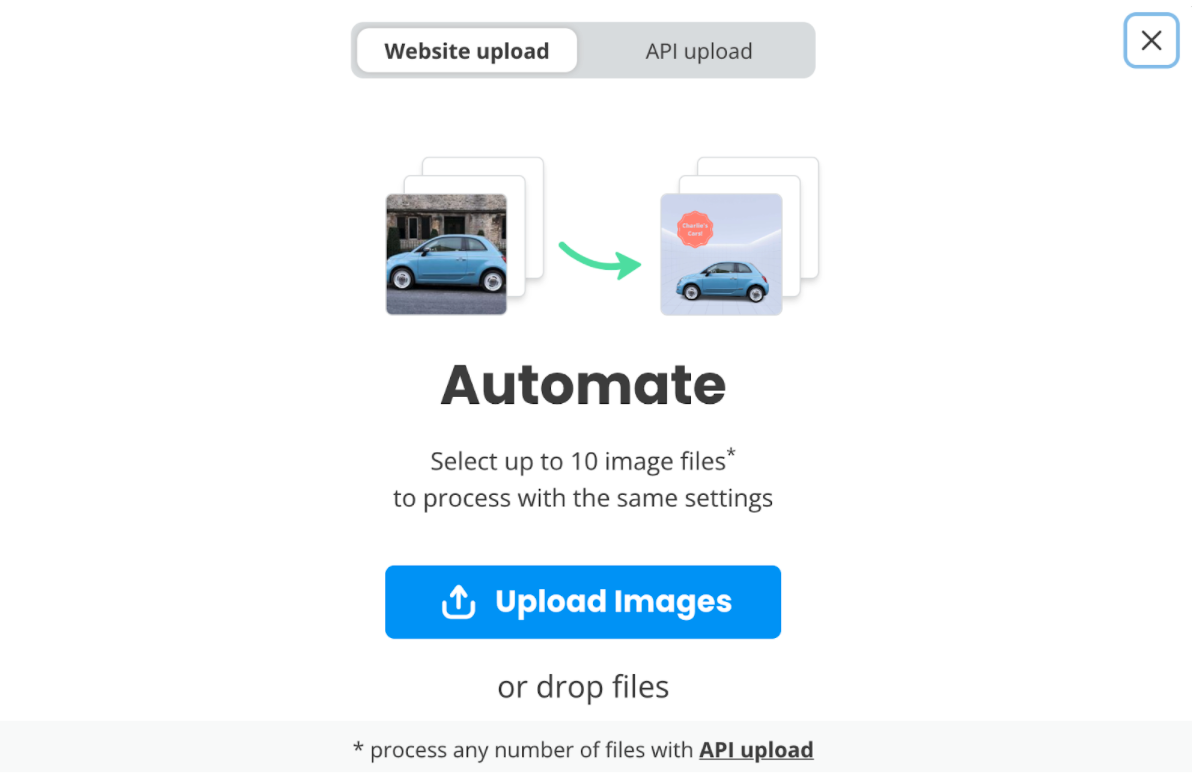
We tried it out with these two, which turned out perfectly — literally within 3 seconds.
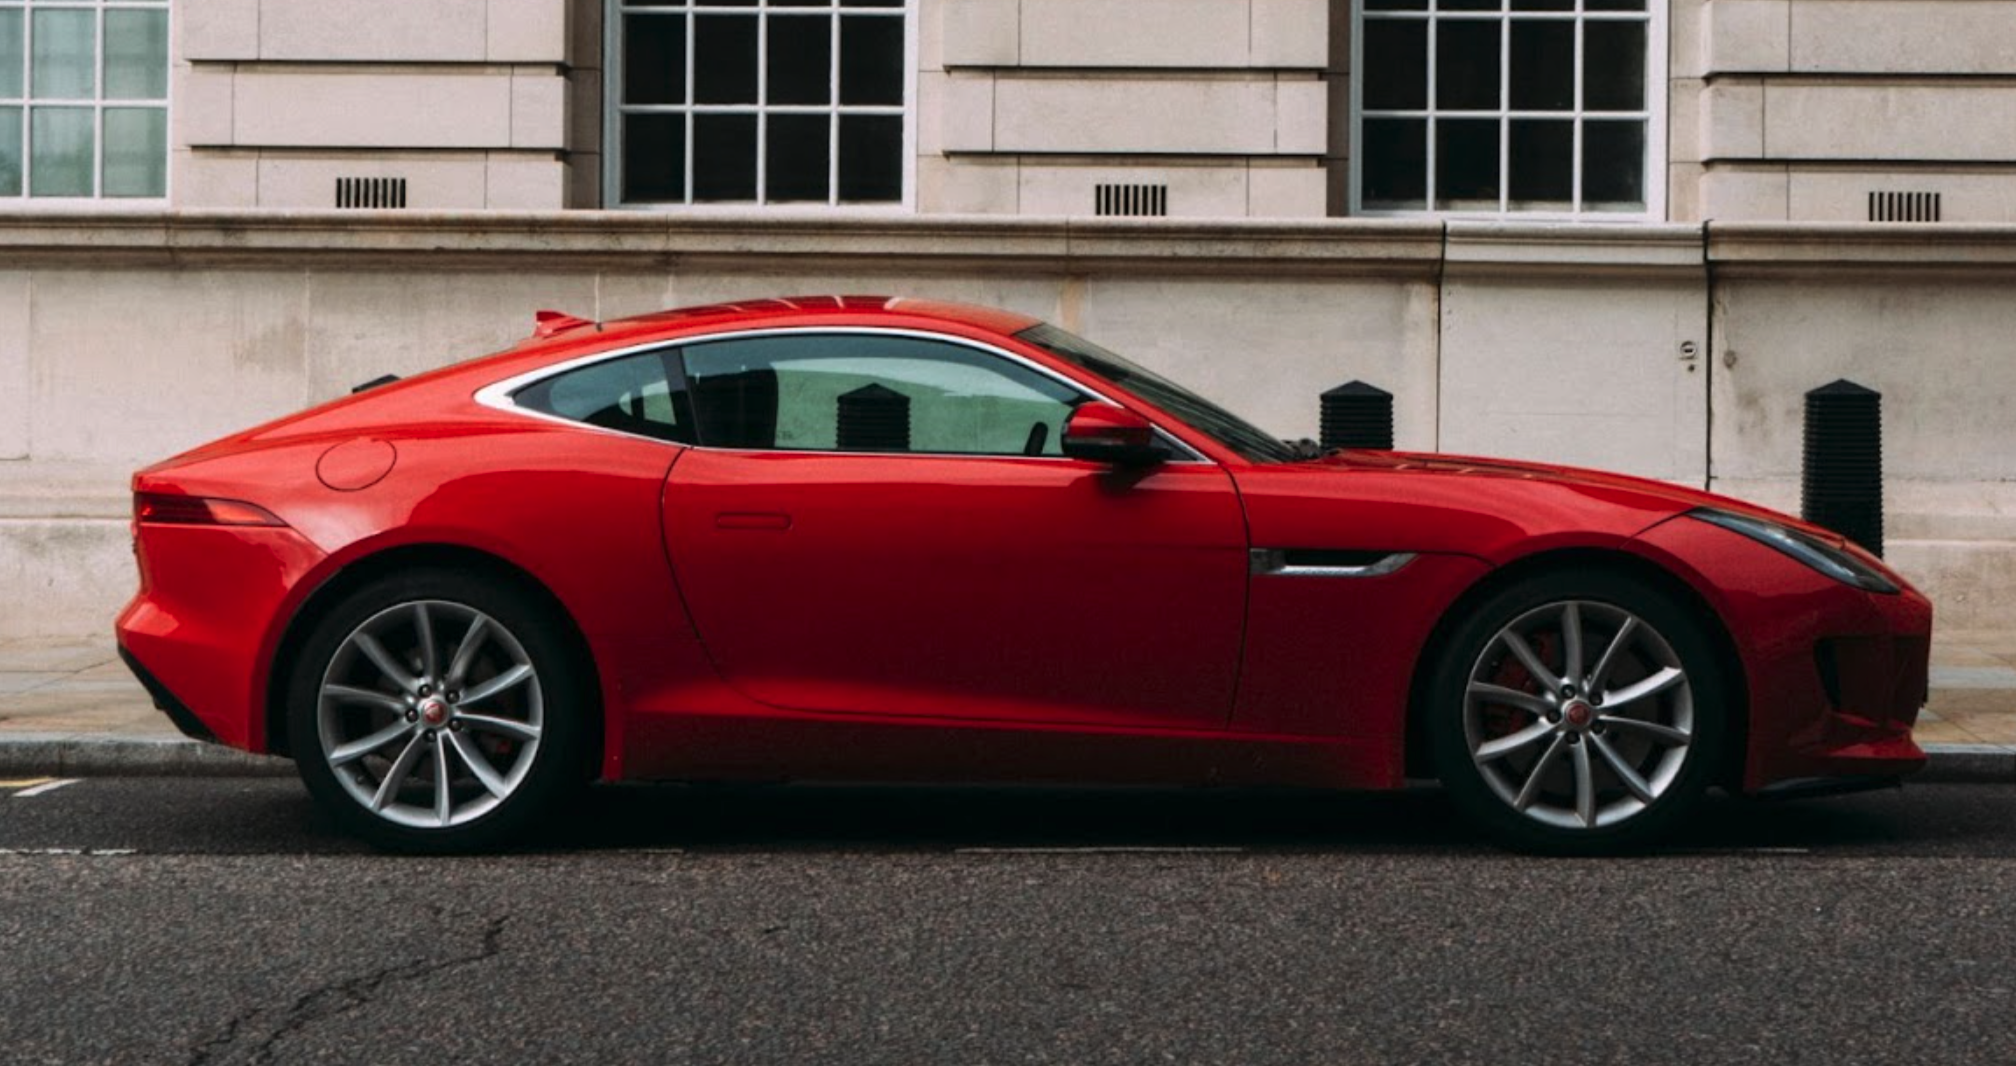
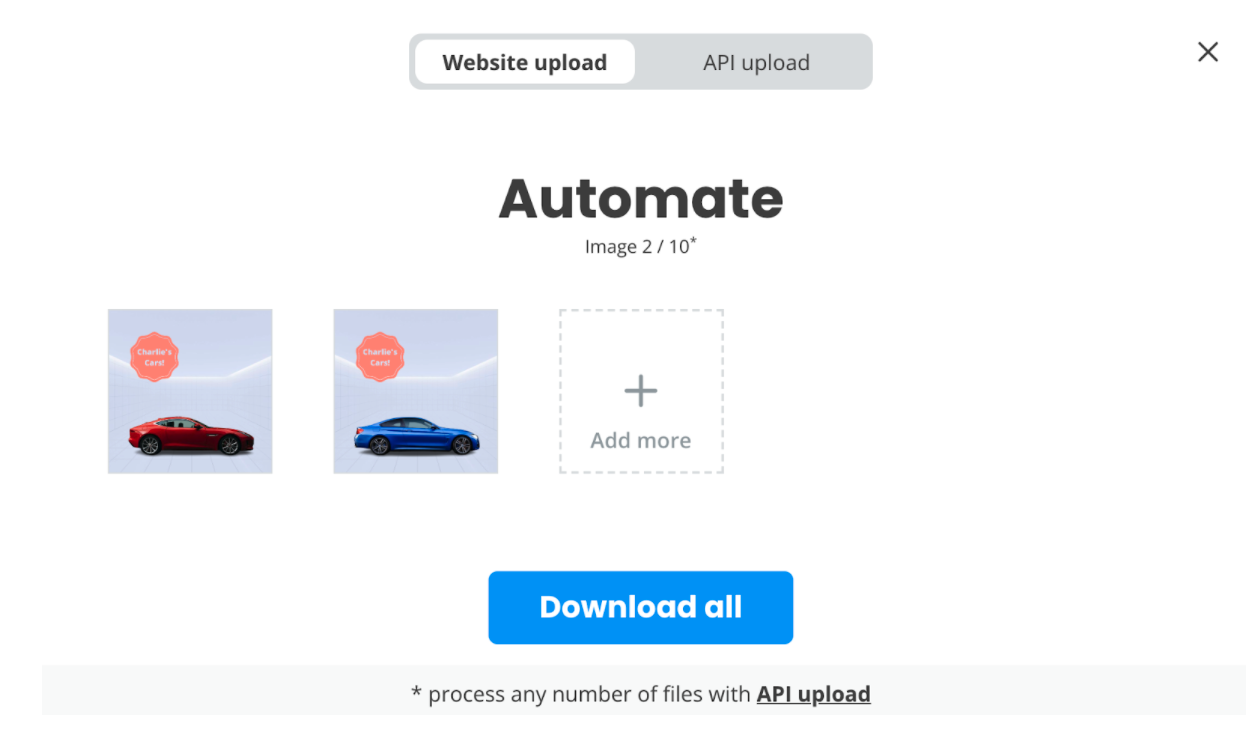
If this isn’t a car dealership owner’s dream, we don’t know what is.
Want to start creating car dealership photos that sell in seconds? Head to Designify and get started today.
Comments
No comments so far.