Starting an e-commerce store has never been easier. And it turns out that product photos are the most important factor for customers to buy. Even more so than your social media account.
But how do you go about editing your product photos so that your images sell? We’ve got you covered. This in-depth guide walks you through which software and equipment to use as well as how to cut your workflow from hours to minutes.
Before we dive into how to edit product photos, let’s talk about why you shouldn’t over-edit and how to shoot product photos so you can keep editing to a minimum.
If you’ve already shot your photos, skip directly to the section about choosing an editing software.
Why you shouldn’t over edit product photos
Let’s be real, we can all get carried away when it comes to editing. There are so many cool filters, effects, contrasts and colors you can play around with. But over-editing product photos is never a good idea — why?
Because it’s not authentic and doesn’t give a realistic view of the product. Which in turn means that the product that shows up at your customer’s door might not meet their expectation because the color is off or it looks more perfect. Avoid over-editing your photos to make sure you don’t over-promise or set wrong expectations. Plus who doesn’t love natural photos and an authentic brand?
All the more reason why you should focus on shooting really great product photos in the first place.
Product photography: how to shoot product photos to keep editing to a minimal
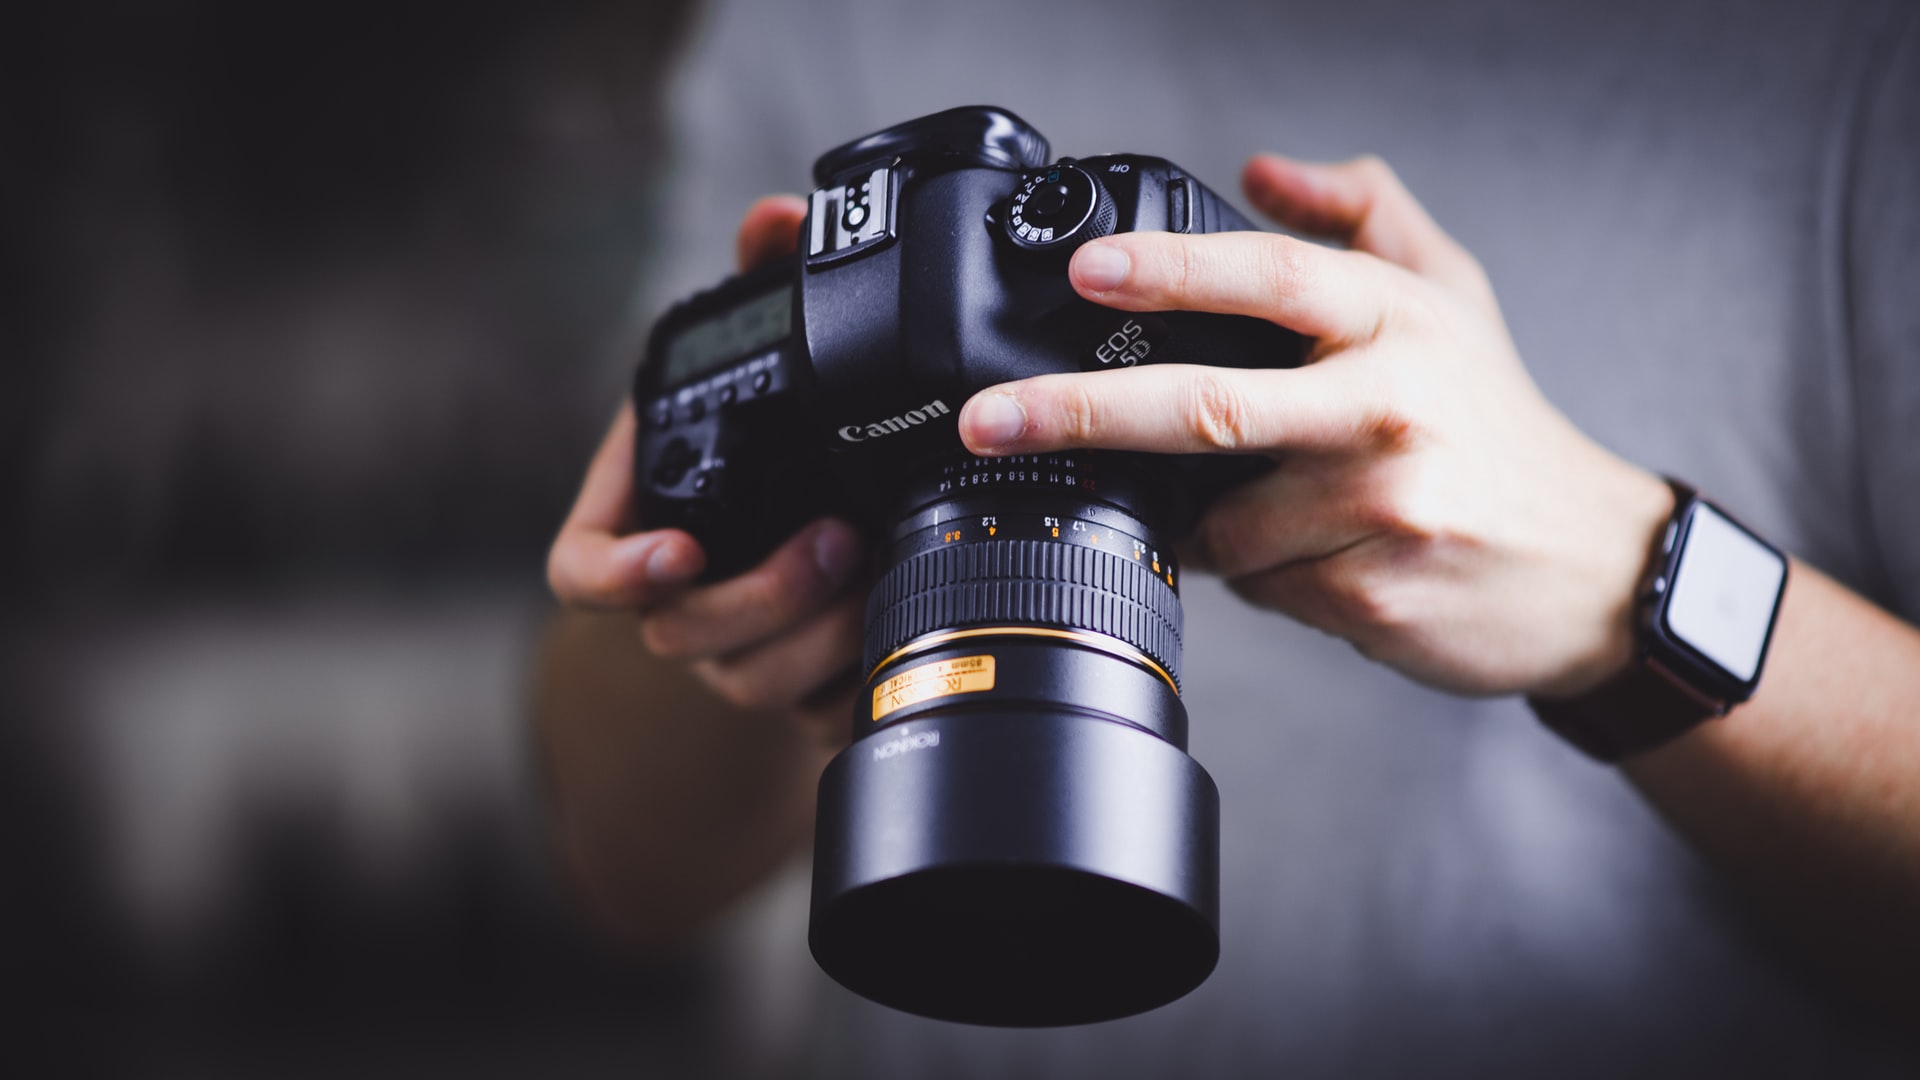
Our best-kept secret to editing sick product photos: make sure you get a great shot in the first place. To be honest, there’s only so much you can tweak and fix with editing. Shooting great product photos will save you time and hassle when you’re editing. This is how to go about it:
1. Use a tripod
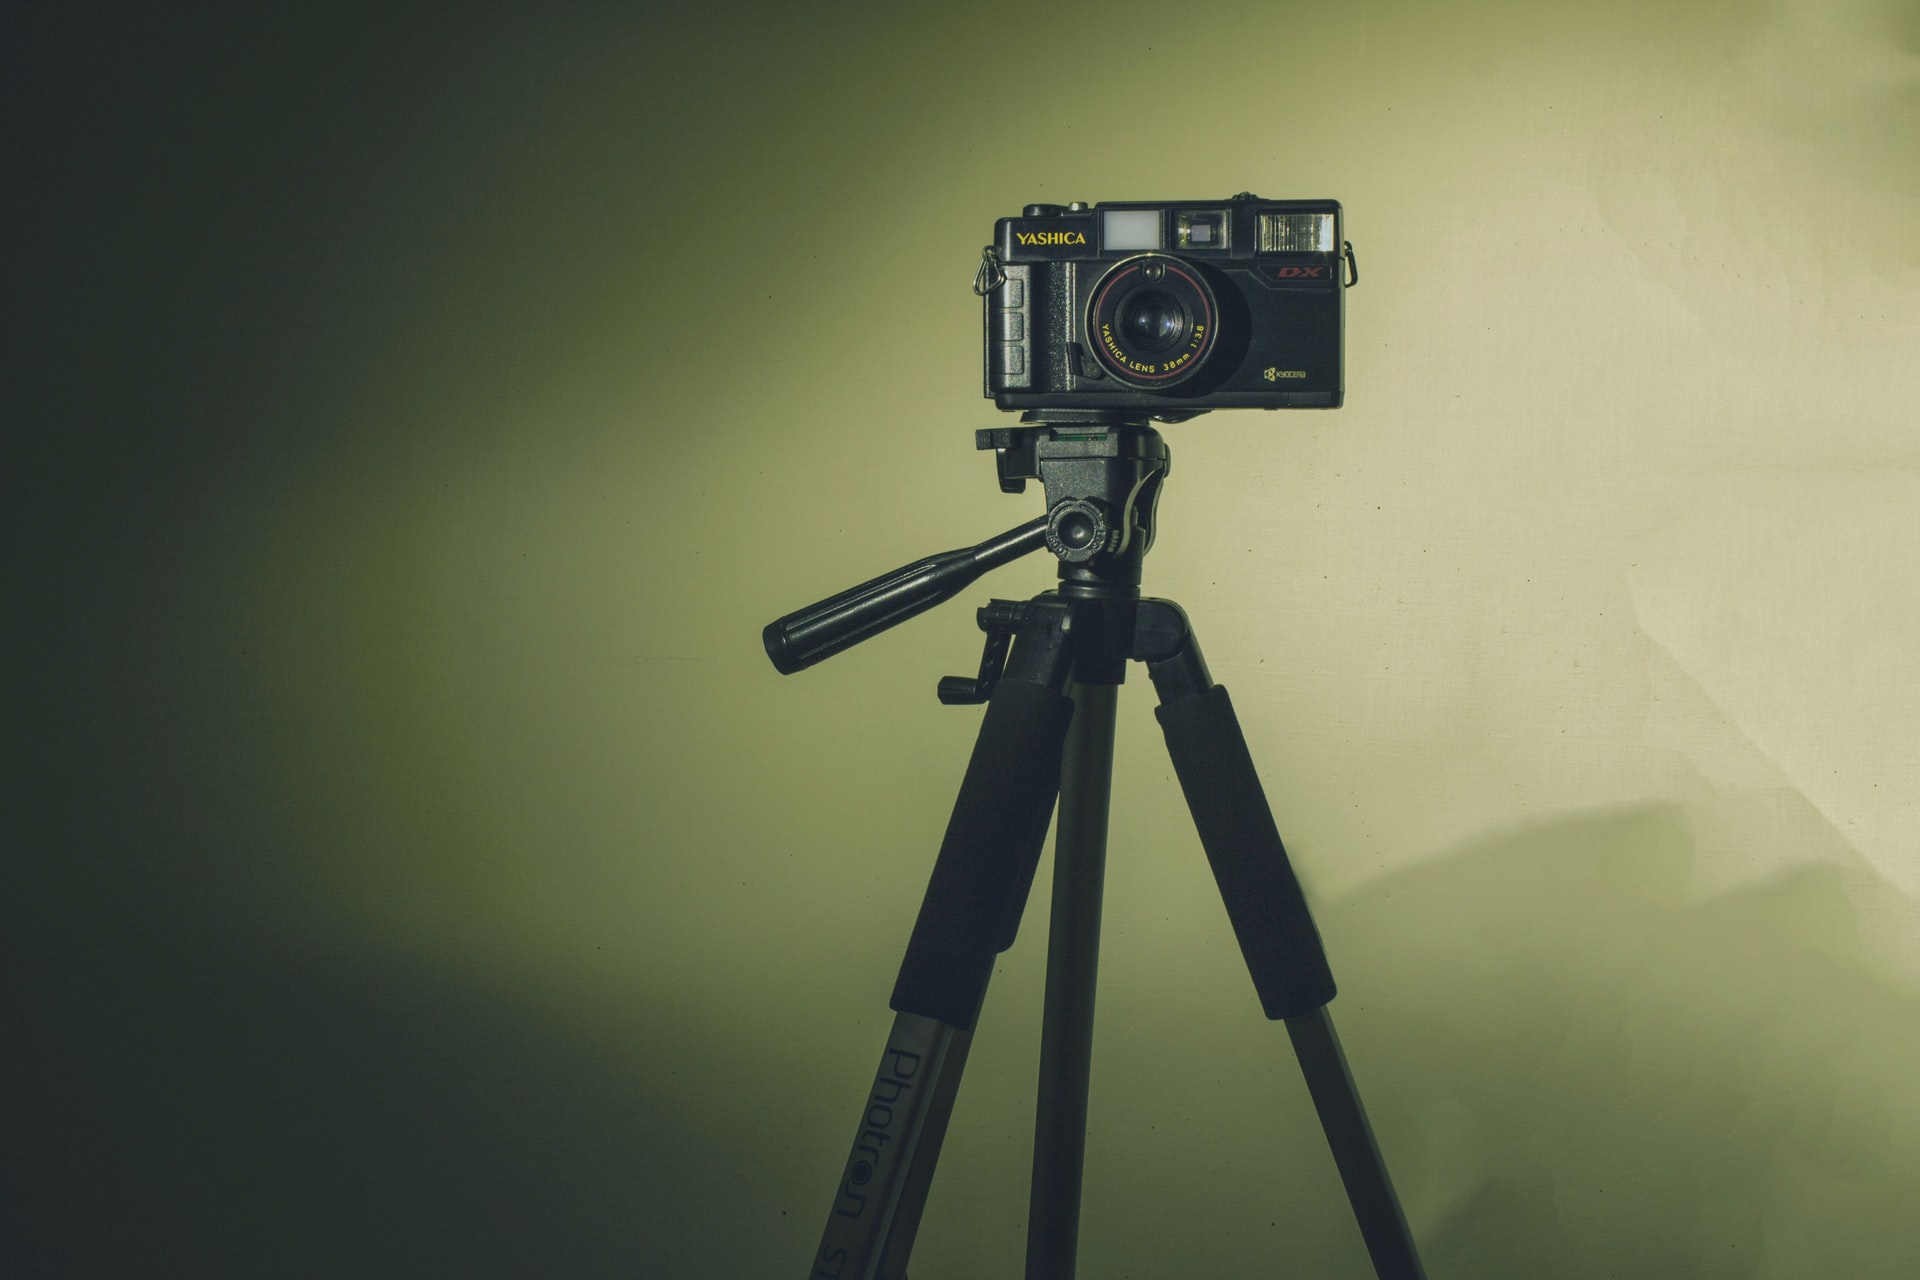
When you’re shooting product photos using a tripod really is a must. It will allow you to shoot all of your images from a consistent angle and avoid blurry images because of your handshaking.
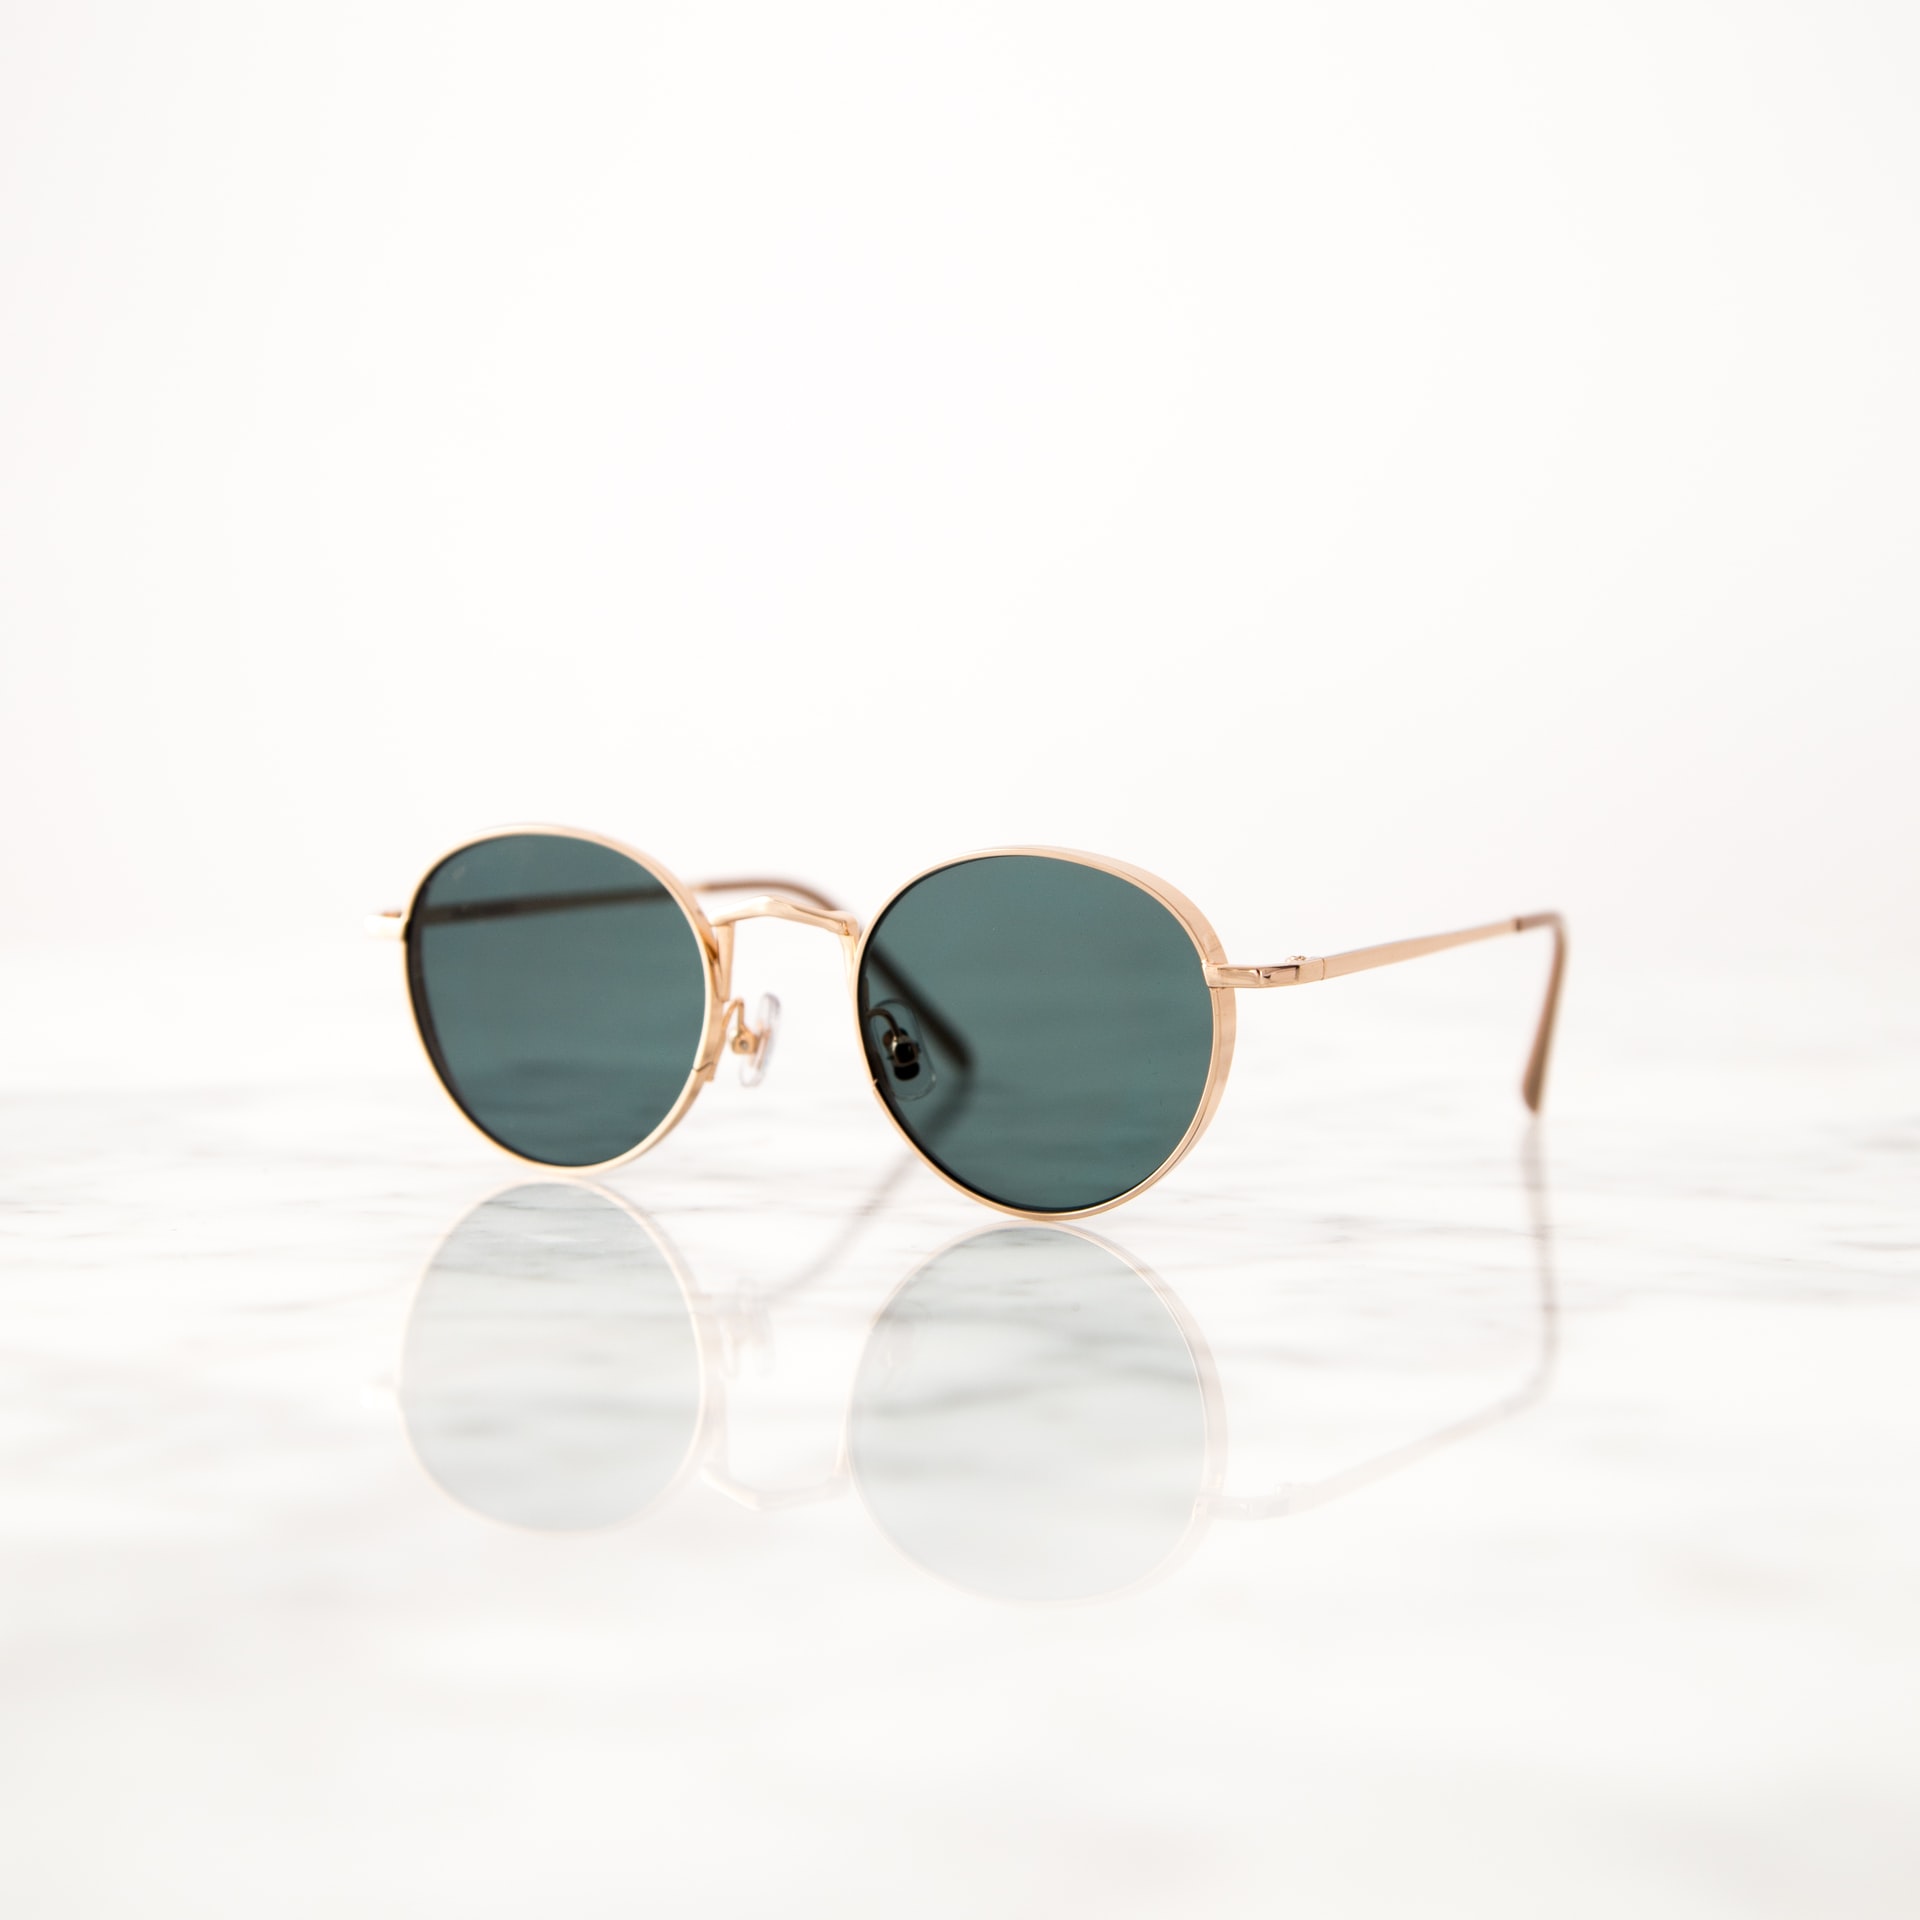
2. Use a sweep to shoot white background product photos
A white product photo background is a staple with many brands and is also something we recommend doing, unless of course it really goes against your brand’s look and feel. If you want to shoot a white background for a product photo, you should use a so-called sweep. This goes for any colored background by the way.
A sweep is a large piece of thick paper which you attach to a flat surface - either a wall or a fixed board - at 90 degrees.
By doing this you eliminate the harsh line between the wall and the flat surface. The background now almost seems infinite.
Shooting a white background is standard practice when it comes to product photos for good reason. It’s timeless and it's easy to replace a white background with different colors or designs. Editing out a colored or textured background can be a lot more of a hassle. So shooting with a white sweep doesn’t necessarily mean you will keep that white background, but it will for sure make things a lot easier and more efficient when it comes to editing.
3. Clean your products
Before you shoot a product, make sure it’s squeaky clean. Remove any dust or fingerprints - this will save you a lot of time when you’re editing.
4. Choose a standardized angle of shooting
When it comes to product photos, consistency is key. Just think about when you’re scrolling through your favorite online store — do the images have different backgrounds? Are the items pictured from different angles (especially in the overview)? Probably not. You’ll soon see that all of the biggest online stores have one thing in common: their product photos are consistent.
Consistency and standardized photos make sure that:
Your brand is perceived as professional
Your audience doesn’t get overwhelmed or distracted, the focus remains on the product
You can create a consistent look and feel in line with your brand — which in turn your customers will recognize time and time again
This doesn’t mean you cannot get experimental with your product photo backgrounds or angles of shooting. It’s about finding your look and keeping it consistent throughout your online store and marketing channels.
Choosing a standardized angle for shooting your photos is one of the steps to achieving just that. A standard angle used for many items is 45 degrees because you get to see the front and side of the product, also making the product photo more dynamic. Others choose straight 90 degree shots to keep things even more clean in their storefront and add more angled views once you click into the item. Play around with angles and see what works best for your items.
5. Choose the right source of lighting
Lighting is everything when it comes to photography. And generally speaking, you have two options when it comes to how you’re going to light your product photos:
Natural lighting
You use natural daylight for your product images. This means you’re going to shoot your photos either outdoors or close to a natural light source, like a window.
Natural light, as the name suggests, is great for creating natural and organic-looking photos similar to what you would see in the real world. The downside to using natural light is that it can quickly change and you can’t control it. A cloud passes over or the sun starts to set and all of a sudden you have a darker image or warmer lighting.
We recommend using natural light when:
Having natural photos is vital to your brand and enhances its look and feel
You don’t have a huge range of products; aka. 1-10 pieces that can be shot within a day
You don’t have the budget or equipment for artificial lighting
Artificial lighting
Your second option, and quite frankly one of the more popular options when it comes to creating product photos (especially for large product ranges) is artificial lighting.
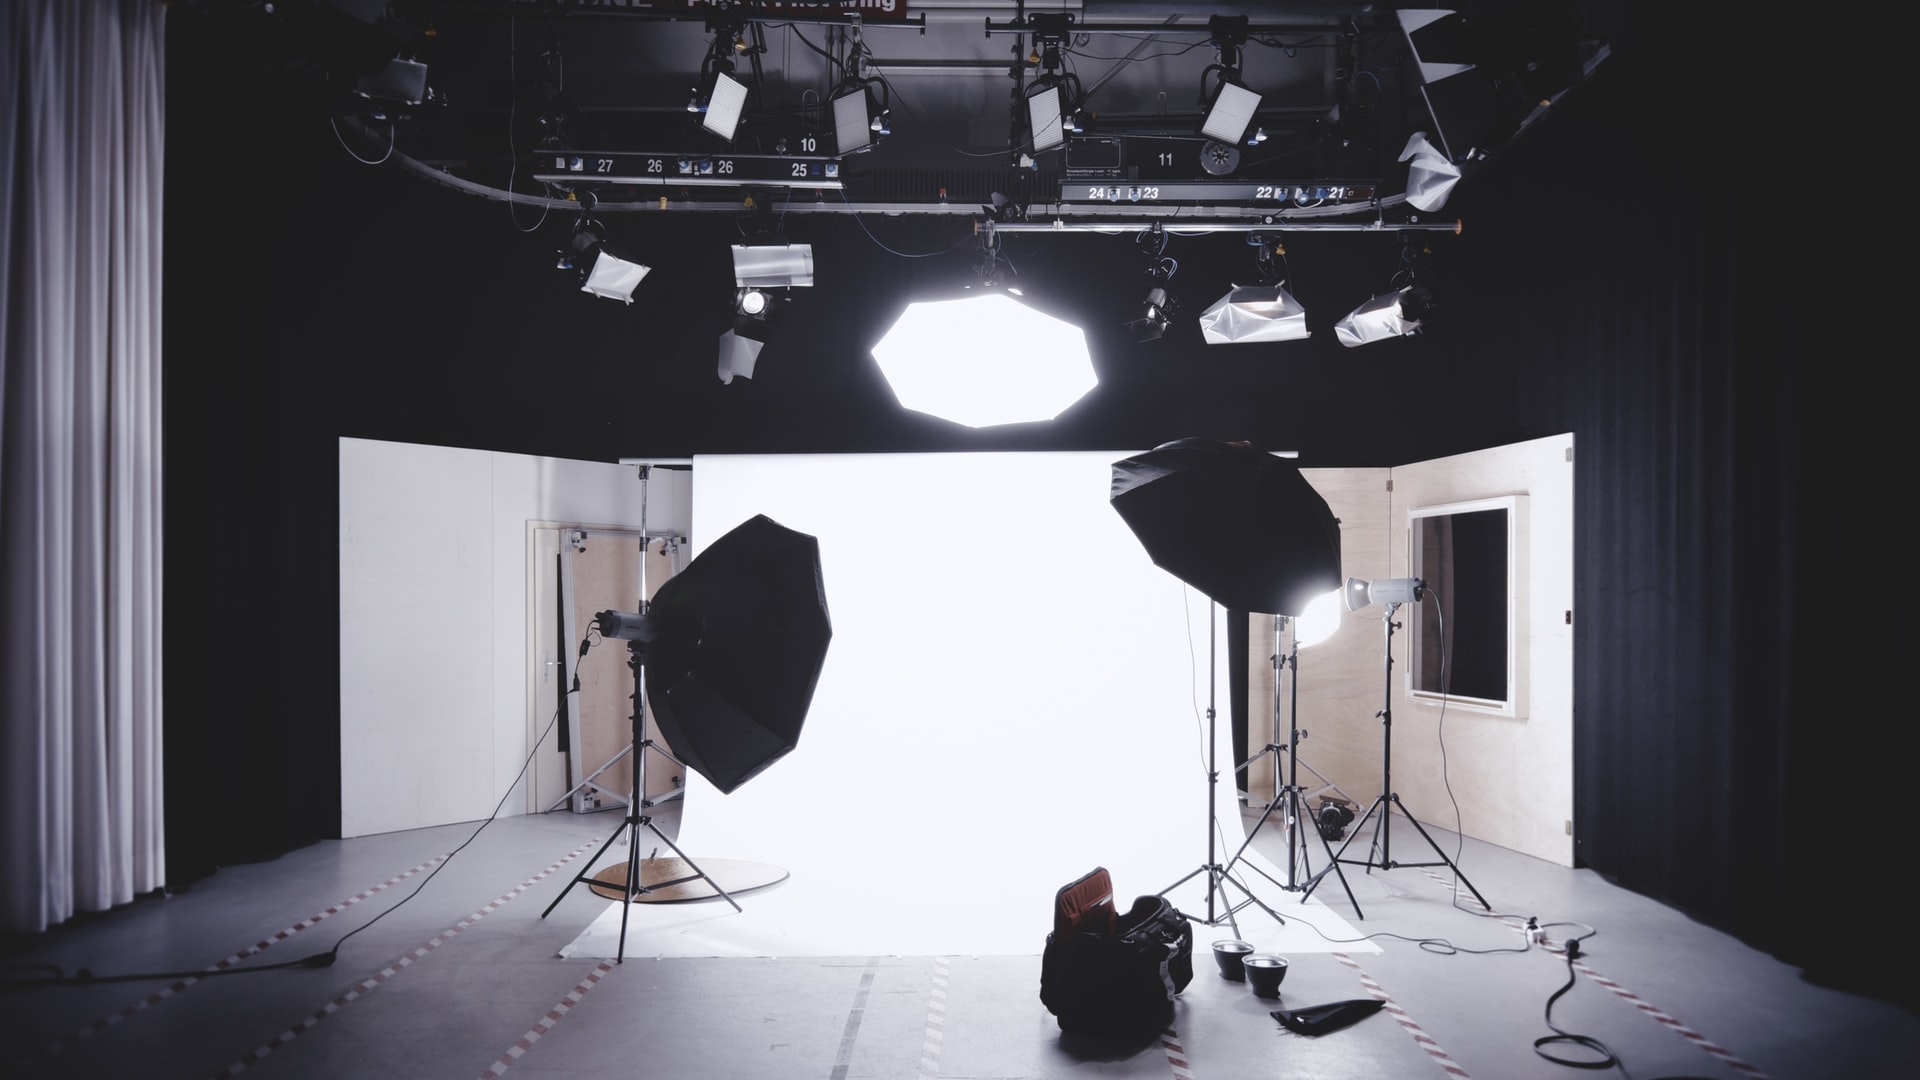
The great thing about artificial lighting is you can actively control and adjust your light source. You can also easily recreate a certain setup at another day, time, and location — which makes this process a lot more scalable. On the other hand, it looks more unnatural and staged, which determines the style of your store and branding.
We recommend using artificial light when:
You have 10+ products and plan on extending the number of products you are selling over time
You want to stay flexible and be able to shoot more product photos at a later stage so you can scale bit by bit
You have the budget and resources
You are planning on selling on sites like Amazon and Etsy, which have requirements for white-background, well-lit shots
Should you mix natural and artificial lighting?
Generally, it’s a good idea to stick to one source of lighting. It just makes things less complicated and tricky. If you do want to mix, it makes more sense to enhance natural lighting with artificial light.
For example, if you’re shooting outdoors, have an additional artificial light source to light up one side of your subject. That can help counteract and control if the lighting changes because clouds appear in the sky. But we’d only recommend this as a last resort, first try bouncing the light with a reflector.
6. Shoot clothing product photos with a mannequin
If you’re shooting clothing in the studio without models, it’s a good idea to use a mannequin. This will show how the piece of clothing falls and give your shoppers an idea of what it could look like on them.
Later on, you can edit out the mannequin, so the item is isolated yet in the shape of a body. Using mannequins instead of models can also make it easier to scale this process and keep photo production costs low. If your focus is clothing, you can check out our tips about how to take good pictures of clothes to sell.
7. Use the portrait mode on your phone or camera
This means your main person or product will be crisp and sharp in the foreground but the background will be somewhat blurred. Using a feature like this gives a high quality and luxurious aesthetic and ensures that the person who sees the product photo knows what you’re actually selling.
You don’t want the focus to be on the park bench, you’re not selling it. You want the focus to be on the handsome model who’s wearing your latest shirt collection release.
8. Soften shadows in product photos
To create great product photos you’ll want to soften the shadows the product throws on one side. There are a couple of ways you can do that. Either you add another light source on the other side or you ‘bounce’ the light back.
You can do that by using a reflector card or if you’re DIY-ing your setup, a white shoebox. To soften the edges of the shadows you can use a softbox over your lighting or DIY a baking paper shield in front of your light source. This will give your product photo a softer look and feel.

Choose a software to edit product photos
Whether you’re just getting started with editing product photos or you’re looking to advance your skills and become a pro will likely have an effect on your choice of software. Here’s a quick overview of some of the best product photo editing software out there.
Beginners photo editing software
These options are great for quick and efficient editing, especially great if your product photos don’t really need to be refined:
Advanced photo editing software
We’ll walk you through how to edit with some of these below.
How to edit product photos for a website or an e-commerce site
Here are the steps you’ll want to go through to retouch and edit your product photos and get the best end results.
1. Remove the background
Although you may have shot your product photos on a white background already, it’s standard practice to remove the background completely and replace it with a white one. There’s a couple of reasons we recommend doing this:
It can decrease the size of the file
It will ensure you remove any distractions and have unified product photos
Amazon and eBay have certain standards you need to follow when it comes to product photos — having a white background is one of them. So this would be hitting two birds with one stone.
2. Retouch your photos
Now you’ll want to remove any imperfections. Like dust specs or fingerprints, blemishes, reflections or shadows. You can use either Photoshop on your desktop (more on that below) or an app like TouchRetouch or Snapseed on your mobile.
3. Color corrections
Next, you’ll want to take a look at things like contrast, exposure, and temperature. Contrast will increase the contrast between your product and its background. Exposure will lighten the image overall and you can use temperature adjustments to make a product photo appear warmer or cooler. All in all, you should only be making tiny tweaks when it comes to color. Overdoing it will look over-edited and unrealistic.
4. Shadows
You can create and edit in different types of shadows on your product photos. The most common ways are:
-
Reflection shadows: this is a shadow that reflects your product. You can create it when shooting your photos by placing glass or a mirror underneath your product. Some editing software can edit this in for you too. Like this:
-
Drop shadows: this is the typical black/greyscale shadow that very much resembles real life. By lighting the product from above at an angle you can create a beautiful small shadow that compliments the product without being too dramatic. Like this:
How to edit a product photo in Photoshop
If you want to make more intricate edits like removing or adding reflections, blemishes, or colors — Photoshop is the way to go. These are some basic editing steps you can do when it comes to product photos:
First, go ahead and duplicate your background by hitting — Command J. That way if you mess up anything you will always have the original.
Now go ahead and use the Spot Healing Brush tool or the Patch tool to remove any dust particles, blemishes, or imperfections. You can also use the Clone Stamp tool to apply the same color and texture from one area of the photo to another.
Next, you’ll want to do some color correcting. Go to the > Correction bar and use the sliders to adjust color hue, saturation and more.
Once you’re happy use the cropping smart guides and/or grid to ensure most of the photo has the product in focus. Below you’ll find that Amazon requires at least 85% of the image to be filled by the product, which is a good guideline to go by.
Now go ahead and save to the file, by clicking File > Export. Et voilà!
How to edit product photos in Lightroom
Lightroom is just as popular for product photo editing as Photoshop. You can add color, textures, remove blemishes, dust, fingerprints, and more. To edit your product photos, go ahead and:
Open up Lightroom > now go to Library > Import in the bottom left corner. Under Source, choose one or more product photos from your files and then select import.
Go to Custom to switch up the image's temperature. You can make the photo colder by increasing the blue tones towards -100 and warmer by moving the dial towards +100.
Go to Presence, to adjust the overall saturation of the product photo. There are plenty of other edits you can make, so if you want an in-depth follow-along guide, here is a great YouTube video.
Once you’re happy go ahead and save your image, by going to File > Export.
How to edit product photos for Amazon
Want to sell your products on Amazon and need product photos? Awesome.
When it comes to your Amazon product photos, just keep in mind you have to stick to certain standards for them to be approved by Amazon — this is especially true when it comes to your very first photo. With the others, you can put your creative marketing hat on and go a little wilder. You can add text and graphic design elements, yet your brand logo is a no-go. We’ll give you a detailed breakdown below.

Technical requirements of Amazon product photos
First things first, let’s get the technicalities straight — Amazon has very strict rules when it comes to what format, dimensions, colors and file naming you use. This is what you’ll need to comply with, no matter if you’re editing the very first main photo of a product or the ones that follow:
Format: you will need to save your product photo as a TIFF (.tif/.tiff), JPEG (.jpeg/.jpg), GIF (.gif) and PNG (.png). We usually recommend opting for a JPEG or PNG because it’s the most accepted in other channels as well and you can use them for your socials too. Whichever one you choose, we recommend saving all of your product photos in the same format to keep the workflow simple.
Dimensions: Amazon recommends 1600px for an optimized zoom experience, your product photo will need to be at least 1000 pixels for the customer to be able to zoom or 500 px in general.
Color: you will have to save your product photo in sRGB or CMYK color mode.
File naming: Amazon requires you to save your product photos with certain name formats should consist of the product identifier (Amazon ASIN, 13-digit ISBN, EAN, JAN, or UPC) followed by a period and the appropriate file extension (Example: B000123456.jpg or 0237425673485.tif)
You can find a full list of requirements and Amazon’s official guidelines right here.
How to edit your MAIN Amazon product photo with Designify
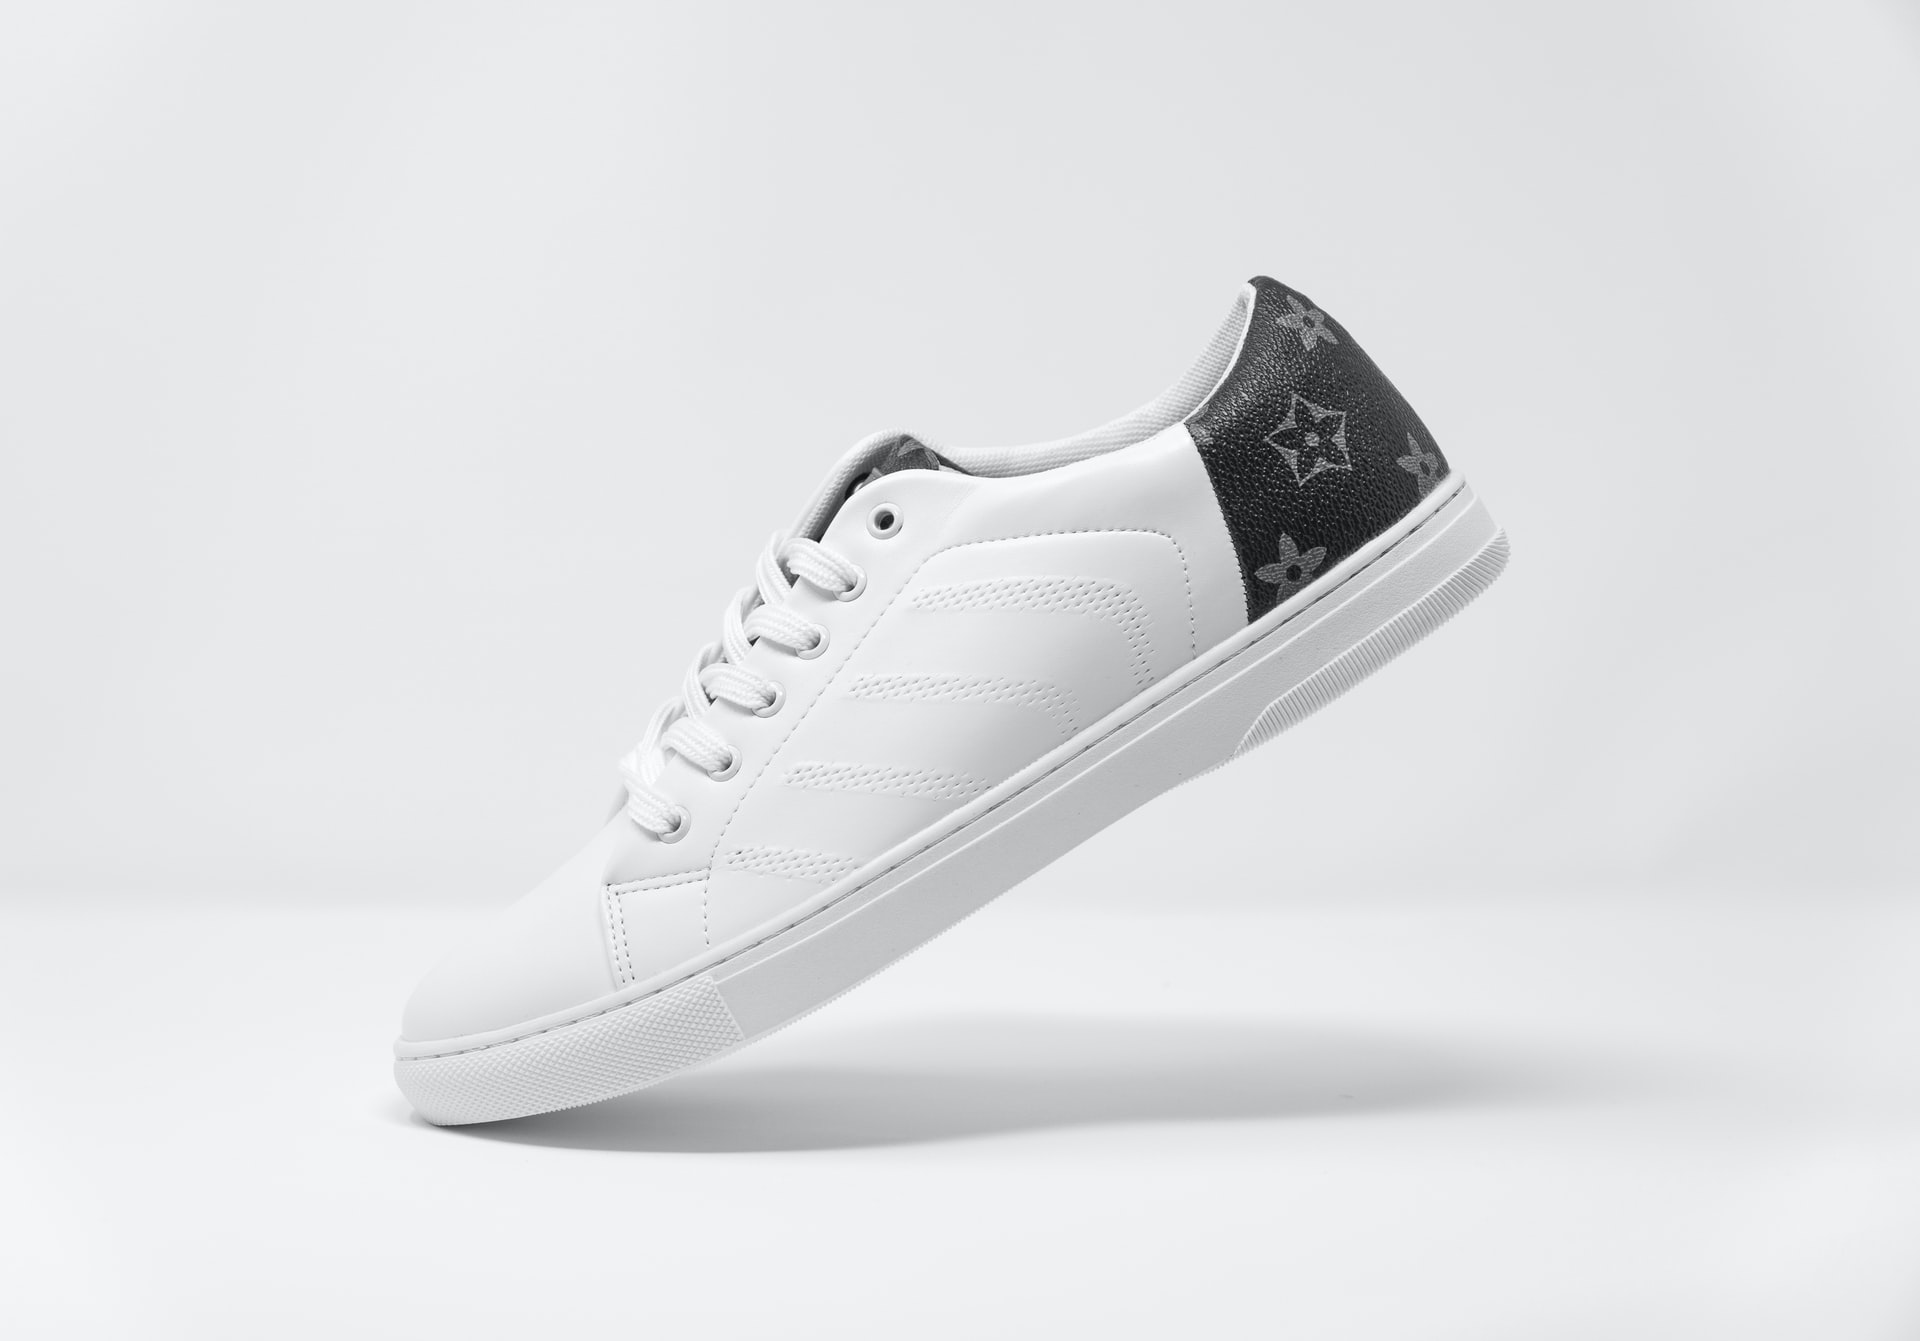
Amazon wants to keep a clean aesthetic that is very much on brand when you visit their store — which is why every first photo of a product (also named the main product image by Amazon), needs to have the exact same look. Like this:
When it comes to what is shown in the product photo itself, you also have a few things to watch out for:
It needs to have a plain white background with the product in focus only. No graphics, no writing.
You can only use a photo of the product you are selling, things like illustrations or drawings of photos won’t do.
You should keep the background of your photo clear — no confusing objects lingering around.
The photo should be focused and reflect realistic colors (we already talked about not over-editing your photos and using portrait mode on your camera or phone to do just that — that’s exactly what Amazon is looking for here).
If you’re selling books, music, videos or DVDs — the cover art should fill 100% of the image frame.
On the other hand, if you’re selling a product, you should make sure that 85% of the frame is covered by the product.
You also have to make sure your full product is in the frame, no cutting off the product or cropping off parts.
Your product photo’s background must be pure white: (RGB 255,255,255) — so if you have product photos with a colored background you can use Designify to automate putting a white background on them in just a few minutes. We’ll show you how to do this below.
How to bulk edit product photos for your Amazon store, website, or e-commerce site
Designify is an online tool that lets you batch edit your photos in minutes. It’s an incredibly powerful tool to apply simple designs with just a few clicks. This software is all about switching up the background of your product photos, not so much about color correction.
If you shoot your photos so they don’t need to be edited you can swiftly run them through Designify and remove, add, or change the background to create a unified design in minutes. But you can also integrate it into your editing process by first editing your photos - color correcting, removing blemishes etc. - in Lightroom or Photoshop, and then running them through Designify to add the white background automatically. It will speed up the process big time.
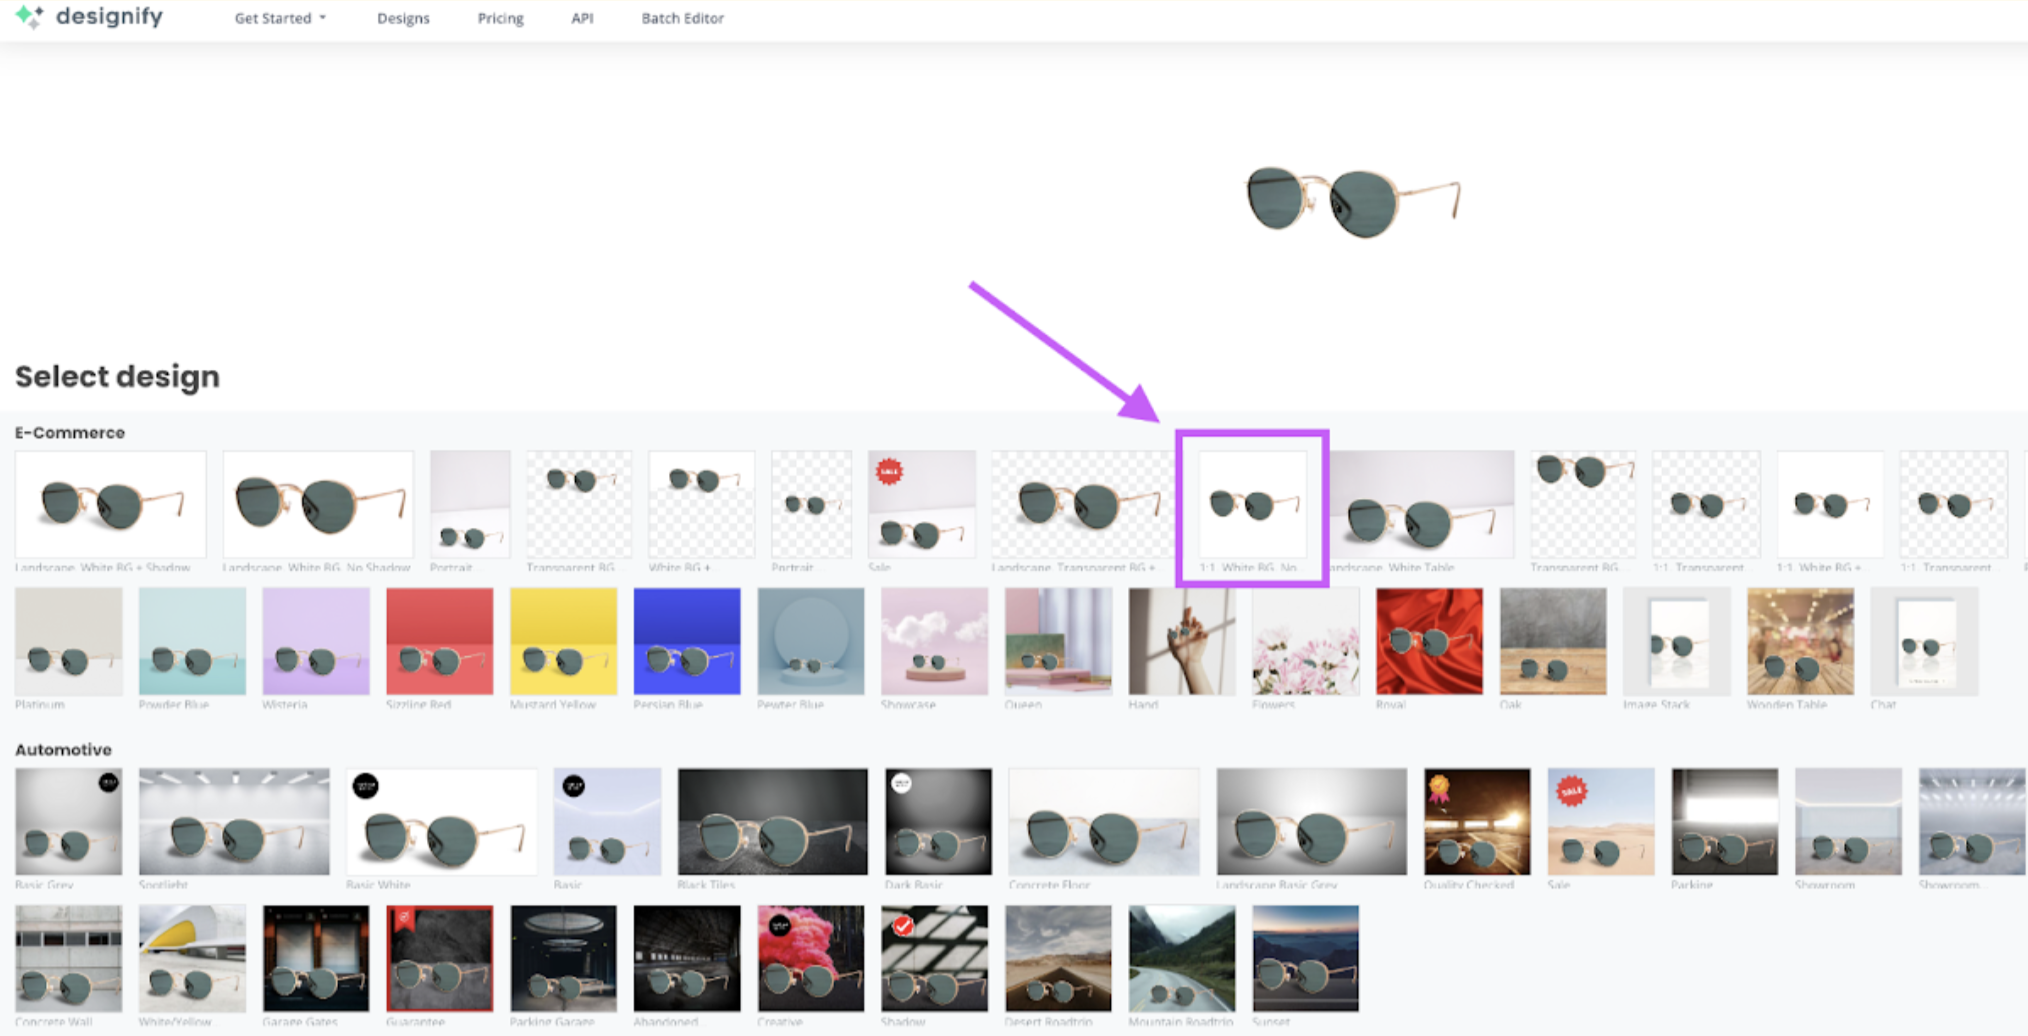
1. Upload your product photo by dragging and dropping it into Designify.
2. First, you’re going to want to create your main Amazon product image. Go ahead and select the template ‘White BG, no shadow’.
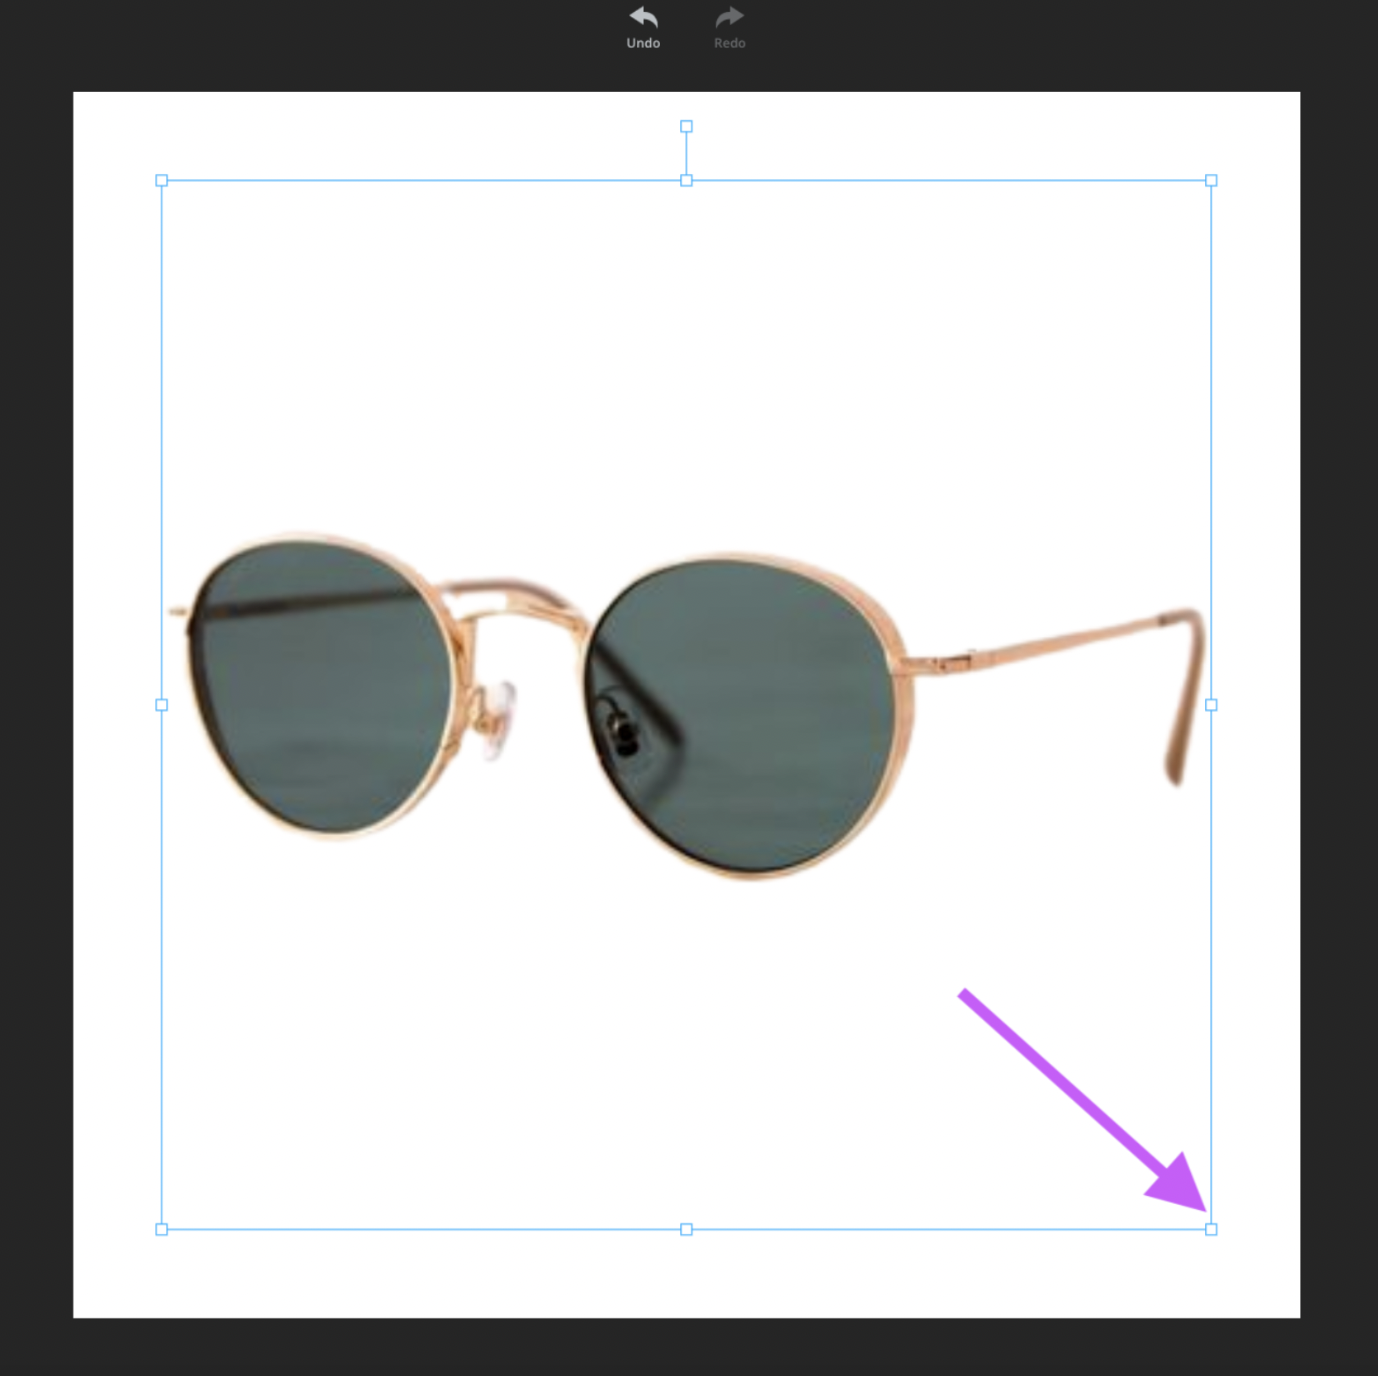
3. Then you can scale the product to take up even more space, at least 85% of the frame as stated in the requirements by selecting the product and dragging the corners.
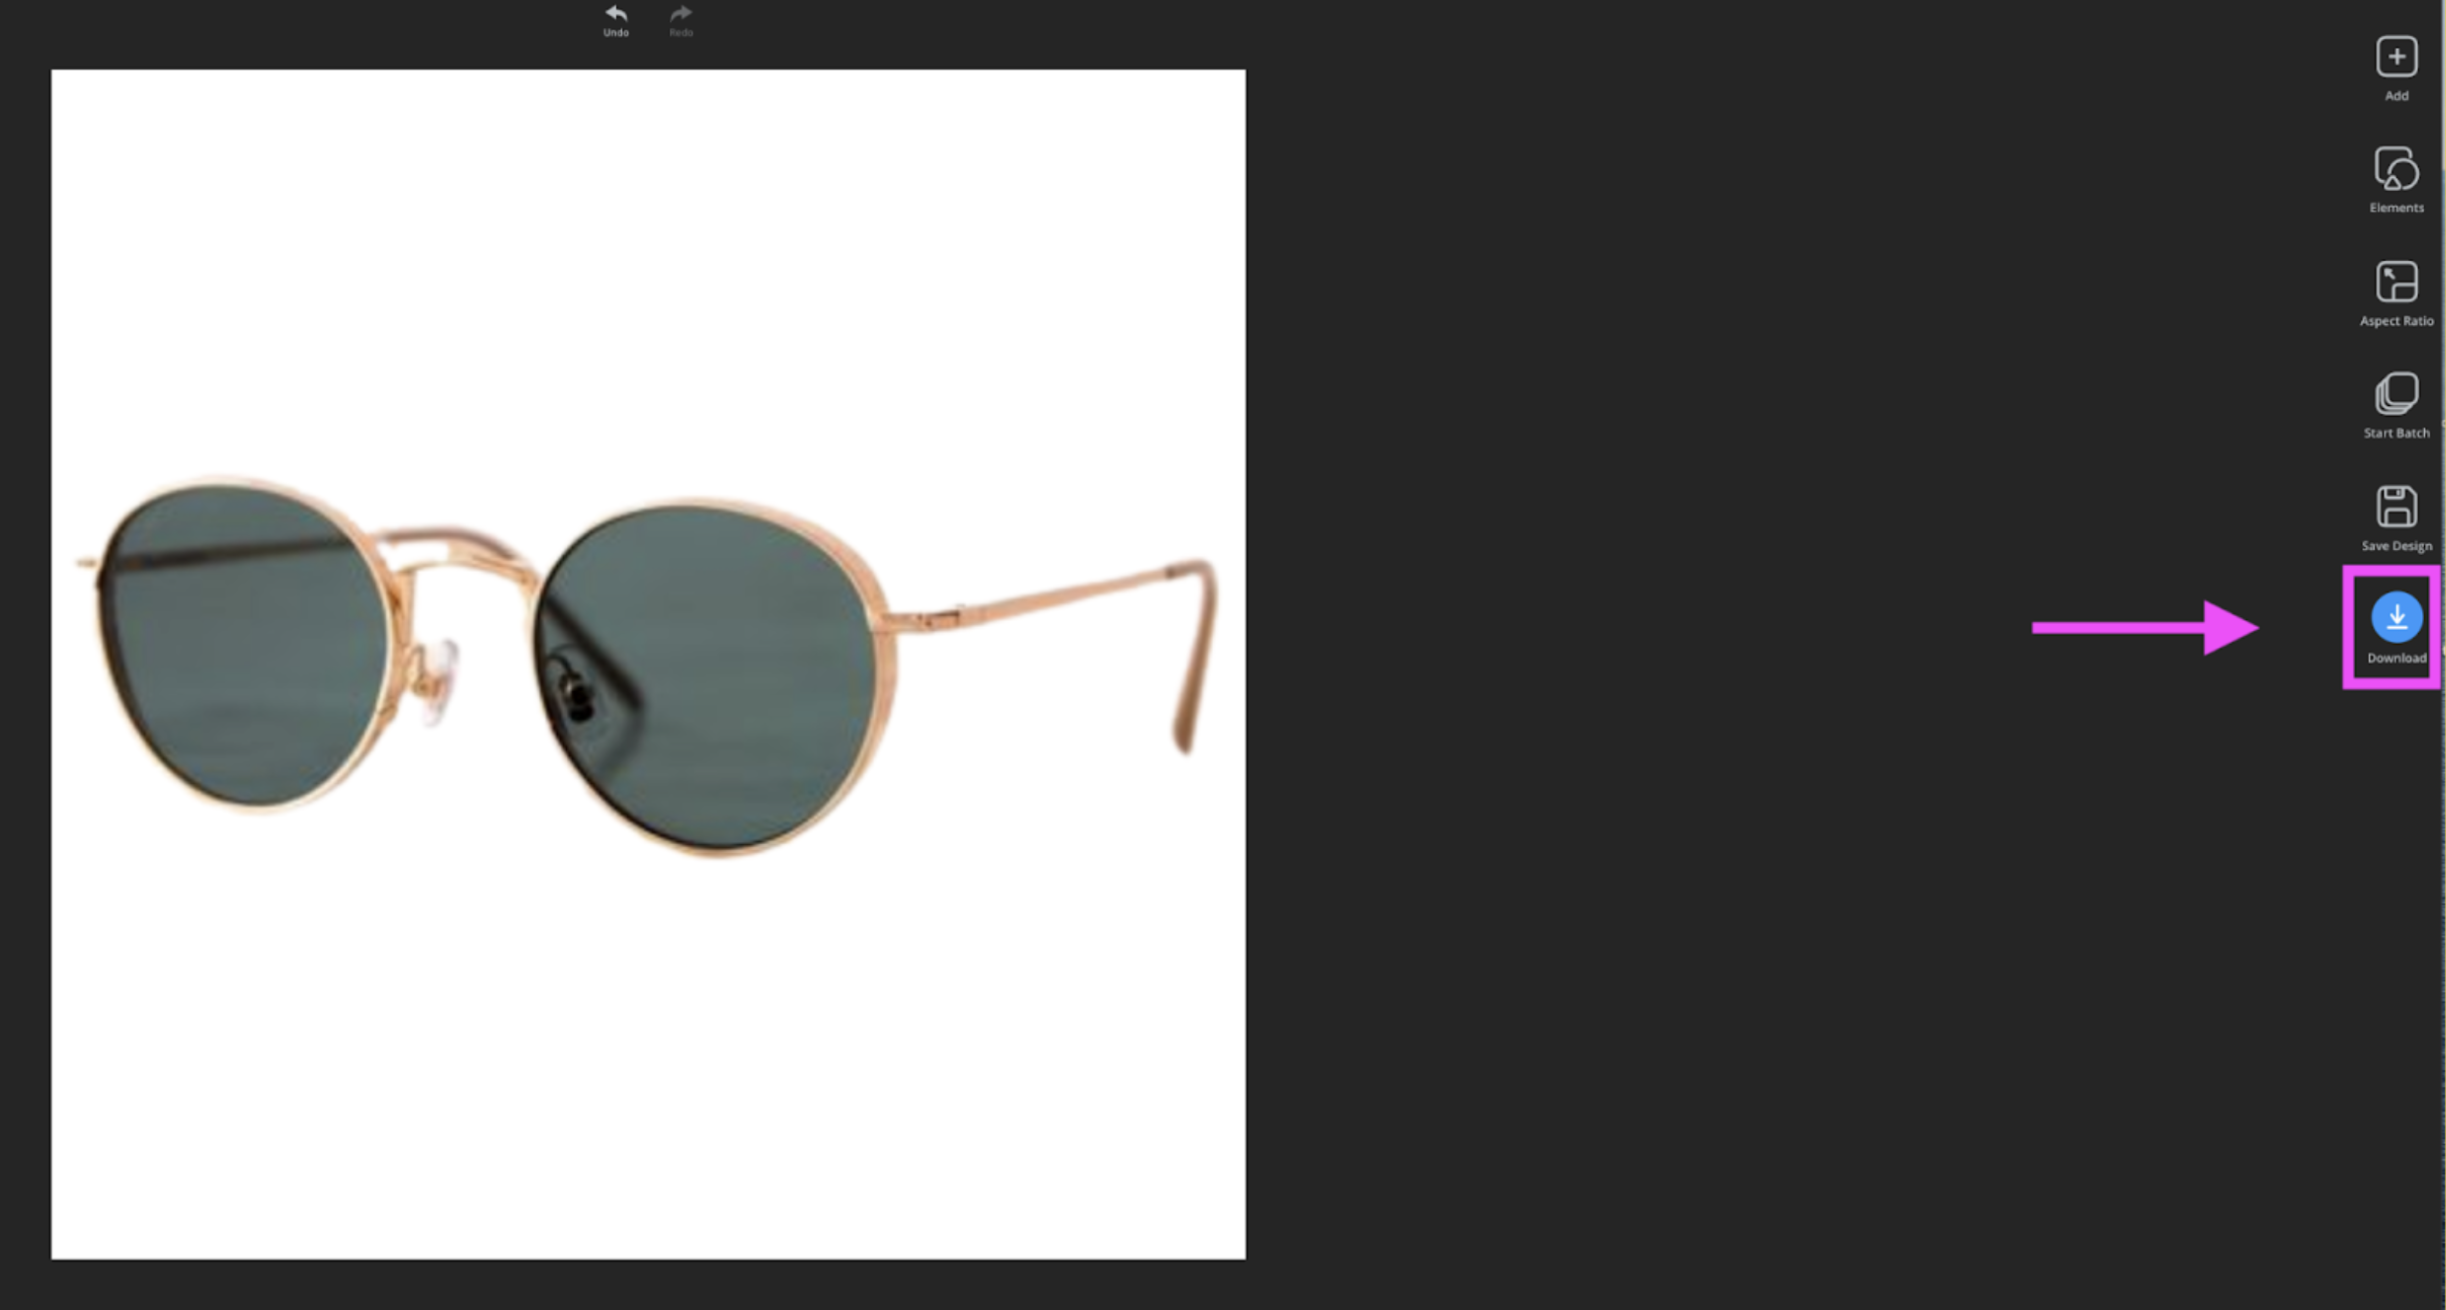
4. Now go ahead and hit download. Voilá! Your main Amazon product photo is ready.
5. To create other product photos that can be on the second, third or fourth slide of one product and can highlight it’s features simply go back to the gallery and choose a template from the gallery —like this one with the sale sticker:
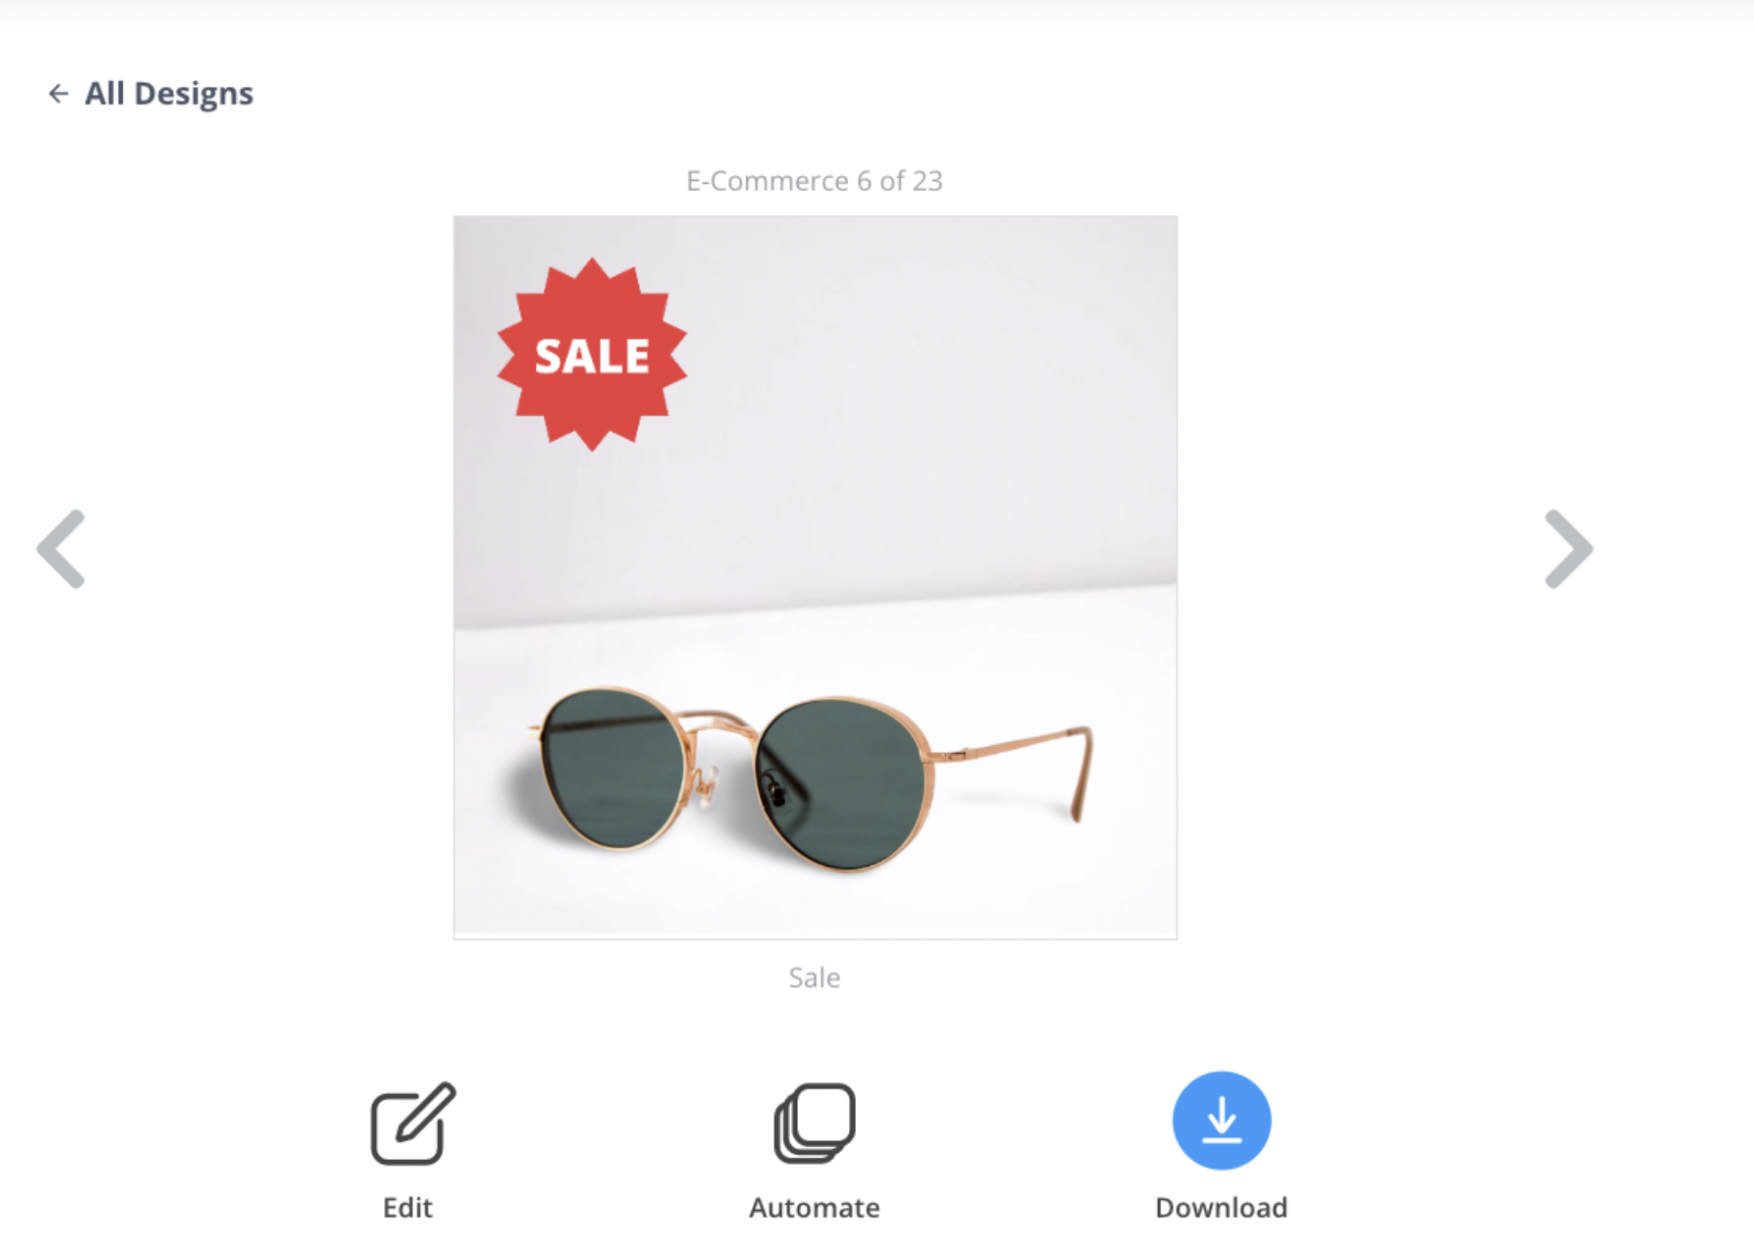
6. By selecting ‘Edit’ you can adjust the graphics, upload your very own and get as creative as you like. We’ve seen other sellers add things like product dimensions, features, and emotional images where the products are in use. This is just one example:

7. Once you’re happy you can also select ‘Automate’ to apply any template to up to 10 product photos, in just one click — neat right?
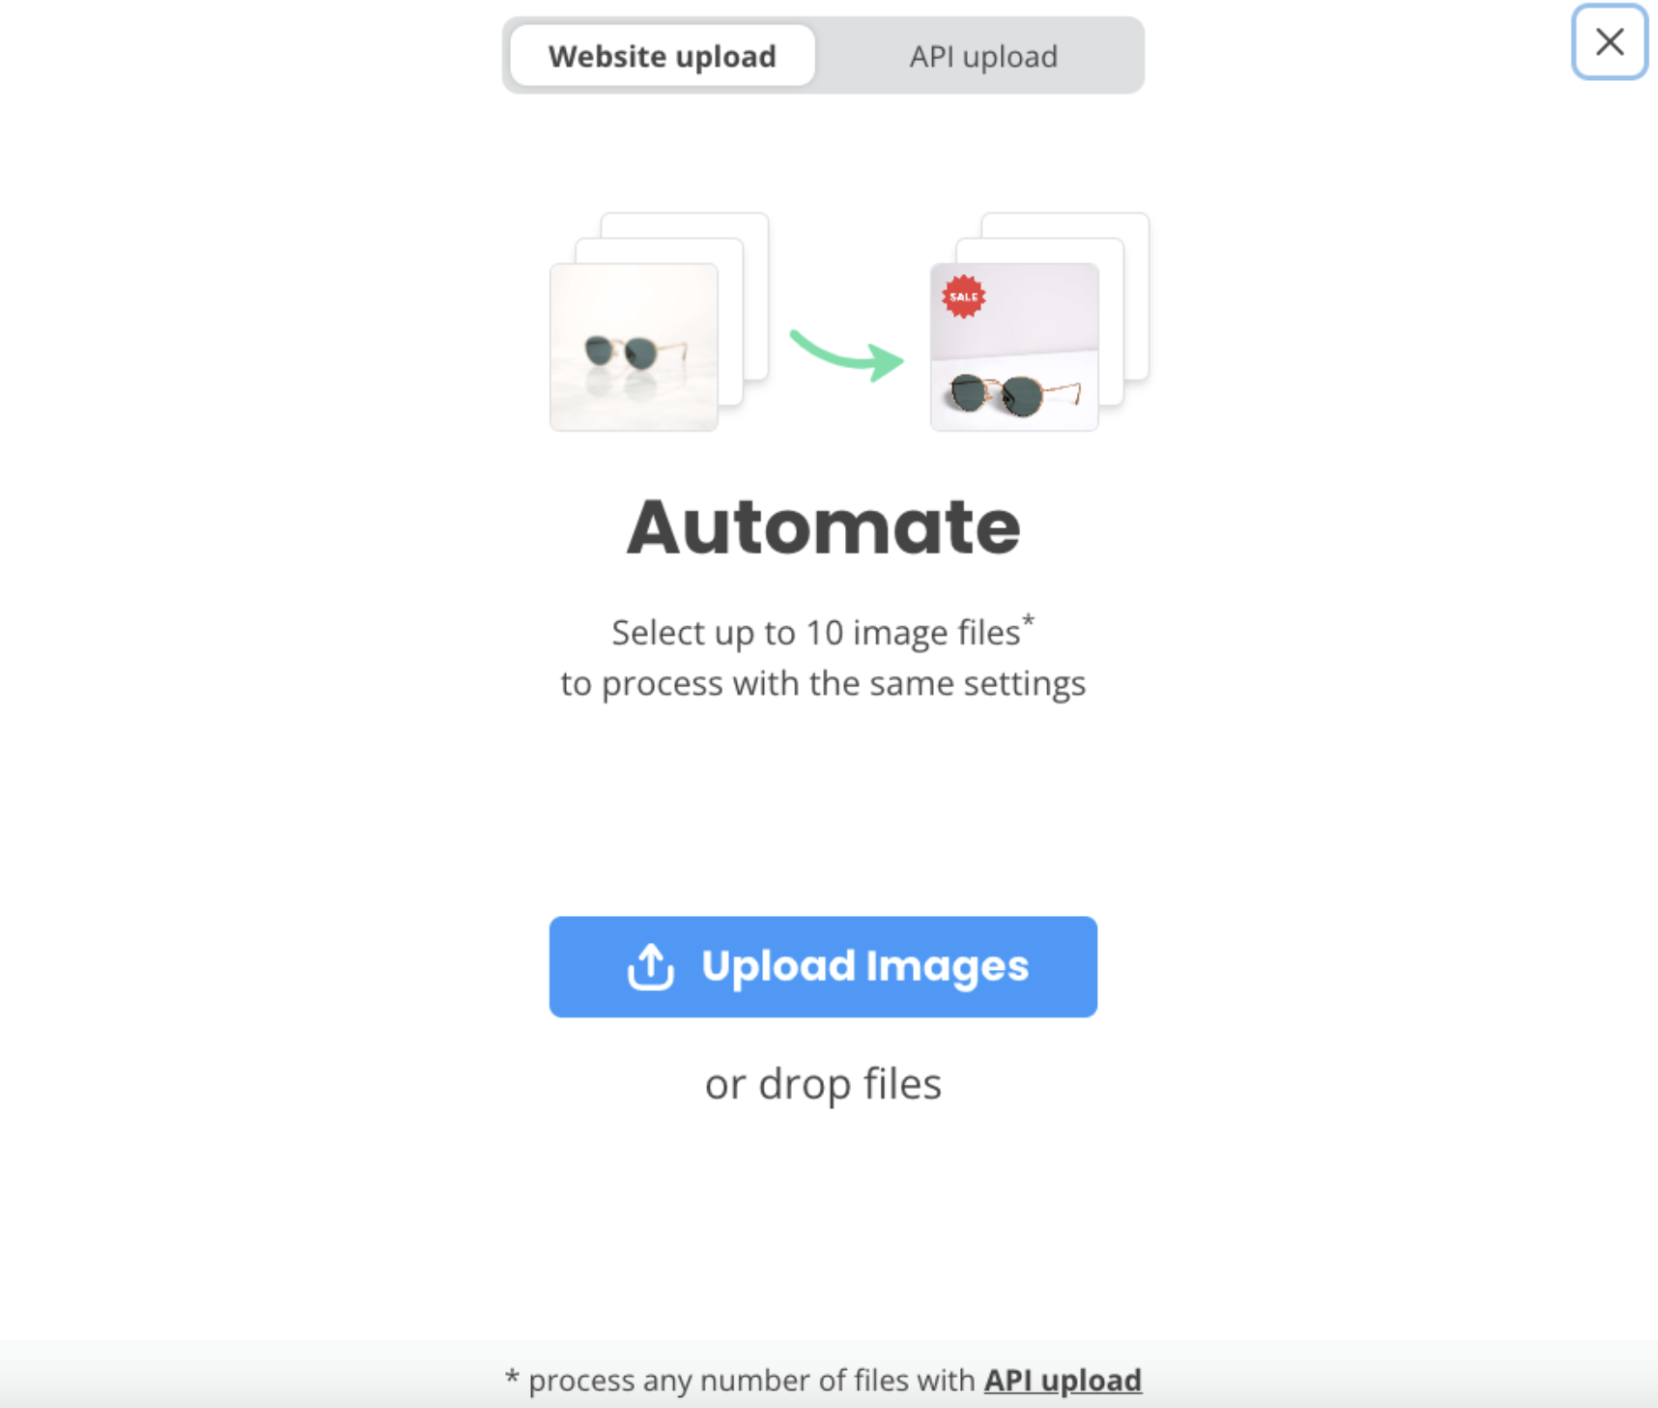
8. Download the photos to your computer and insert them into your Amazon or e-commerce store or post them on social media.
Designify Pro: a simple API for product photo editing in seconds
Want to take things to the next level? Try Designify Pro.
You can now simply integrate the API into your website, app or e-commerce site. Then, either you or your users, can edit product photos in seconds, without ever leaving your website, app or e-commerce site.
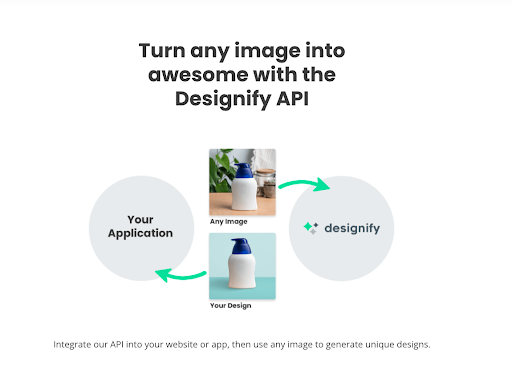
Want to find out more about how to integrate the API? Hop on over here.
Right now, we have a ridiculously cheap launch offer going on which you definitely shouldn’t miss out on. Integrate Designify into your product or service for just $39/month — and we won’t change the pricing on you ever again. Sign up now, we’ll be raising prices soon.
Whatever way you go about shooting and editing your product photos, we’re sure you’ll find what way works best for you.
What matters most is to get started, experiment, and perfect things as you go along. Shooting is the fun part, editing can be tedious — so why not speed up the workflow by automating your edits? Hop on over to Designify and give it a try.
Comentários
Thanks for your meaningful site.