If you are in the business of trading vehicles or trying to sell the family car, the correct answer to that question could make the difference between success and failure, deal or no deal. Of course, you might want to take photos of cars for magazines and websites, or, perhaps you just like cars and think they are beautiful enough to document. Whatever the case, you should have a basic understanding of what is automotive photography, how to get started with it, and how to become an expert in this niche.
Whatever your aim, it’s super important to think about how you will organize everything rather than just taking a snap and hoping for the best.
But whatever your reason for wanting to pursue automotive photography, you will find the best way to go about it in this, our guide, from subject preparation through to editing and printing.
All set? Ladies and gentlemen, start your engines!
1. Prepare the subject
Like any photography job, making sure your subject looks as lovely to the lens as possible is really important.
If you are selling a second-hand motor, small investments in your car can pay dividends. If there are blemishes on the paintwork, dents on the fender, chips in the windscreen, or missing windshield wipers, think about replacing them. (Obviously, you don’t want to pay more than the car is worth!)
Once you have done this, you’ll want to make sure your car is as clean and tidy as possible and that includes eliminating visual distractions it might have accumulated over the years. Give it a shampoo inside and out and buff up all reflective surfaces. Remove any stickers. Empty all internal holders and pockets.
Then, take a few snaps with your camera phone. Photos can often reveal what visual perception overlooks.
2. Think about your camera and lens
Phone cameras are getting better and better. However, you will always get a better photo from a DSLR. If you have a friend who is a photography buff, ask her to lend you her camera and set it up to point-and-shoot (P) if you aren’t familiar with how to use it.
If you have a choice, what lenses should you use for automotive photography? Ideally, you will have one for wide shots and another for close-ups. 35mm suits distance and 85mm is ideal when you get next to the action. The 24mm is a common choice in photography kits but it can distort the image.
If your phone is more than a few years old, you can buy a cheap point-and-shoot digital camera from an online marketplace. It will give better pics than an ancient Blackberry.
3. Lighting is everything
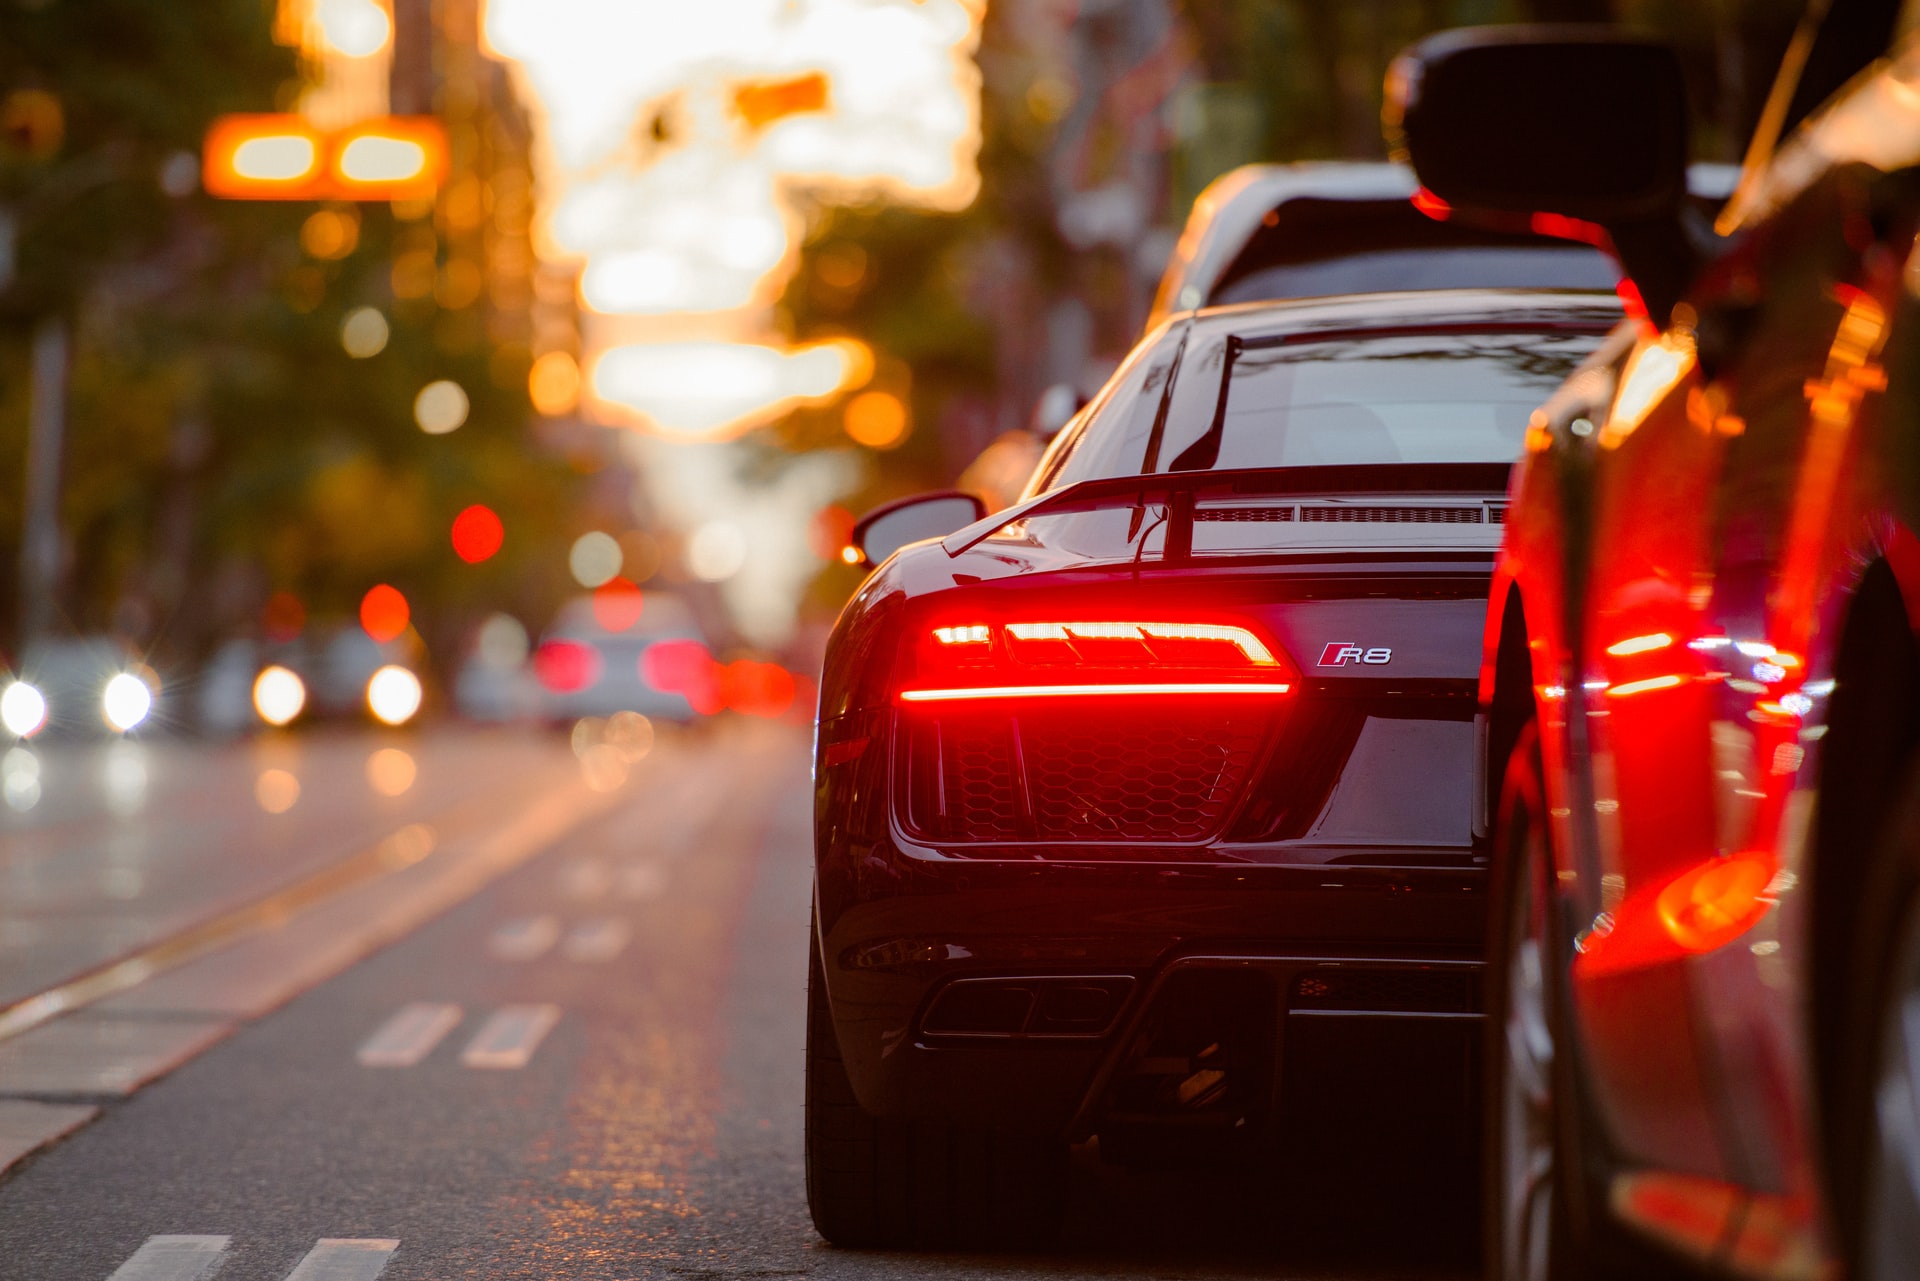
Time of day can make all the difference when you are photographing your car. Remember, a car is a shiny thing; many of the problems in any kind of photography emerge from trying to take a picture when there are big differences between light and dark areas. Glare looks bad.
What does that mean for you? Essentially, to avoid the overhead sun. In fact, the best time to take photos is when the sun has just risen – the Golden Hour. Your photo will really stand out. We are not all equipped to be getting up with the dawn, but the earlier you can shoot, the better. Avoid night time, because, well, it’s going to be too dark and your photo will be underexposed and grainy.
Flash can be problematic because of all those reflective surfaces. But you can always place some tissue paper over the bulb and see what happens. Experiment.
3. Location is everything
OK, location is important, too. Don’t, whatever you do, take a photo on a crowded street. Your car has wheels – use them!
So, think of a nice backdrop near you. Maybe there’s a classy building or a beauty spot such as a park or a golf course. Perhaps you want to choose a more urban spot like a deserted parking lot.
It’s important there’s space around the location of the photo: you want to make sure your car is the main event in the picture, not muscled out by other objects.
But even if you don’t have the advantage of a good location, you can simply remove the background of your car photo and replace it with one that will bring the subject to the front stage. remove.bg will do that for you in just 5 seconds by automatically adding realistic shadows to your image.
4. What to photograph?
There’s a two-part answer to this question. If you want to make the car look like a work of art, a sculpture, then your imagination should lead the way. Put the headlamp at the center of the picture; take a photo down the side of the vehicle which doubles the setting; lay on the ground so the car looms over you. You do you!
However, if you are trying to photograph a car for sale, there are standard photos you need to take of every car so that buyers feel they have had a good look round. Ten should be enough.
Note, you might have to pay a bit extra to allow your listing to display all ten photos but it will be worth it.
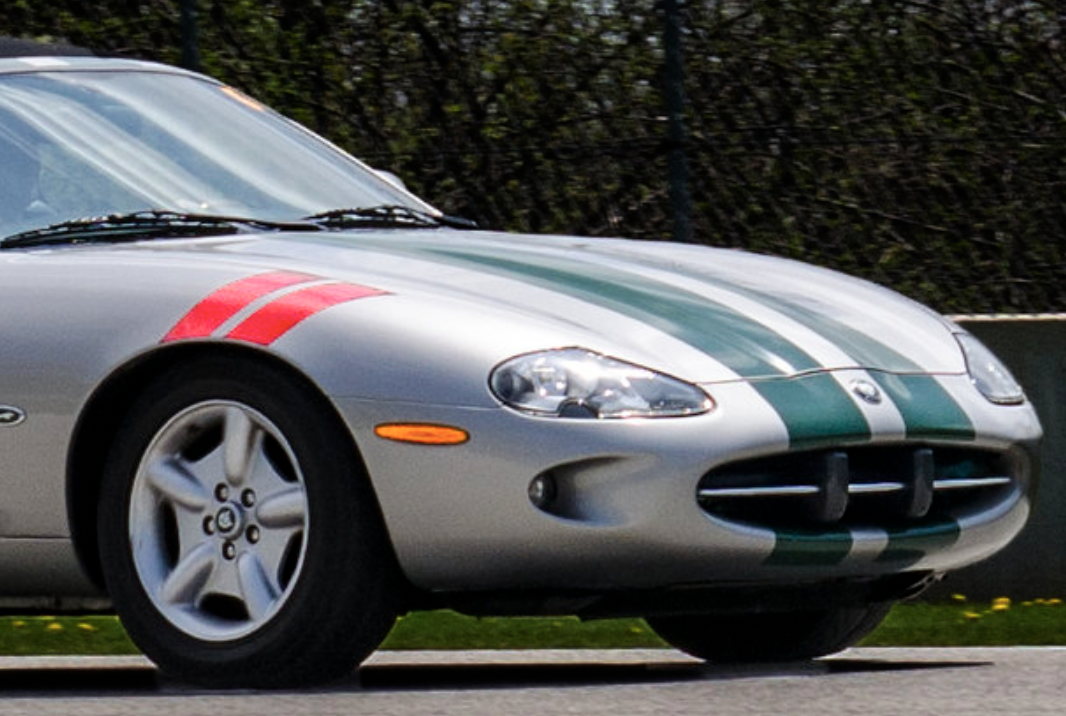
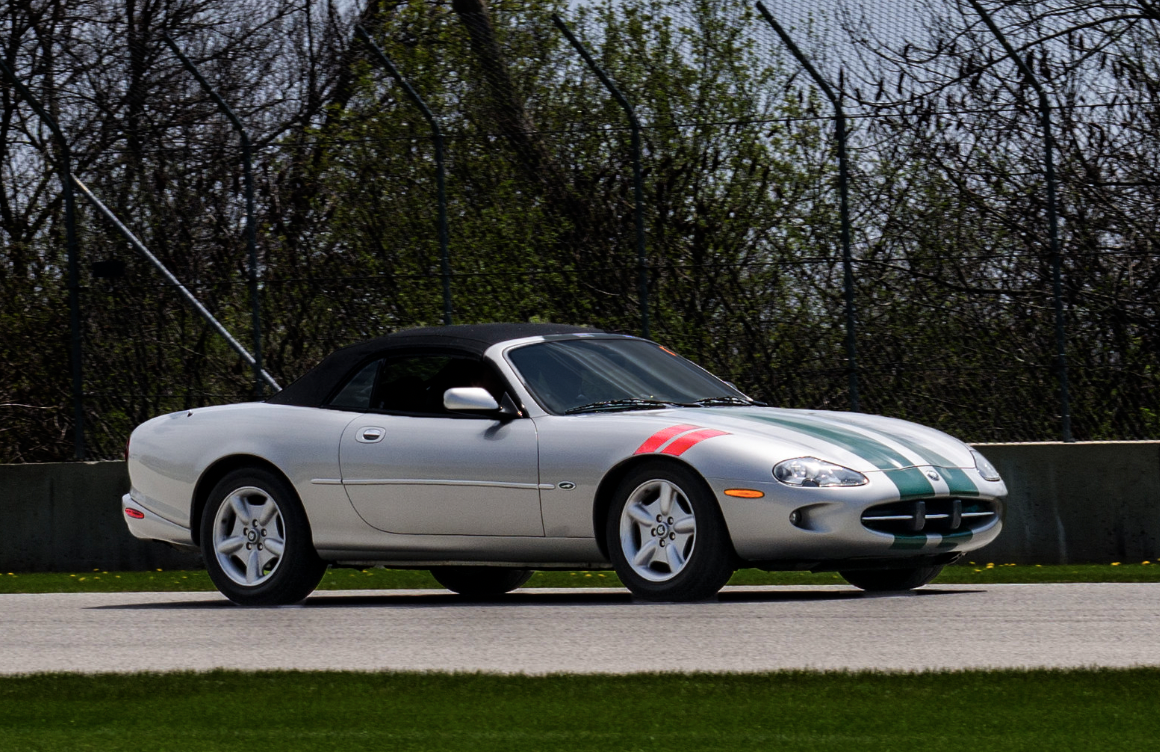
Firstly, take photos of the car like a buyer walking around it – that means at eye-level rather than from a fancy angle – and showing what you see.
So, you will want to take pictures of the car from the front and back and each side. You also want to take photos of the tires and treads so angle your wheels so people can see that.
Inside the car, take photos of the seats, front and back. You want to show the equipment in the dash and the car stereo. That’s easier if you put the front seats back and sit inside the car. Include the wheel so buyers can check out wear and tear.
Make sure you have a photo that tallies miles on the clock with your ad.
Then there are the distinguishing features, good and bad. If there are any blemishes, be honest about them and show them in the ad; if your car has high points: tail fins, nice speakers, lots of storage, take photos and add them to the collection.
5. Editing – Final touches
What should you do in Photoshop or other programmes? Another two-part answer.
If you are taking photos of a car to sell, it’s probably unethical to edit the image of your car.
What is OK is to make the car stand out better against the background. To do this in Photoshop, carry out steps 1-4.
If, on the other hand, you are taking artistic photos of a car, keep going through the rest of the steps.
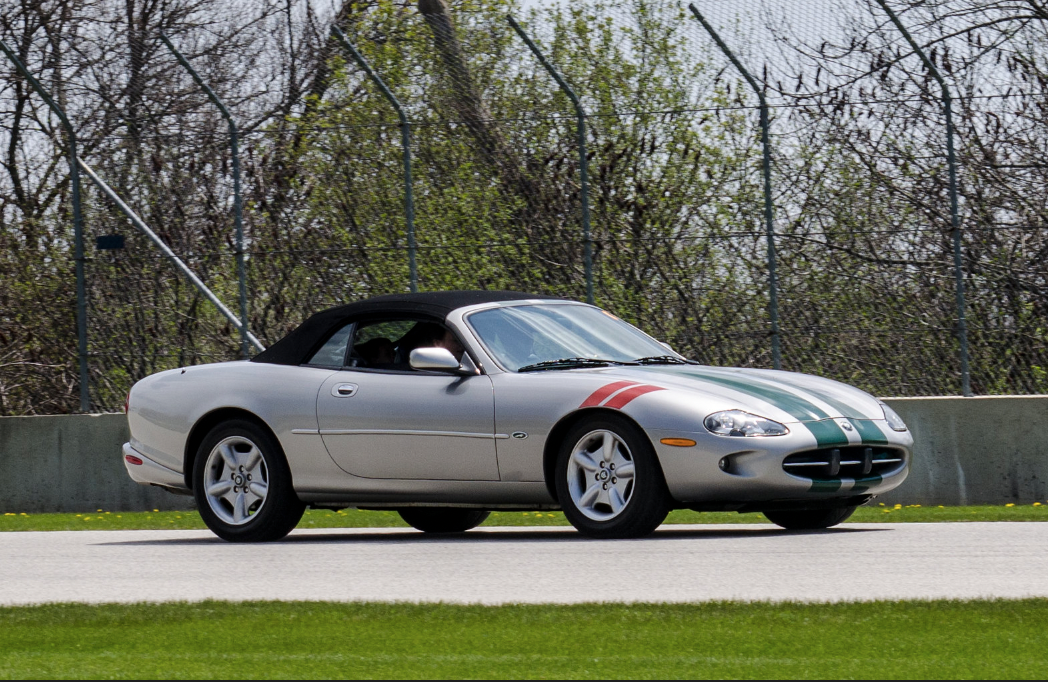
Step 1
Load your photo.
Step 2
Use the Quick Select tool to select your car to make your car stand out from the background.
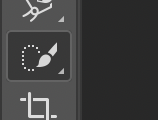
You don’t need to be too precise. Just make sure the tool has included the wheels and use the deselect tool to remove parts of the photo below the car
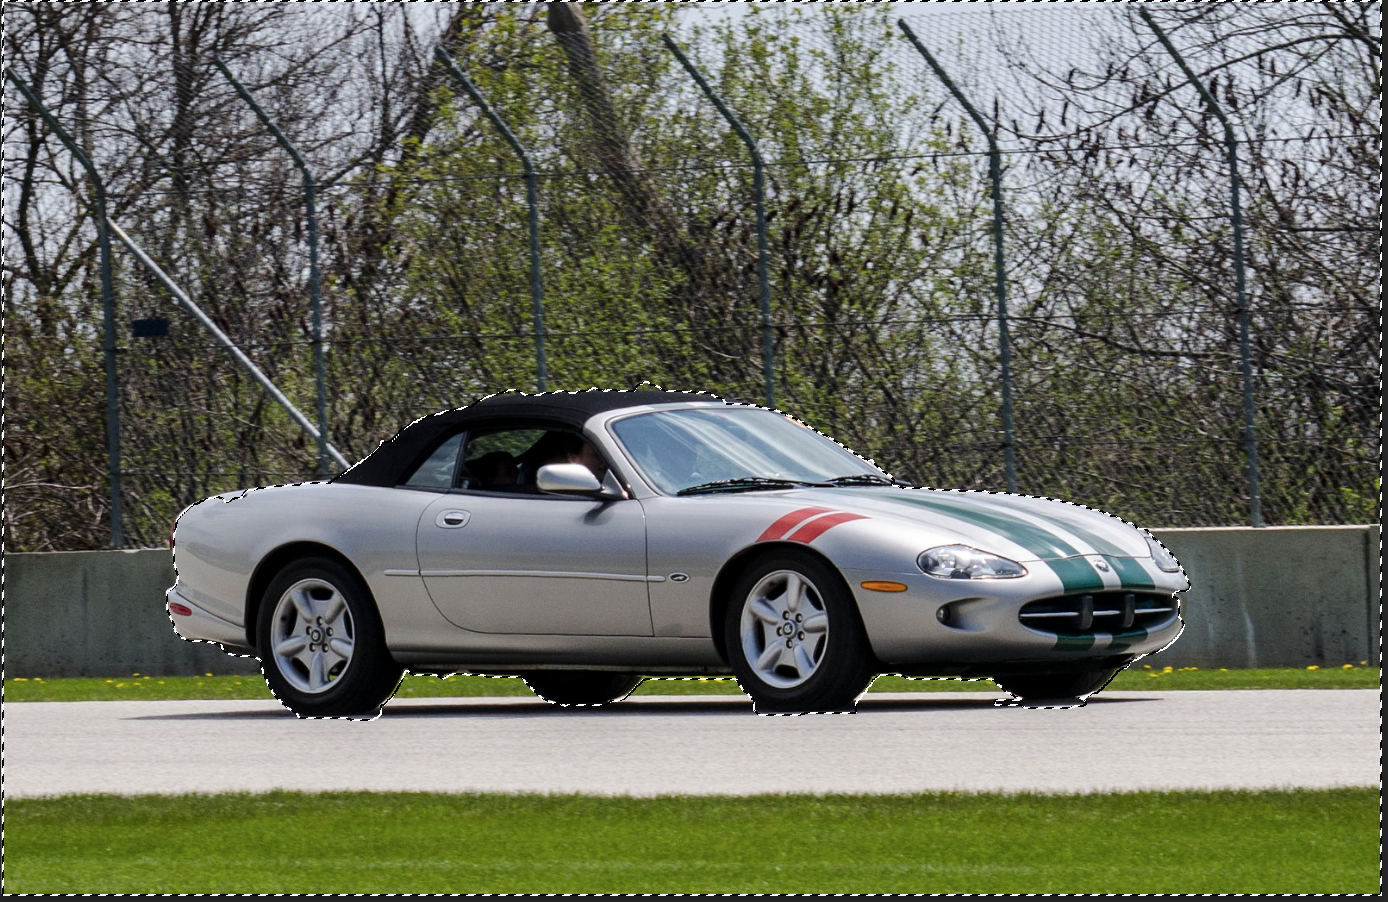
Step 3
Go to the selection menu and click inverse. You should end up with something like this.
Step 4
After this, head to the image menu > Adjustments > Brightness and Contrast.
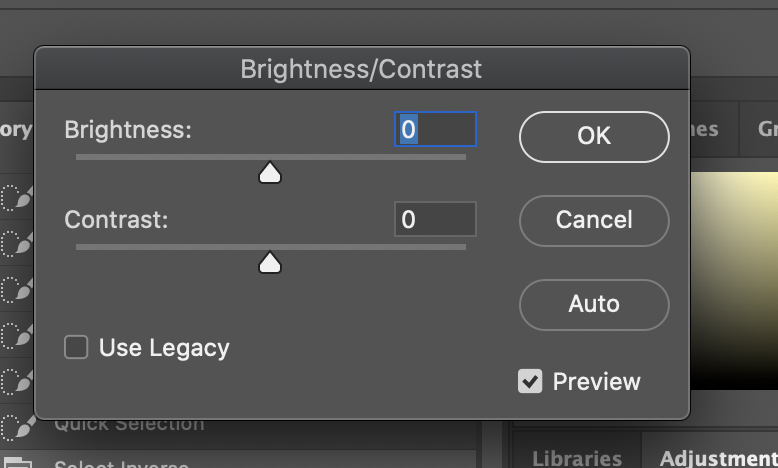
Move the brightness down so the background gets darker and then play around with the contrast so your car is bright but not glaring and the background recedes.
To see the result, go to Selection > Deselect
If you’ve done it right, you will get something like the following:
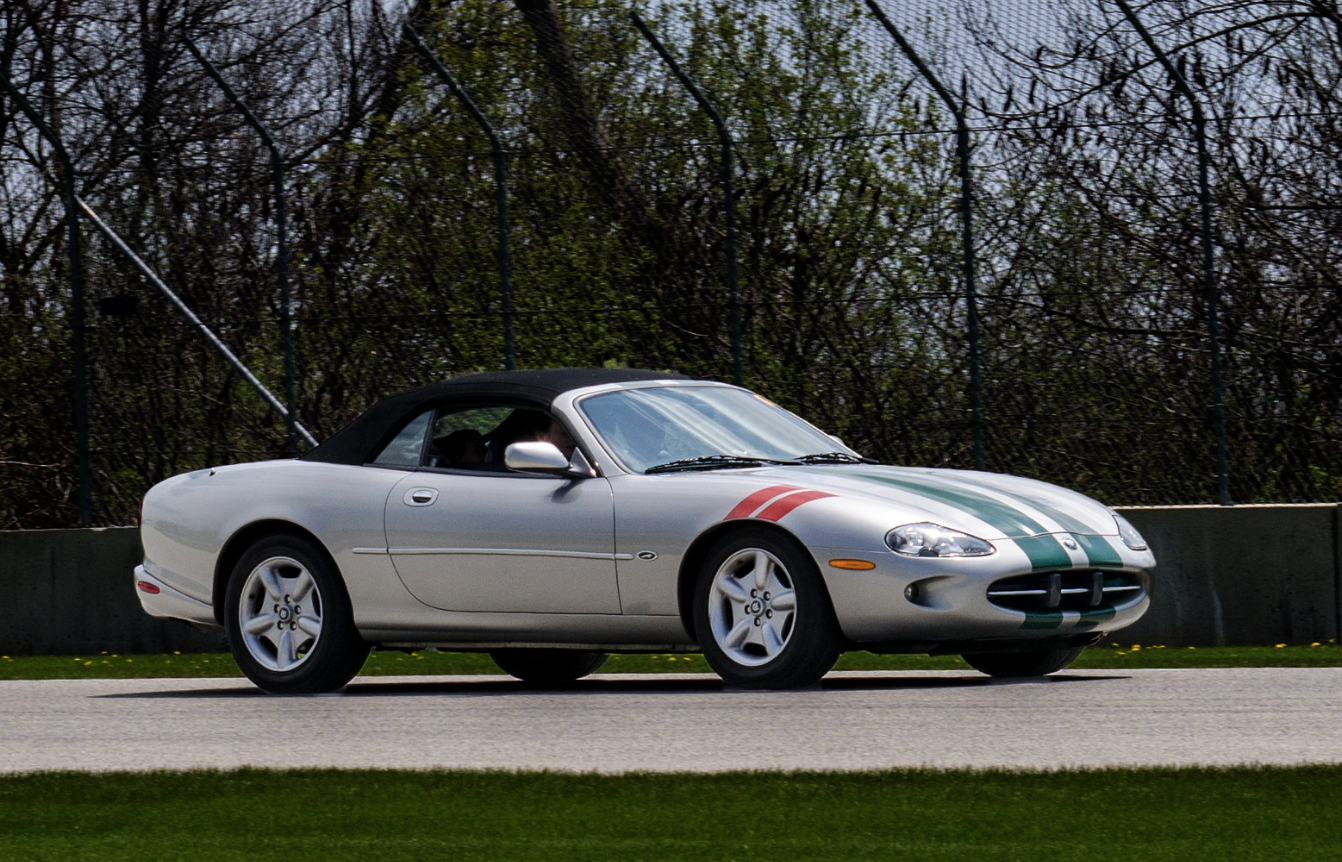
The car stays the same, but it’s more prominent.
Step 5
From this point on, we’ve included some suggestions for classic car photography.
Firstly, you can look at smoothing out any blemishes on the paintwork or smudges on the screen you missed when cleaning.
Most image editing programs, including Photoshop have a tool for that called something like “healing brush”.
Here it is in Google’s Snapseed.
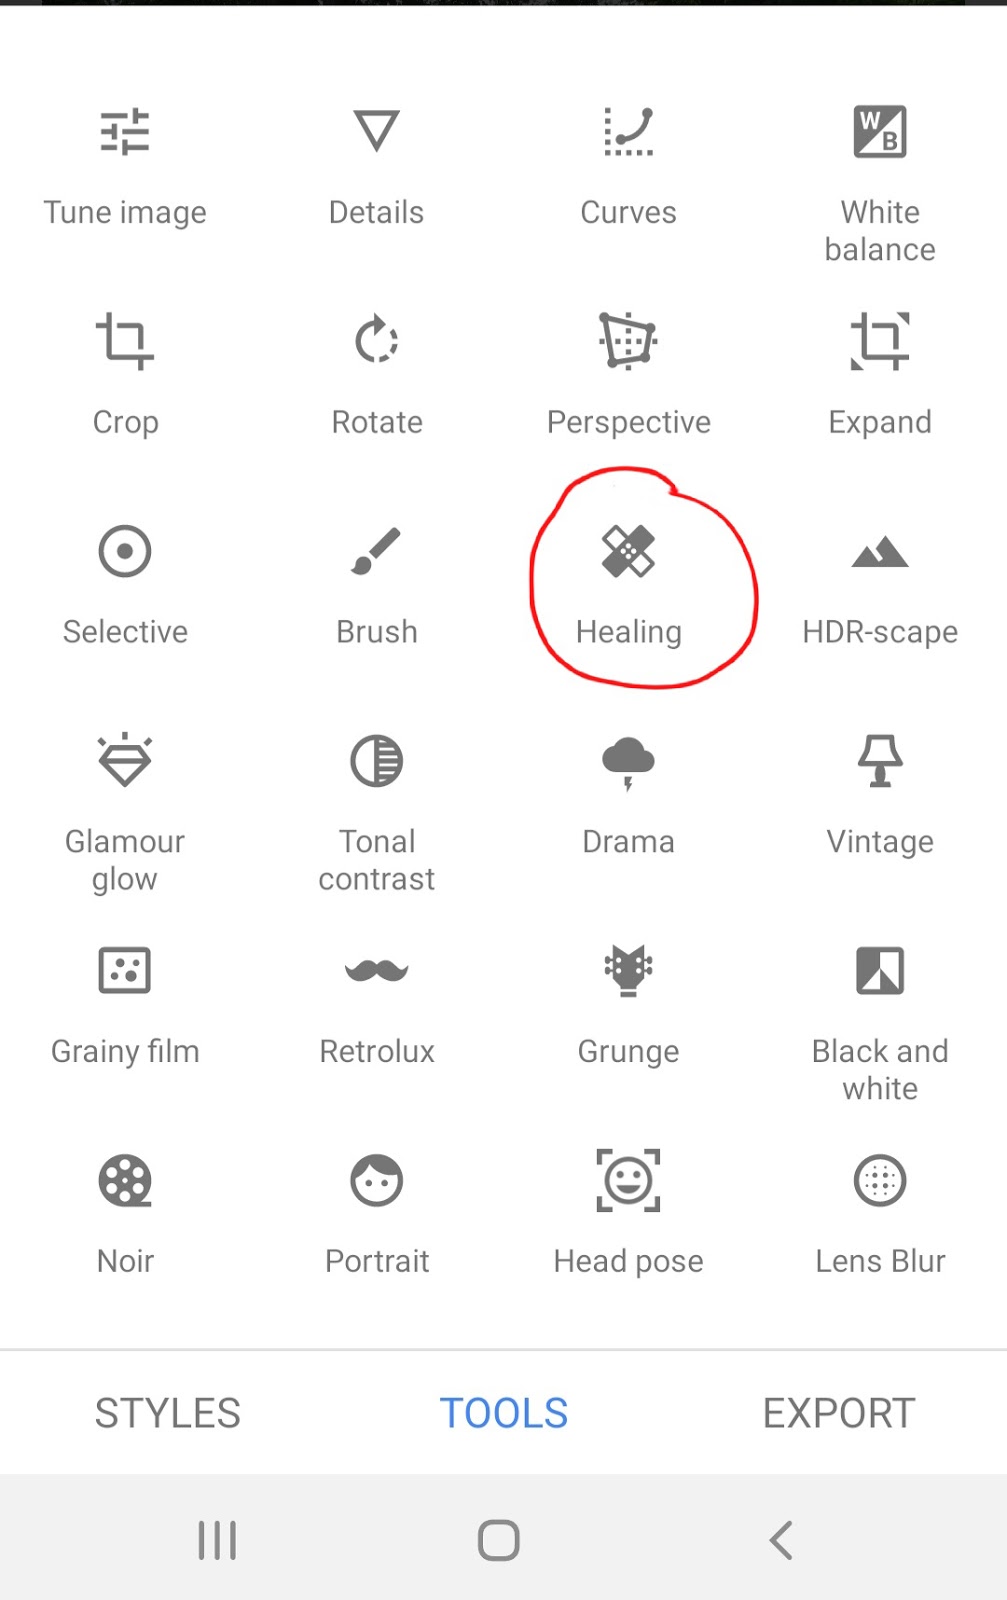
You can use it to select the blemishes and blend them into the contextual pixels. Zoom right in. You might find it grabs other, darker items around it, so try and go over it a few times and blend as best you can.
In Photoshop, of course, you have further options to get rid of any stray pixels such as the Smudge tool and Color Select tool.
Step 6
In Photoshop, you can bring up and down the colors, brightness, and contrast of paintwork or other items to make them pop.
Again, I like to use the Color Range Tool for this, though you can also try using Object Selector [?] or Quick Selector Tool.
Here’s Color Range.
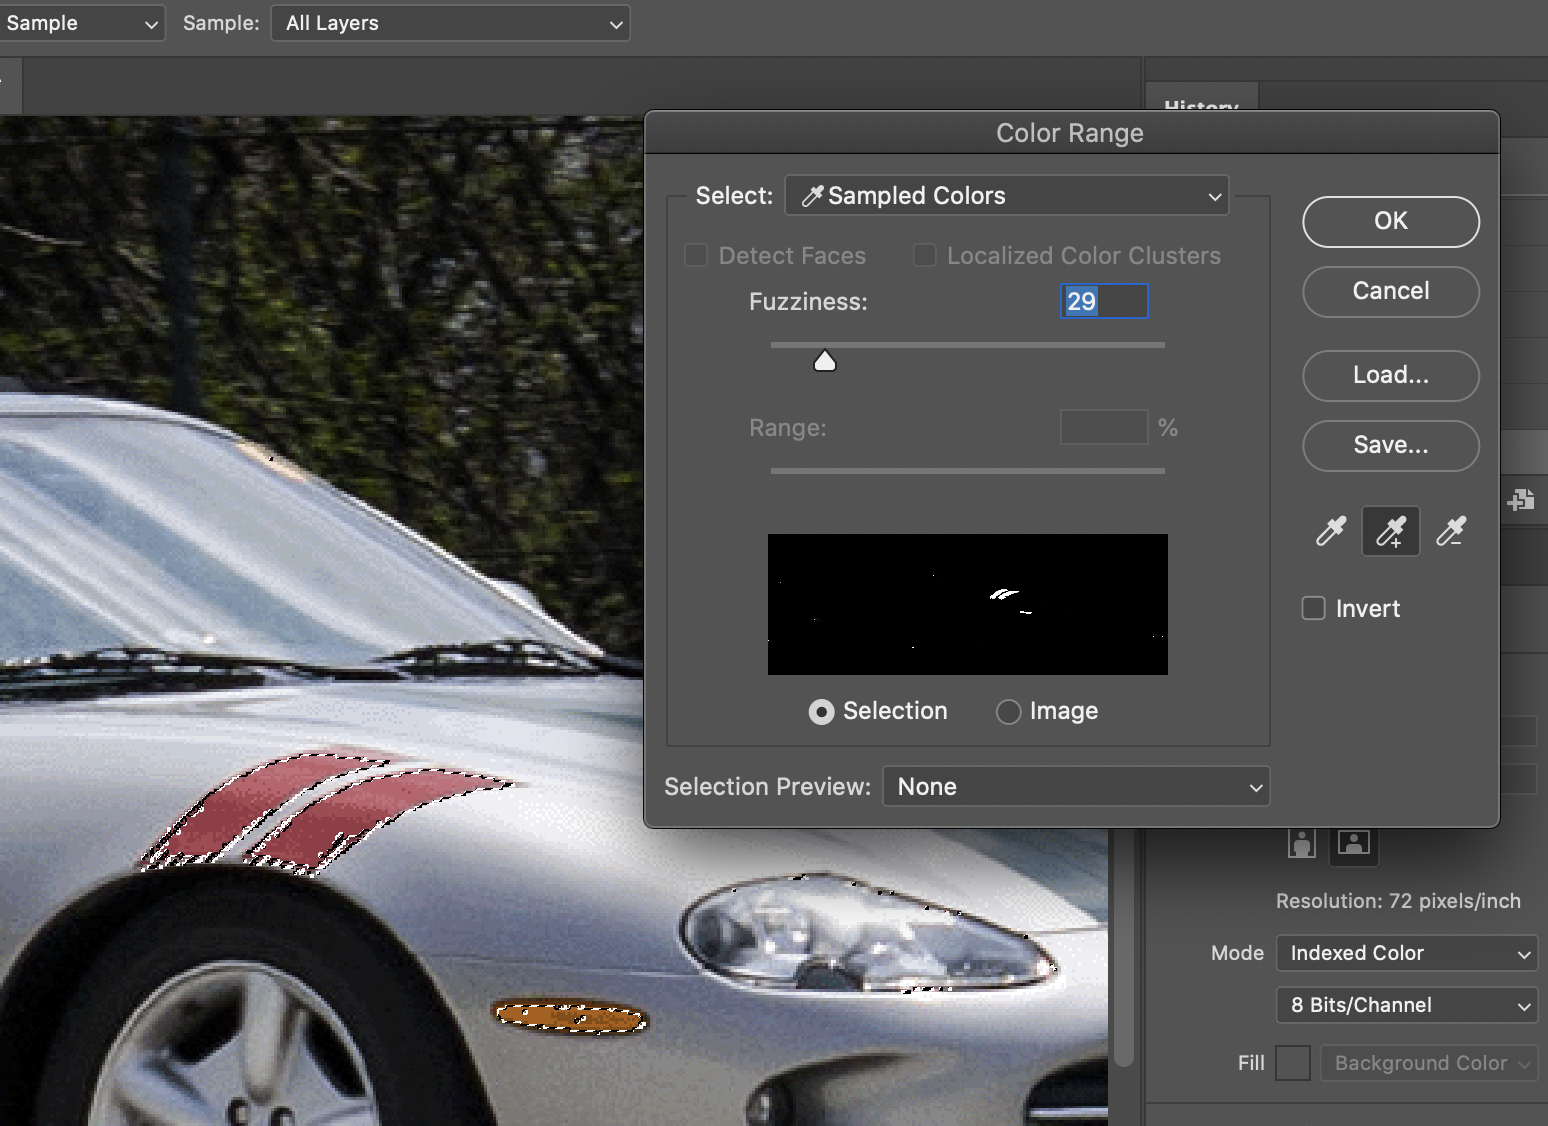
You can see we’ve clicked on the red flashes. Then we selected the Add Color pipette in the middle and added the orange.
Going into Image > Adjustments > Brightness and Contrast, we can then boost both of these and the stripes and indicator light will pop.
We have also increased Vibrance and Saturation from the same Image menu.
If we wanted, we could even change the shade under Hue/Saturation.
Step 7
You can also get some cool effects by darkening the windows.
For this, we would use the Quick Select tool.

Here’s our finished photo. The edit is on the extreme side to show you what can be achieved.
We hope this guide will help you understand better what automotive photography is and what you can achieve when undergoing the whole process.
Obviously, like all photography, learning to take really great photos of cars and edit them in Photoshop can be the work of a lifetime.
But if you are hoping to sell your vehicle and want to enjoy the process of experimentation, this will get you a good distance on the road to success.
댓글