Smart business owners know the impact of a well-timed email: it sends customers straight to your best deals and personalized offers. And with an automated email marketing workflow, you save more time and effort in the long run. So here's a guide to how you can set up yours and hit 'Send' in no time.
Sommaire
- What’s the email marketing automation hype all about?
- Why an automated welcome email sequence is a smart first step
- How to set up an automated welcome email with Mailchimp
- 4 tools to speed up the process of creating automated emails
- Edit your email photos with remove.bg
- Write quicker, catchier emails with Copy.ai
- Create an email header with a Canva template
- Add a custom CTA button
- Hit 'Send' & make a killing online — with an automated email workflow
What’s the email marketing automation hype all about?
Maybe one of your 2023 goals is to jumpstart your sales — and when it comes to making a profit online, email still dominates this year. According to Campaign Monitor, it has an average ROI of 4300% and converts faster than search and social media.
This is why it just makes sense to add an email signup form to your site or store so you can build a list of subscribers. With regular emails, you can share deals, upcoming sales, and product bundles, which attracts new and returning customers and keeps them coming back for more.
But at the same time, can you imagine manually writing a welcome email every time someone signs up for your site? We sure can't. That's where an automated email workflow does the work for you. Which might look like:
Personalized emails which target your audience based on how they've interacted with your site. (Like if they've abandoned their shopping cart or marked a product as a favorite.)
Improved brand communications with emails that go off right on schedule and target your customers with content that's relevant to them. In the long run, you create a better customer experience for them overall.
But the best part? An automated email workflow helps you scale your business as you grow — and gradually brings your manual effort down to zero. All this without renouncing to your personal touch in any communication with your customers. Pretty efficient, if you ask us.

So, in a nutshell: based on a specific action a visitor takes on your site, your automated sequence sends out an email or a series of them. For example:
A welcome email to someone who's signed up for your upcoming offers and deals
A re-engagement email to someone who’s signed up but hasn't interacted much with your content
Promotional offers and deals to get customers to repeat purchase
And even better: you just need to design the original email once. Next, set up a sequence to send it out automatically — and let it do your marketing for you. So let's start with a simple example: a welcome email sequence.
Why an automated welcome email sequence is a smart first step

Imagine buying a product from an online store and getting radio silence from the brand? Not the best way to make a great brand impression. But with an automated welcome email, you take your first step towards building a relationship with your subscribers.
One of the first customer touchpoints you'll come across is someone signing up for your newsletter, wanting to keep in touch or get future offers. So with a simple welcome email sequence, you can make them feel like they already know you. Setting one up also helps you:
confirm that your subscribers are sharing their actual emails — where you can reach them regularly and ensure they think of your brand first. Email marketing platforms like MailChimp even help you set up features like double opt-in. So your subscribers have to confirm that they’d like to stay on your email list. This also helps you ensure you’re not emailing a spam account.
set your subscribers’ expectations. This means helping them understand what kind of content you’ll be targeting them with, how often you’ll be reaching out to them, and what makes your brand unique over others. Great for building a lasting brand impression.
In the long run, an automated welcome email also helps you dodge your subscribers’ spam folders. By setting the expectation that you’re going to be sending them content that’s relevant to them, you stay on their radar and keep your email hygiene in good shape.
So let’s check out how to set up one for ourselves. Here's an example using popular email marketing platform, Mailchimp.
How to set up an automated welcome email with Mailchimp
We’re going to walk you through how to set up a welcome sequence step-by-step using Mailchimp's pre-built customer journeys (available on its Standard Plan). If you’re already using another email marketing provider, no worries — you can still use this as inspiration for your flow.
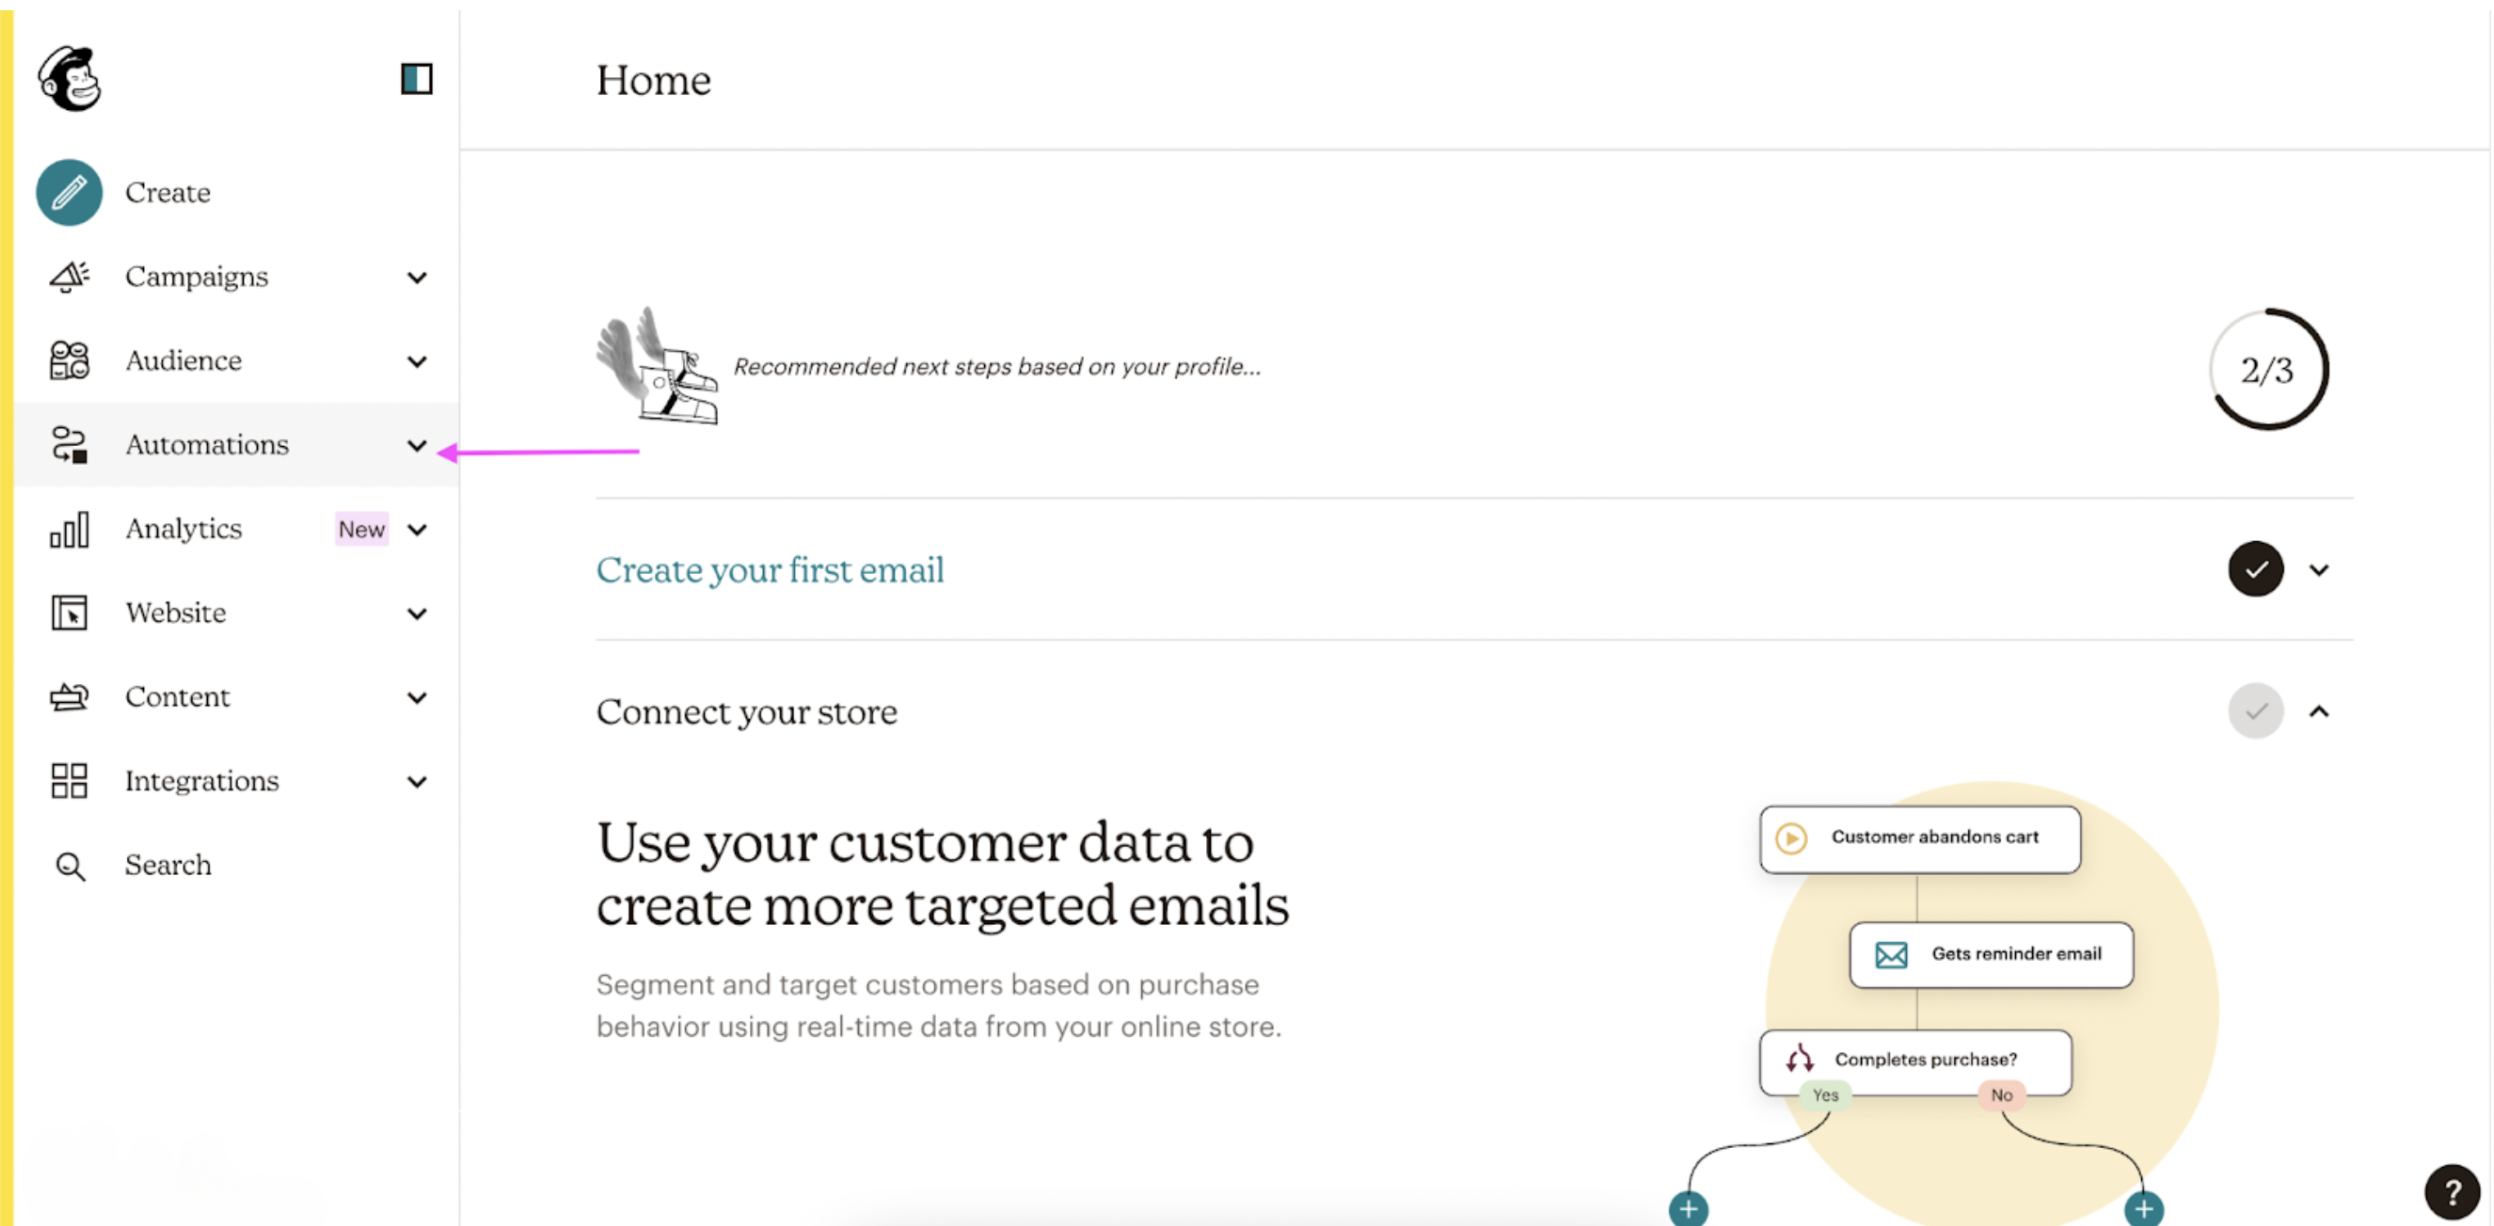
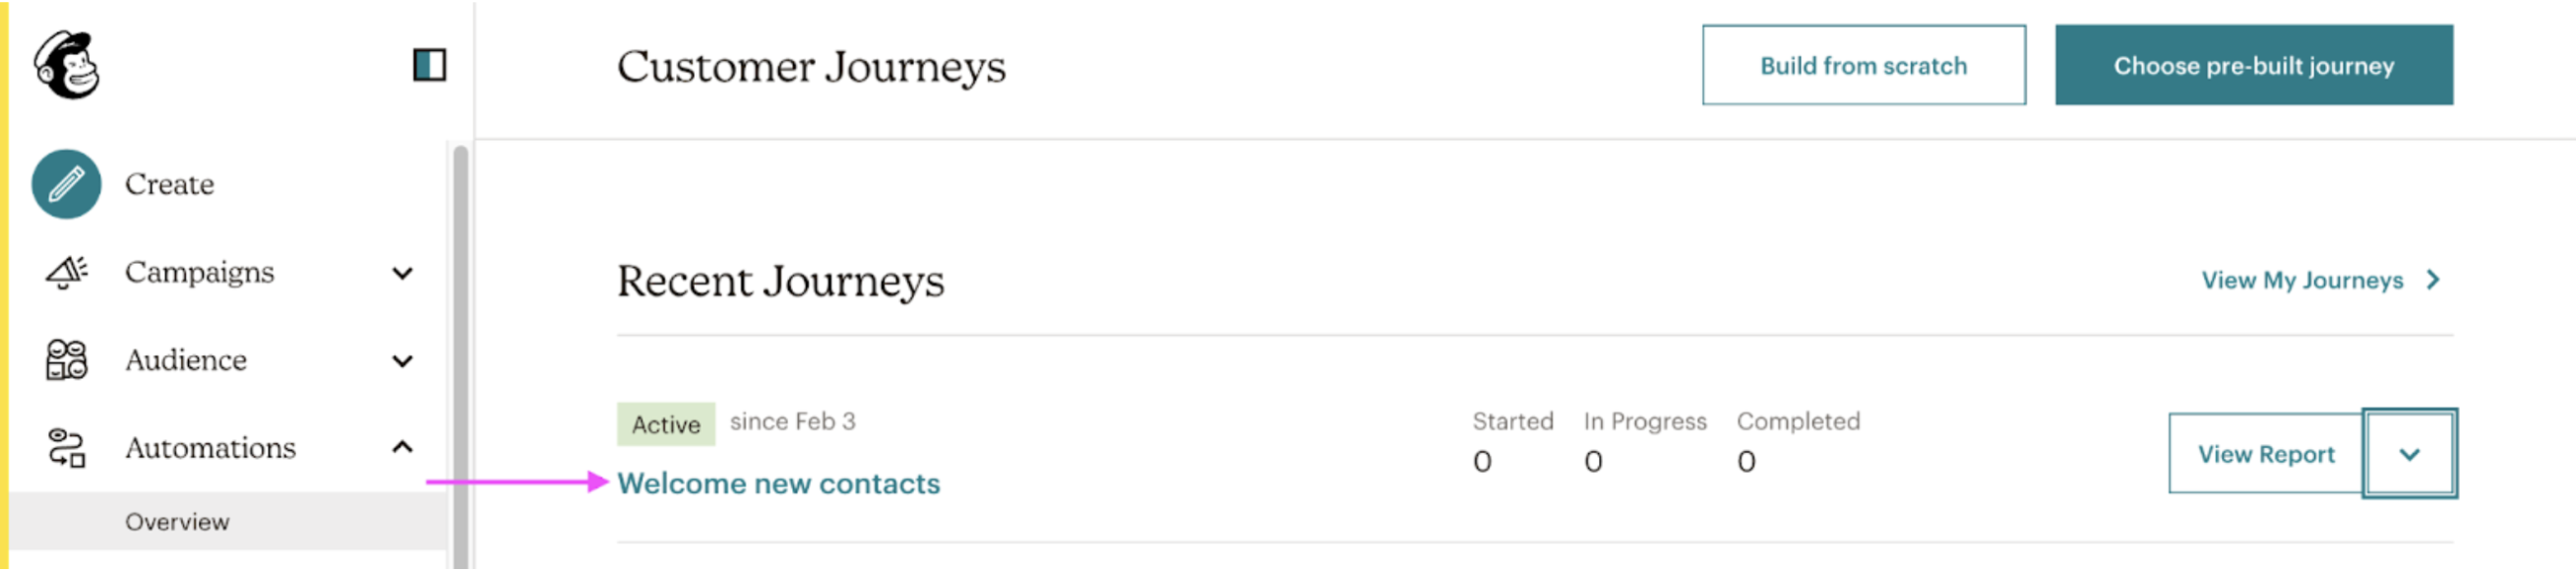
1. From the Mailchimp Home page, head over to > Automations on the left-hand side:
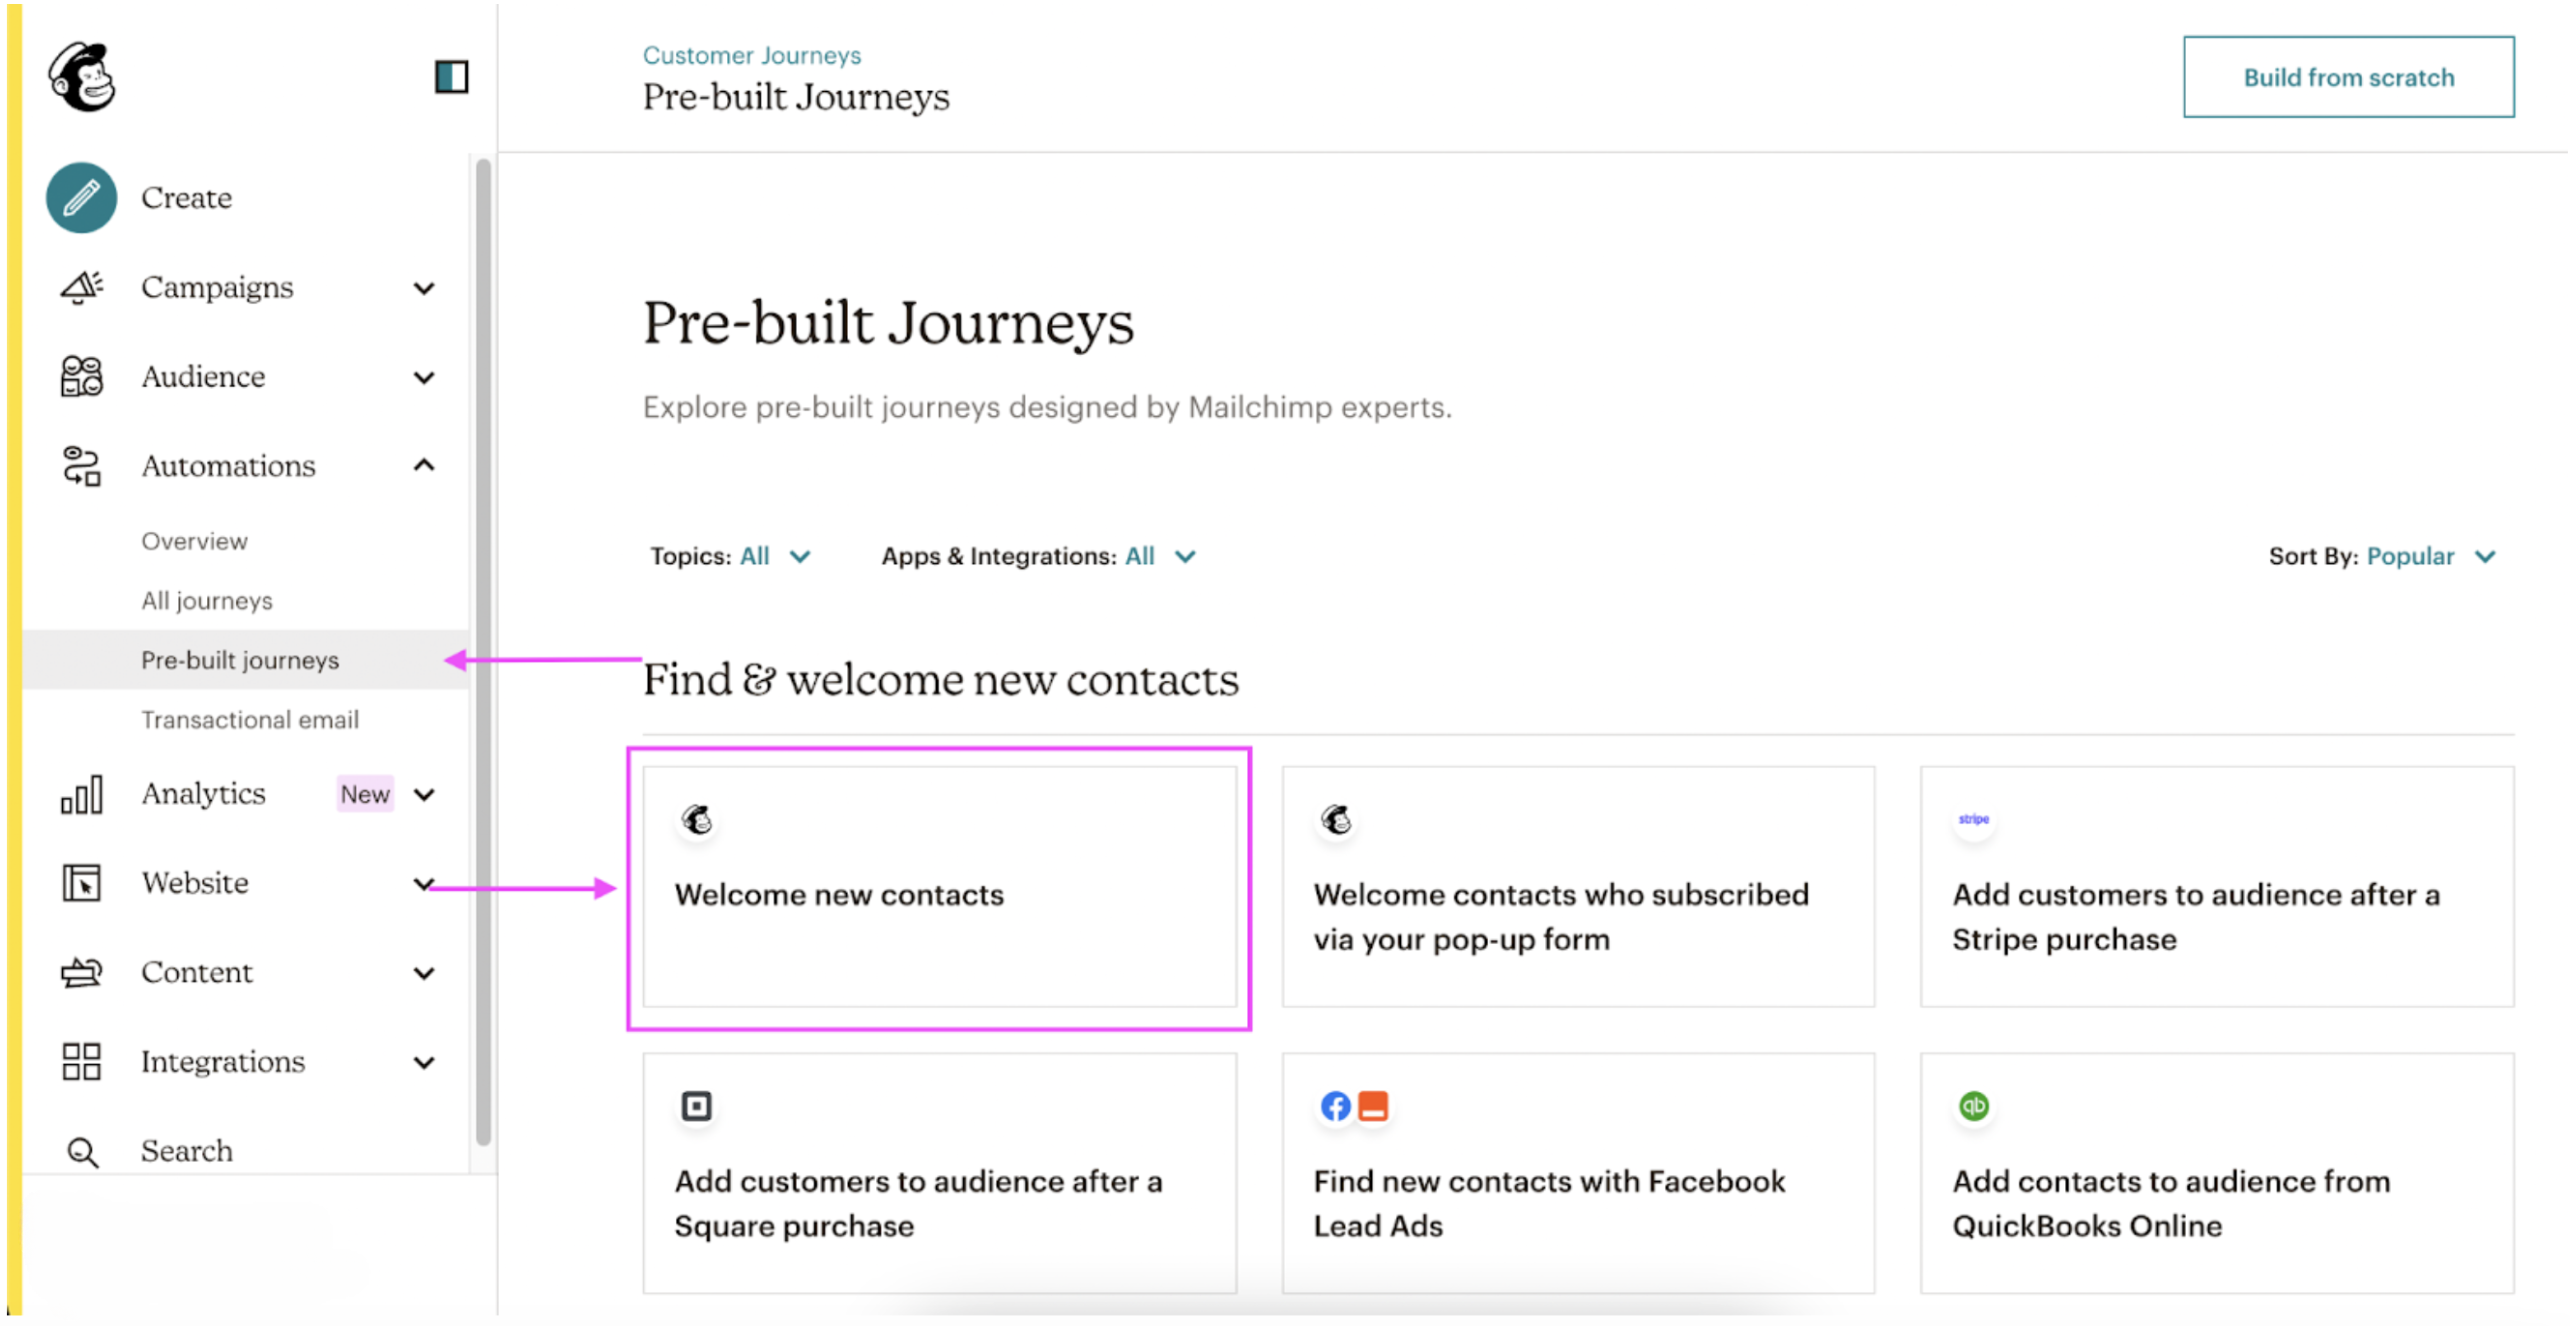
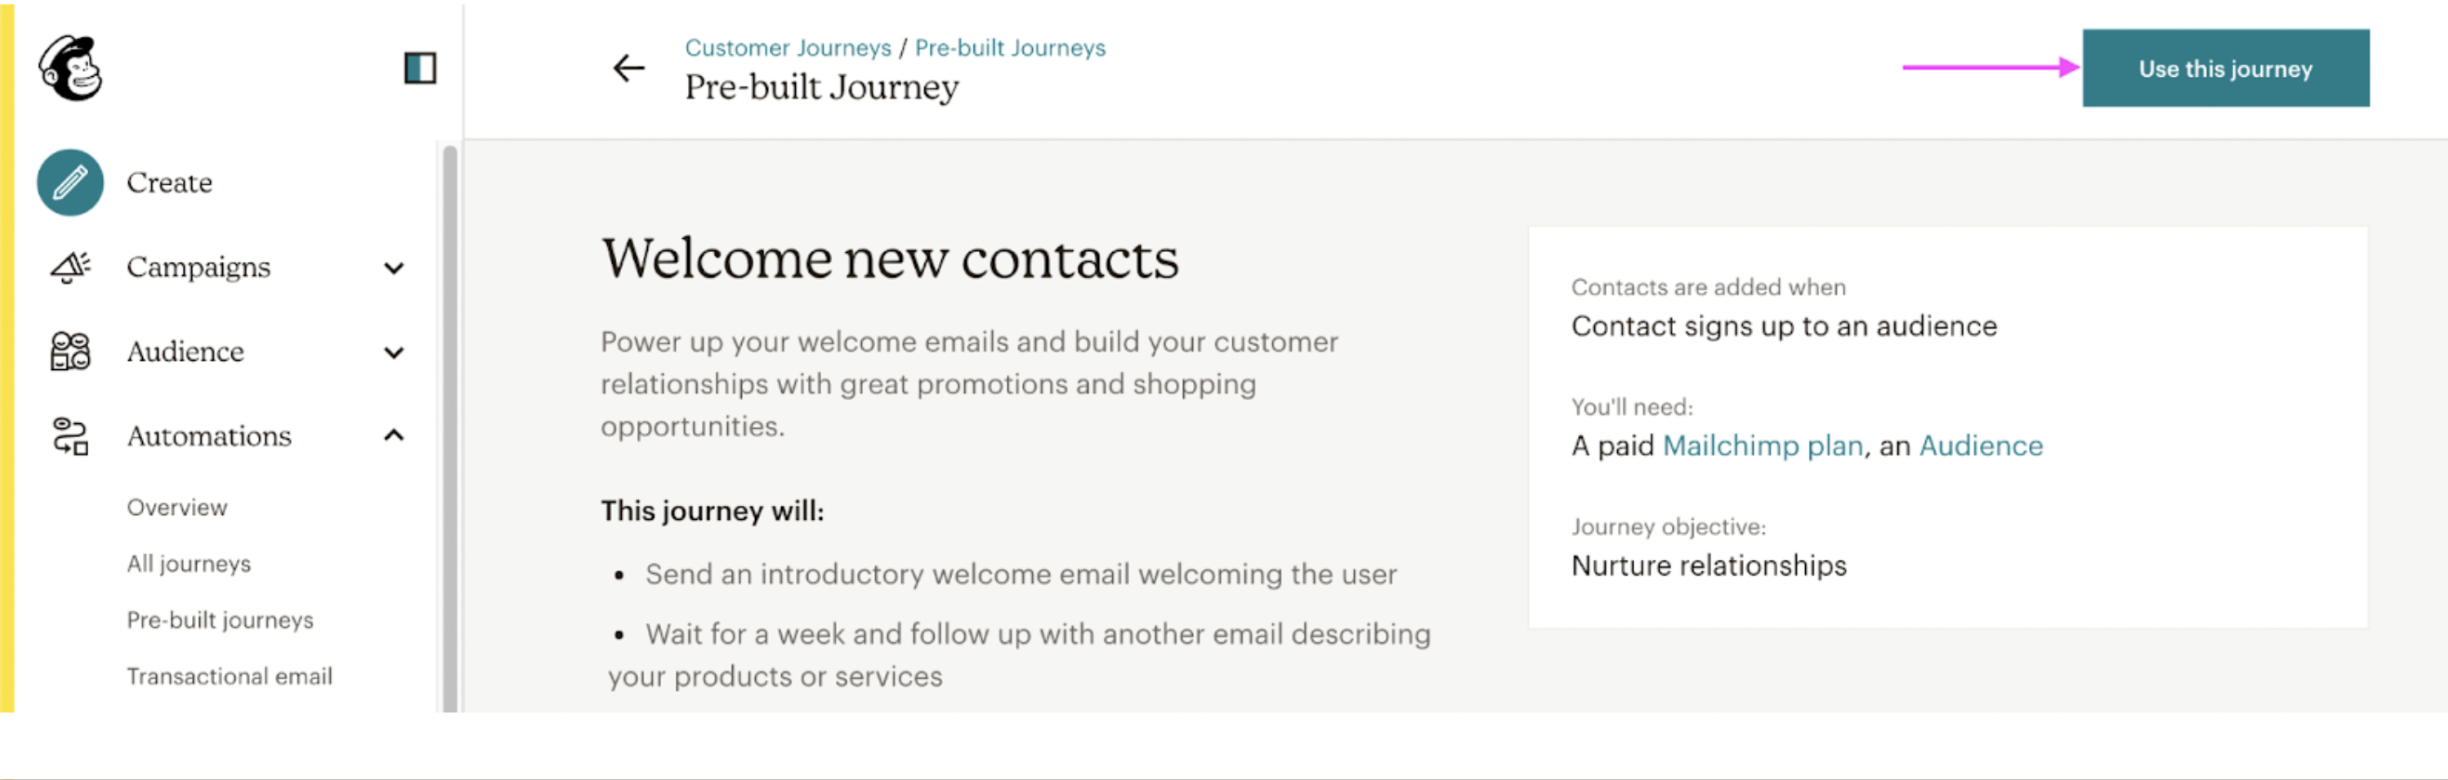
2. Go to > Pre-built journeys and set up a simple Welcome email with > Welcome new contacts:
Let's pick the > Welcome automation:
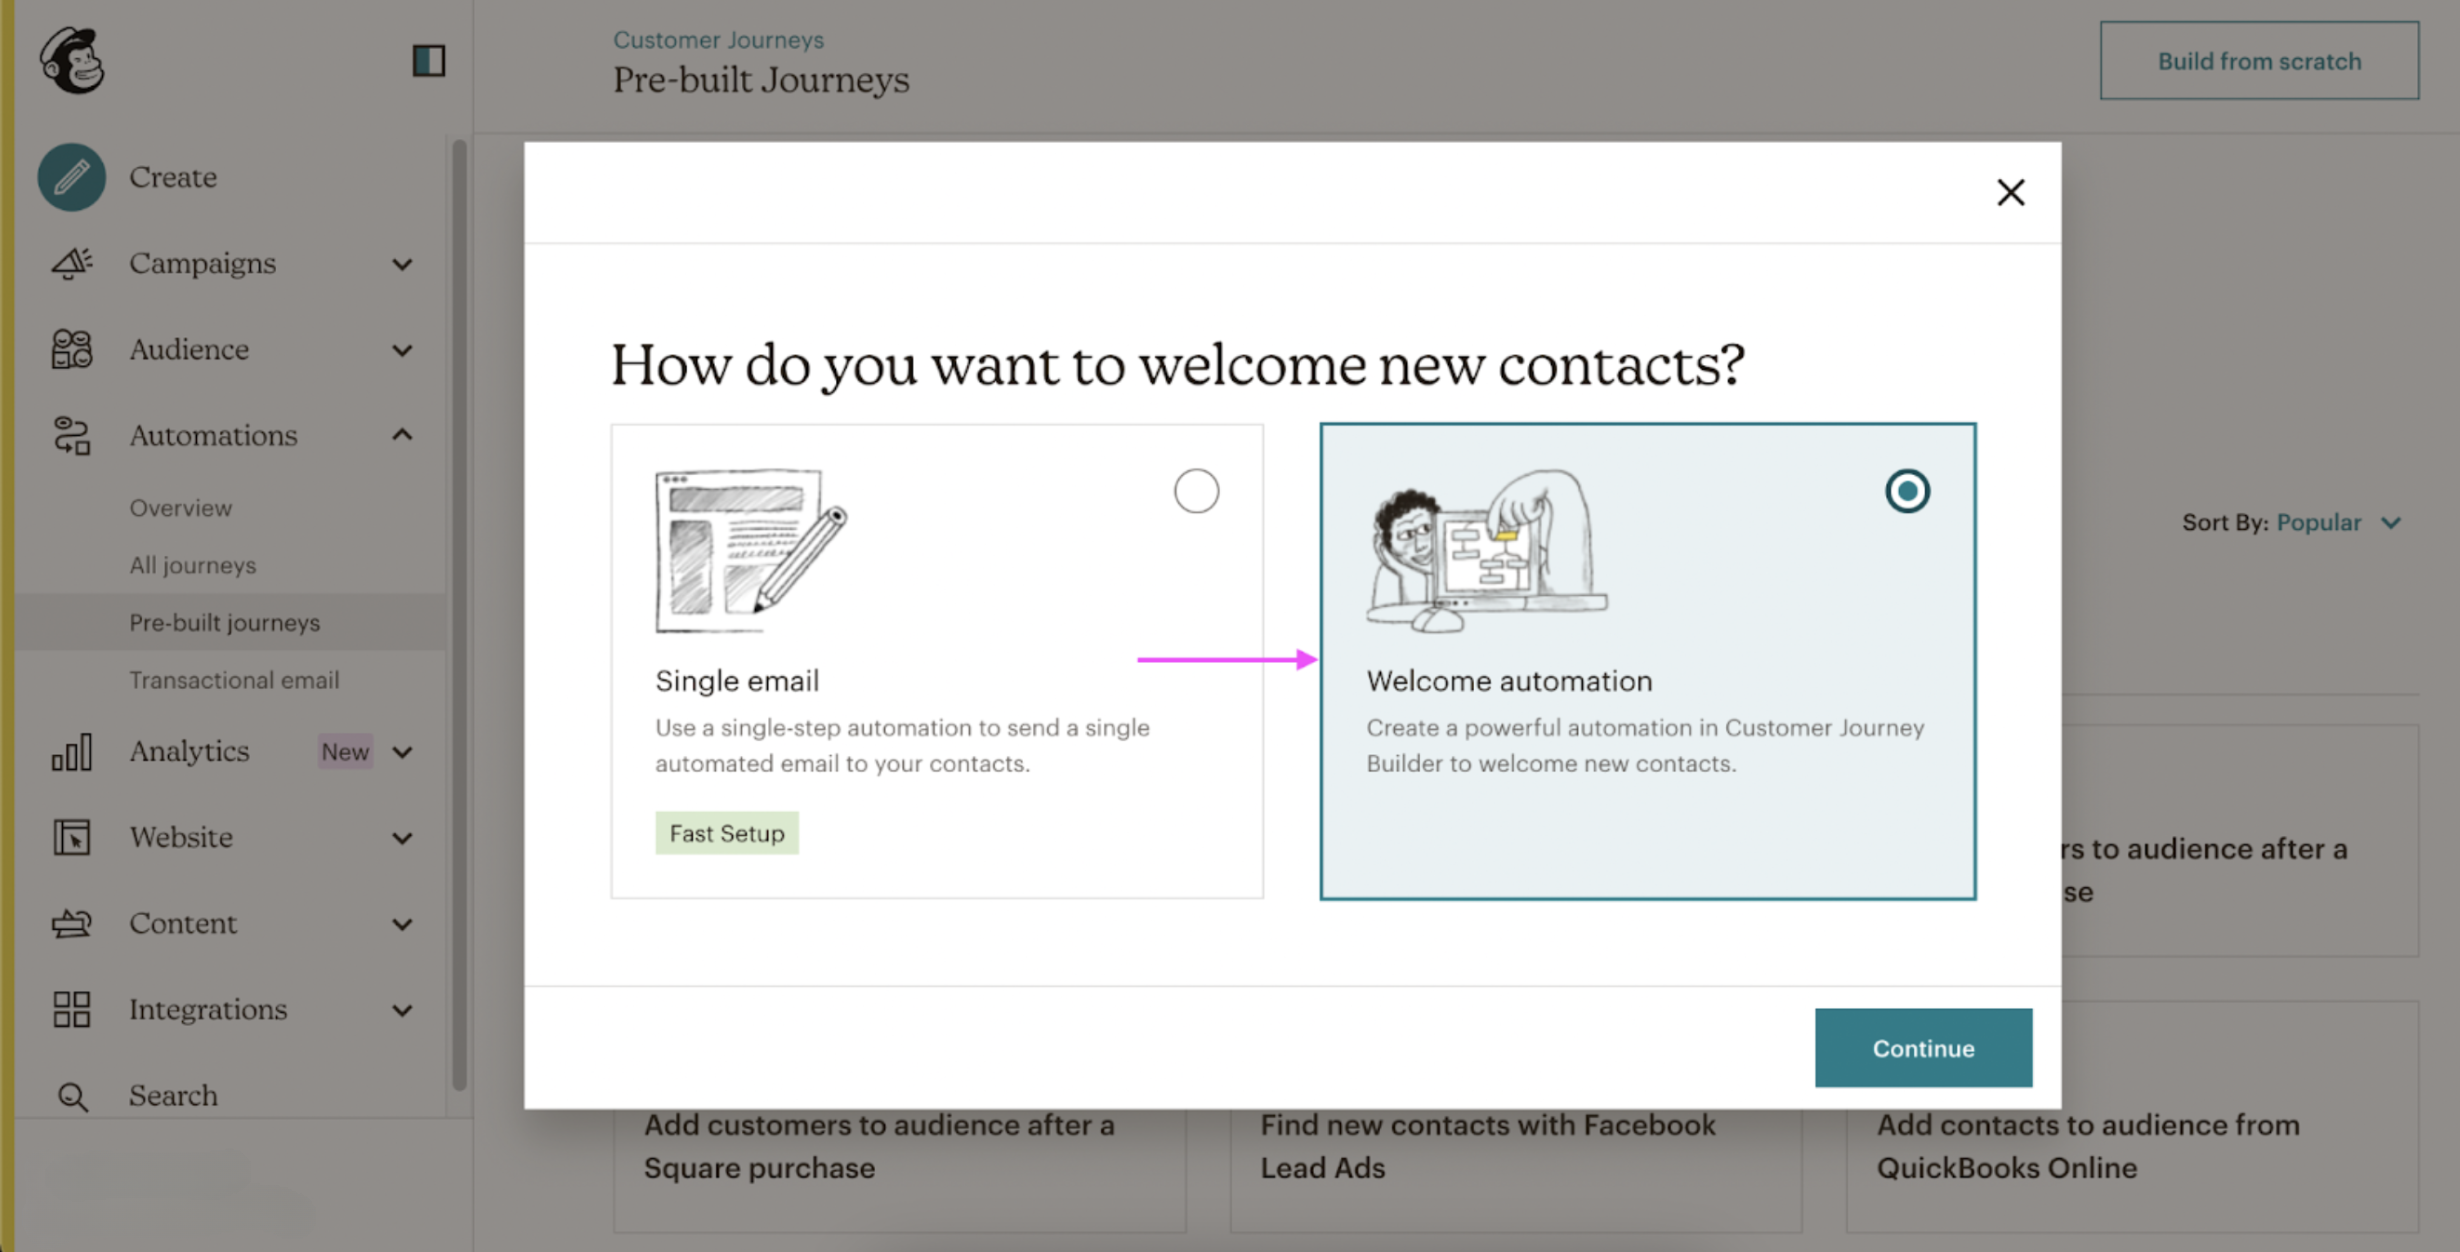
Click on > Use this journey and > Continue to get started:
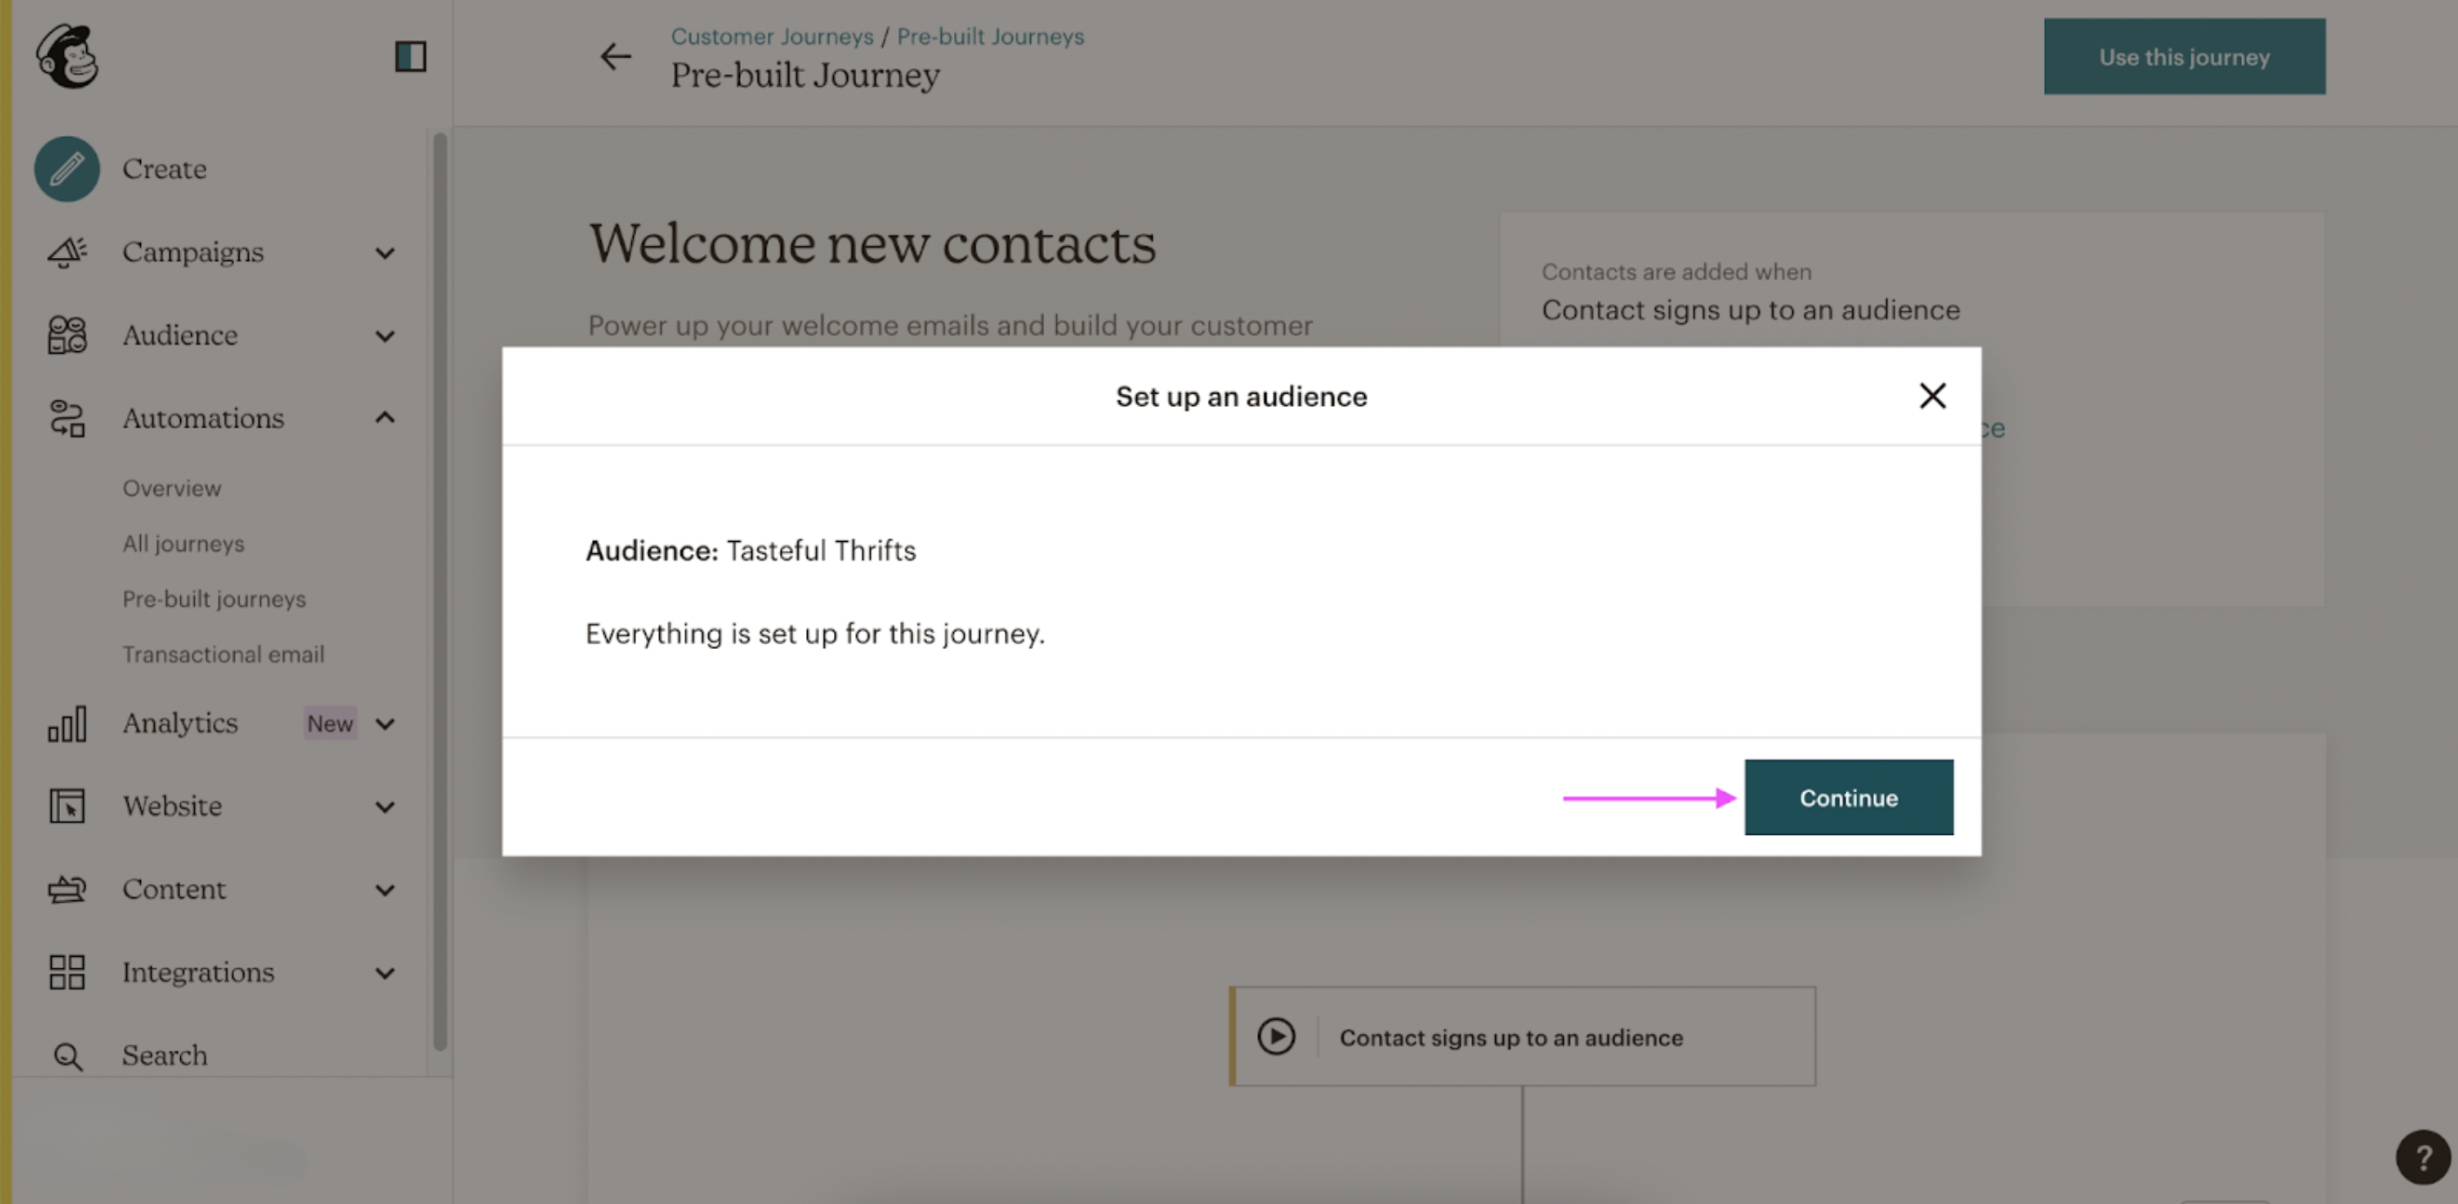
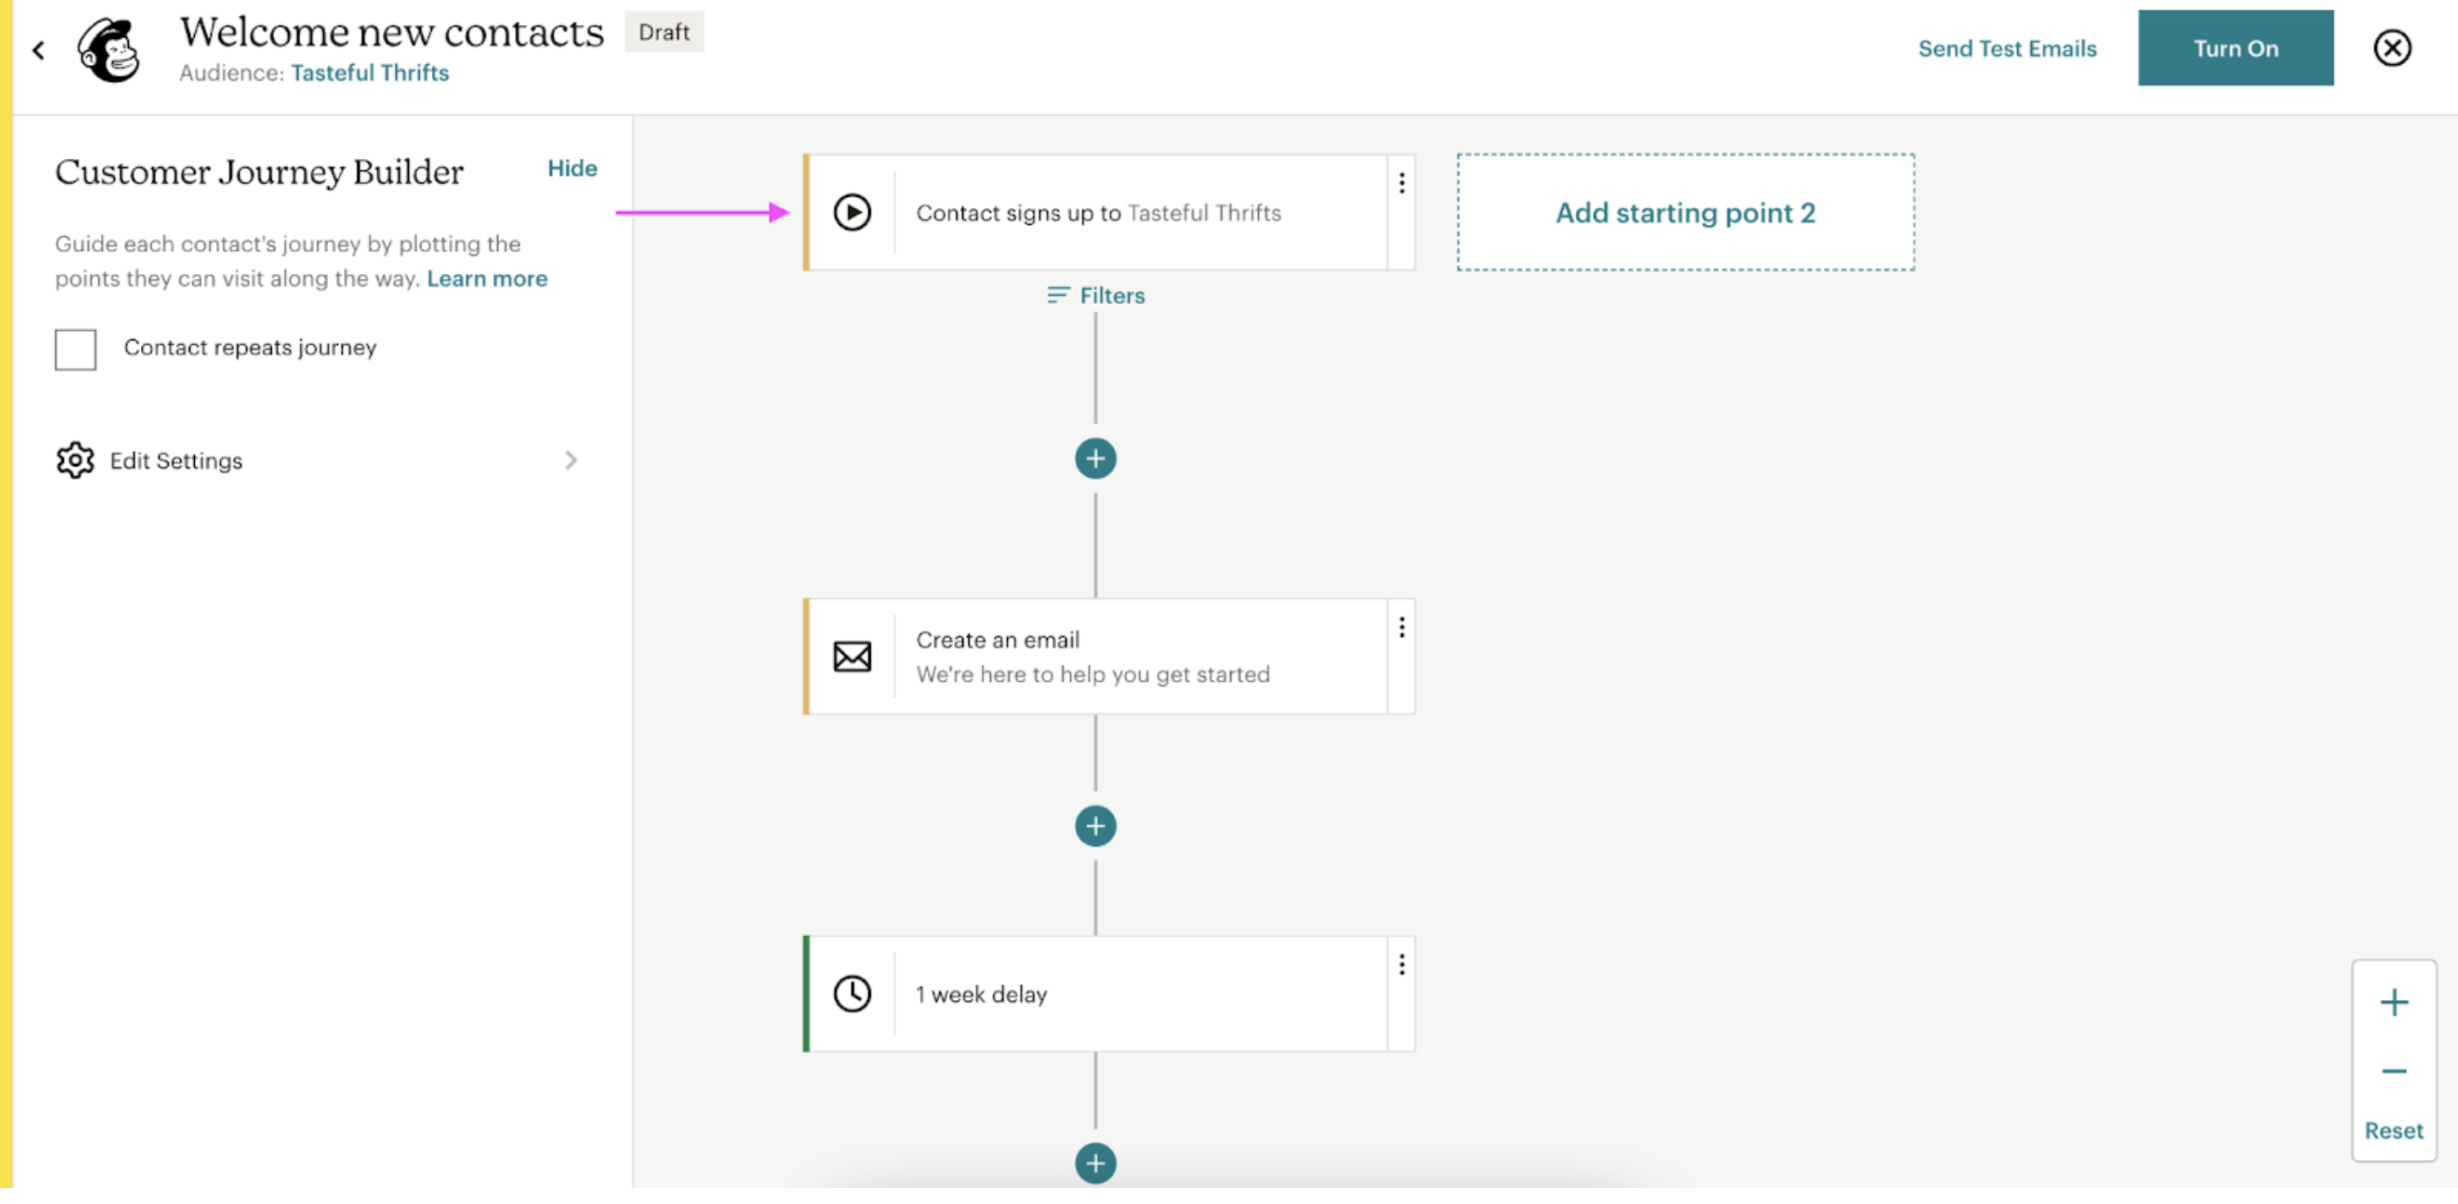
3. Here's how Mailchimp helps you identify your customer touchpoint, i.e., someone signing up for your site:
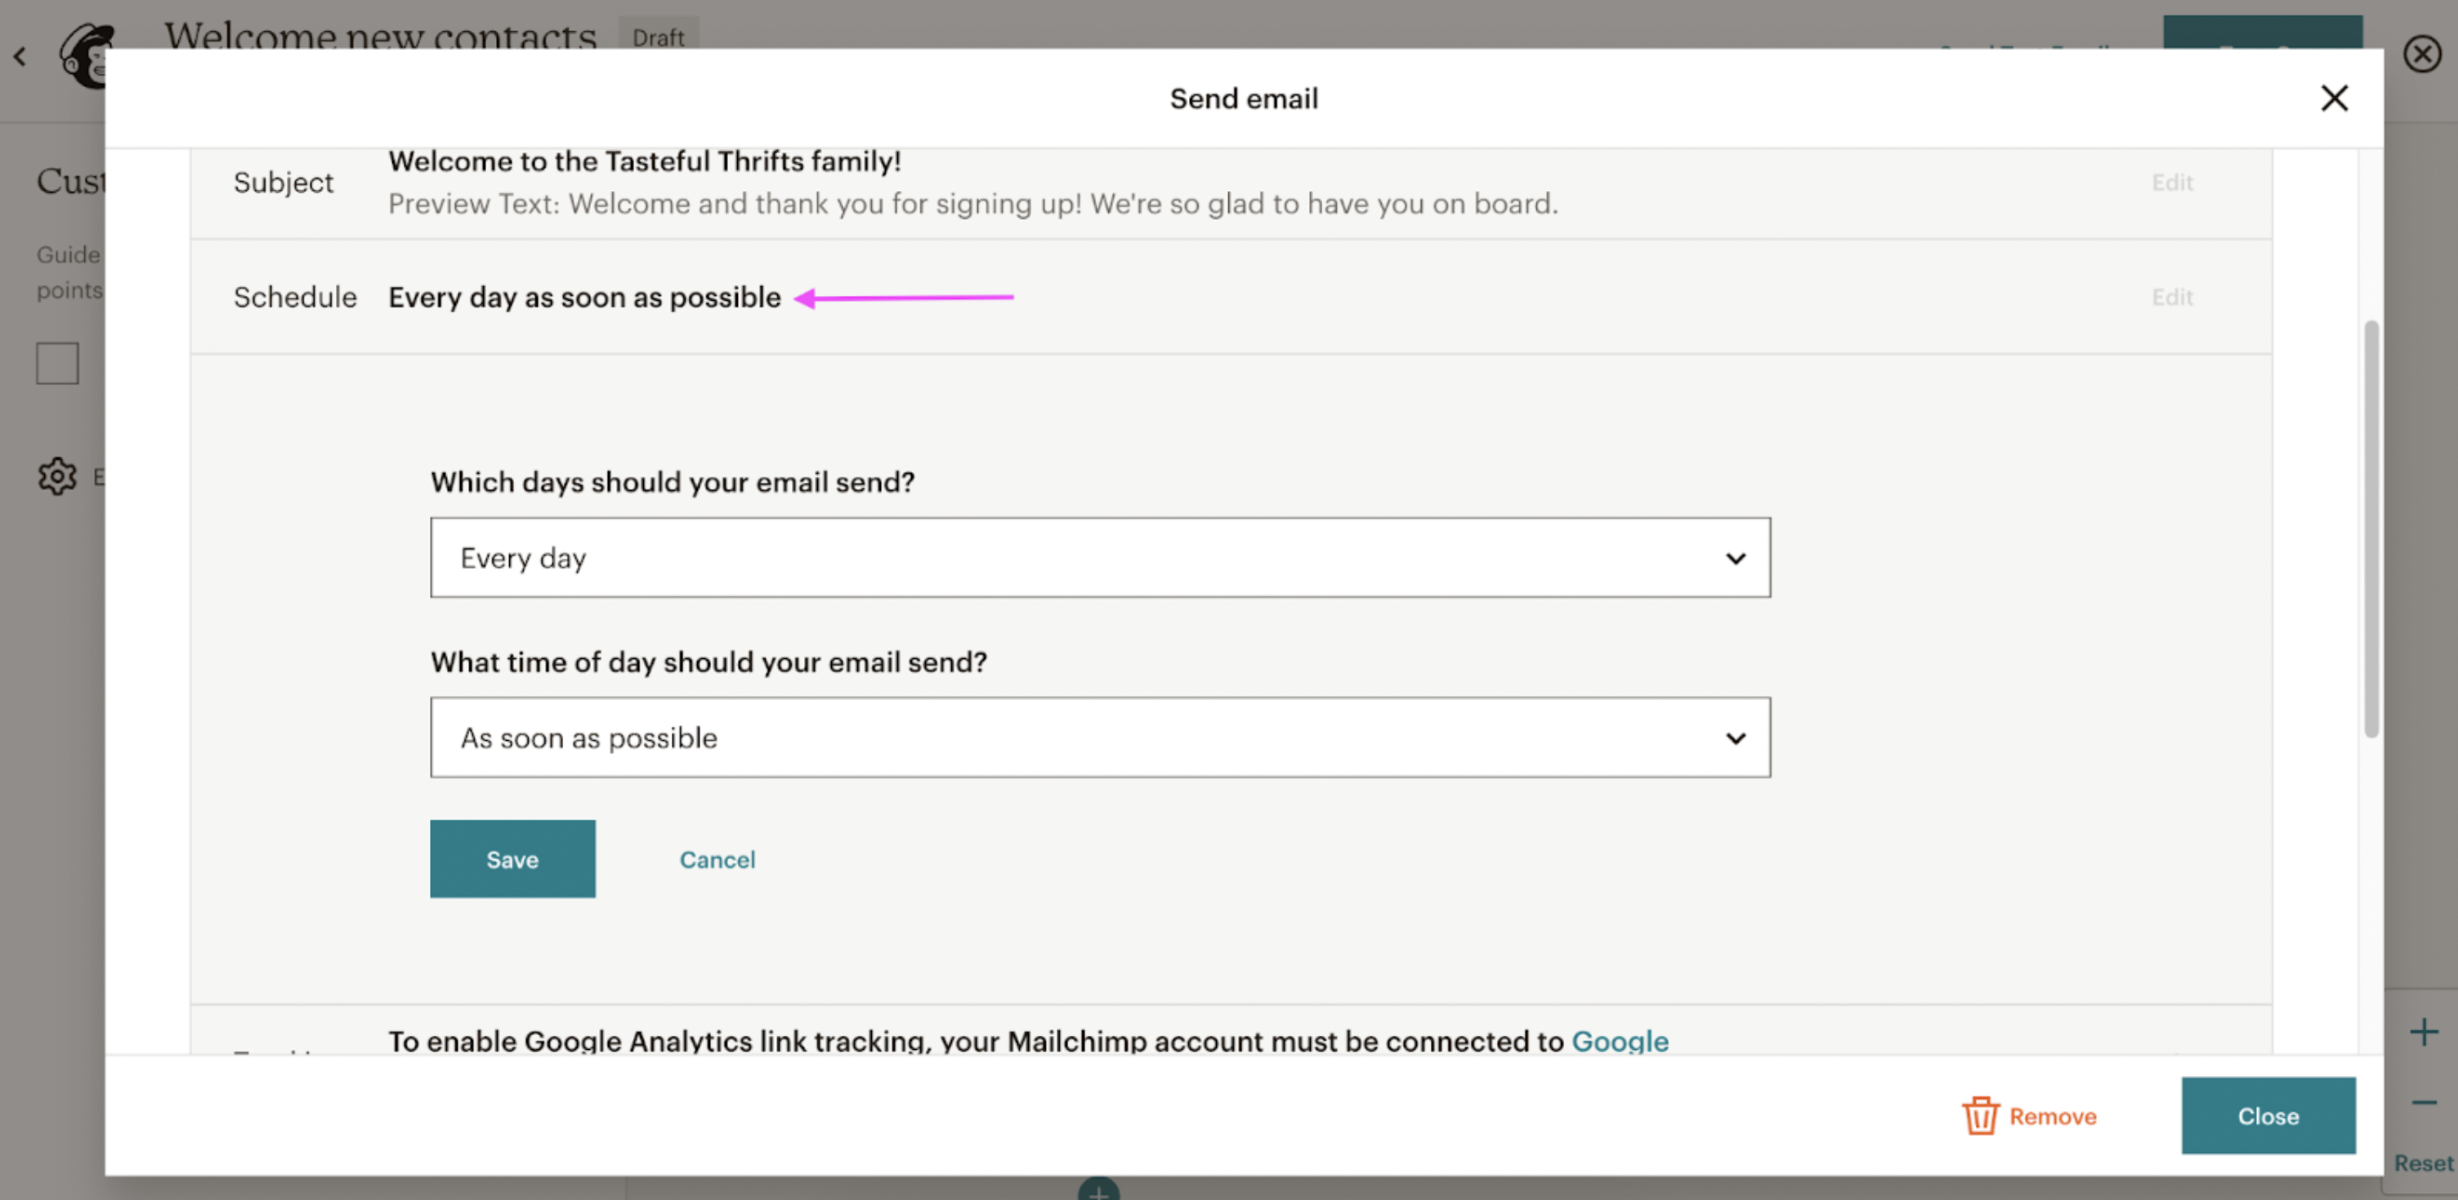
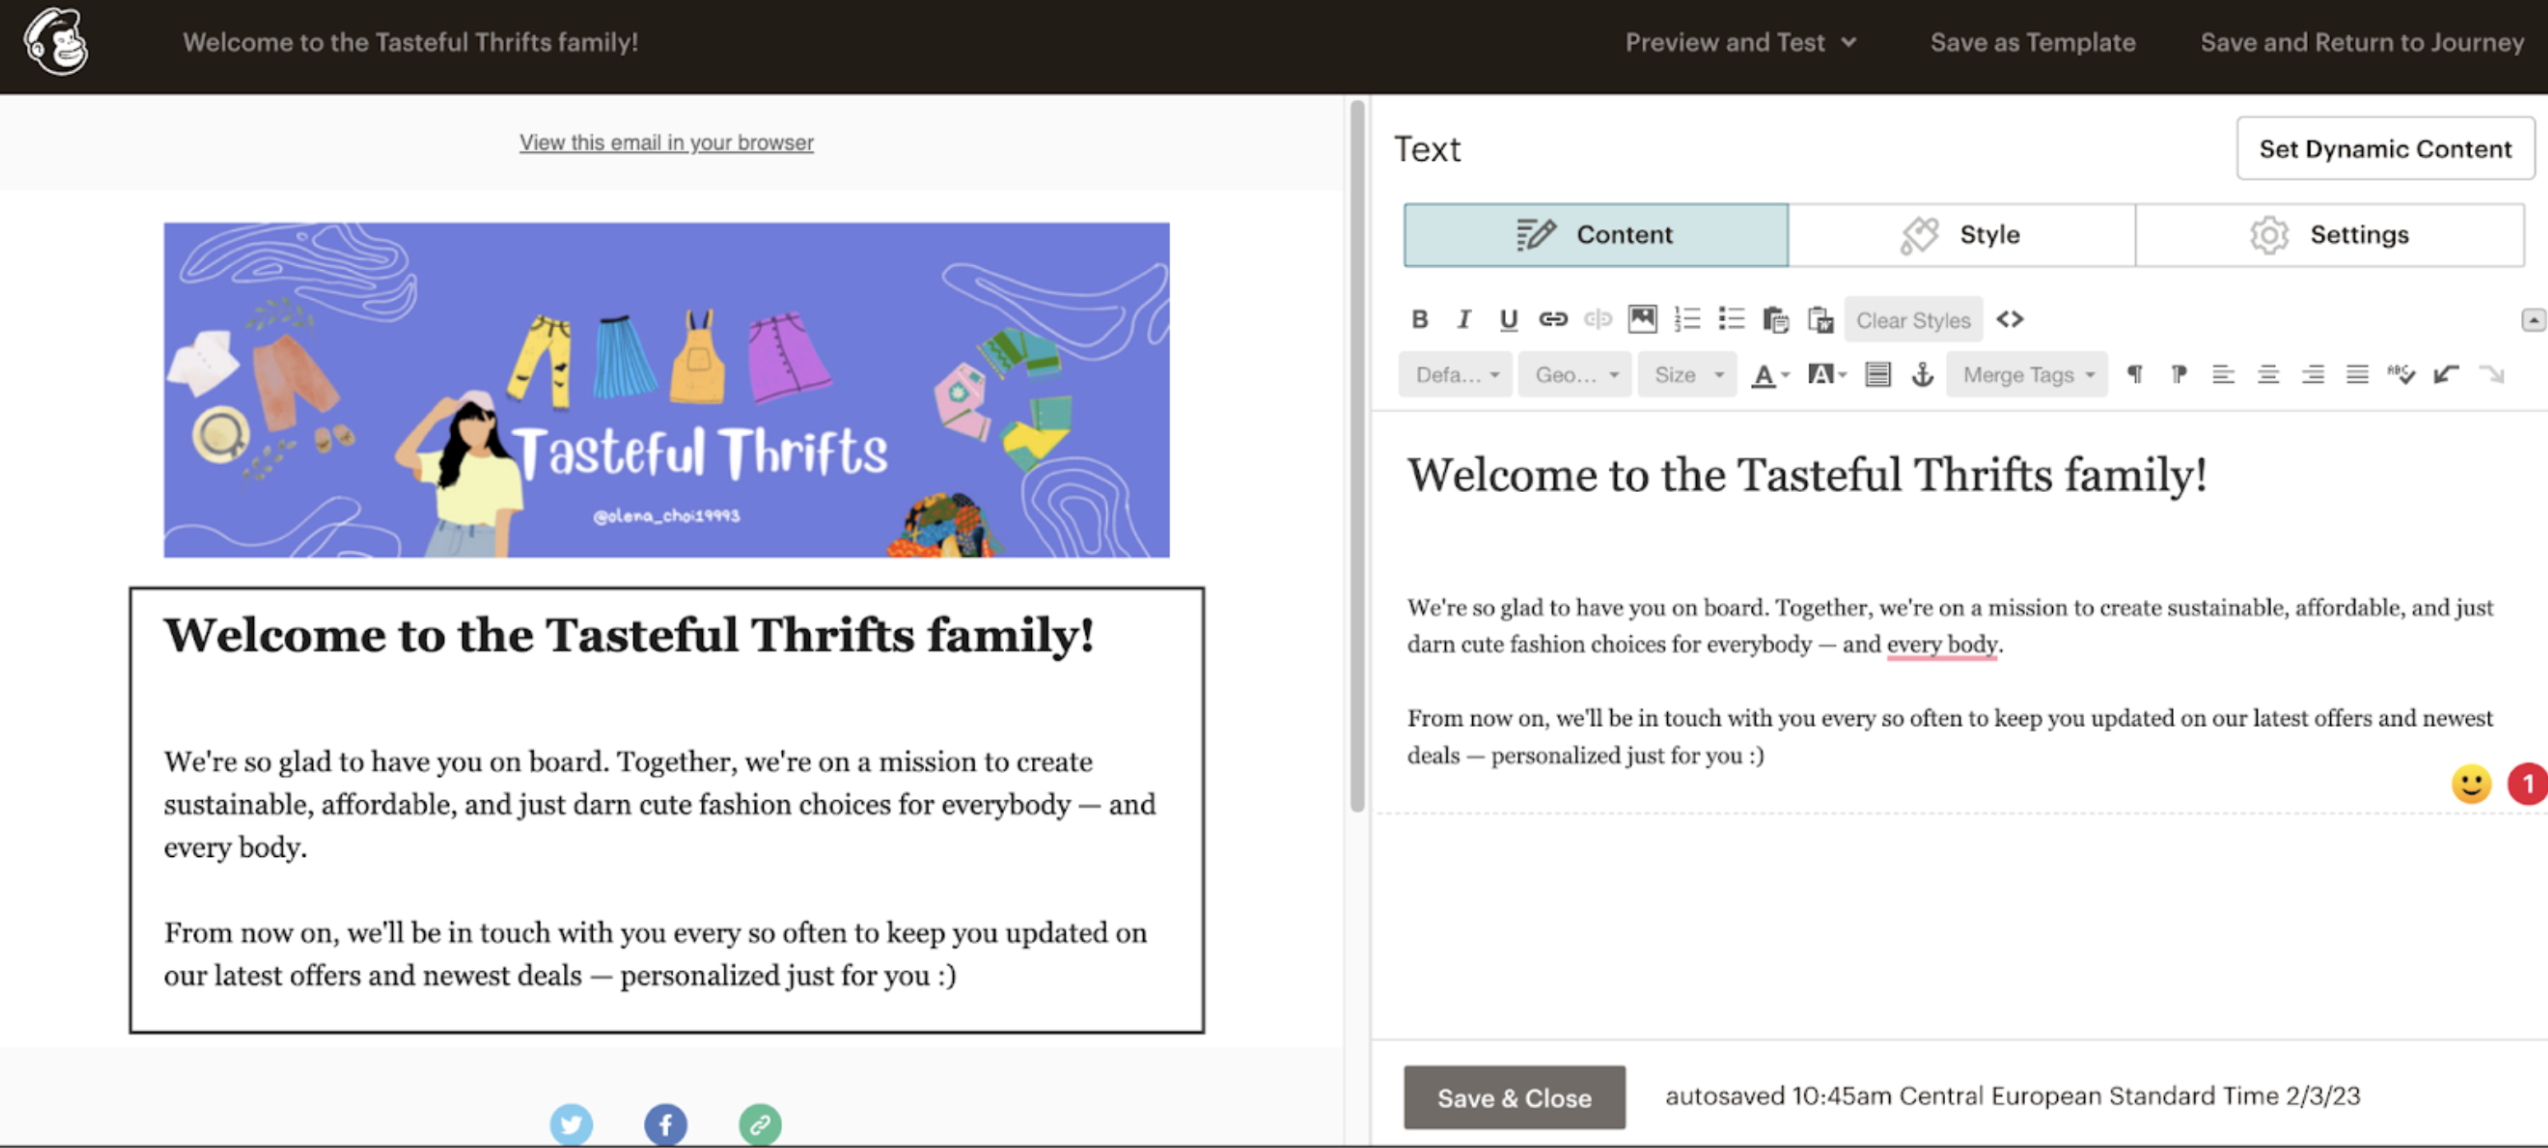
4. Now let's customize how your email is going to appear in a subscriber's inbox — details like your headline and subject line:

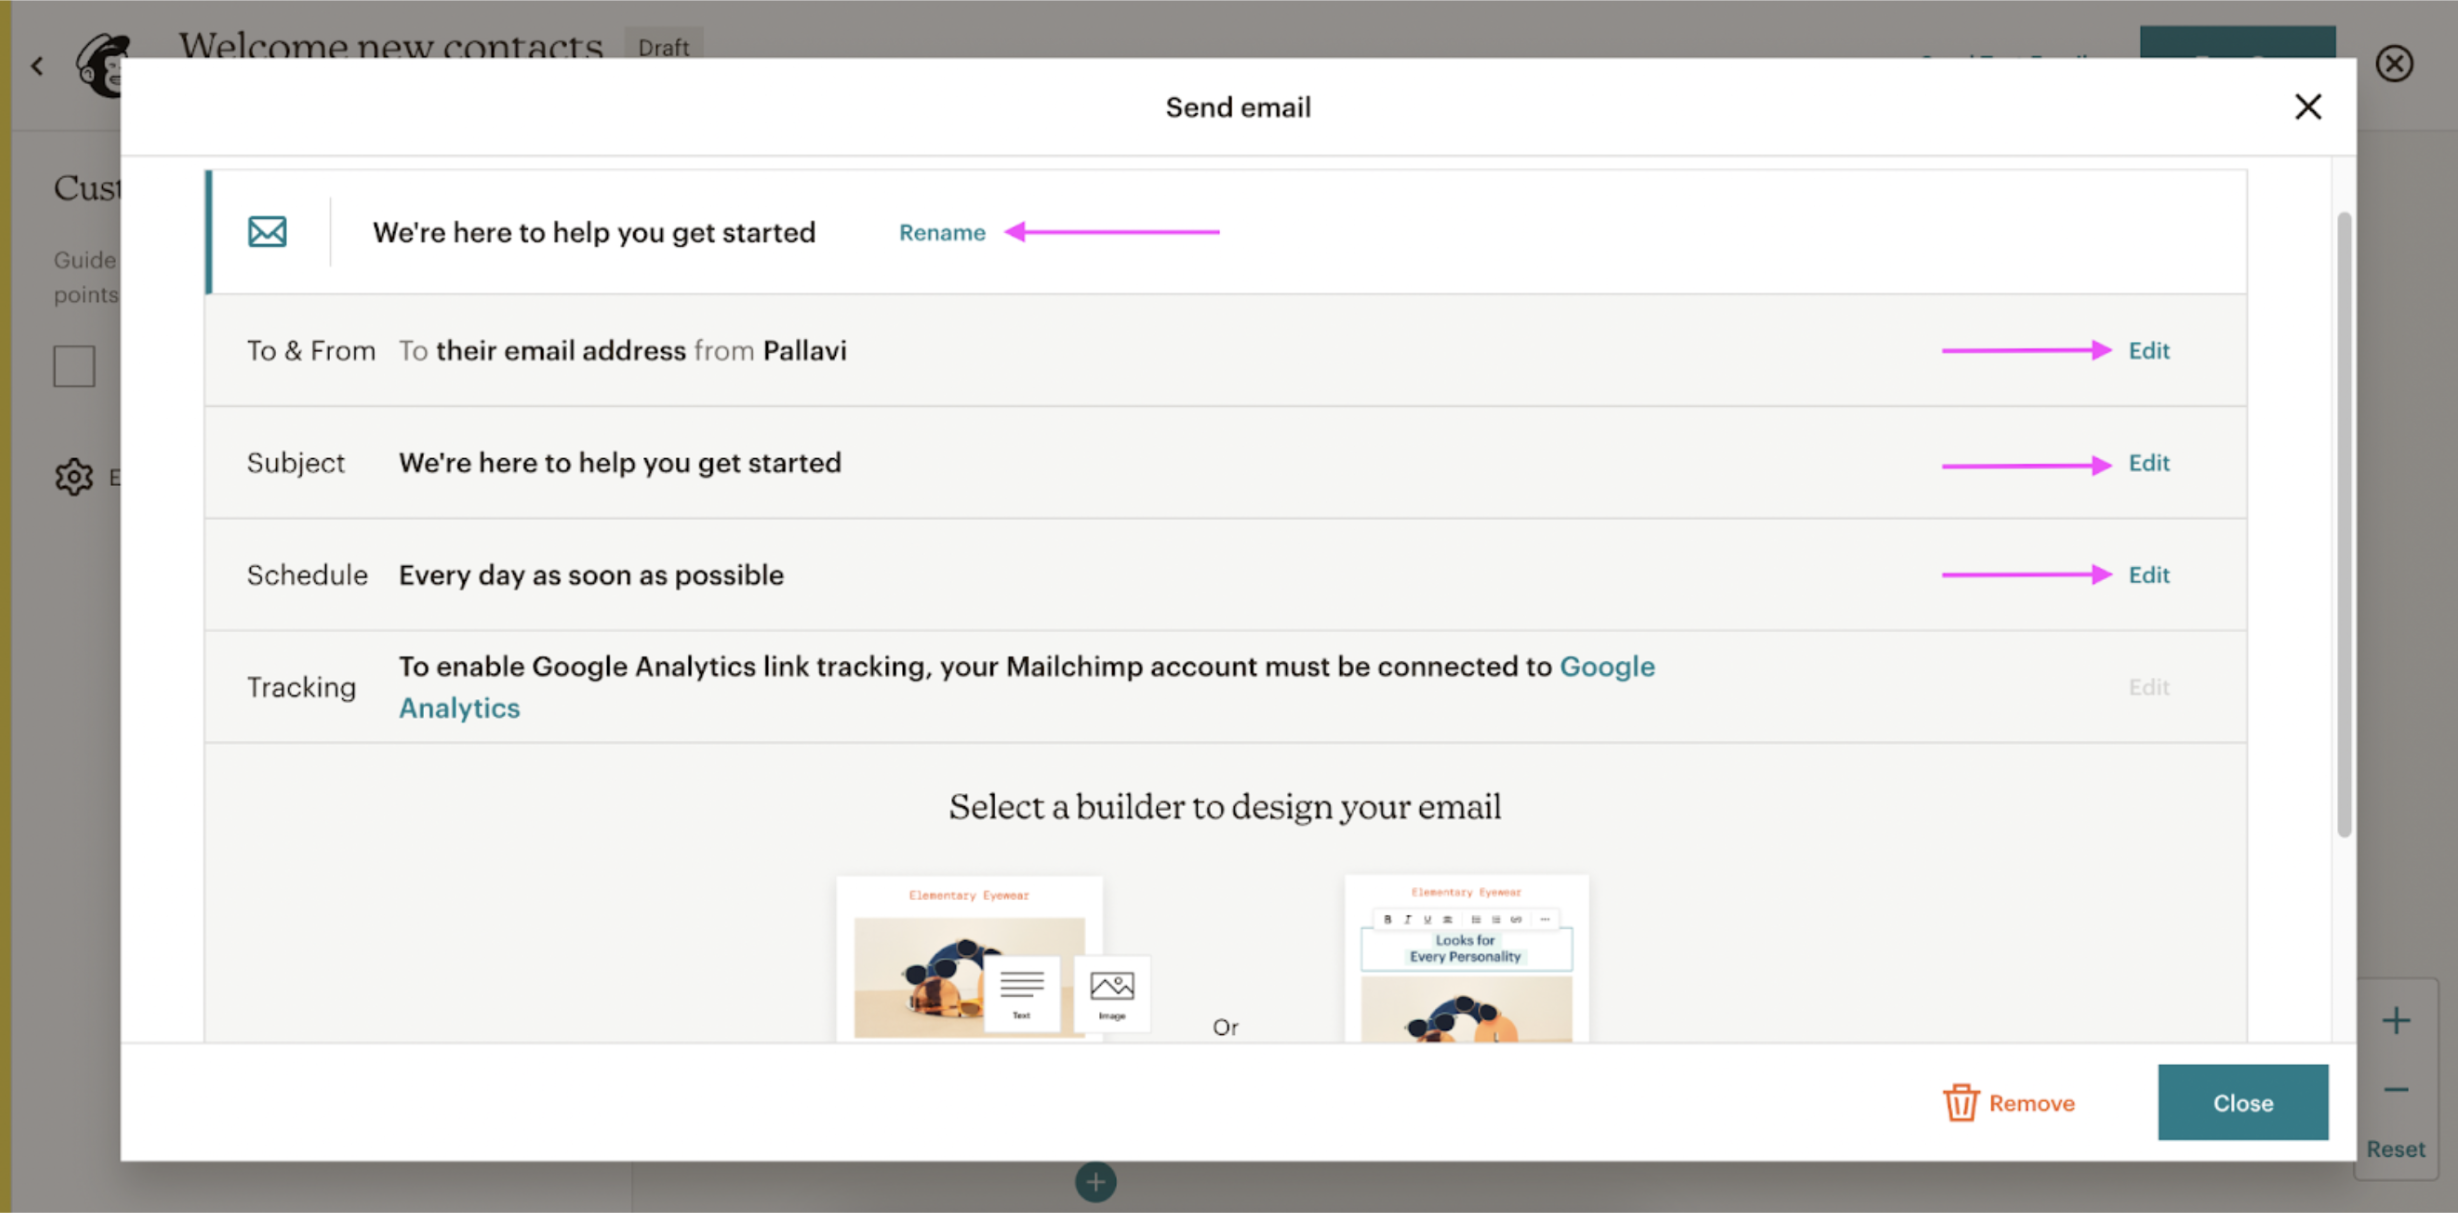
You can also adjust your email send-off timings from this section:
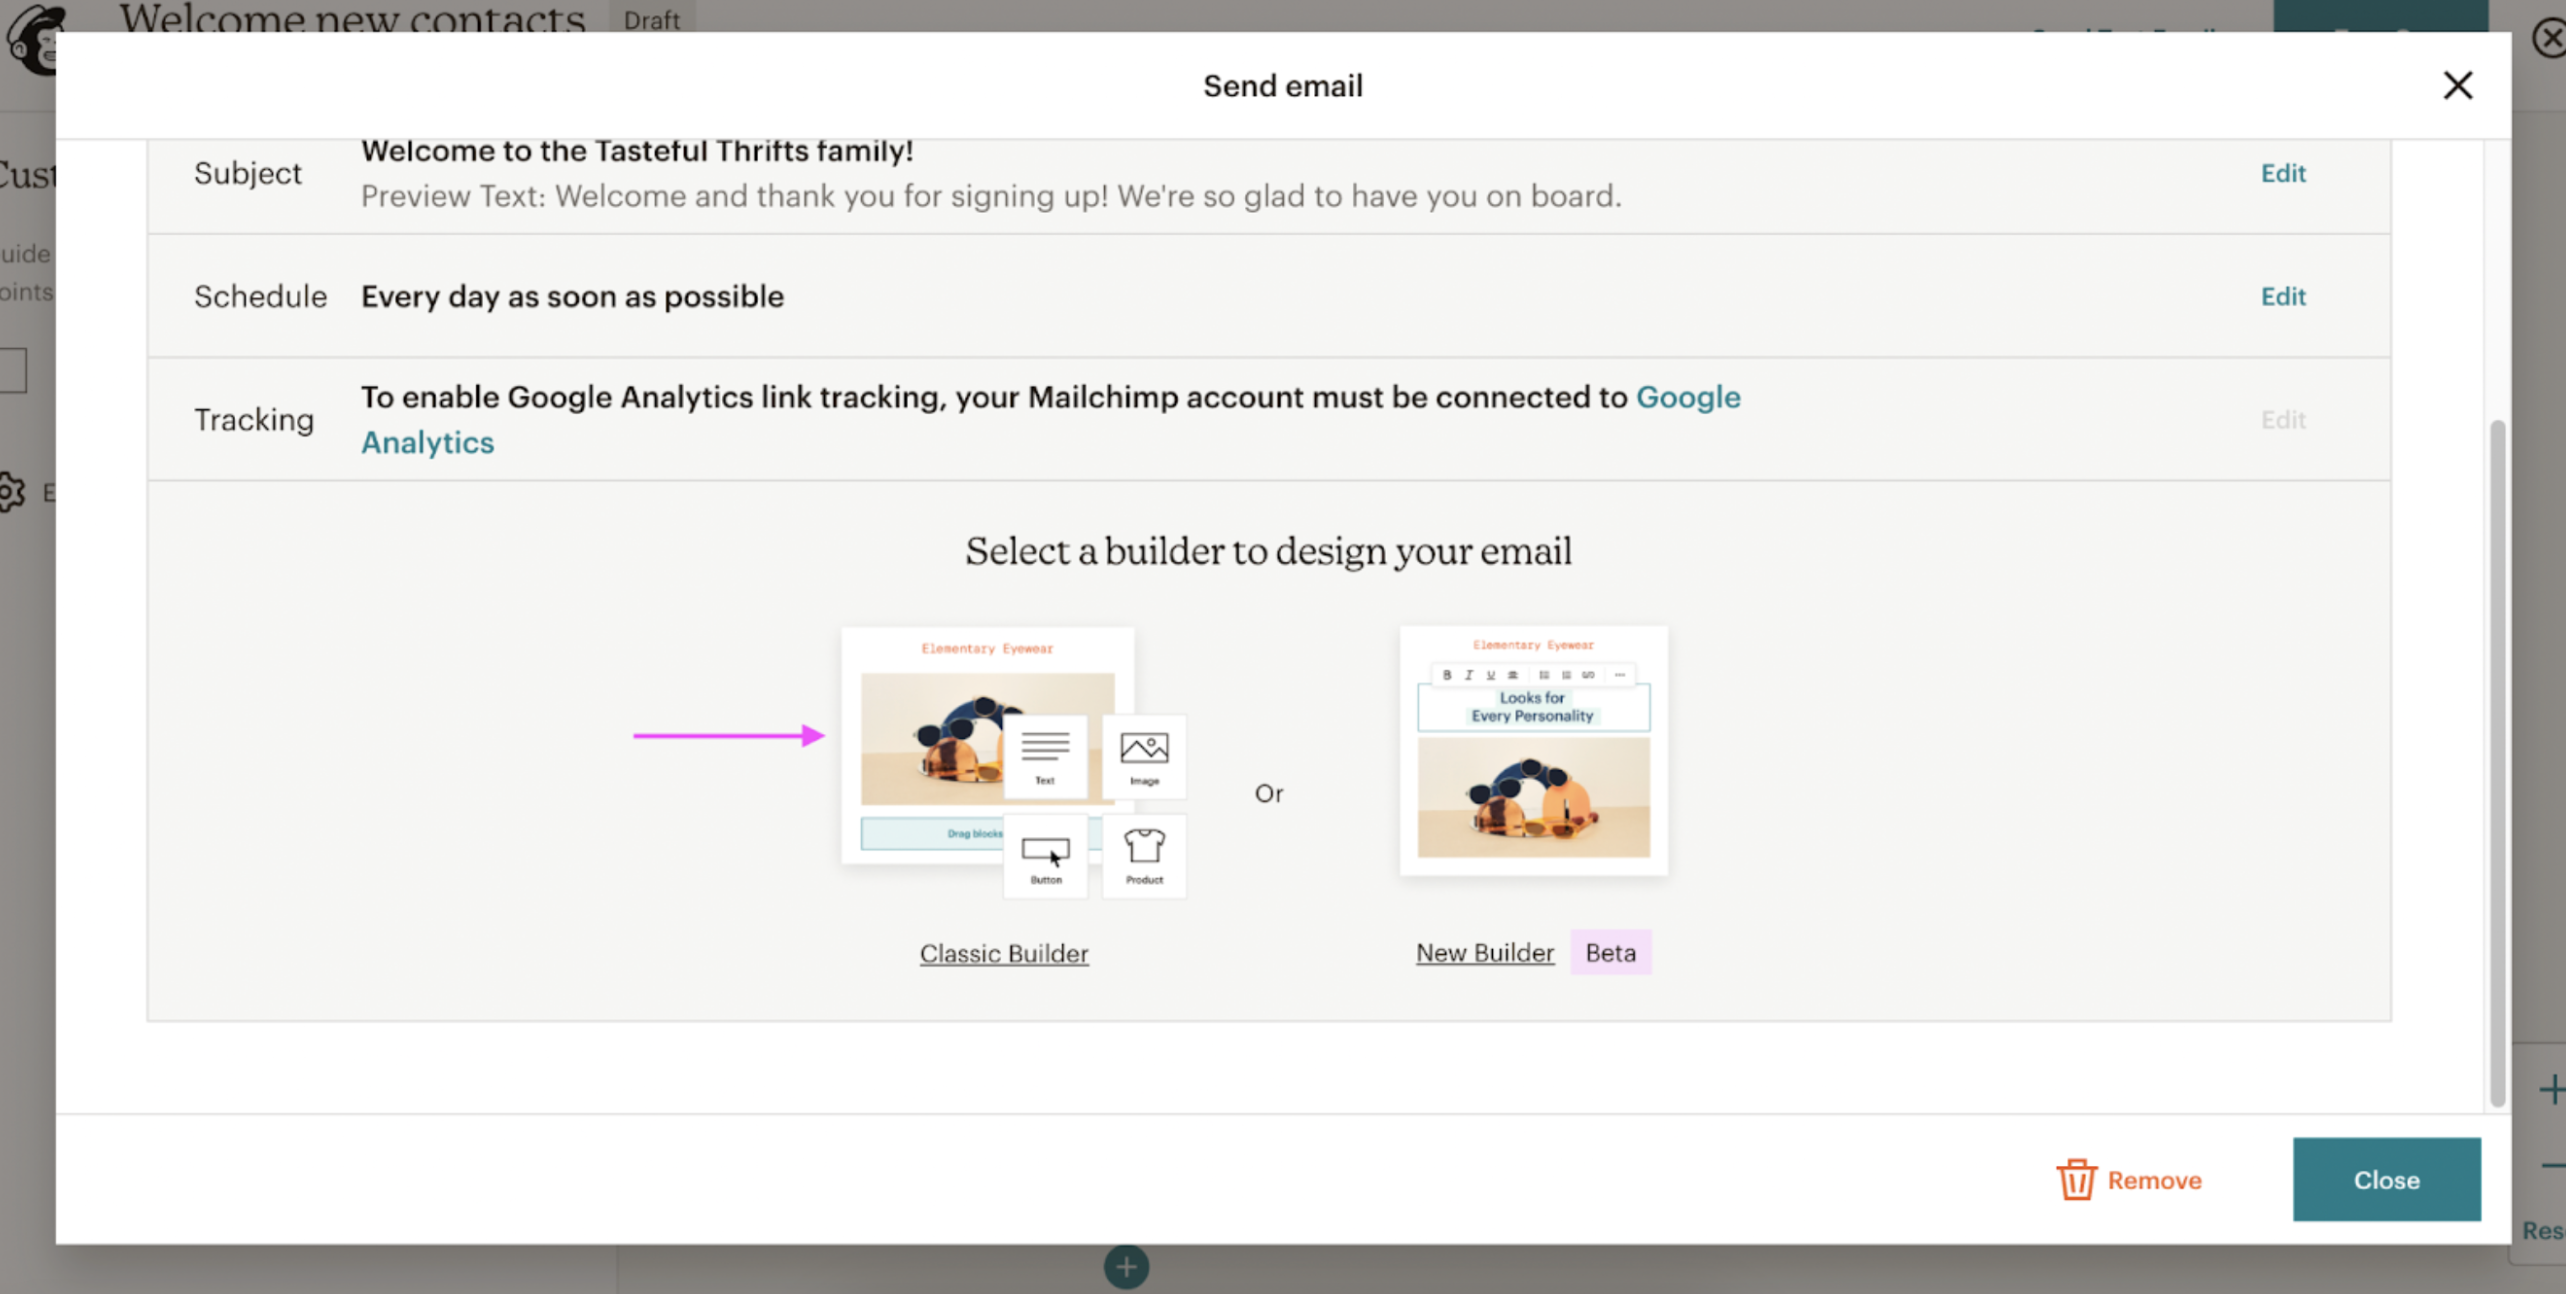
5. Now you can go ahead and design your email with the Classic Builder:
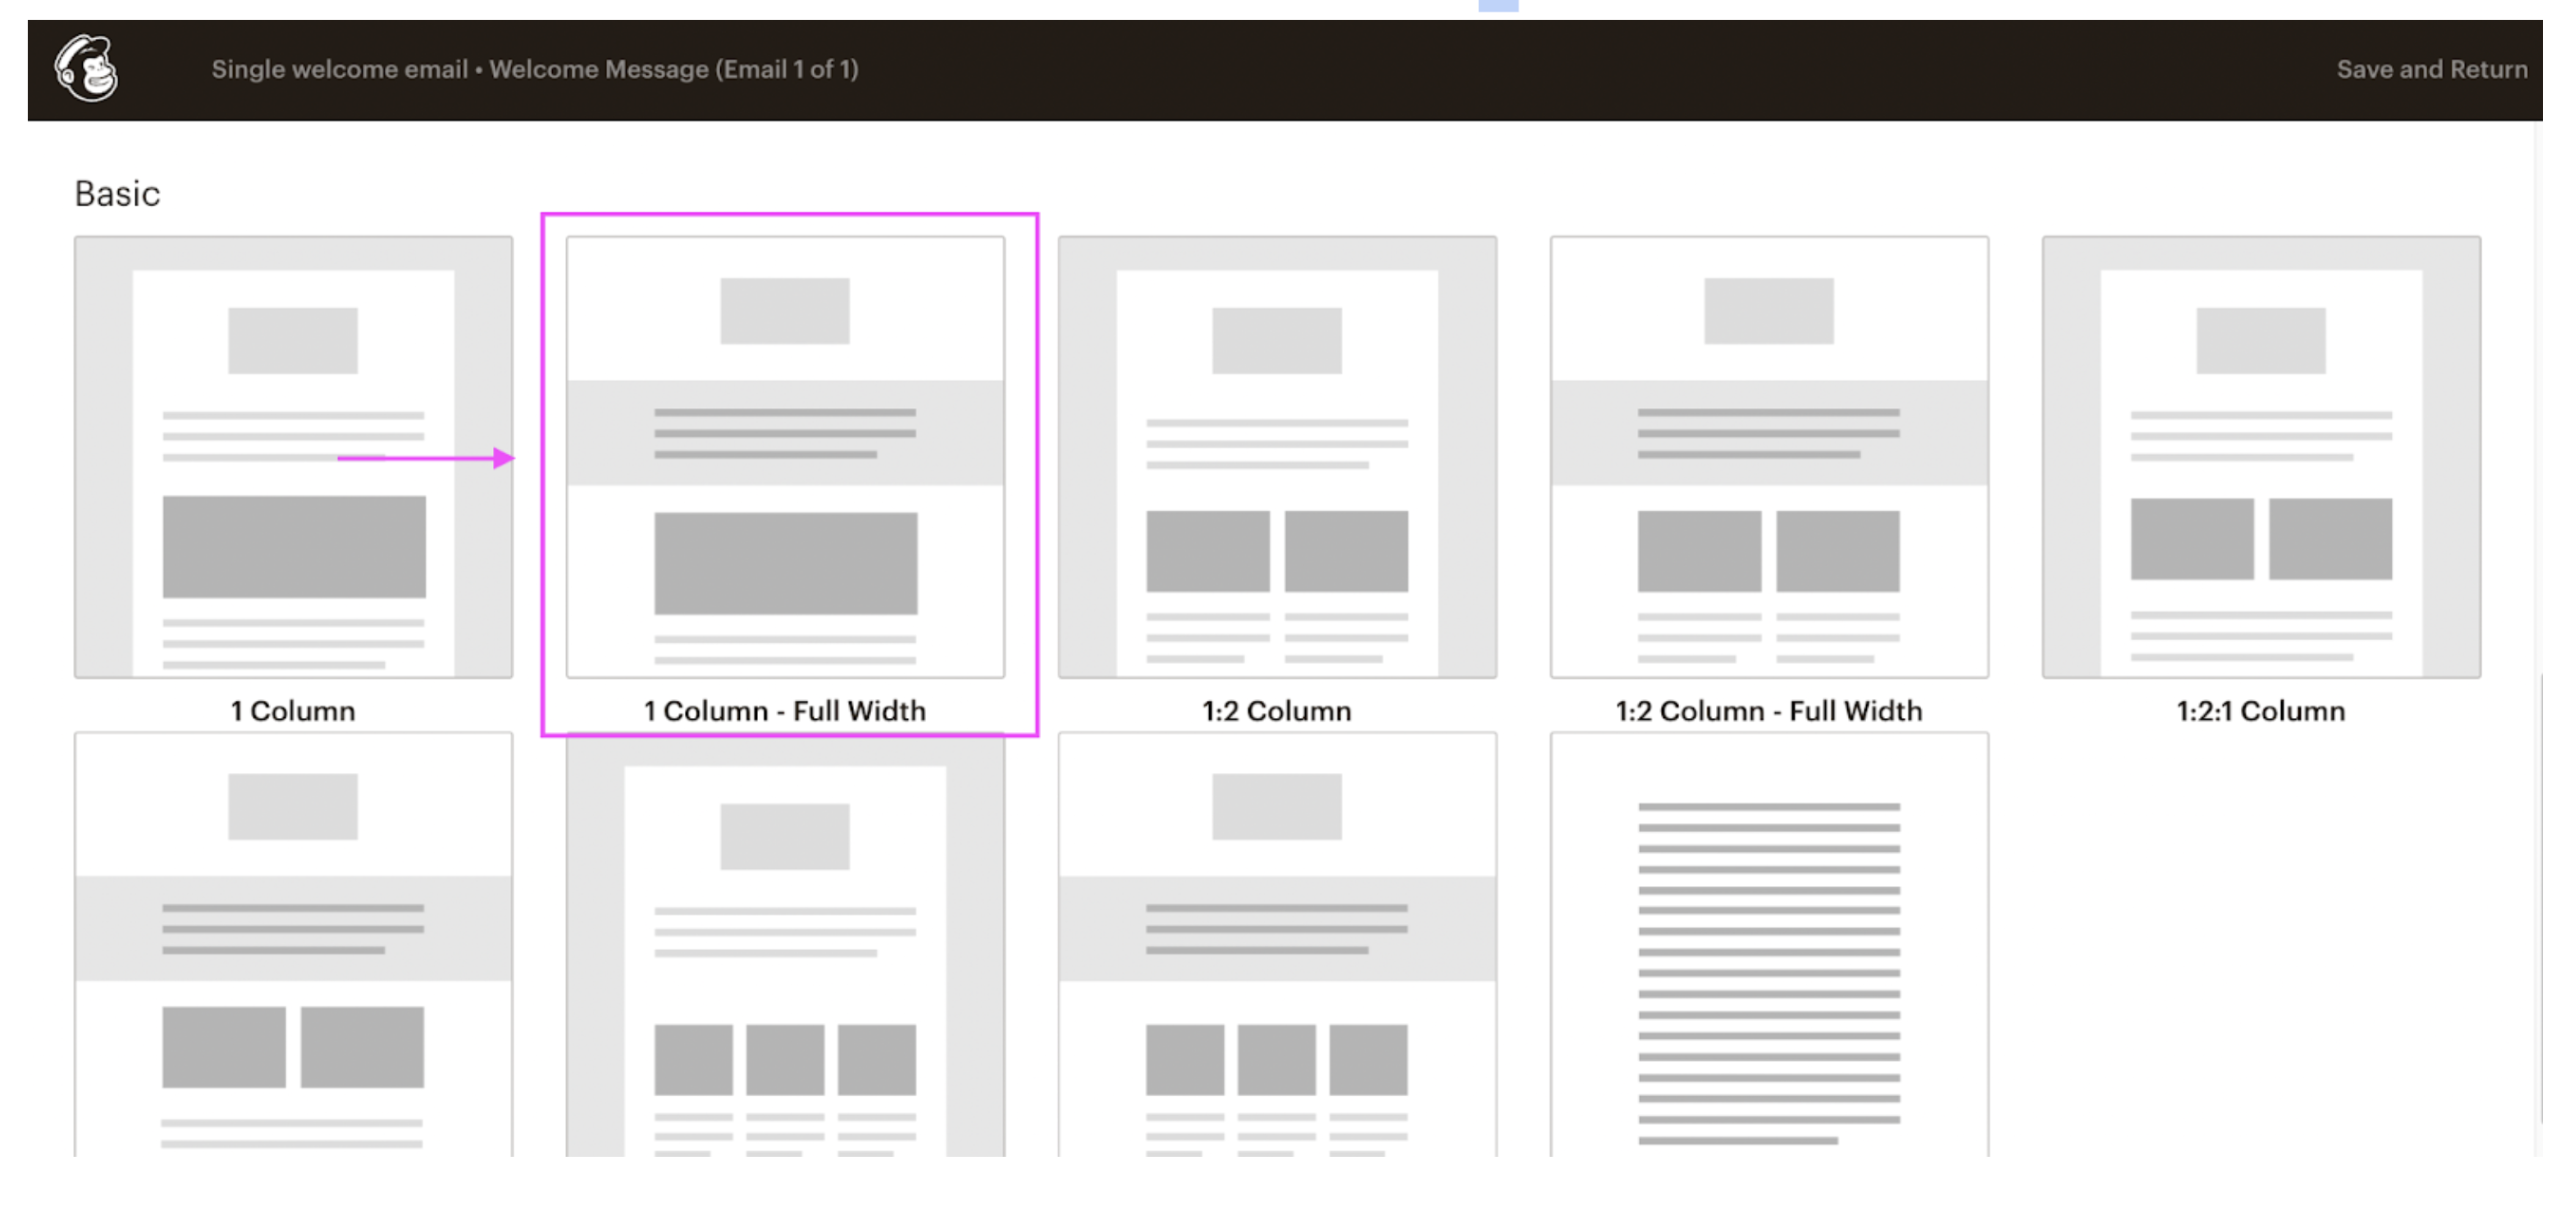
6. Start by picking a layout. Here's what we went with:
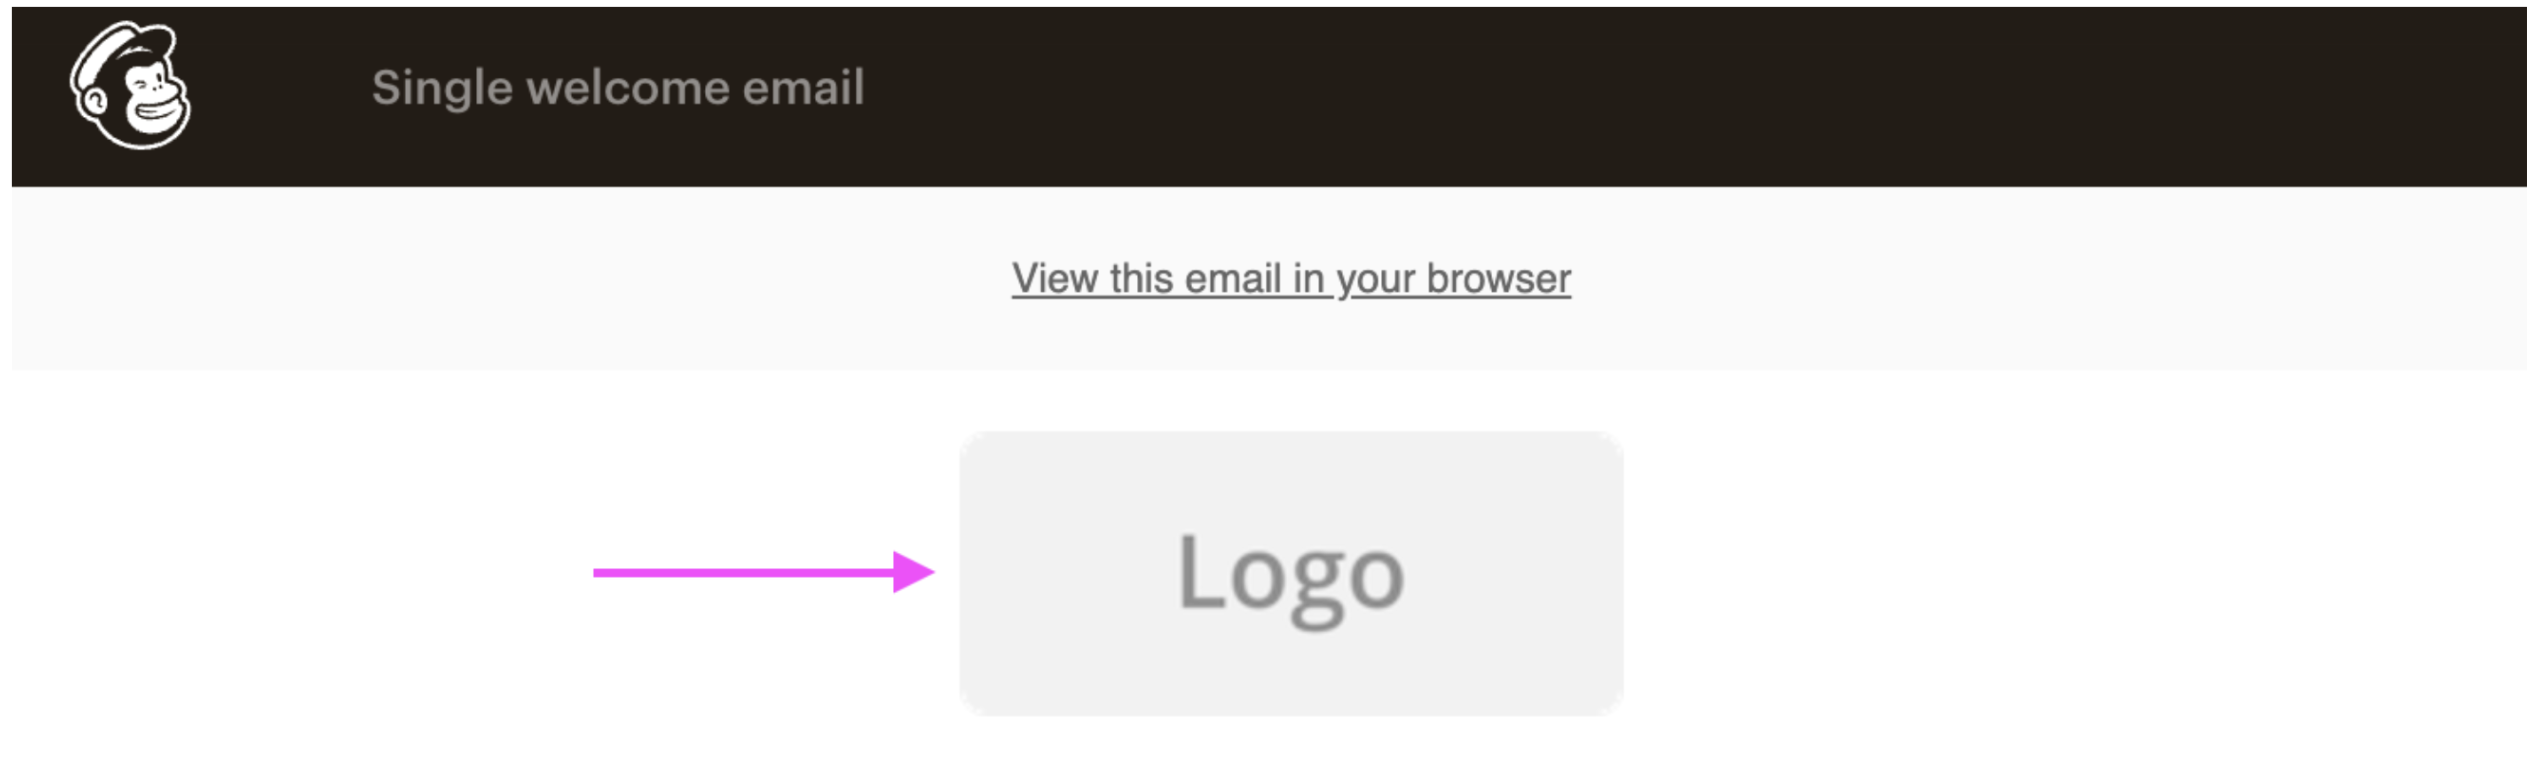
7. Drag and drop your brand logo or email header directly:
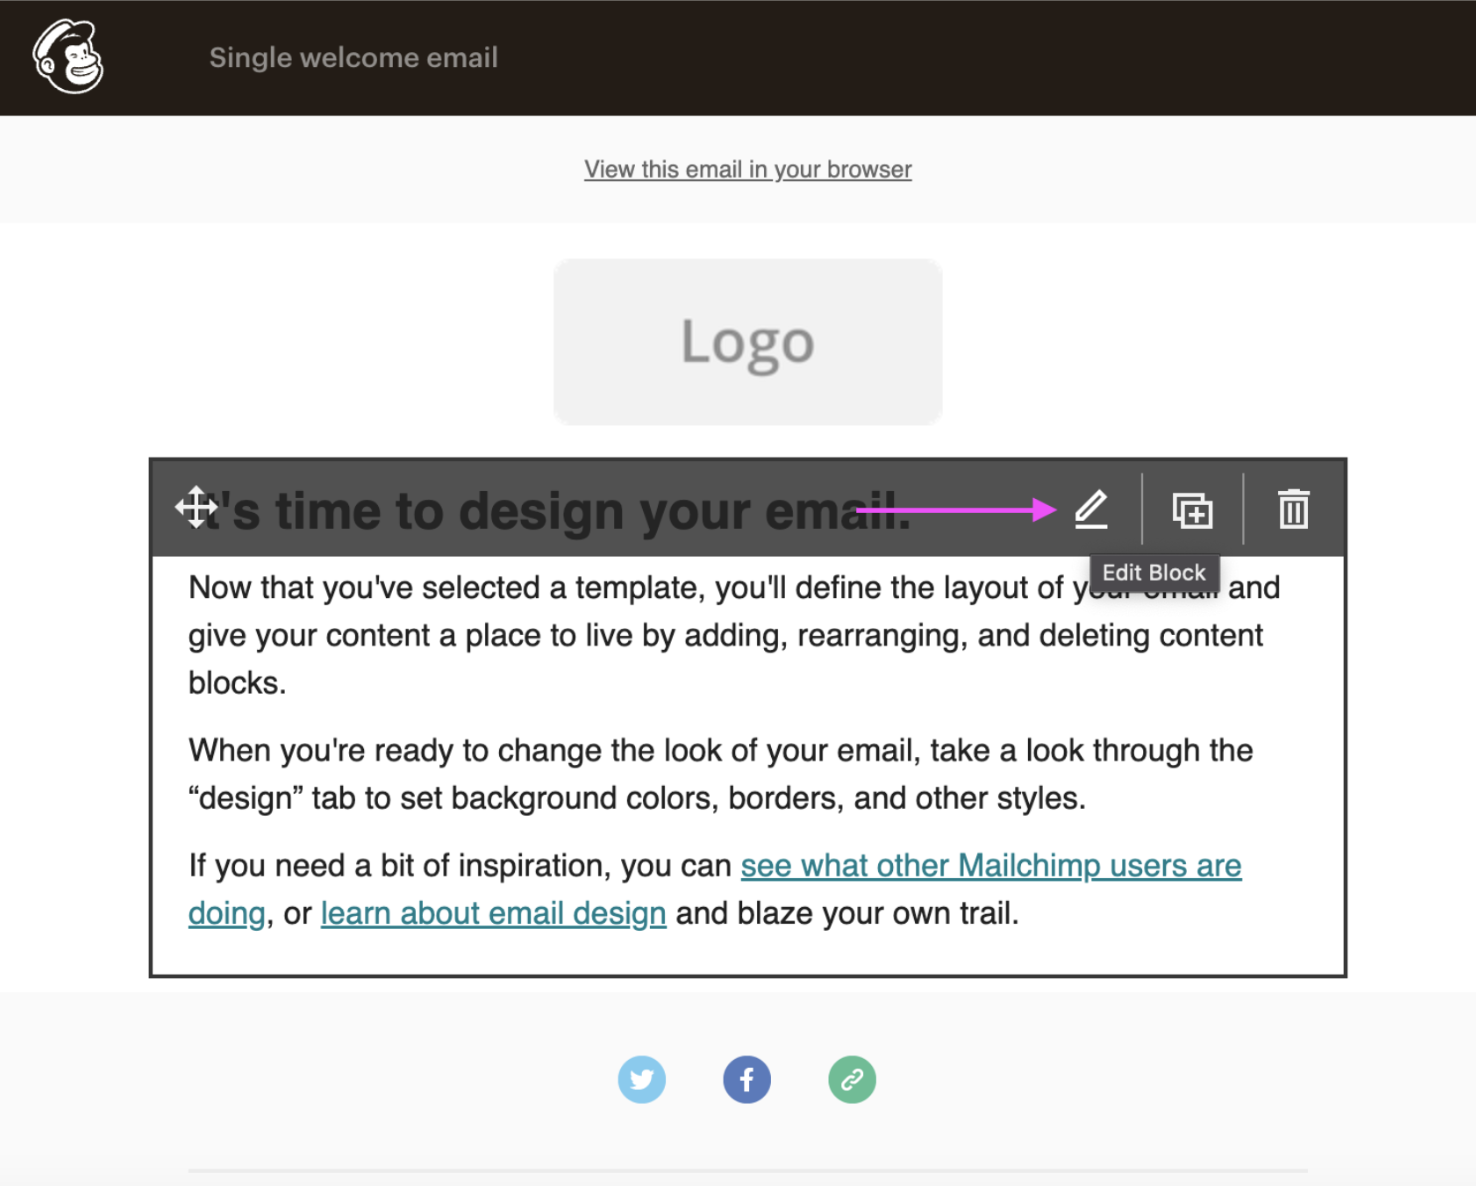
8. Click on the > Edit block logo when you hover over an element to edit:
Here's an example with an updated email header:
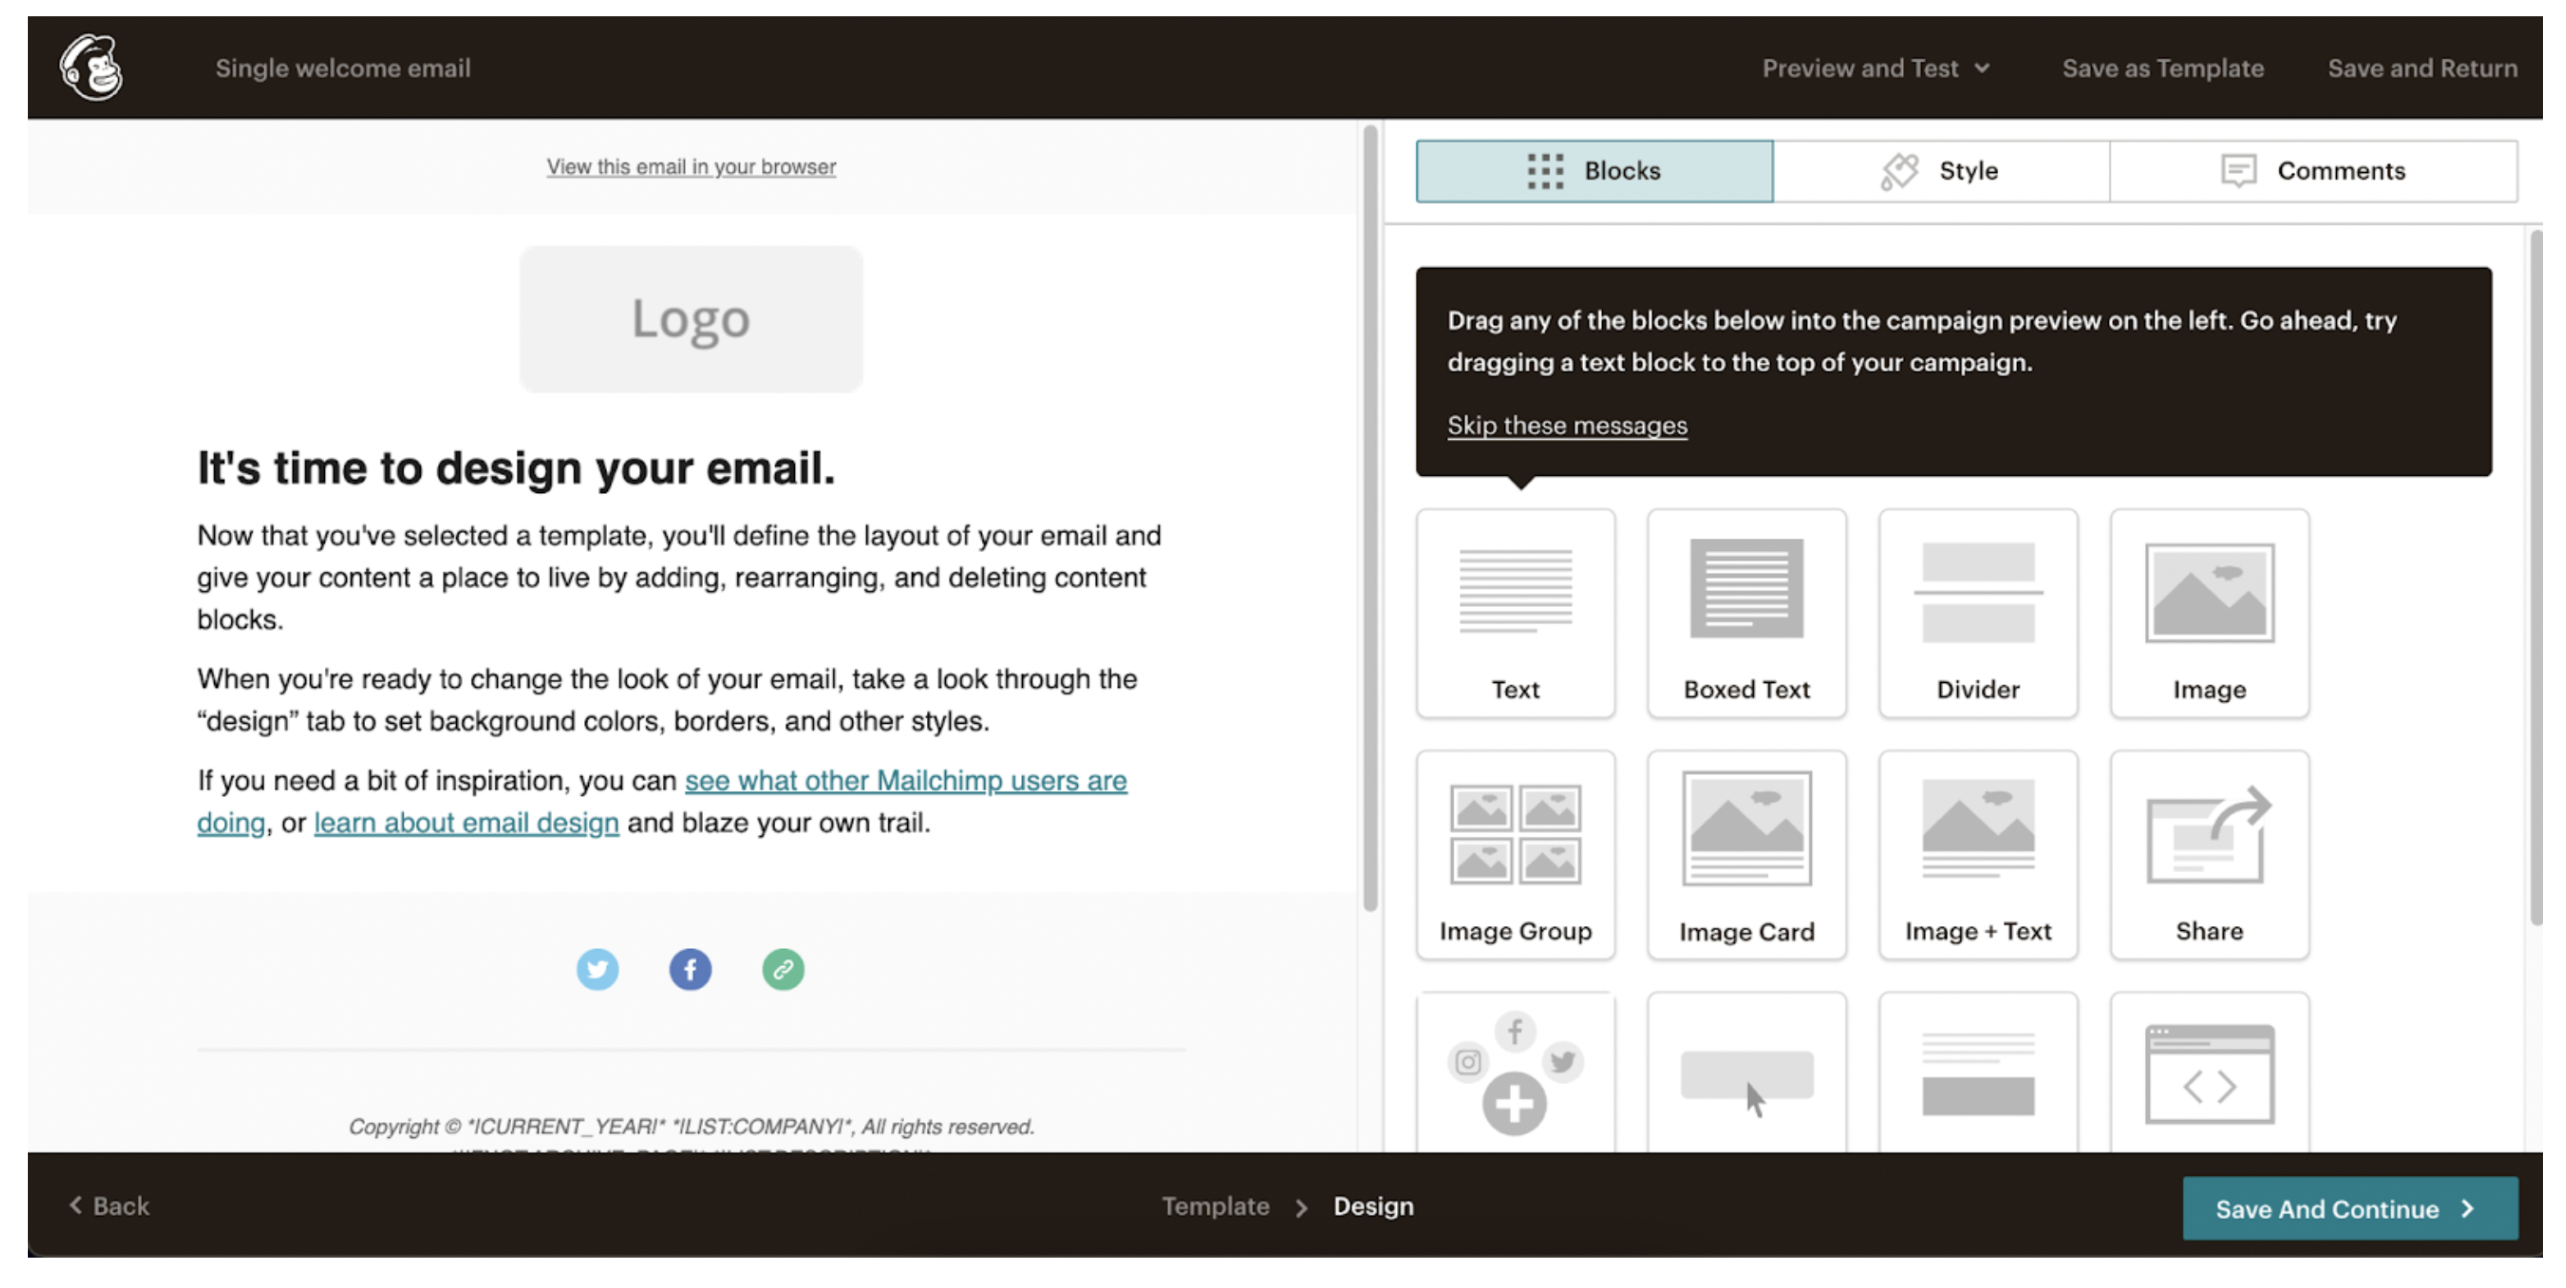
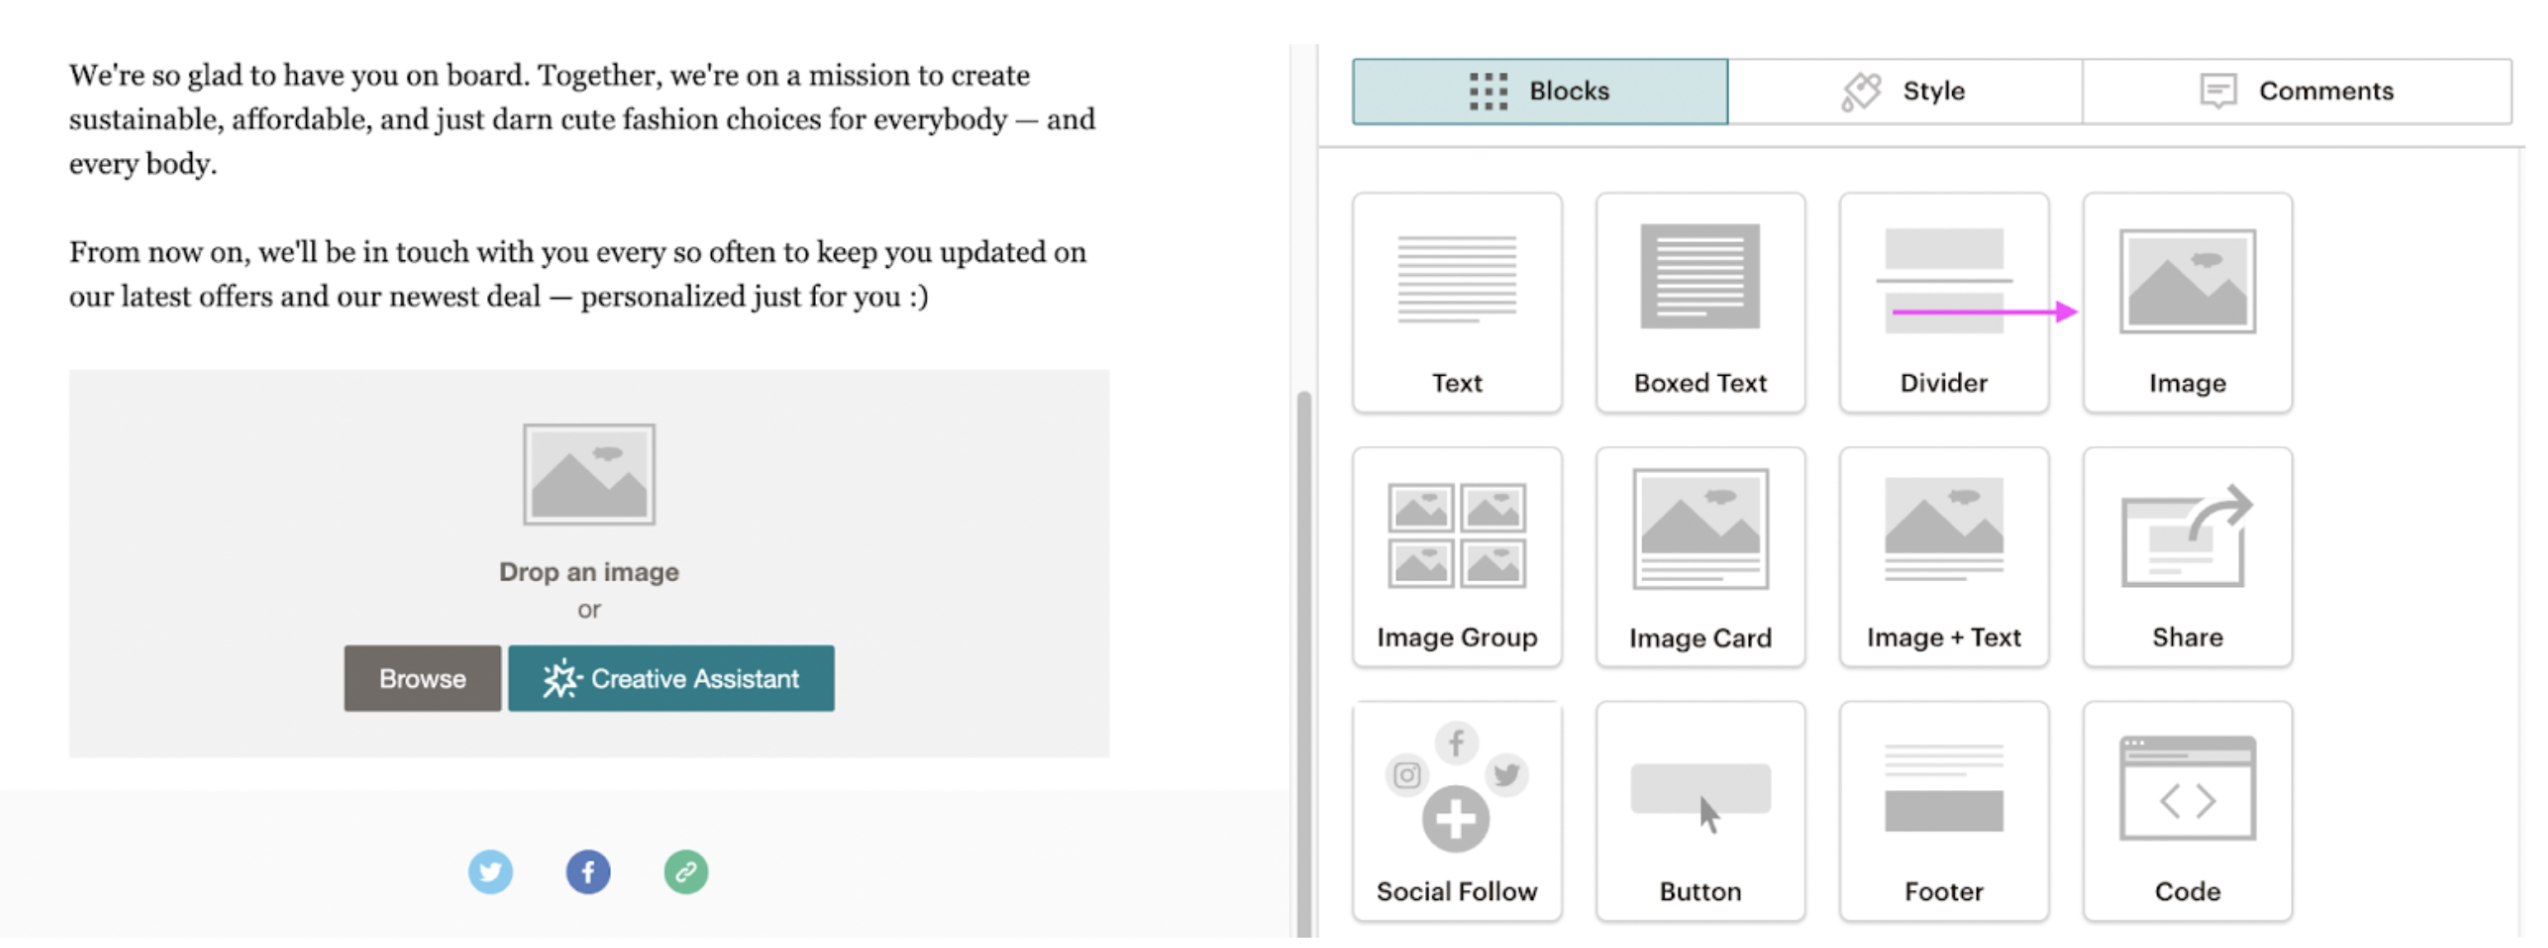
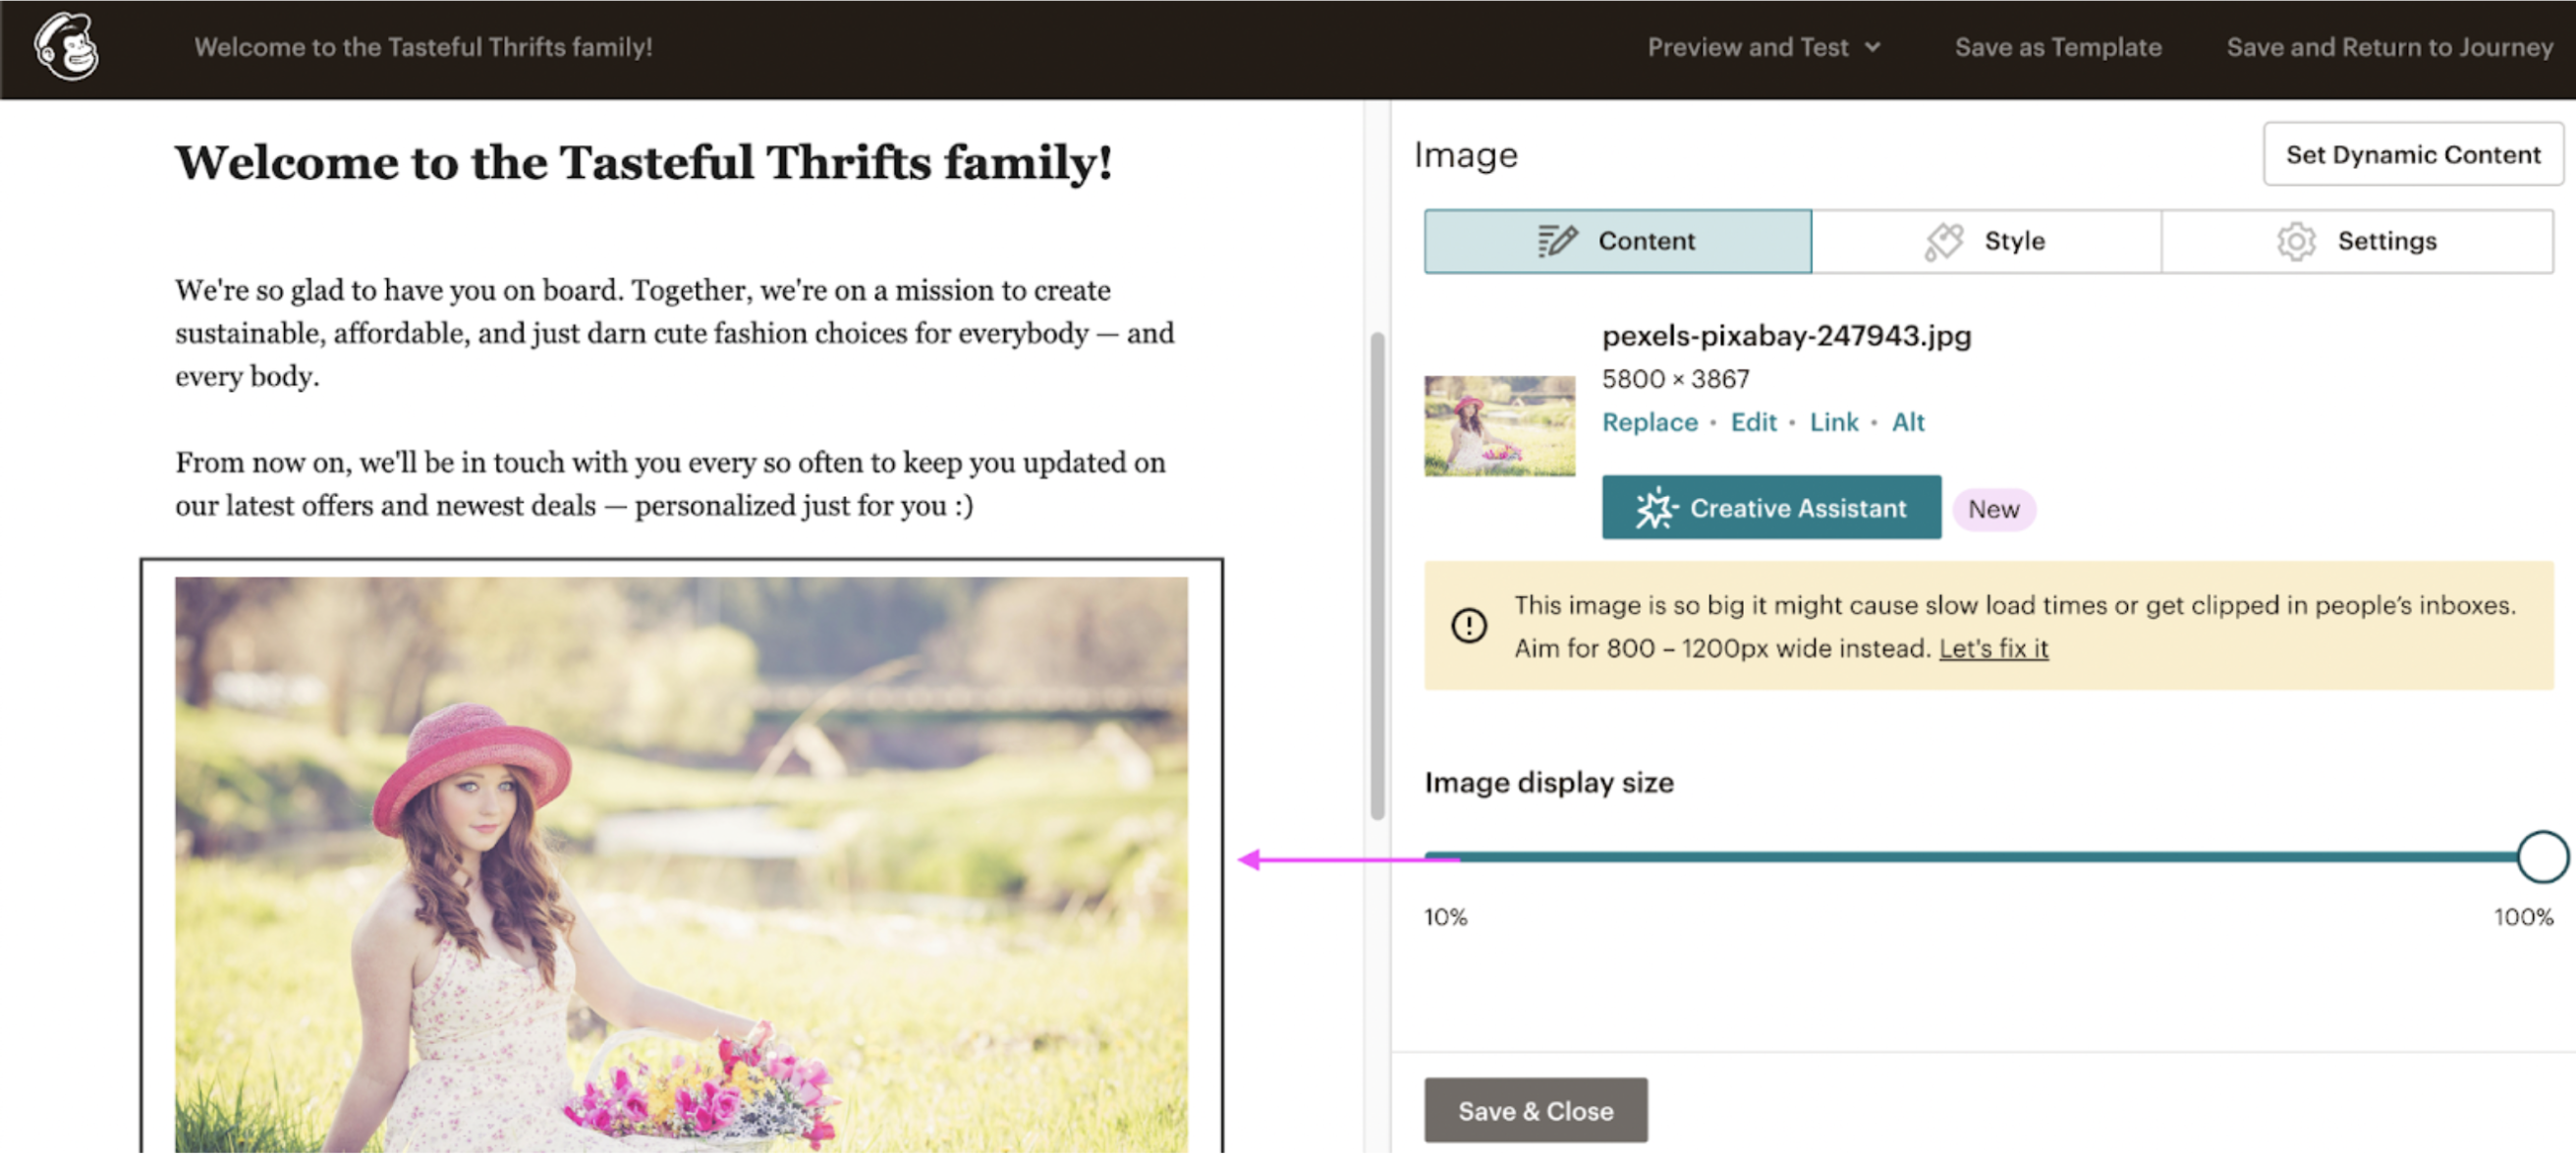
9. If you want to add a new image to your email — drag and drop the elements to the canvas:
And then drag and drop your images into it:
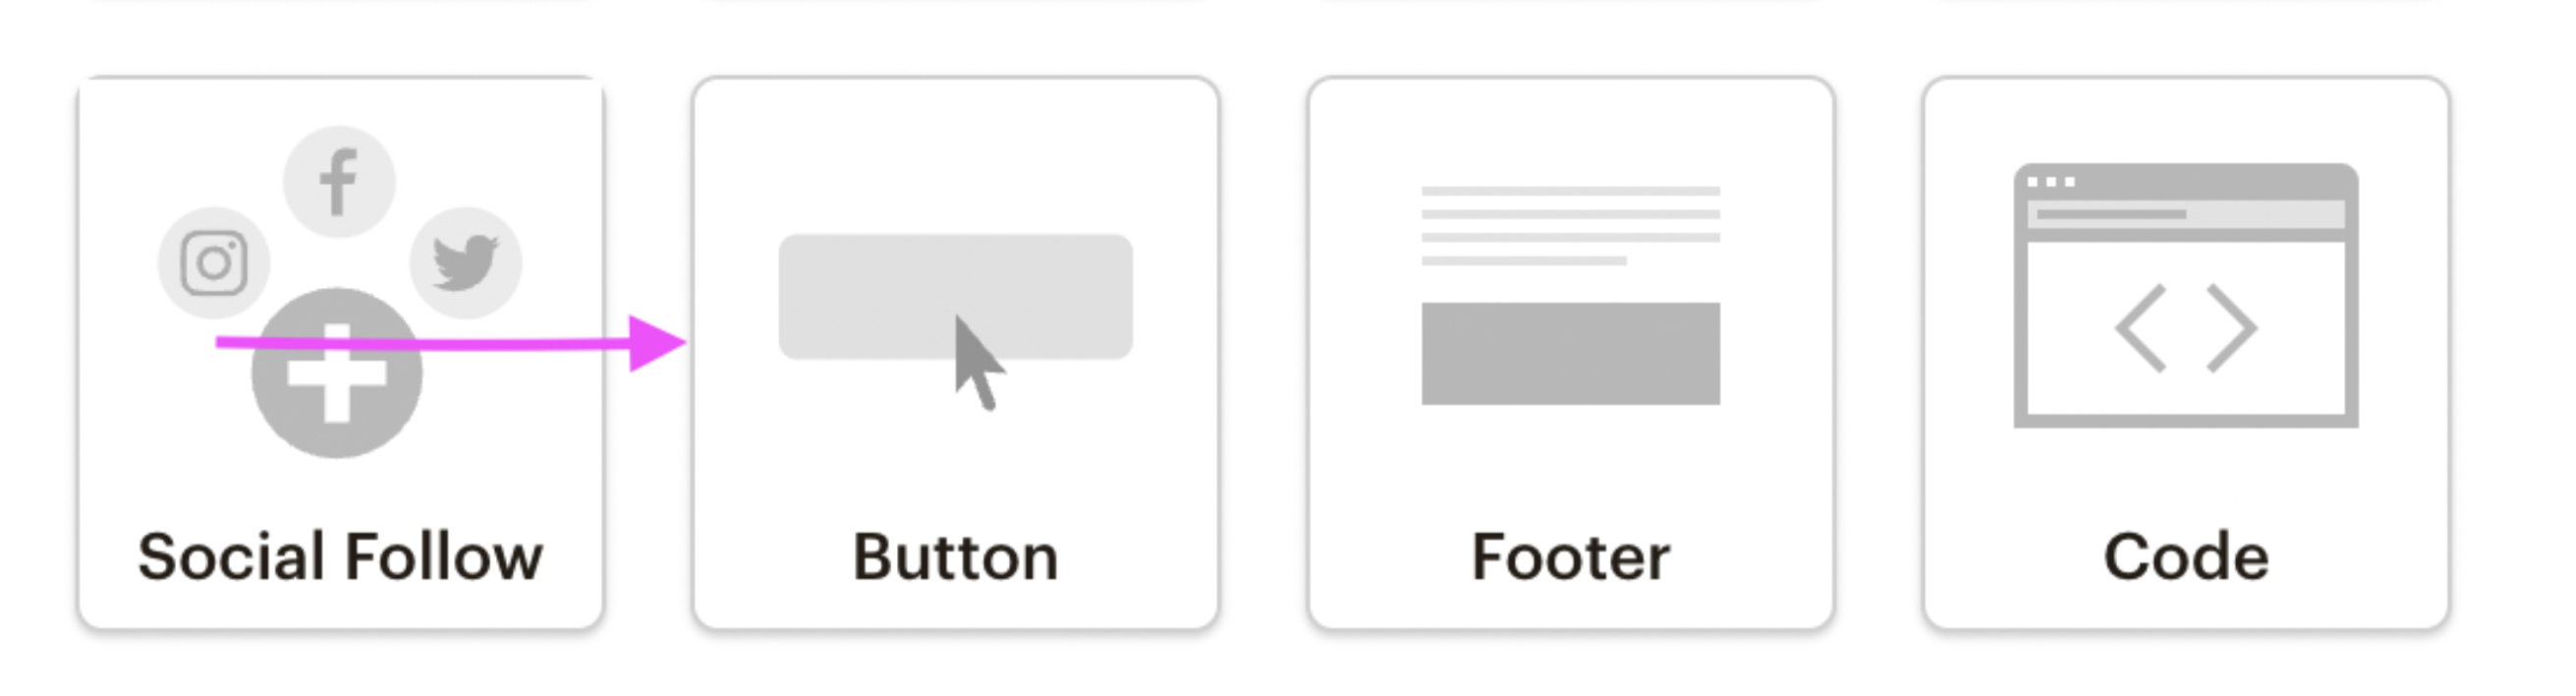
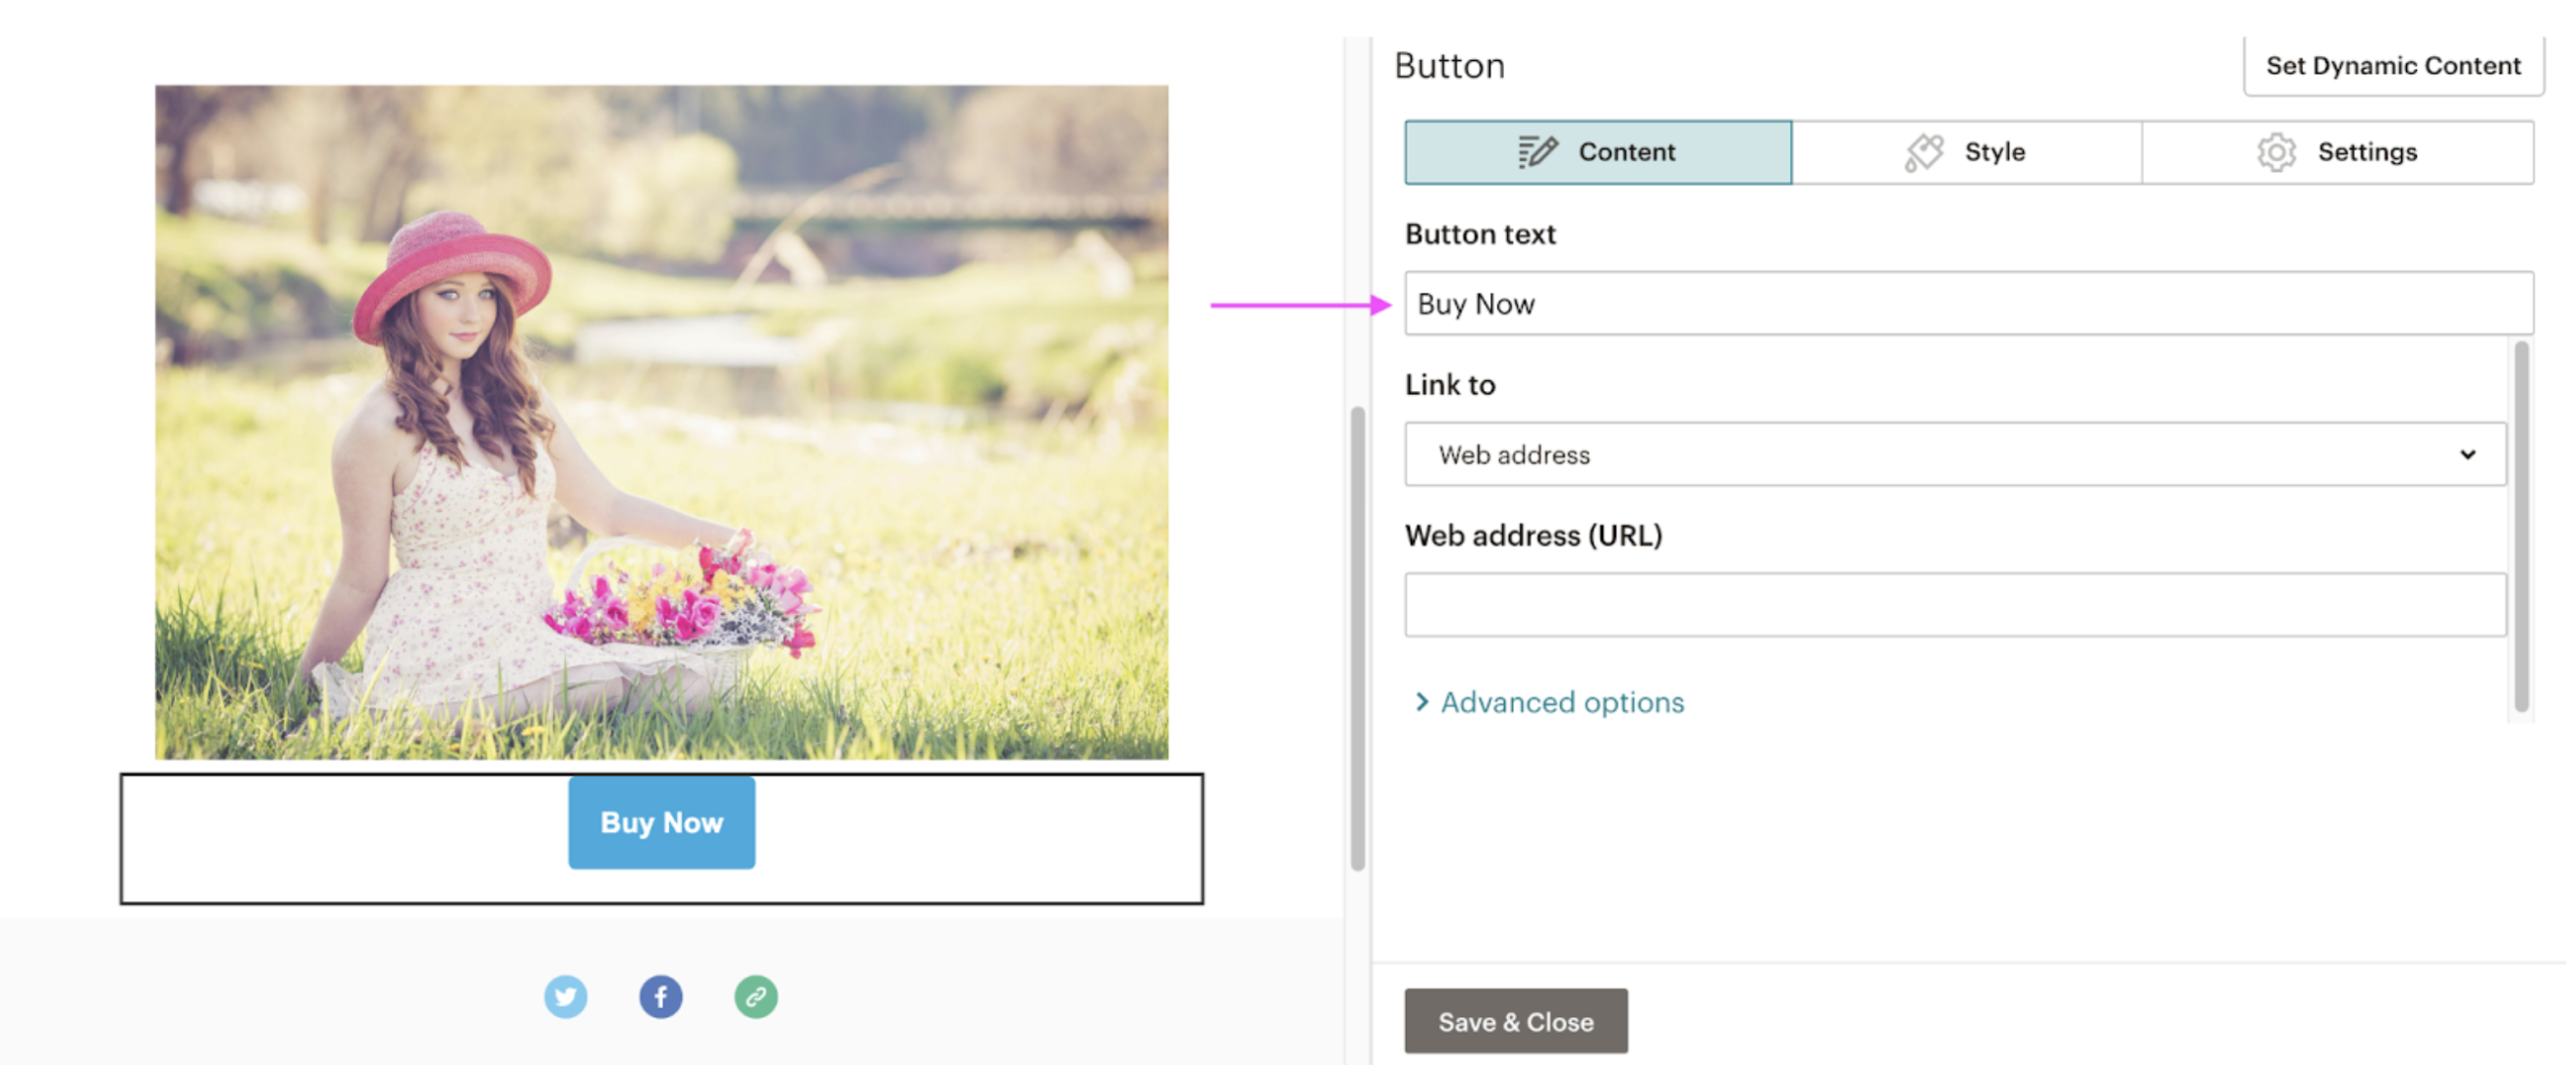
10. Add a call to action with the > Button element:
Change the text from the default 'Buy Now' and update your website link:
Mailchimp also offers a great feature for those who want to create custom Call-to-Action (CTA) buttons. If you want to learn more about creating a custom CTA button online, skip to the last paragraph.
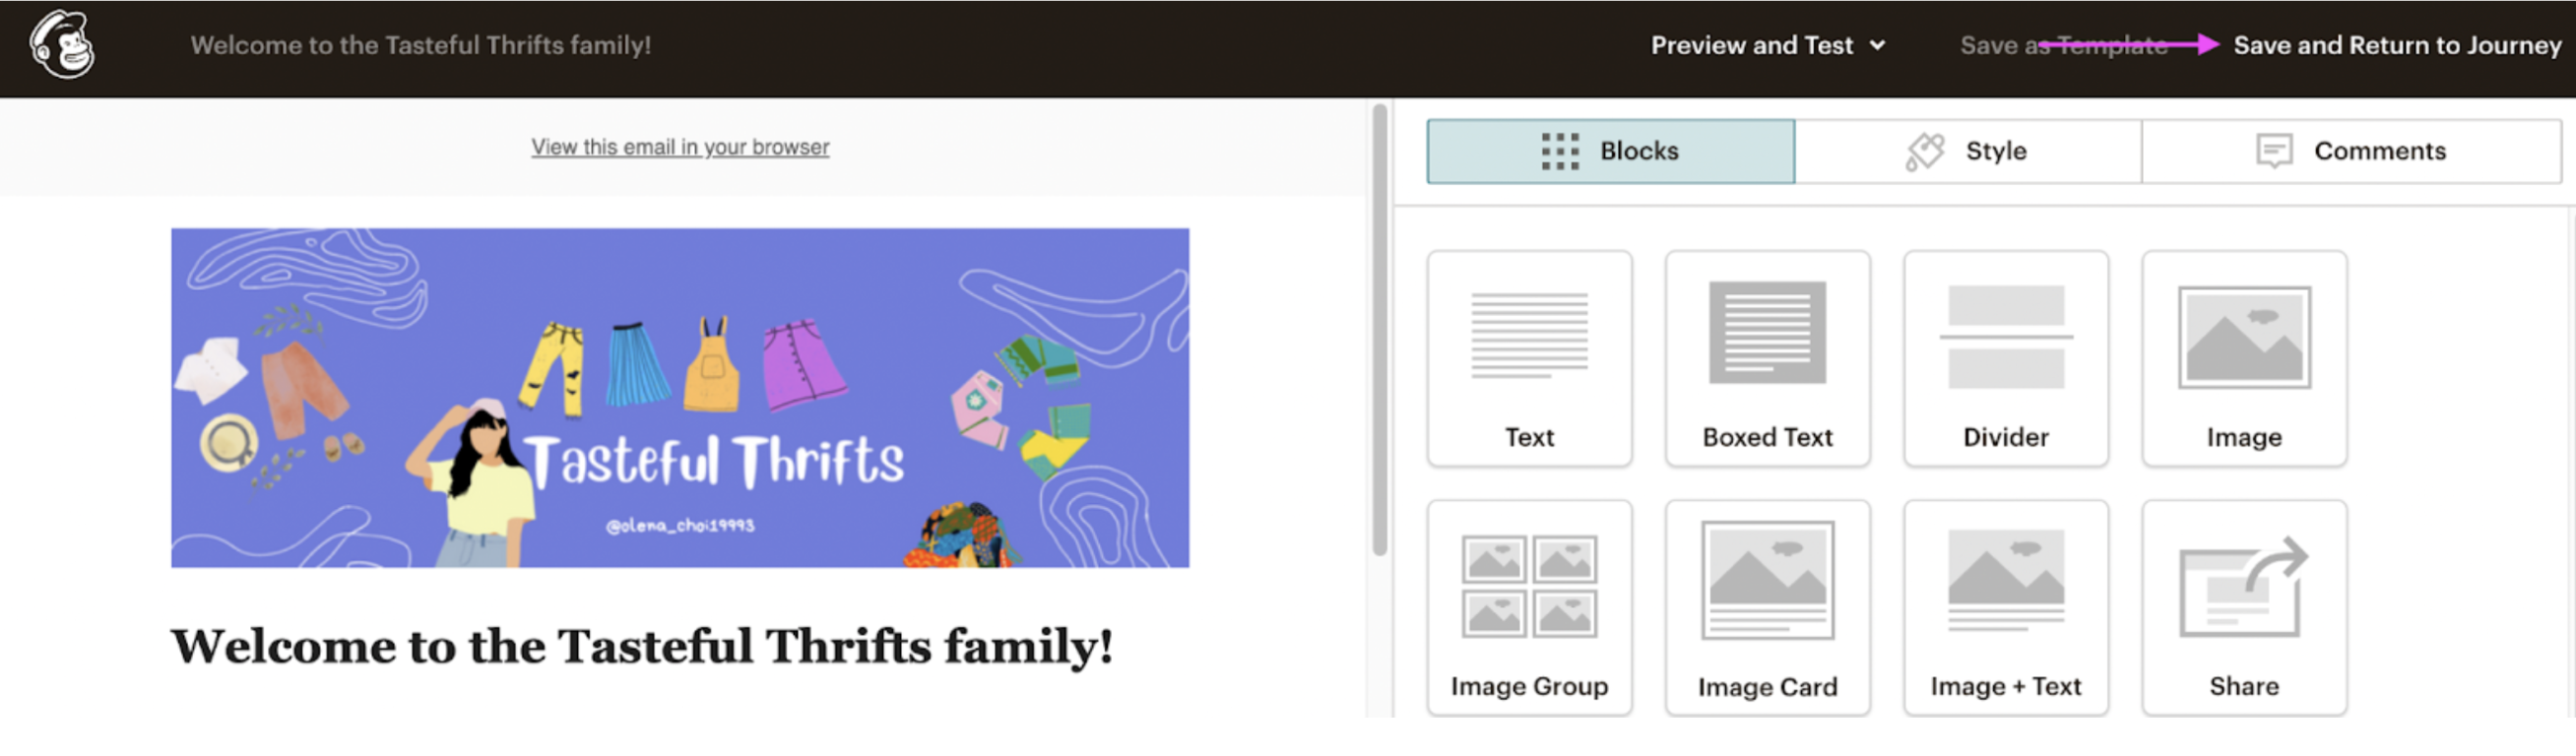
11. Once you're done, hit > Save and Return to Journey:
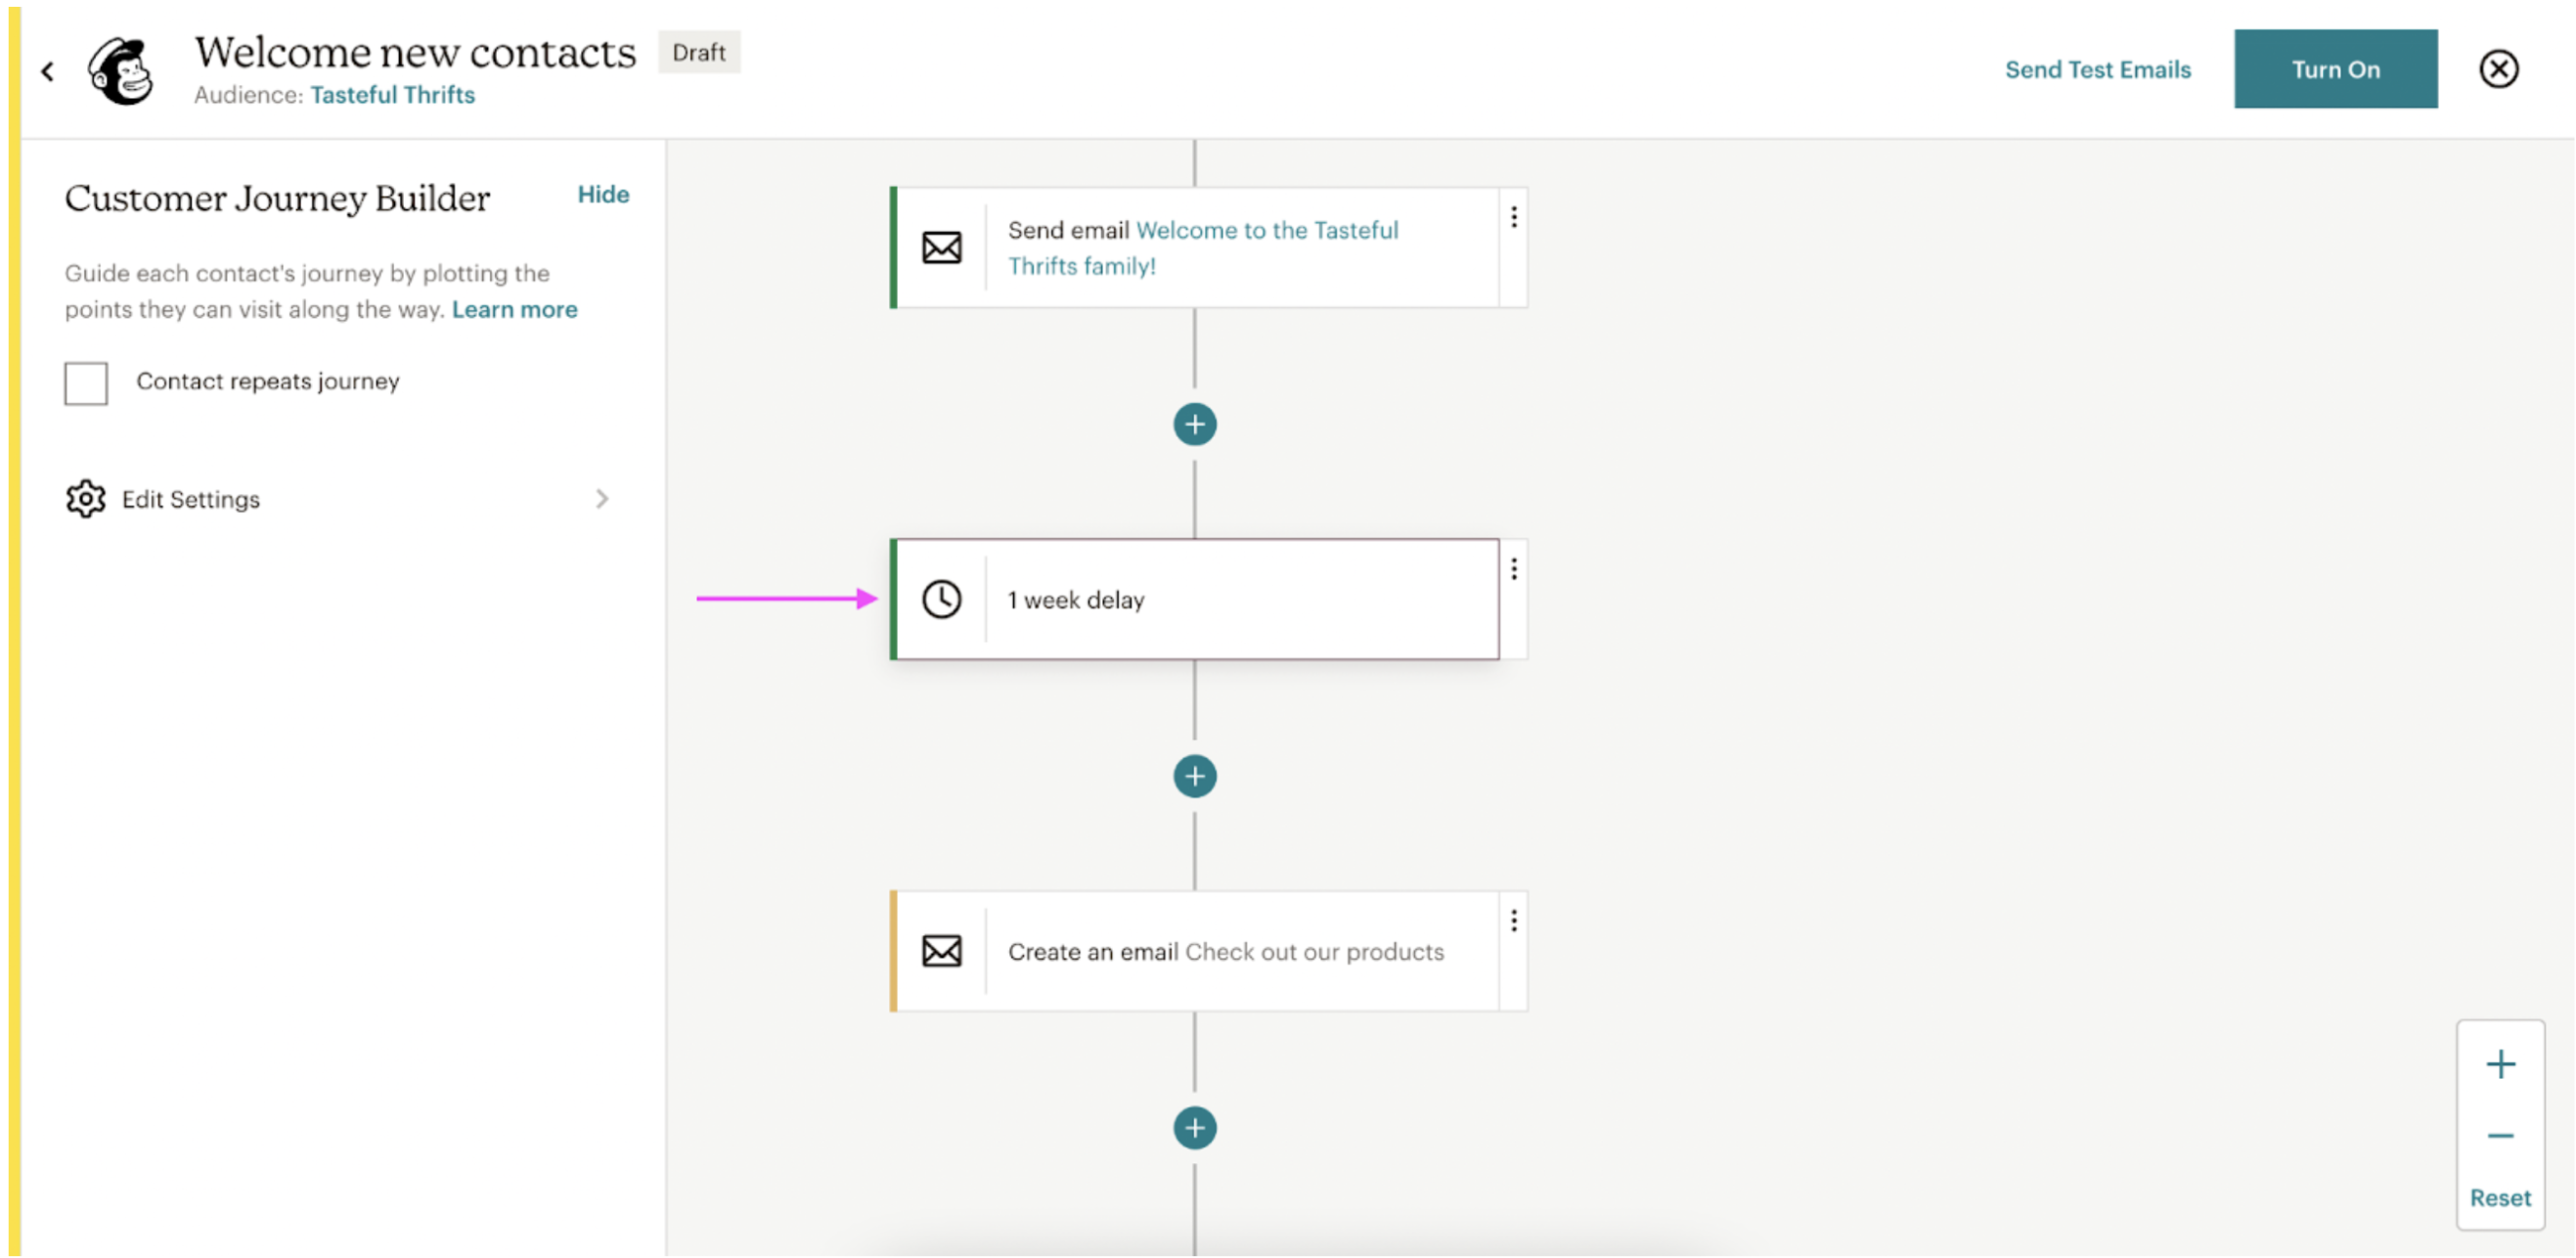
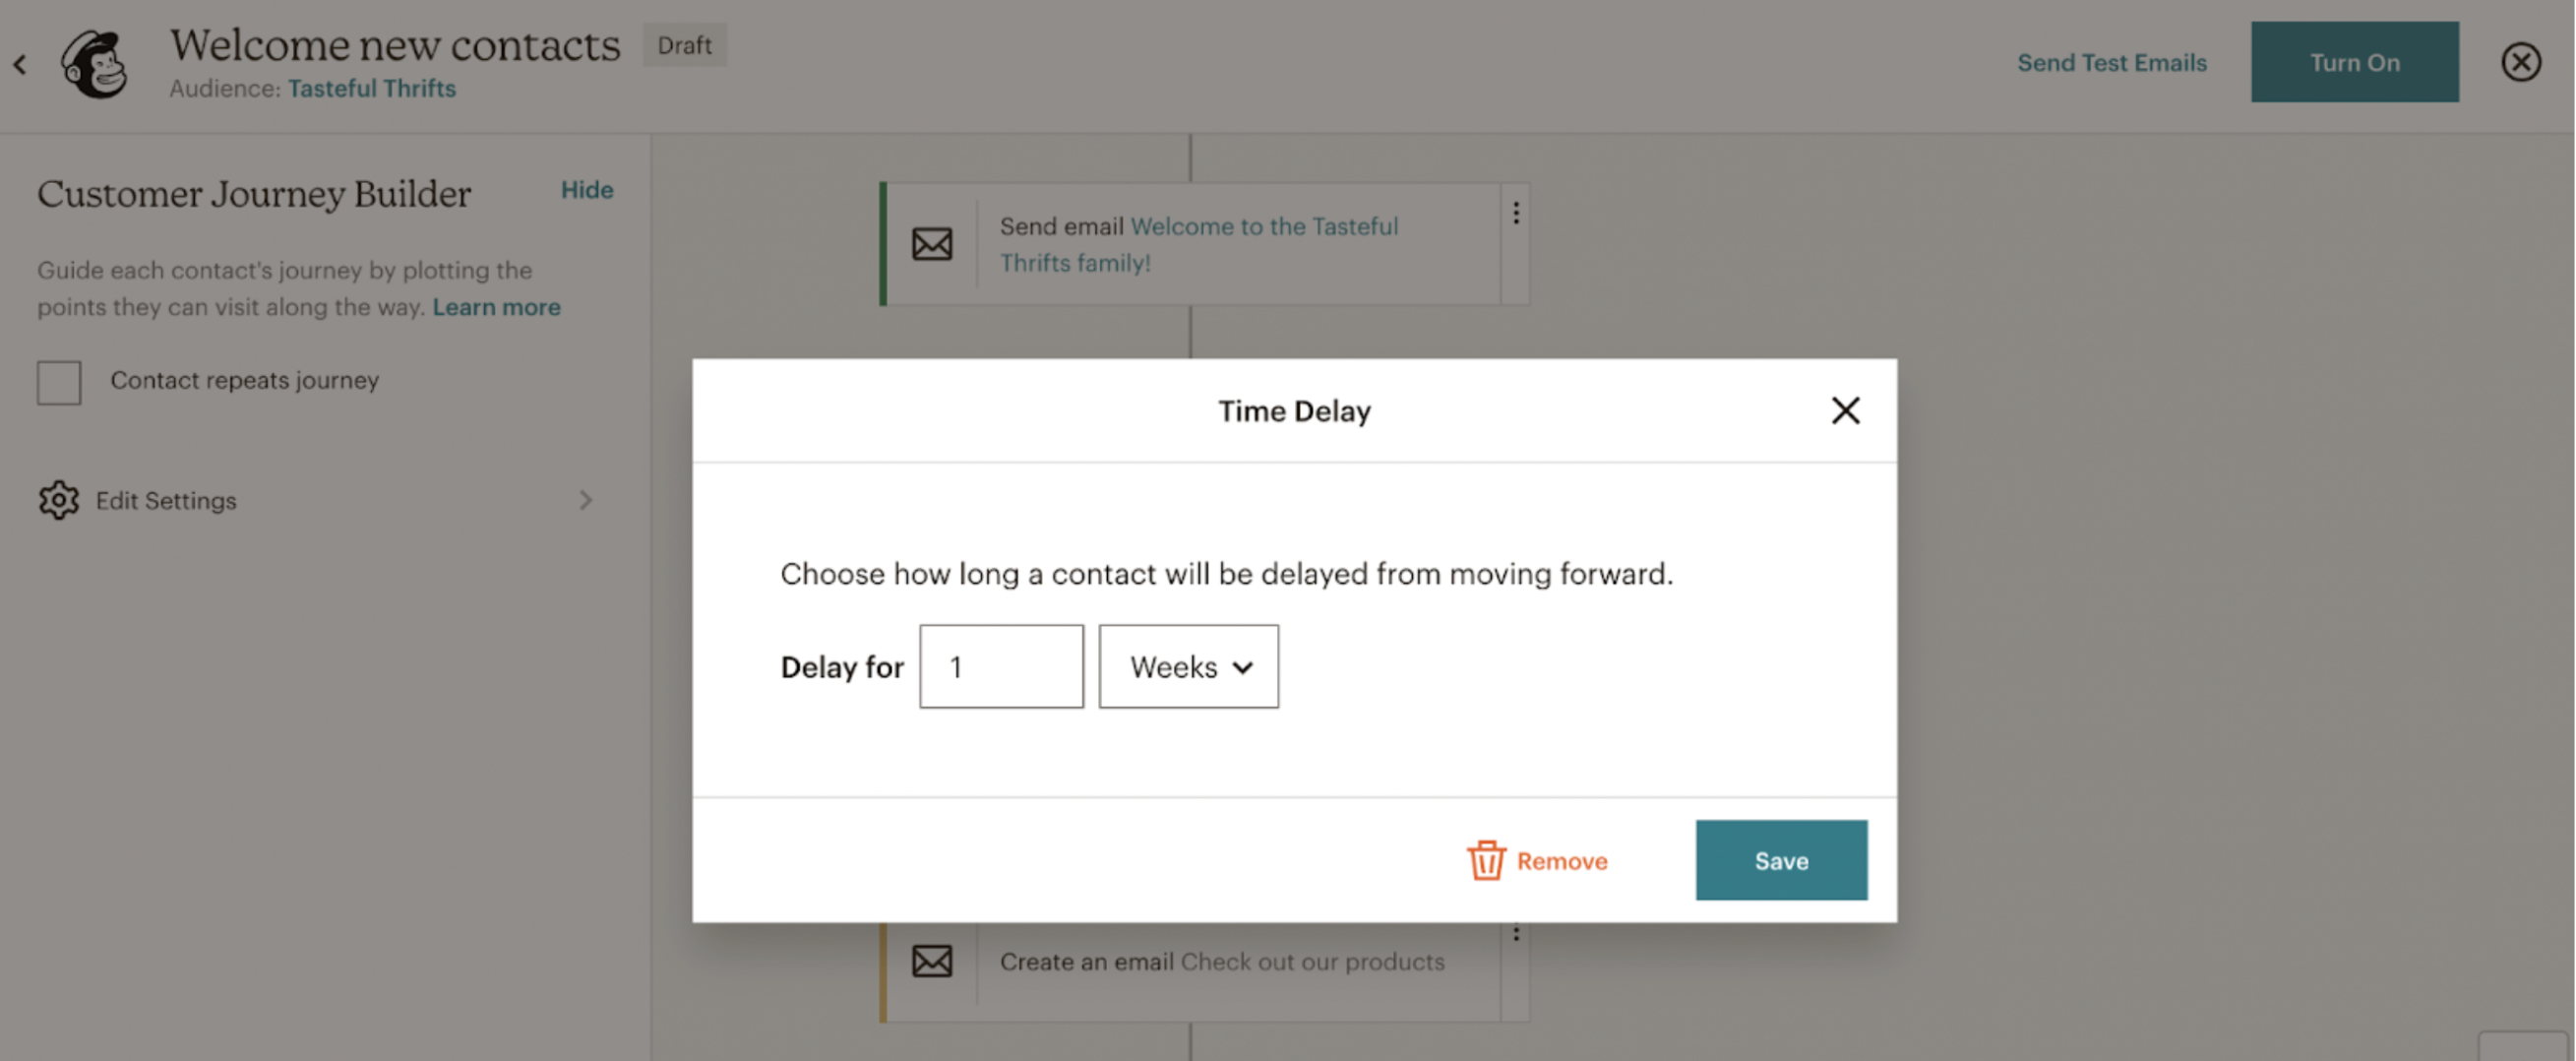
12. Customize the delay between emails once you've sent your first welcome email:
13. Design a follow-up email to encourage your subscribers to check out your site:
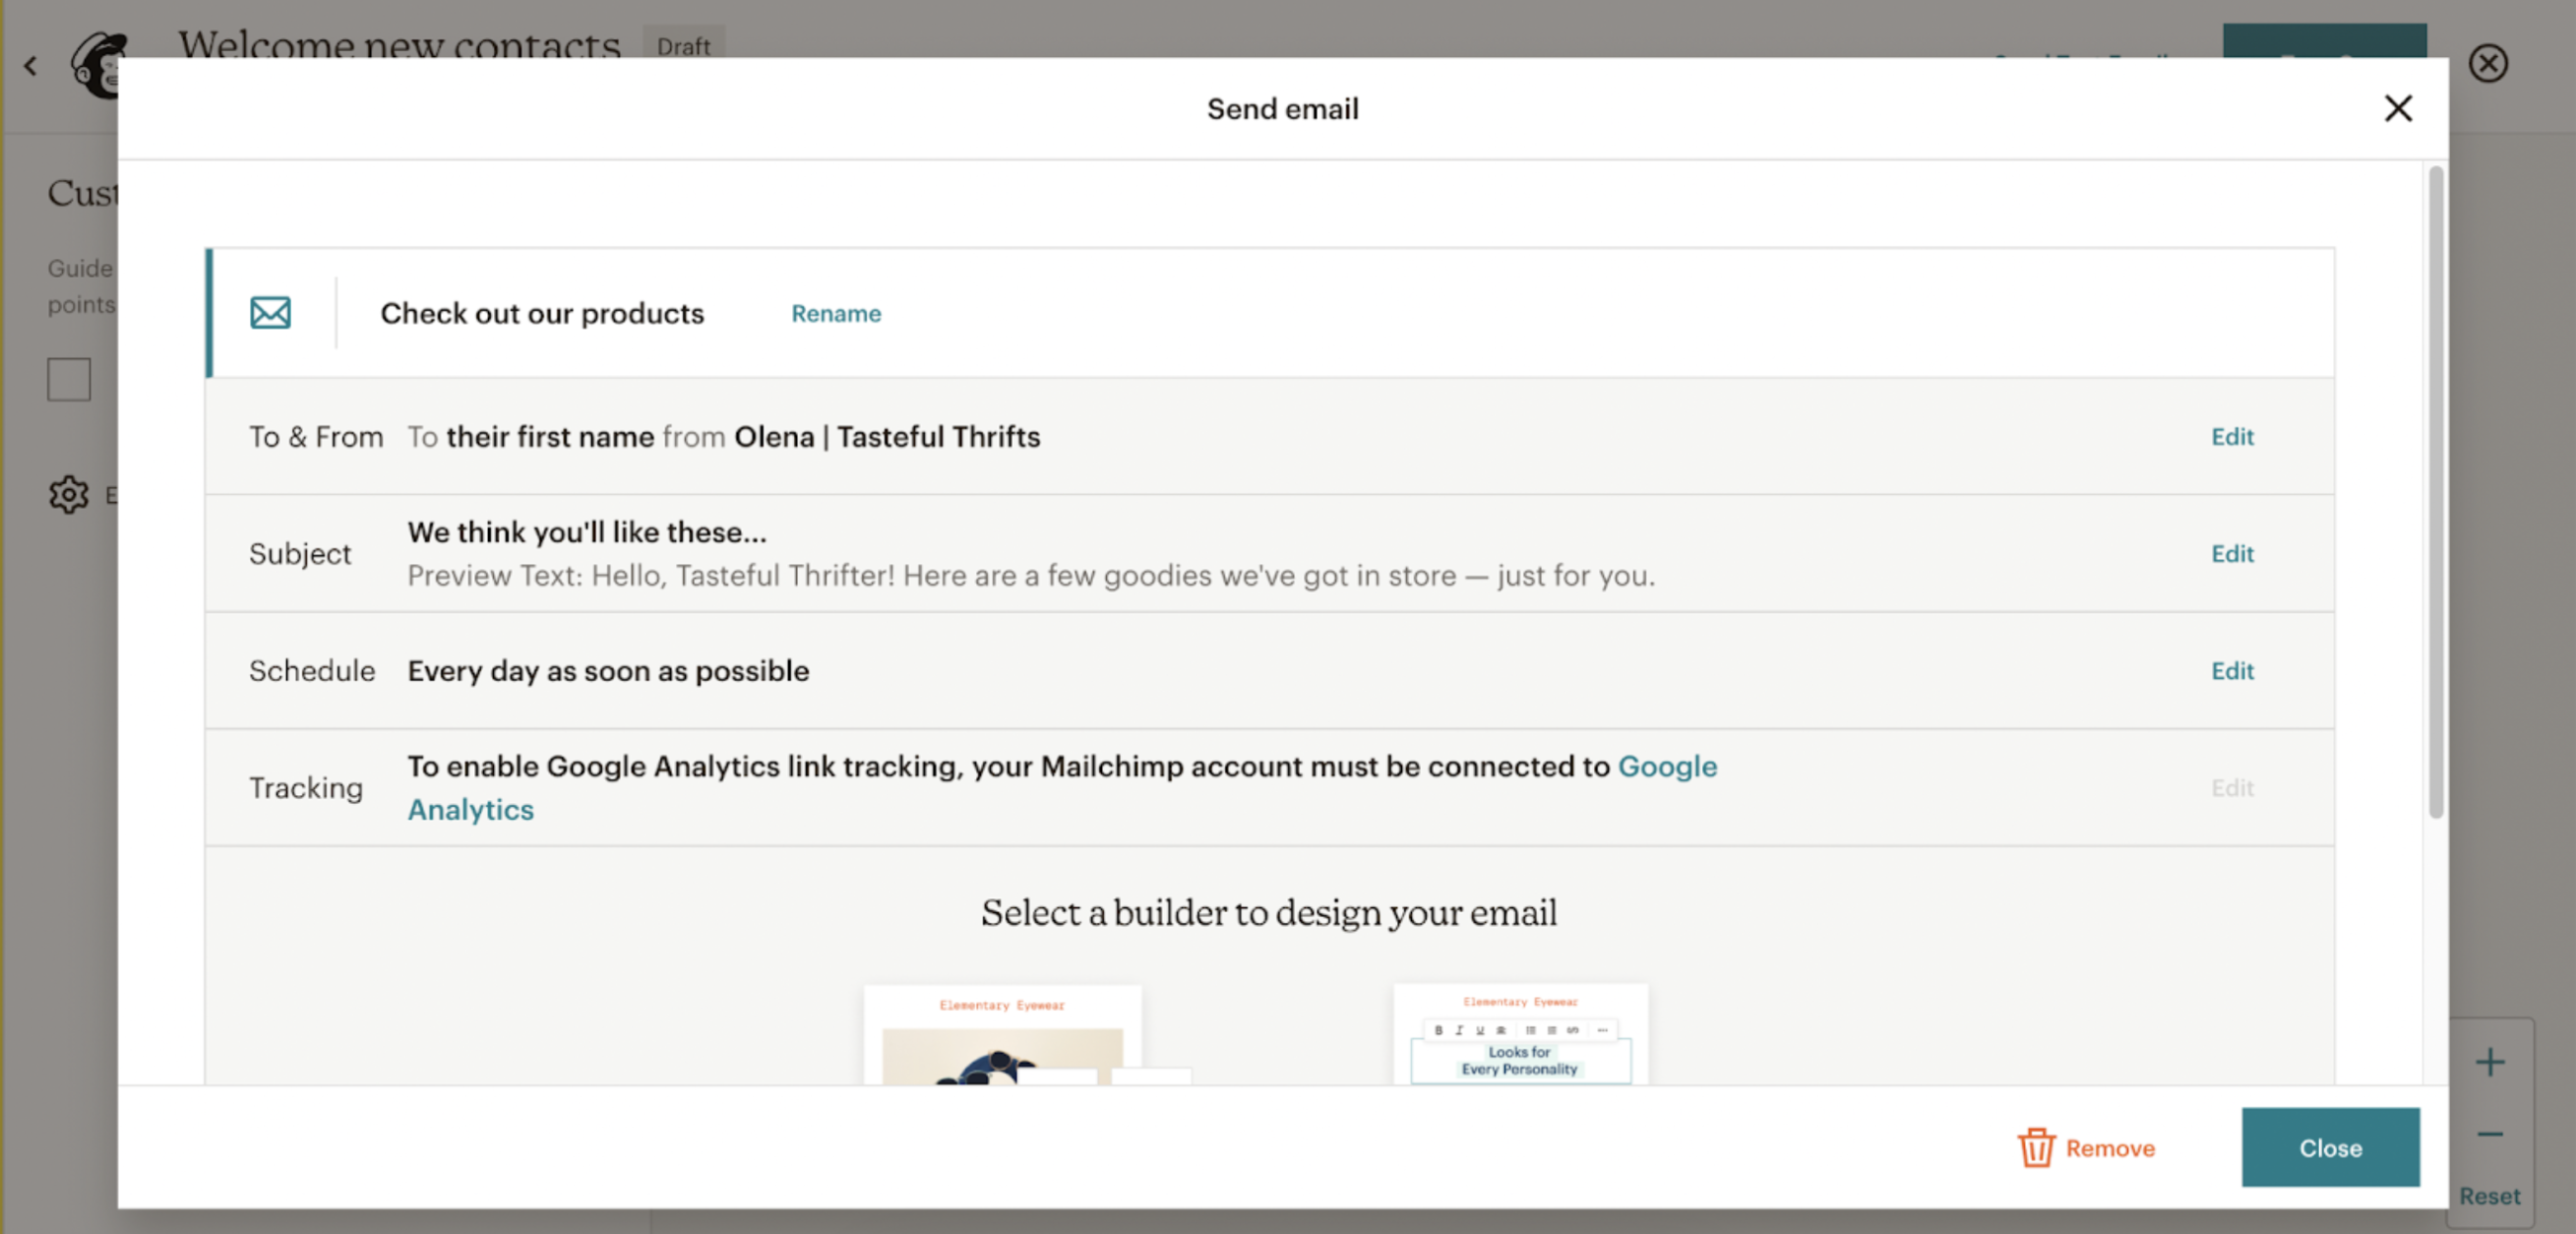
Follow the same steps as before with the Classic Builder. This time, you could feature your best products or content — and take your subscribers one step closer to hitting 'Buy.'
14. Once you've sent yourself a few test emails (and you’re happy with the end result), click on > Turn On:
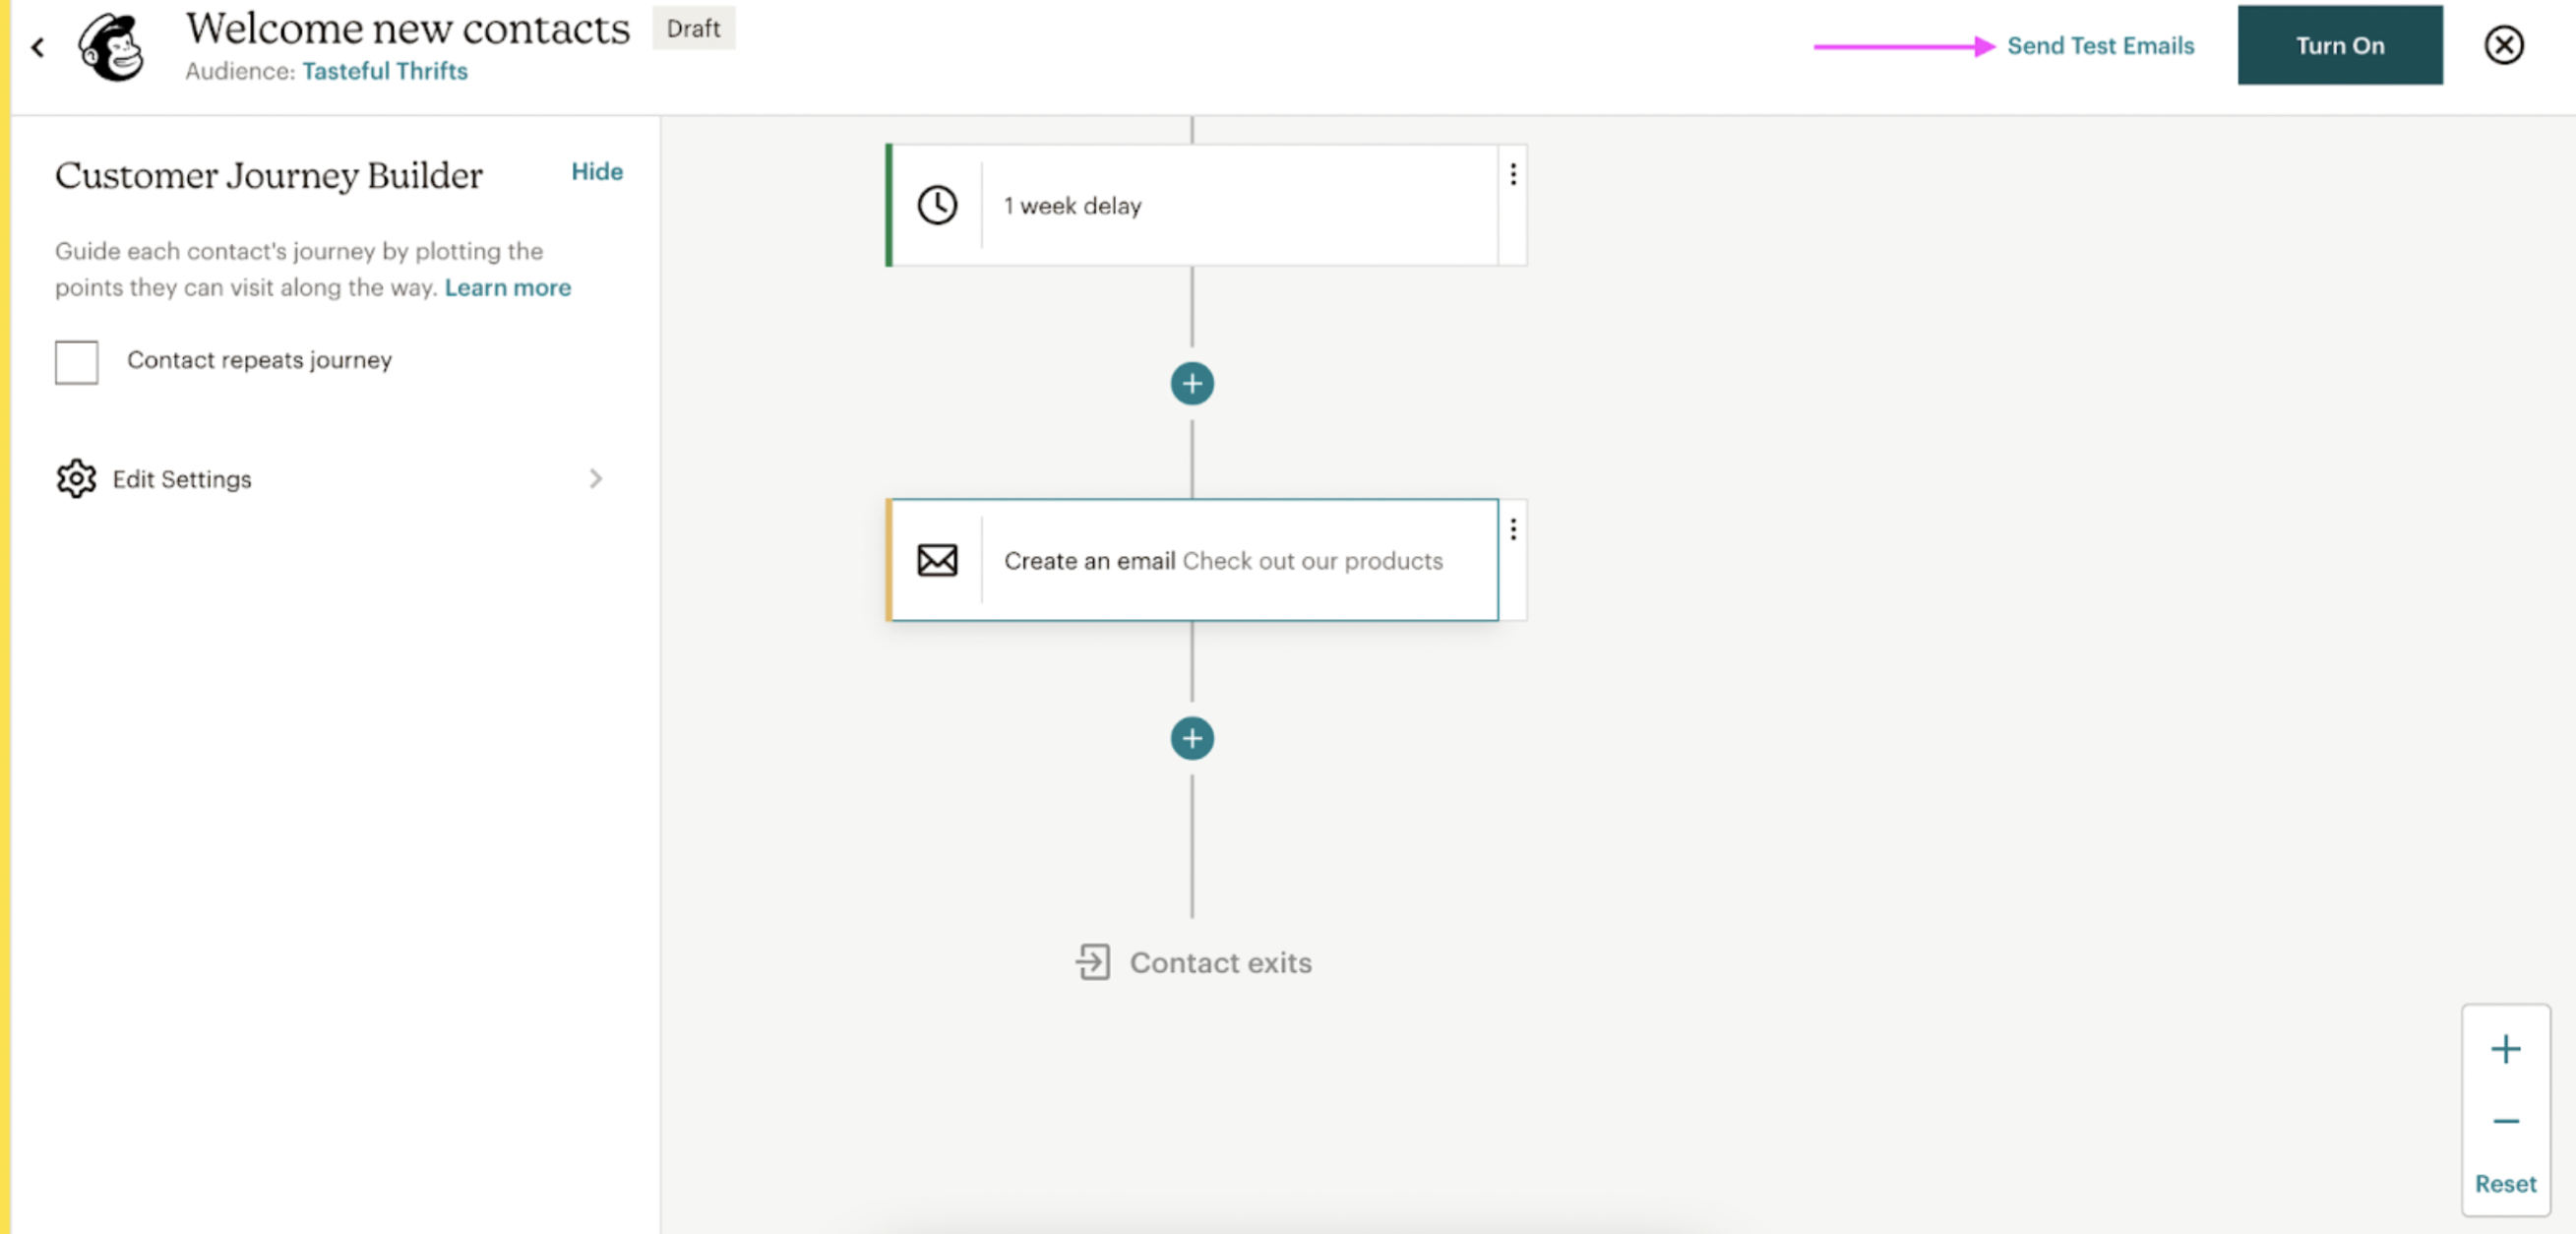
15. And boom, your new automated email sequence is now Active.
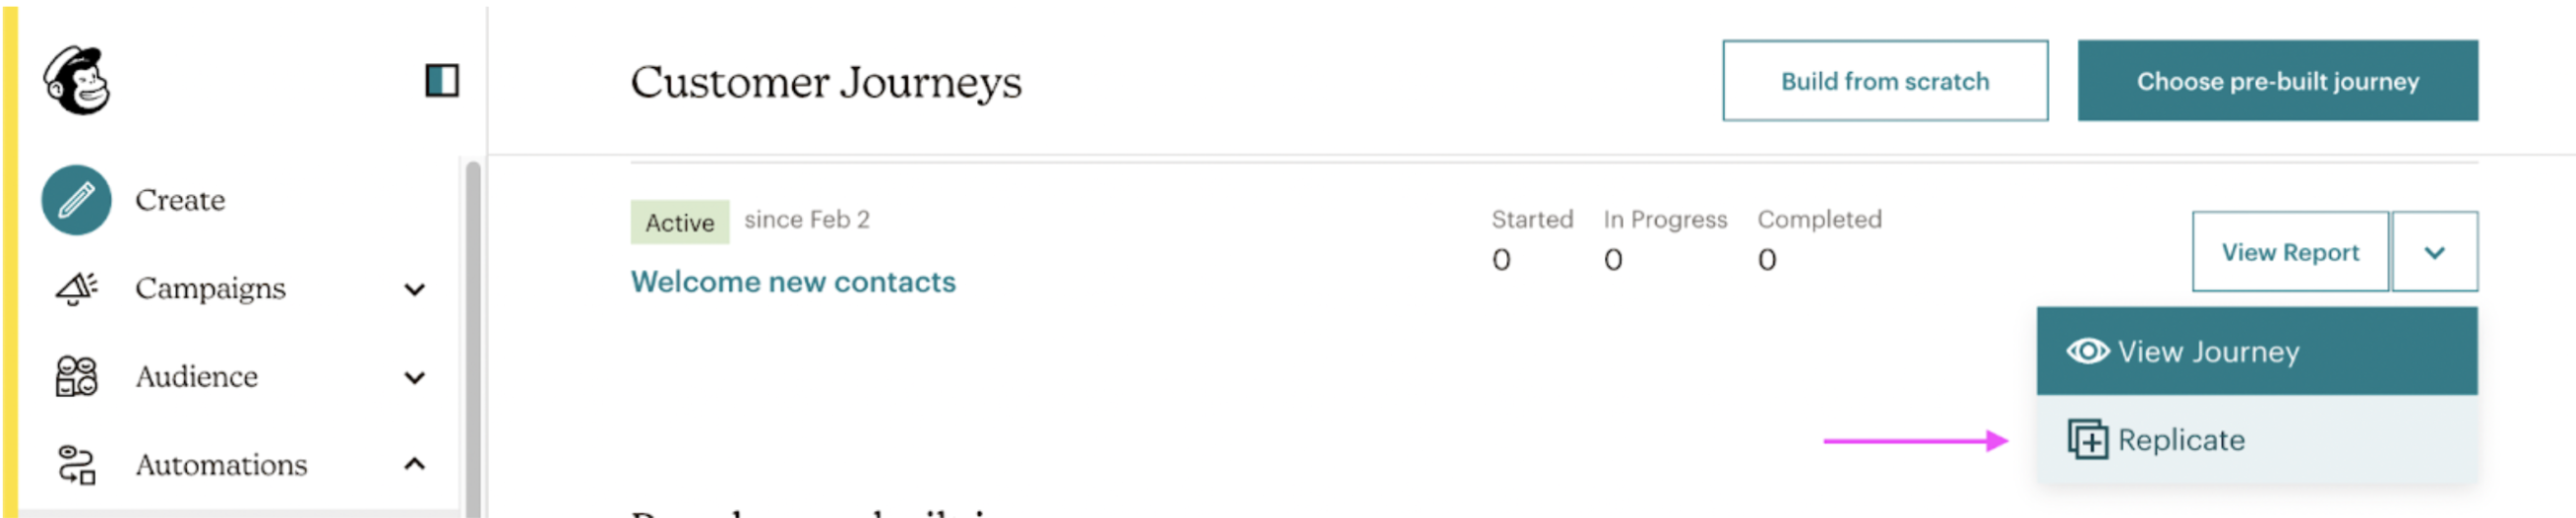
You can also replicate it to set up another email sequence (for example, to re-engage your contacts):
Now just sit back and relax — every time someone subscribes to your online store, they'll automatically receive your welcome and follow-up emails through Mailchimp. No need to send out a single email manually.
So now that we've set up our first automated welcome email sequence let's also check out how we can speed up designing our emails. Here are a couple of tools that come in handy.
4 tools to speed up the process of creating automated emails

Manually writing out emails, editing images, and creating new designs - pretty time-consuming, right? Well, when it comes to designing great emails, here are four steps you need to get right:
Your email images, which you can edit automatically with remove.bg
Your email body text, which you can generate with Copy.ai
Your design elements (like your email header) which you can create with Canva
Your custom Call-to-Action (CTA) buttons with Buttons Generator
Just like you can automate sending out emails, you can also automate your email design with these four fun, quick, and easy tools. Let's explore them one by one.
Edit your email photos with remove.bg

Your email images catch your readers' attention first — then, they decide whether to continue reading. This is why clean, professional visuals can take your email to the next level.
Here's an example from one of DesignModo's e-commerce email templates:
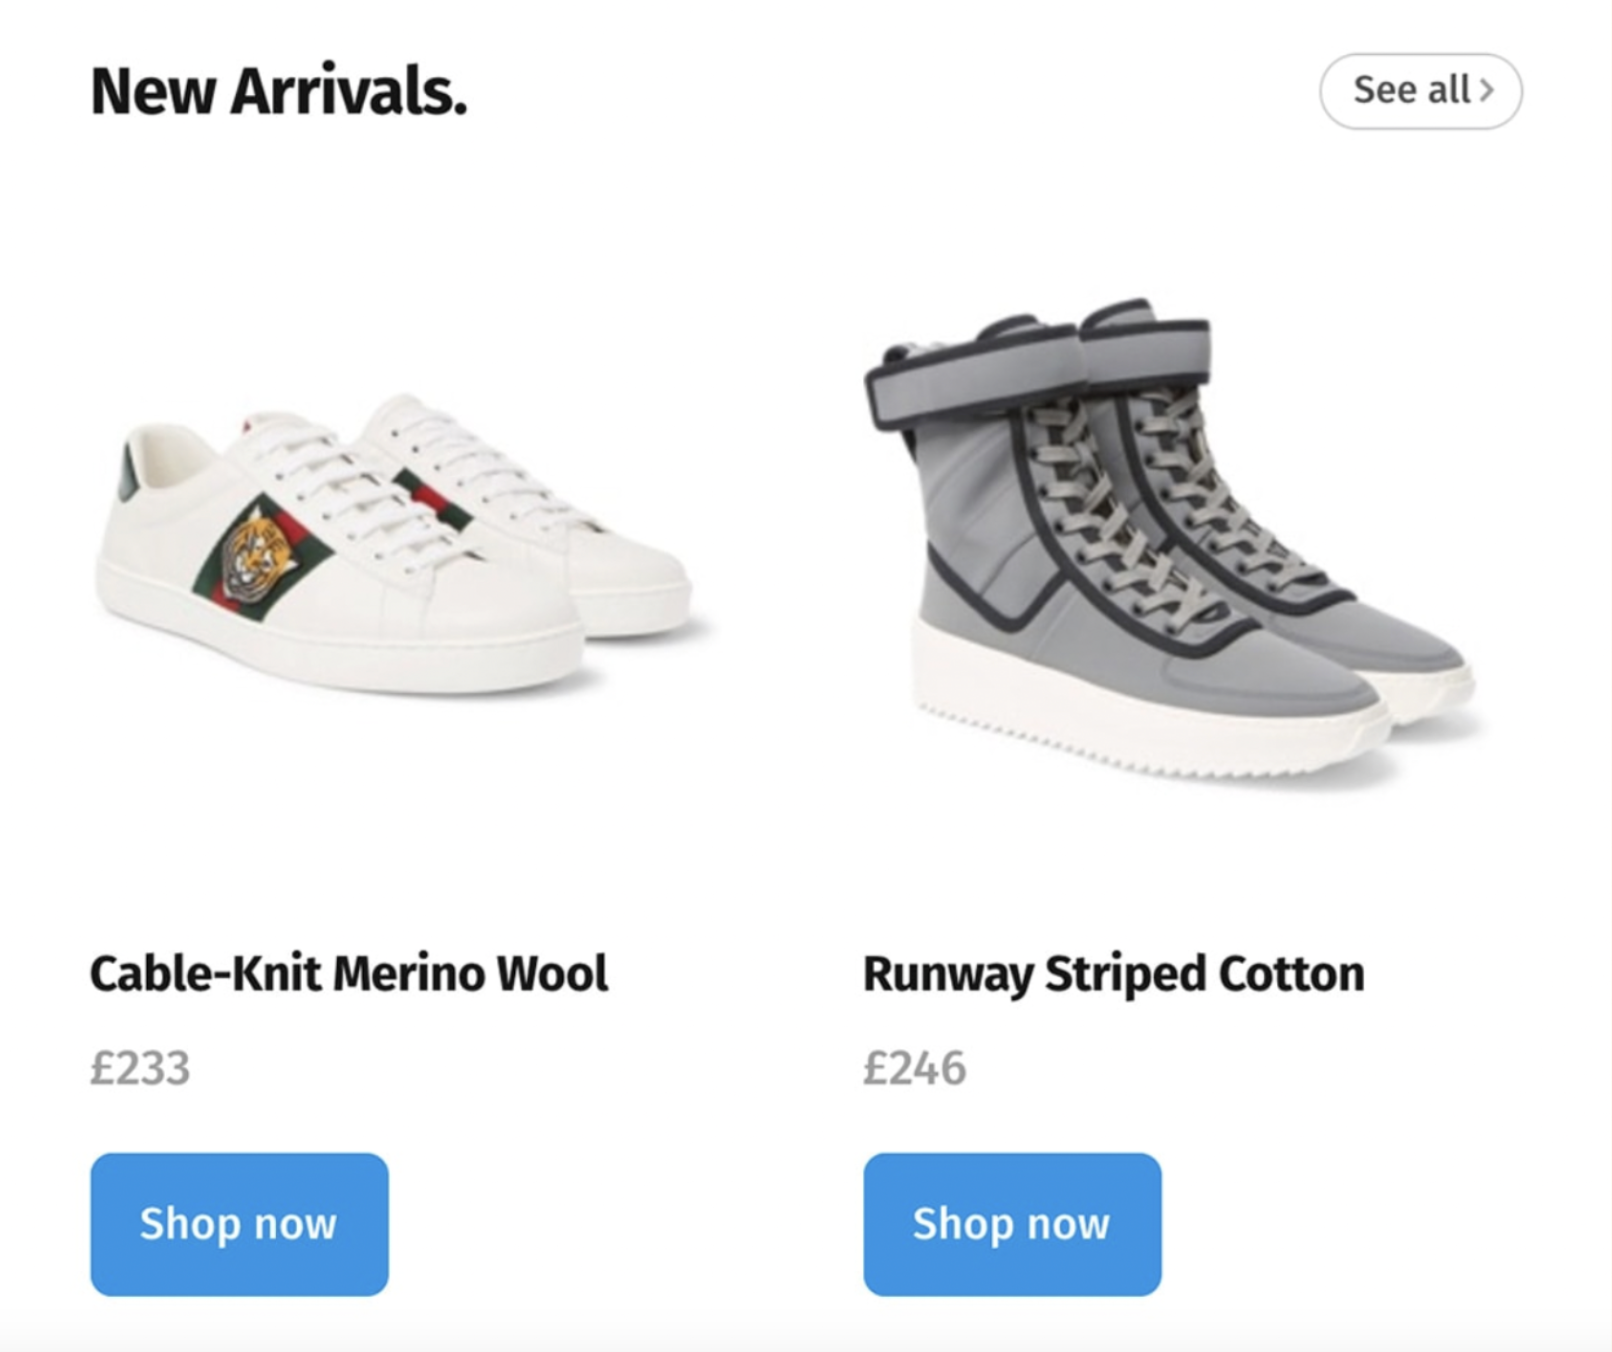
What makes your eyes fall immediately to the shoes? That's right — the plain background. So here's how you can edit your images automatically with a tool like remove.bg:
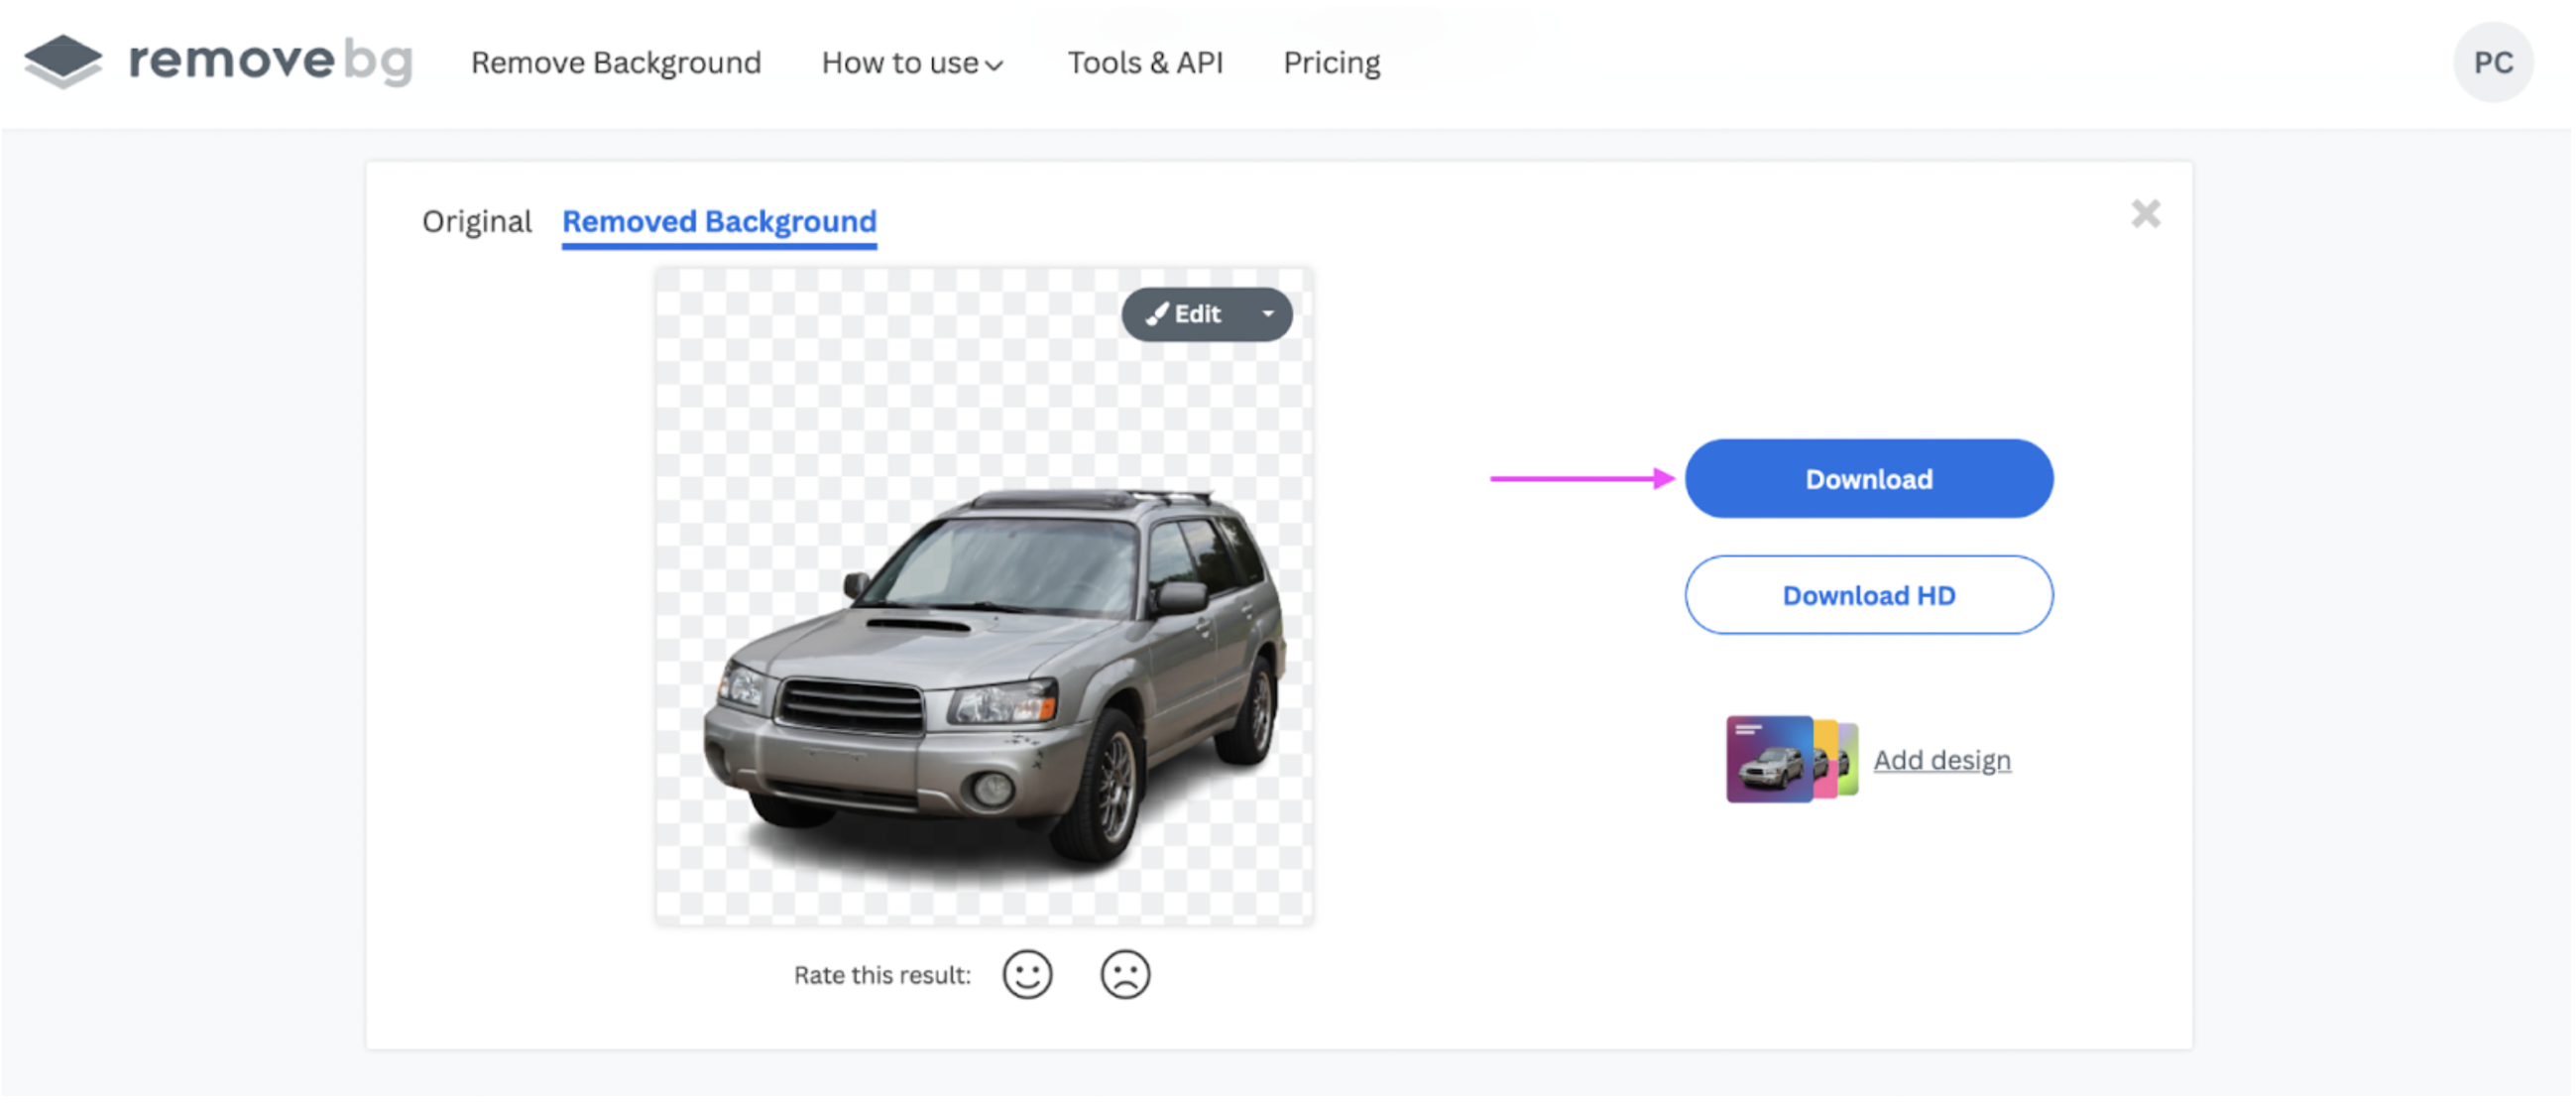
1. Upload (or drag and drop) your image to remove.bg:

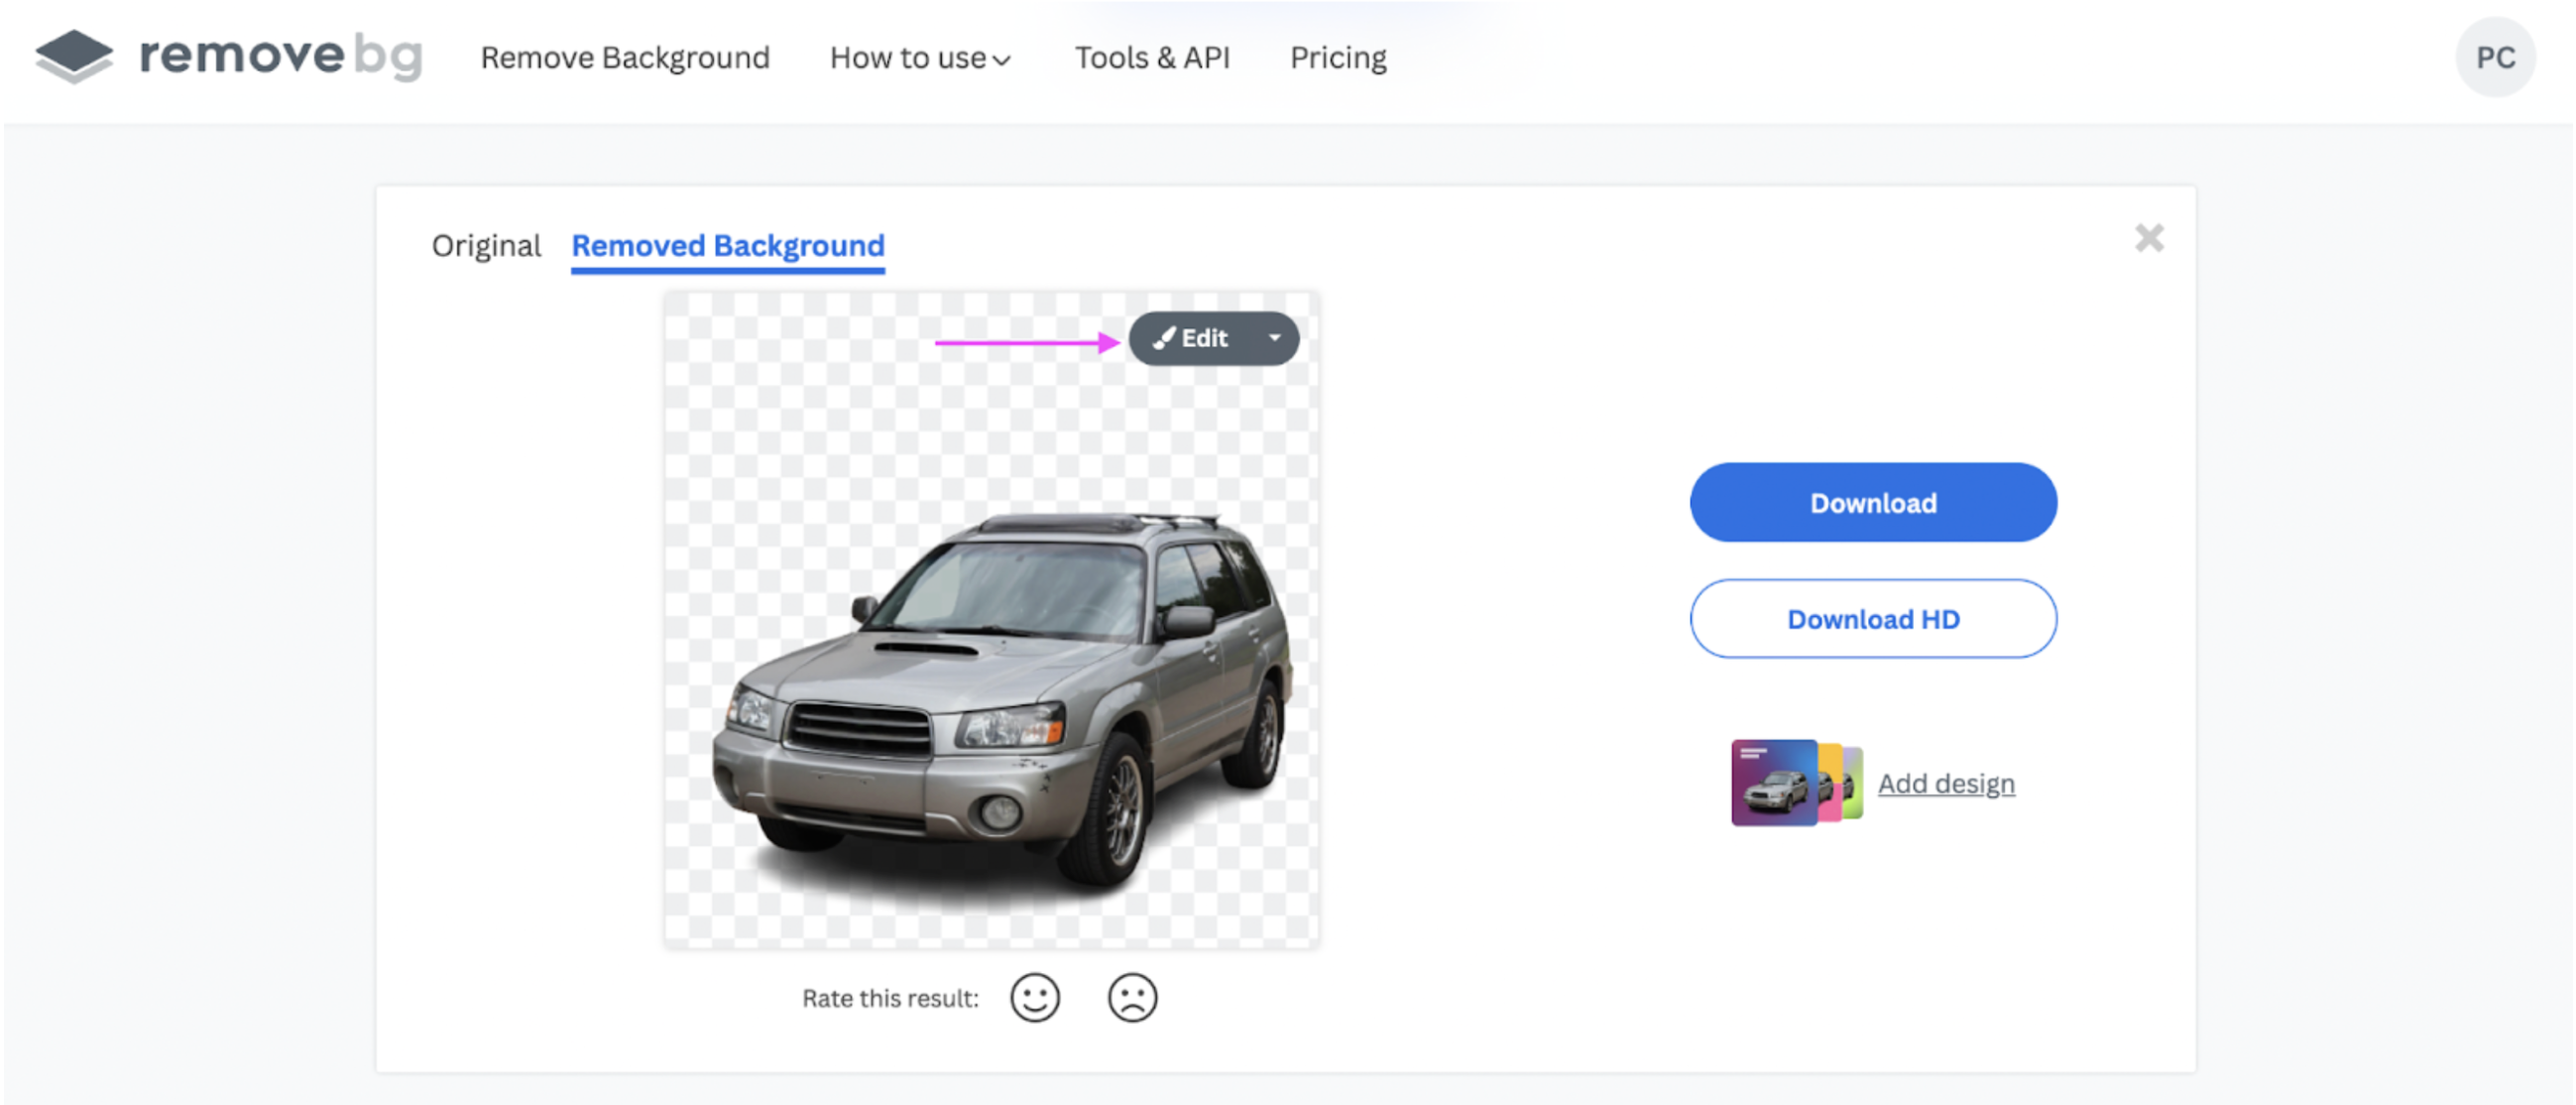
2. Hit > Download if you want an image with a transparent background (perfect for e-commerce emails):
3. Click on > Edit to explore remove.bg's editing features:
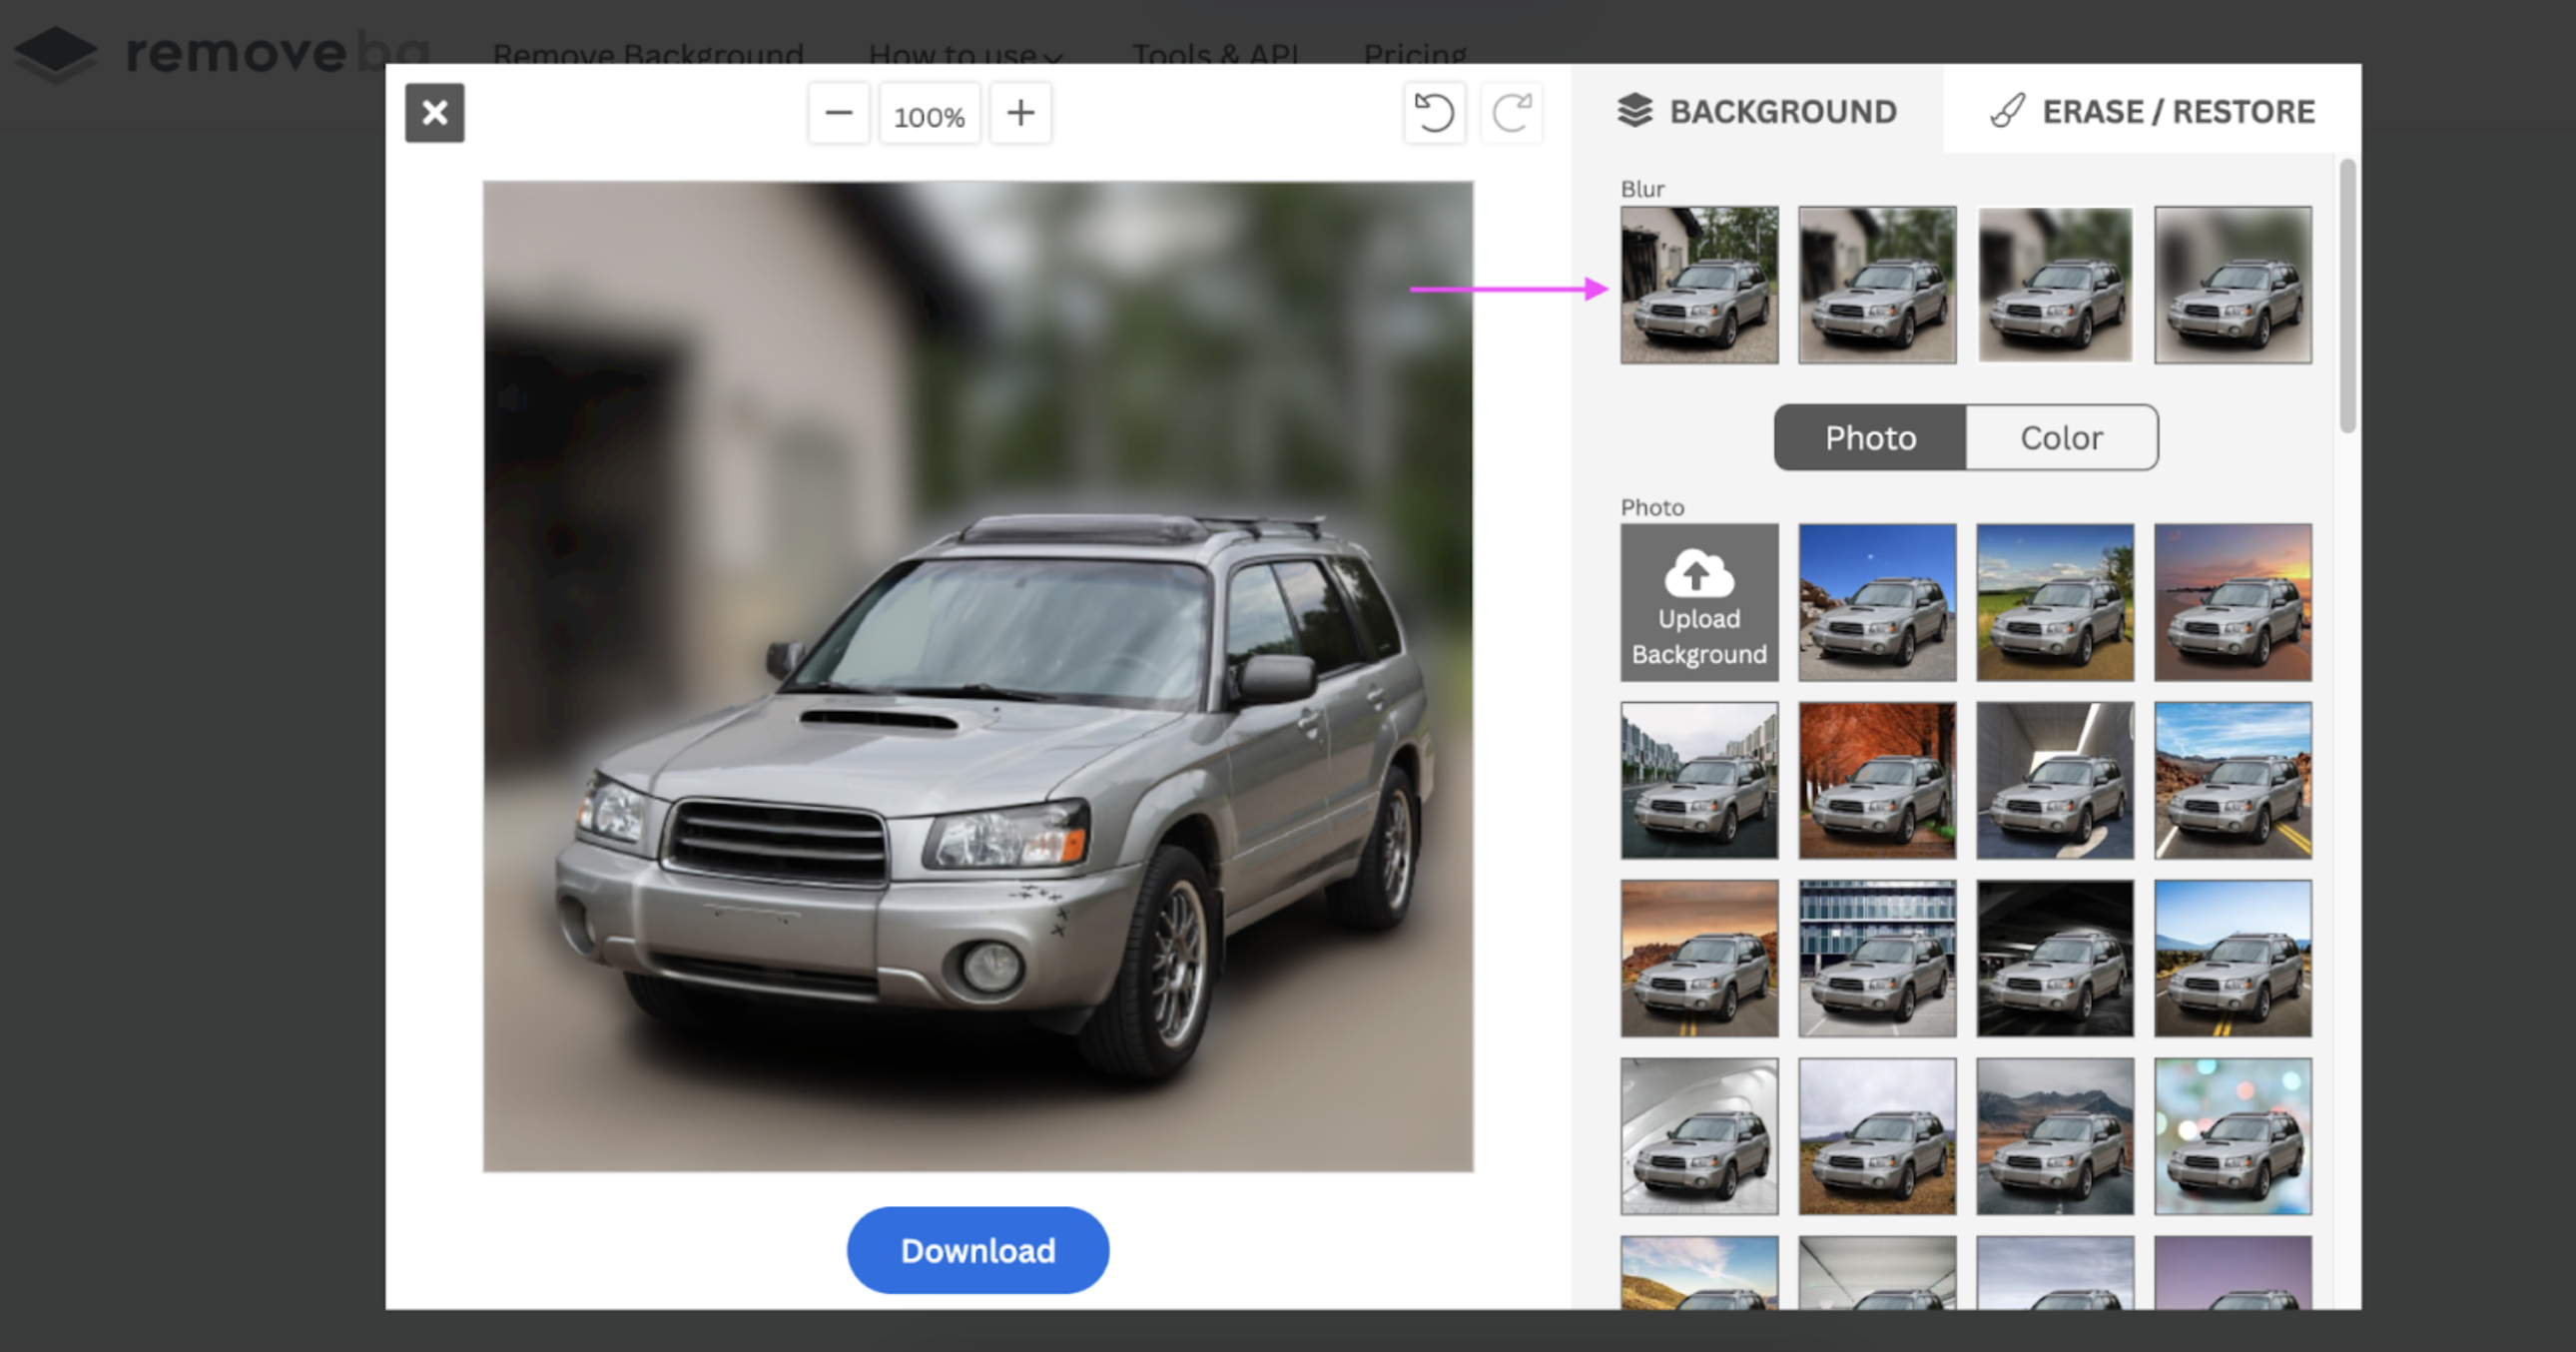
Add a cool > Blur effect to the background:
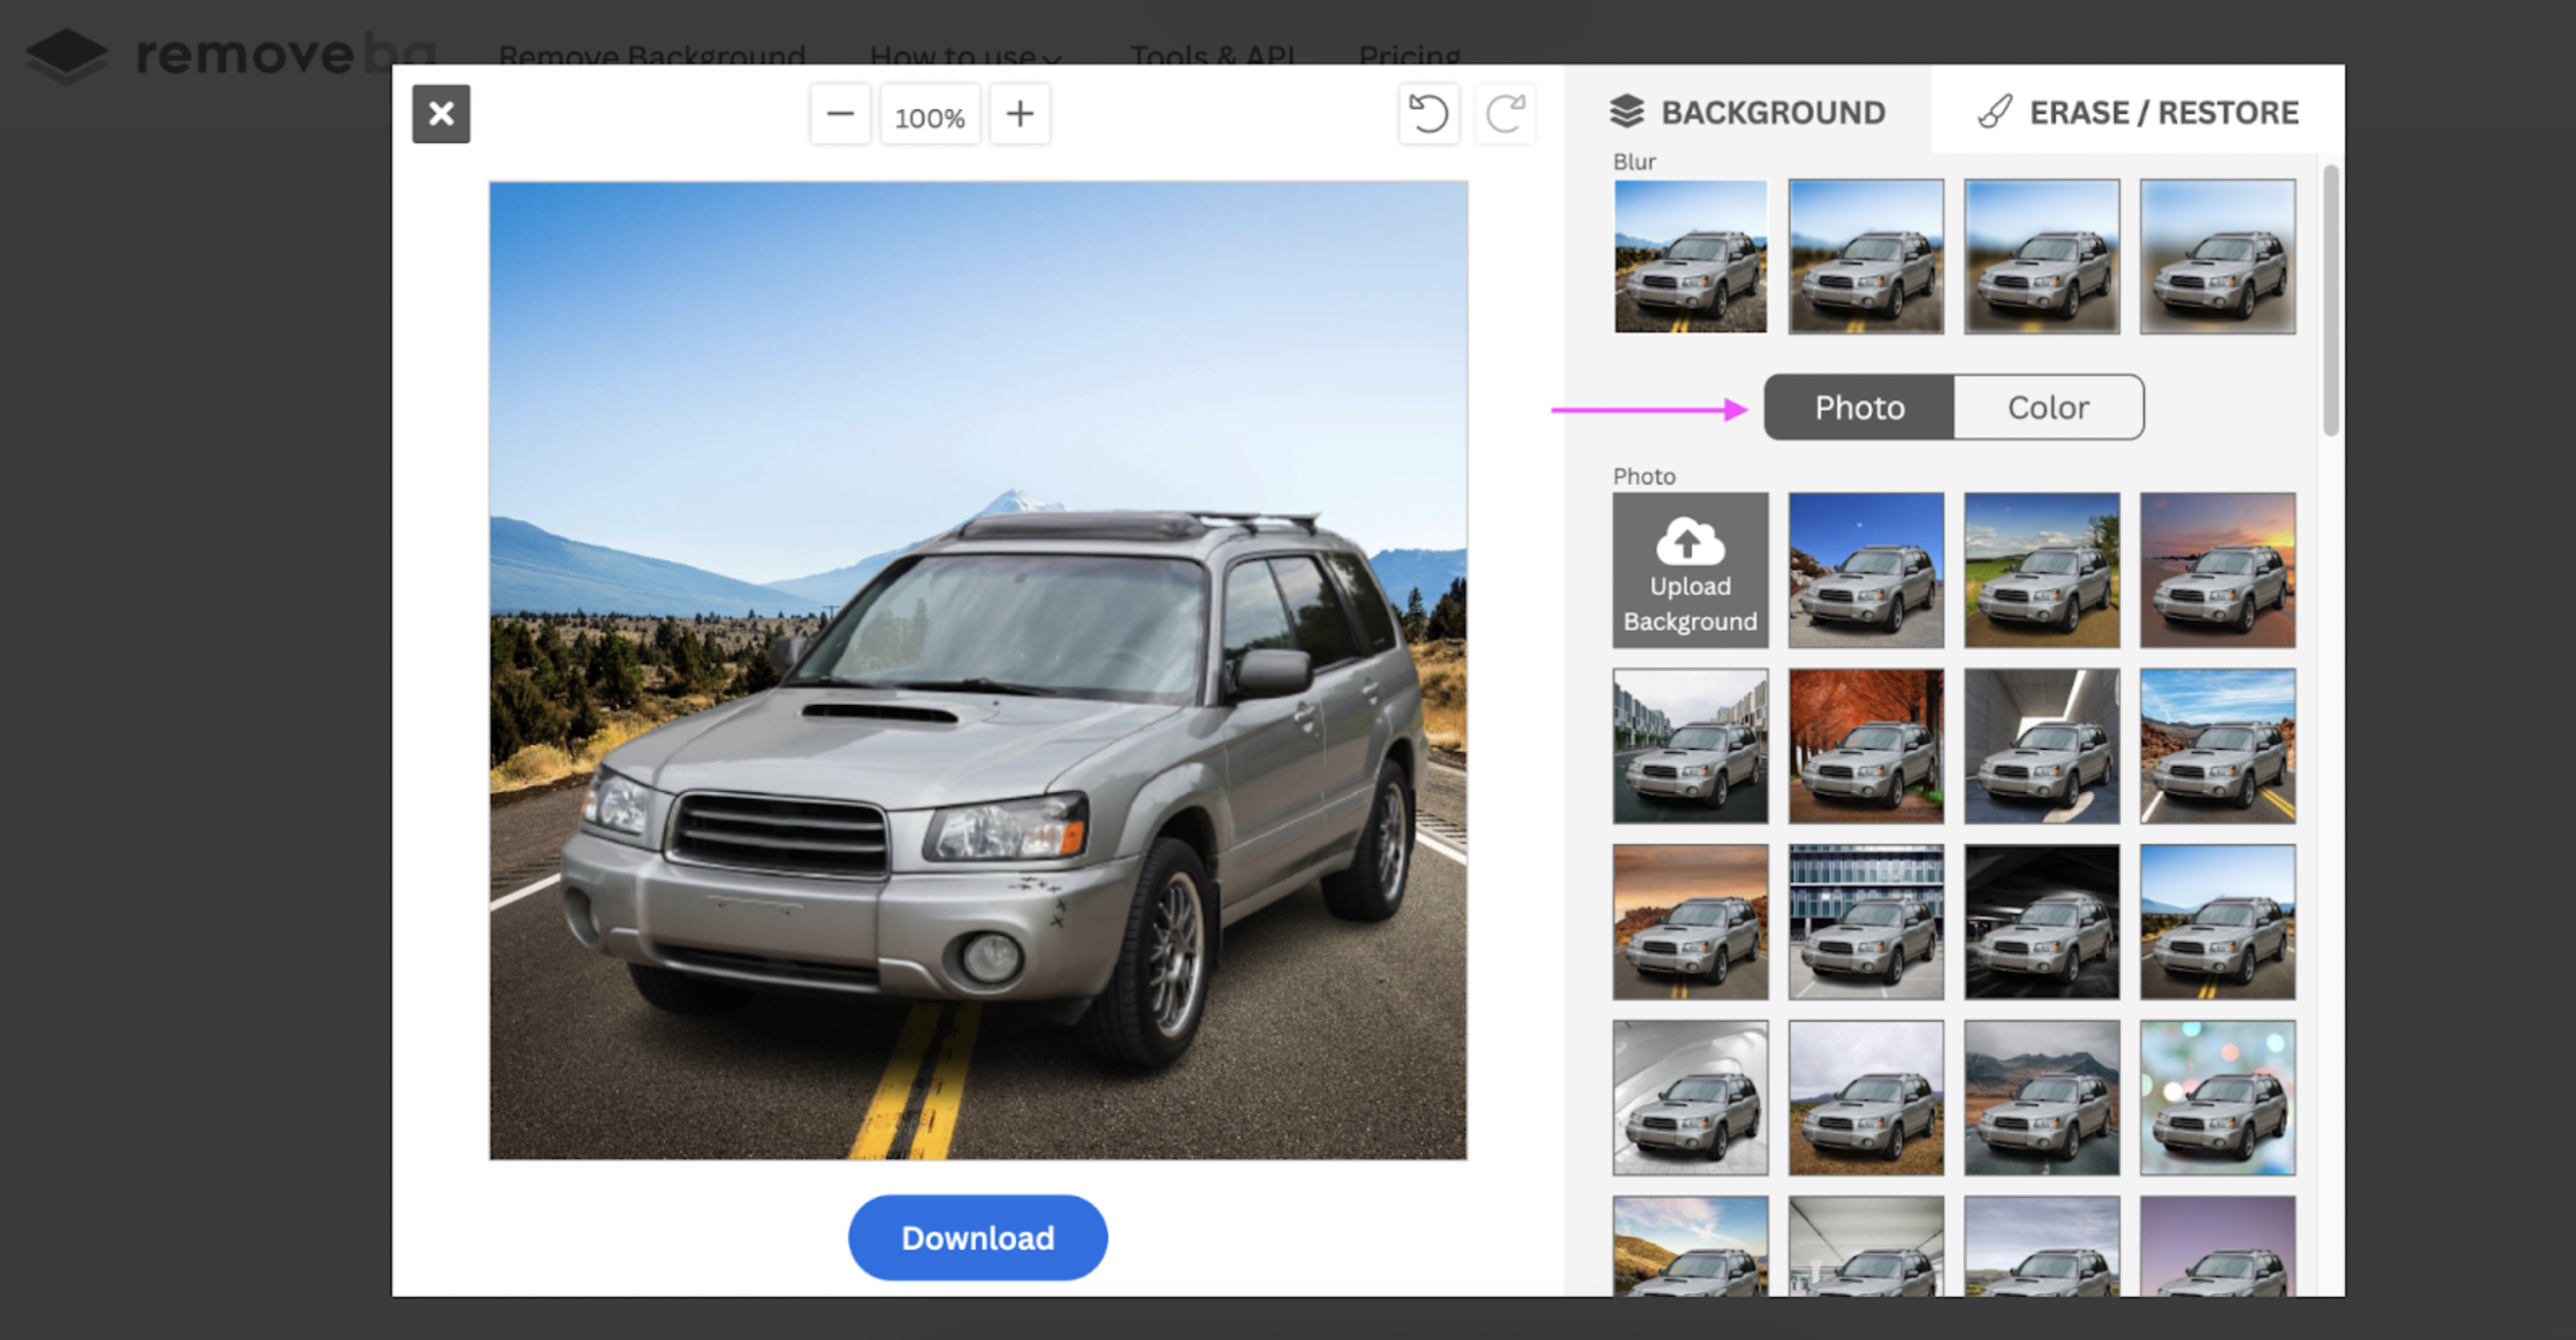
Or a new > Photo background:
4. Press the blue Download button once you're done.
And that's it — in just a few steps, you now have clean, professional images to add to your email. Perfect for encouraging subscribers to hit that 'Buy' button.
If you've got a ton of images you want to edit, no worries. Just download the remove.bg desktop app, bulk-edit them with just a few clicks, and start emailing.
Up next: finding the right words for your email.
Write quicker, catchier emails with Copy.ai
Copy.ai is an AI-powered tool you can use to give you input and ideas when it comes to the copy (aka. the text) you write in an email. Here's how:
1. Hop on over to Copy.ai.
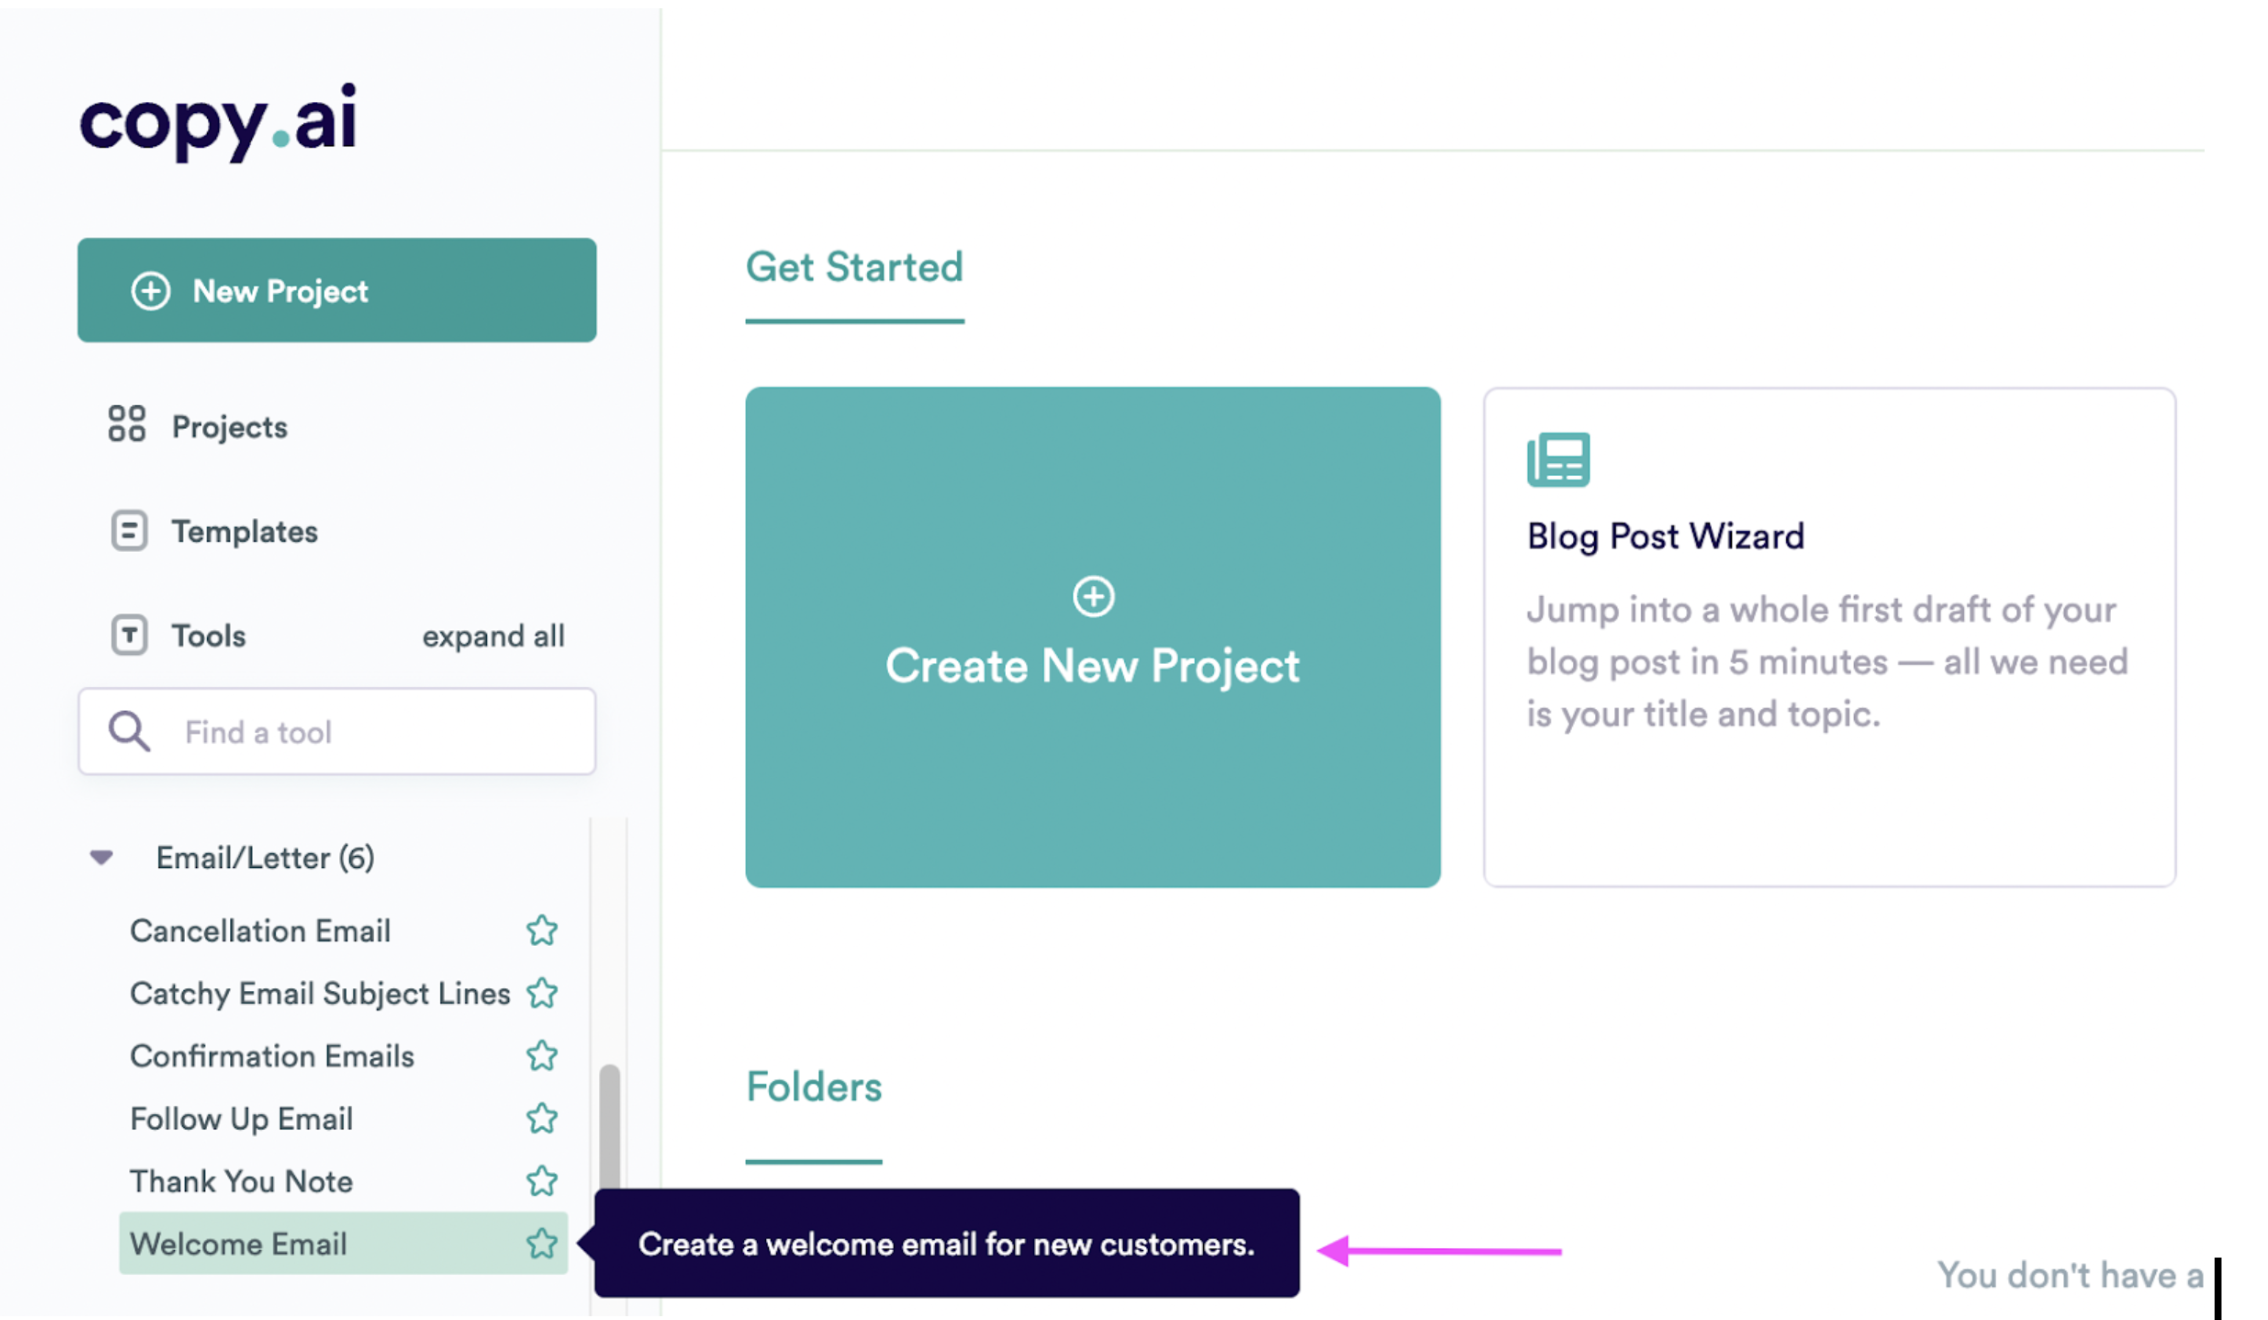
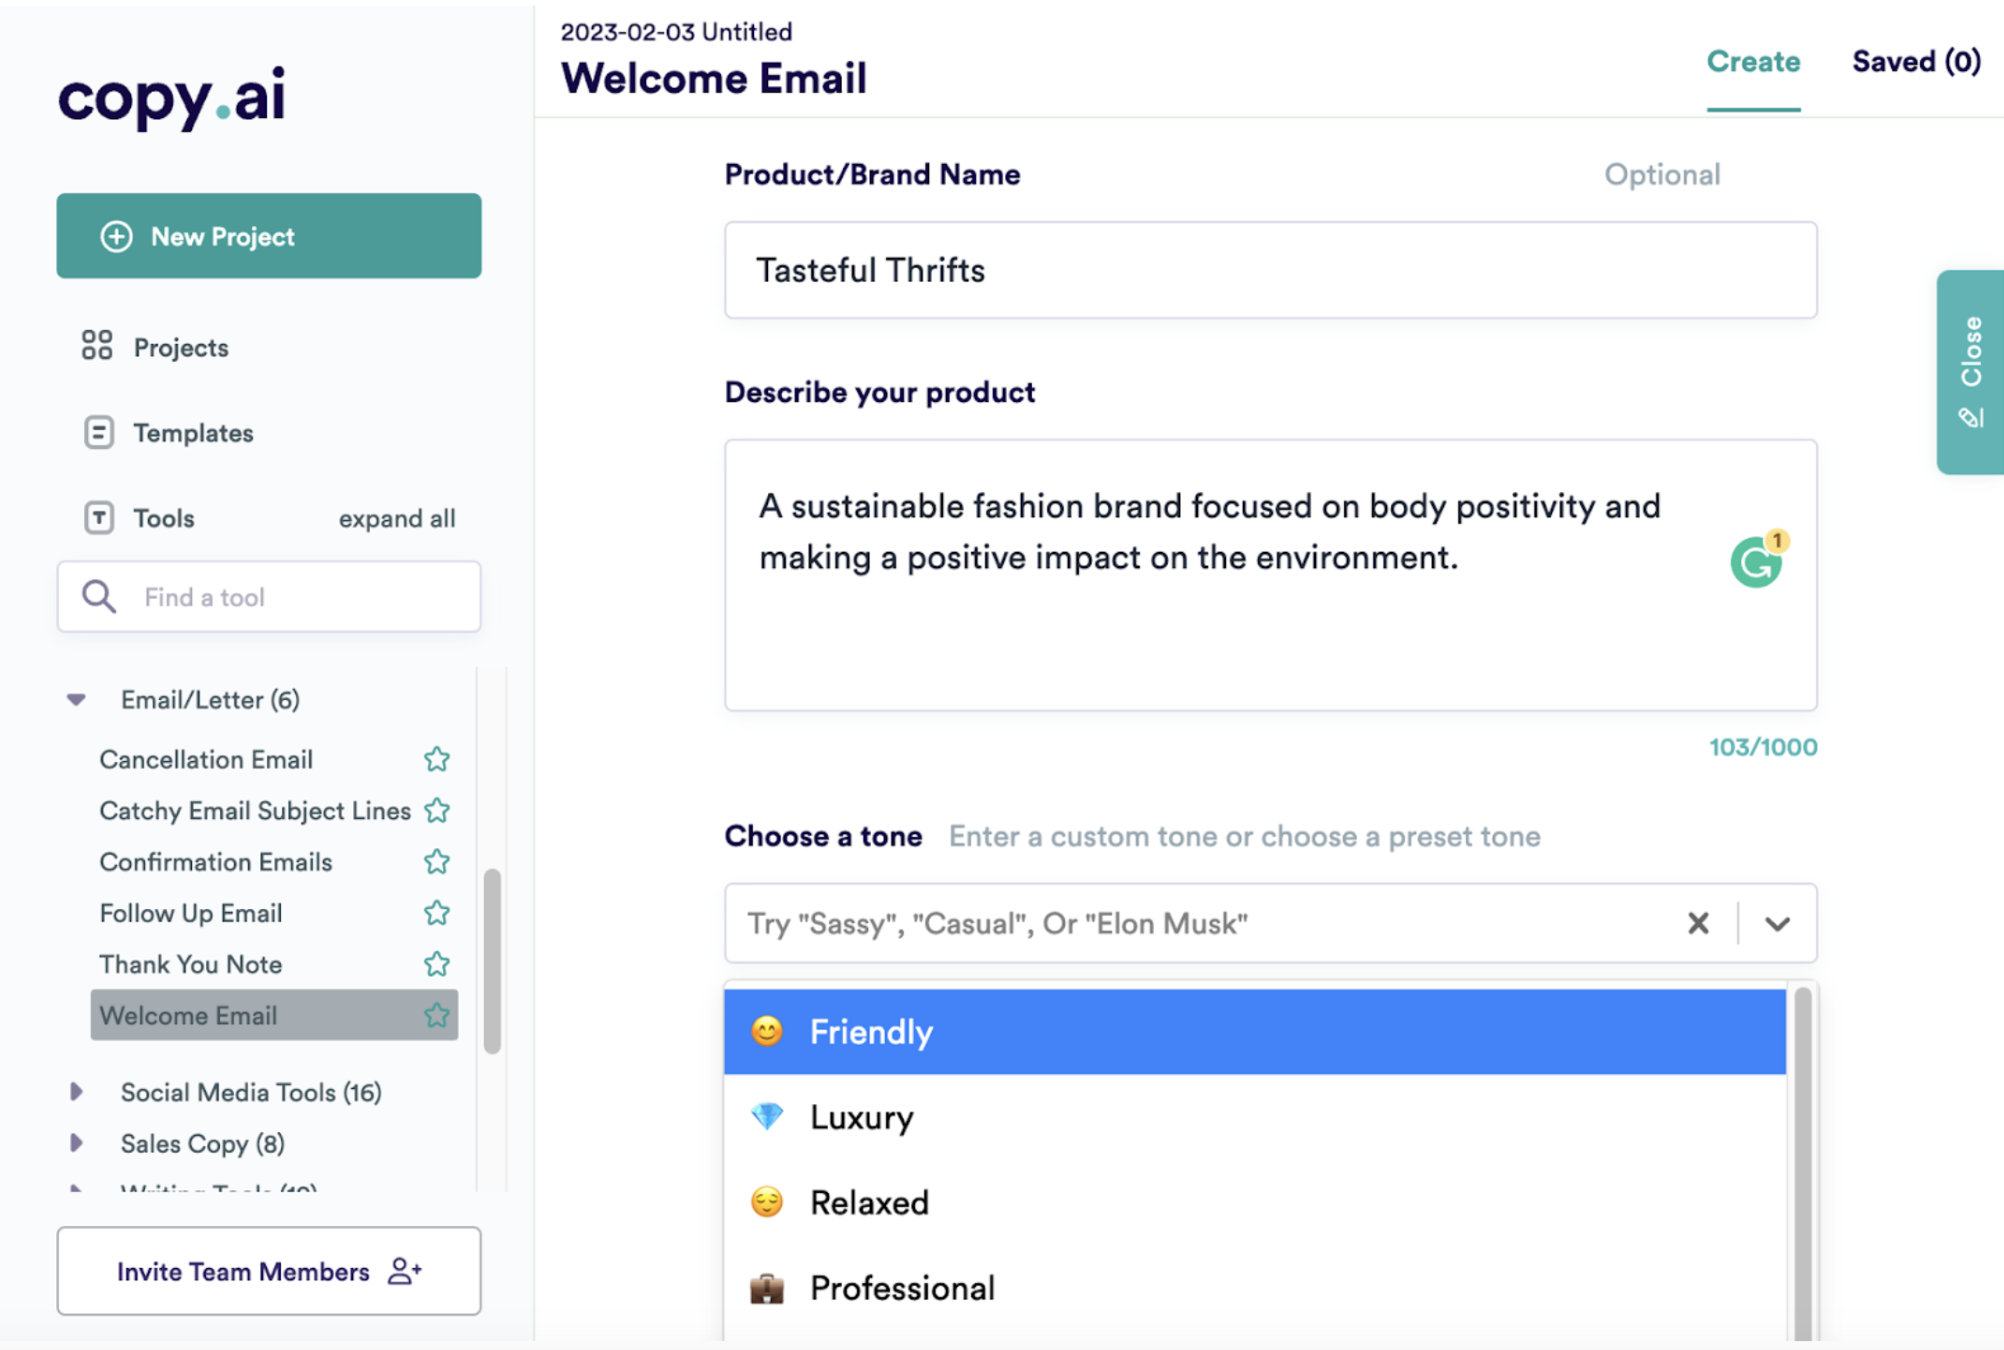
2. Scroll down to > Email/Letter on the left-hand side. Let's use an example of a welcome email:
3. Add your brand details and choose a tone of voice:
4. And tada! A whole bunch of automatically-generated content you can customize and add to your email. Just make sure to add your personal touch and really make it yours:
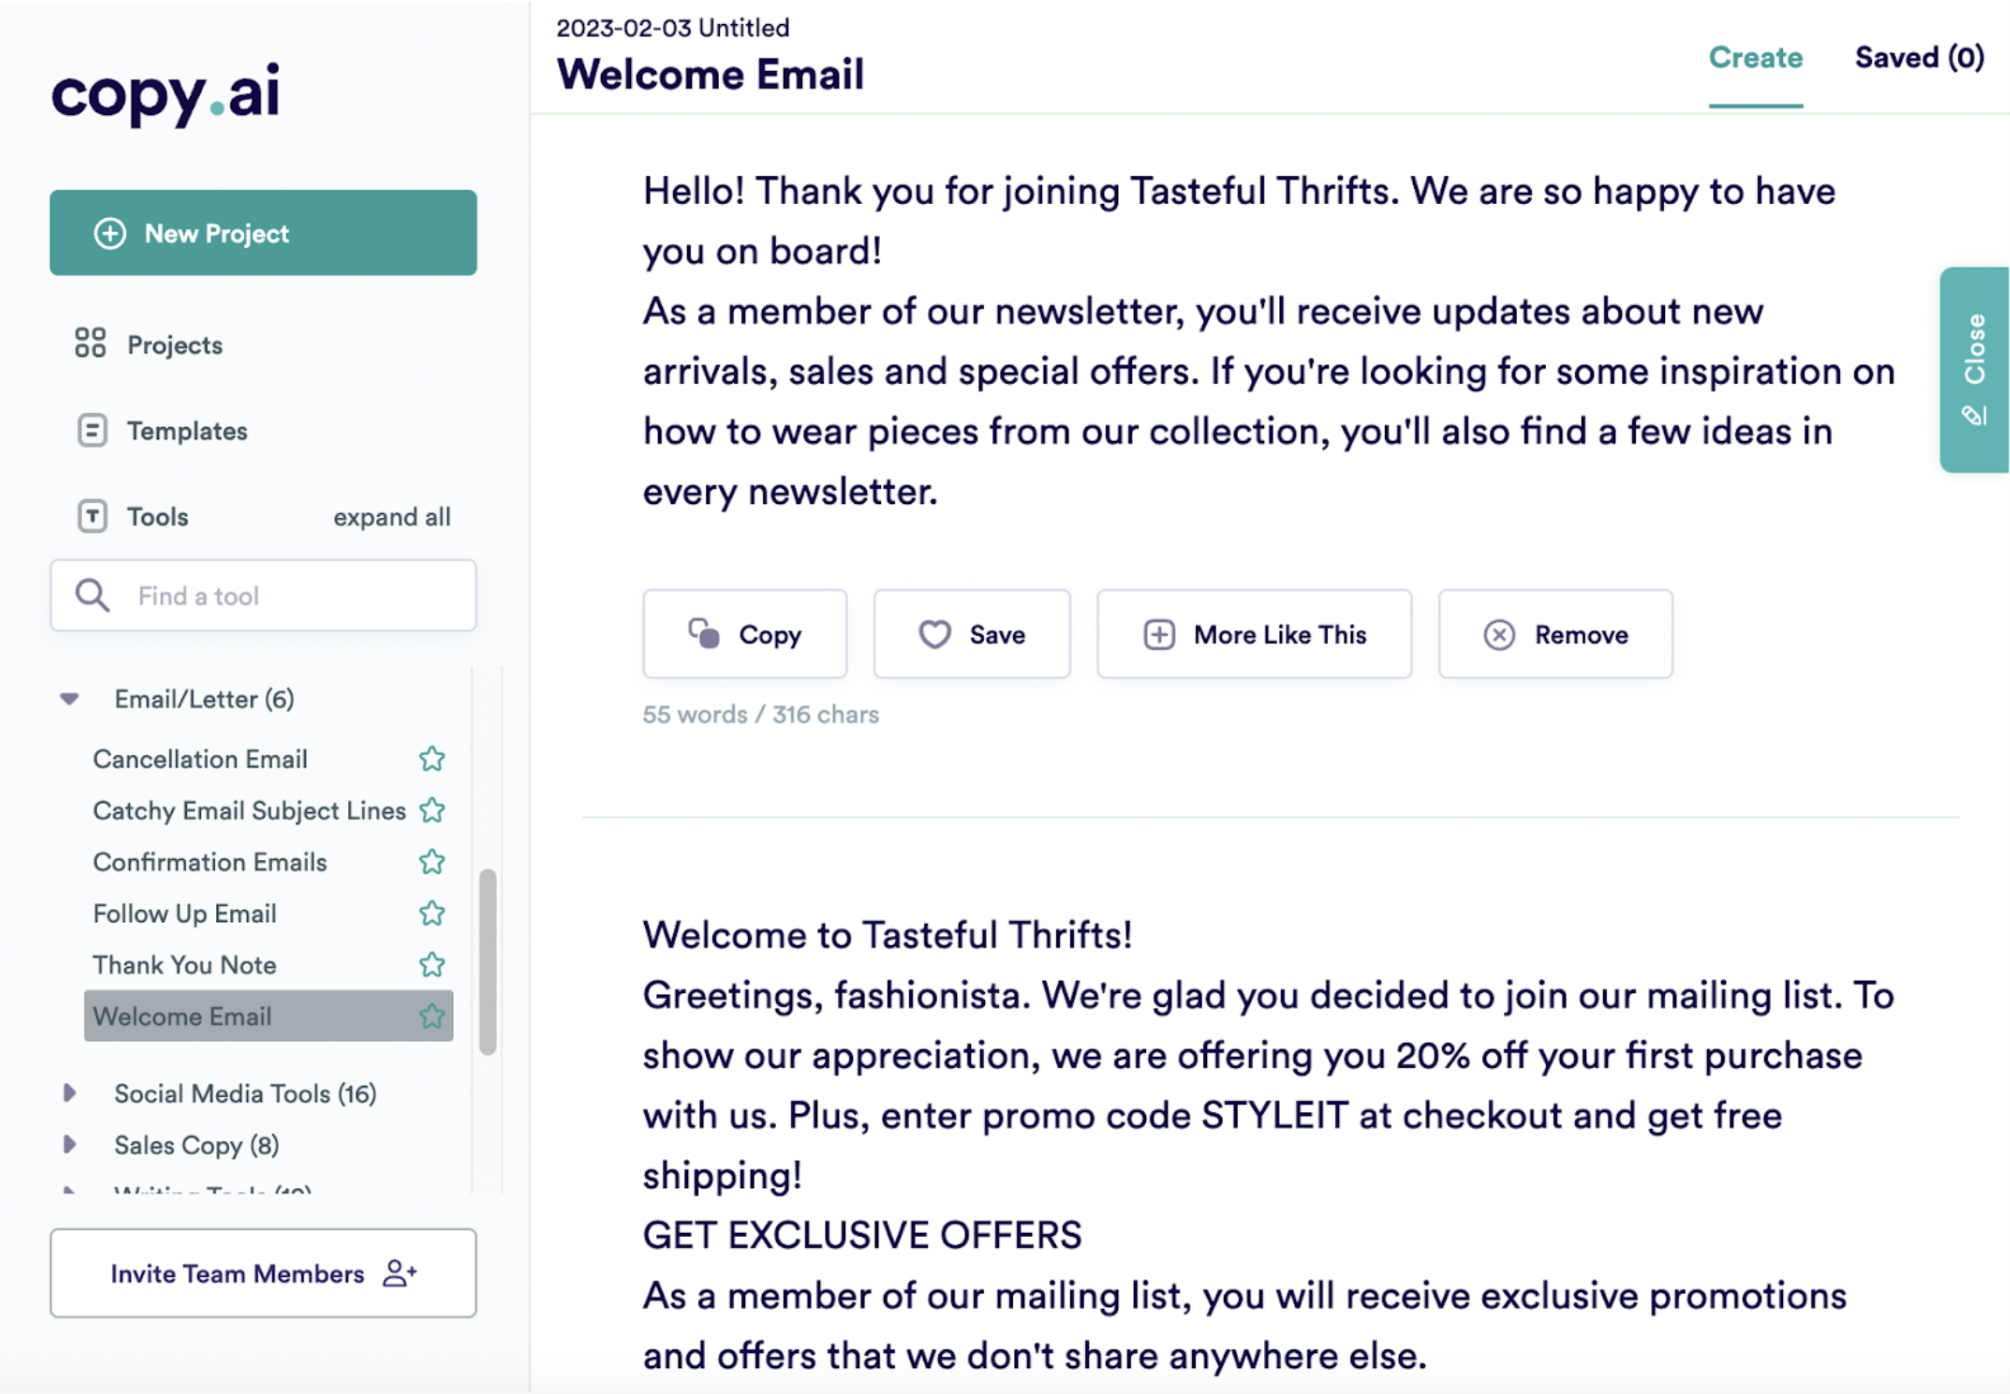
Copy.ai is a great option for when you need help finding the right words or writing isn't your strong point. Just make sure to update the text and add links to your site. Once you’re done, you can run your email copy through a tool like Grammarly to check for grammar and spelling mistakes.
Now let's jump over to the last important step: your email design.
Create an email header with a Canva template
With Canva's customizable templates, you can quickly whip up design elements like an email header.
Here's how:
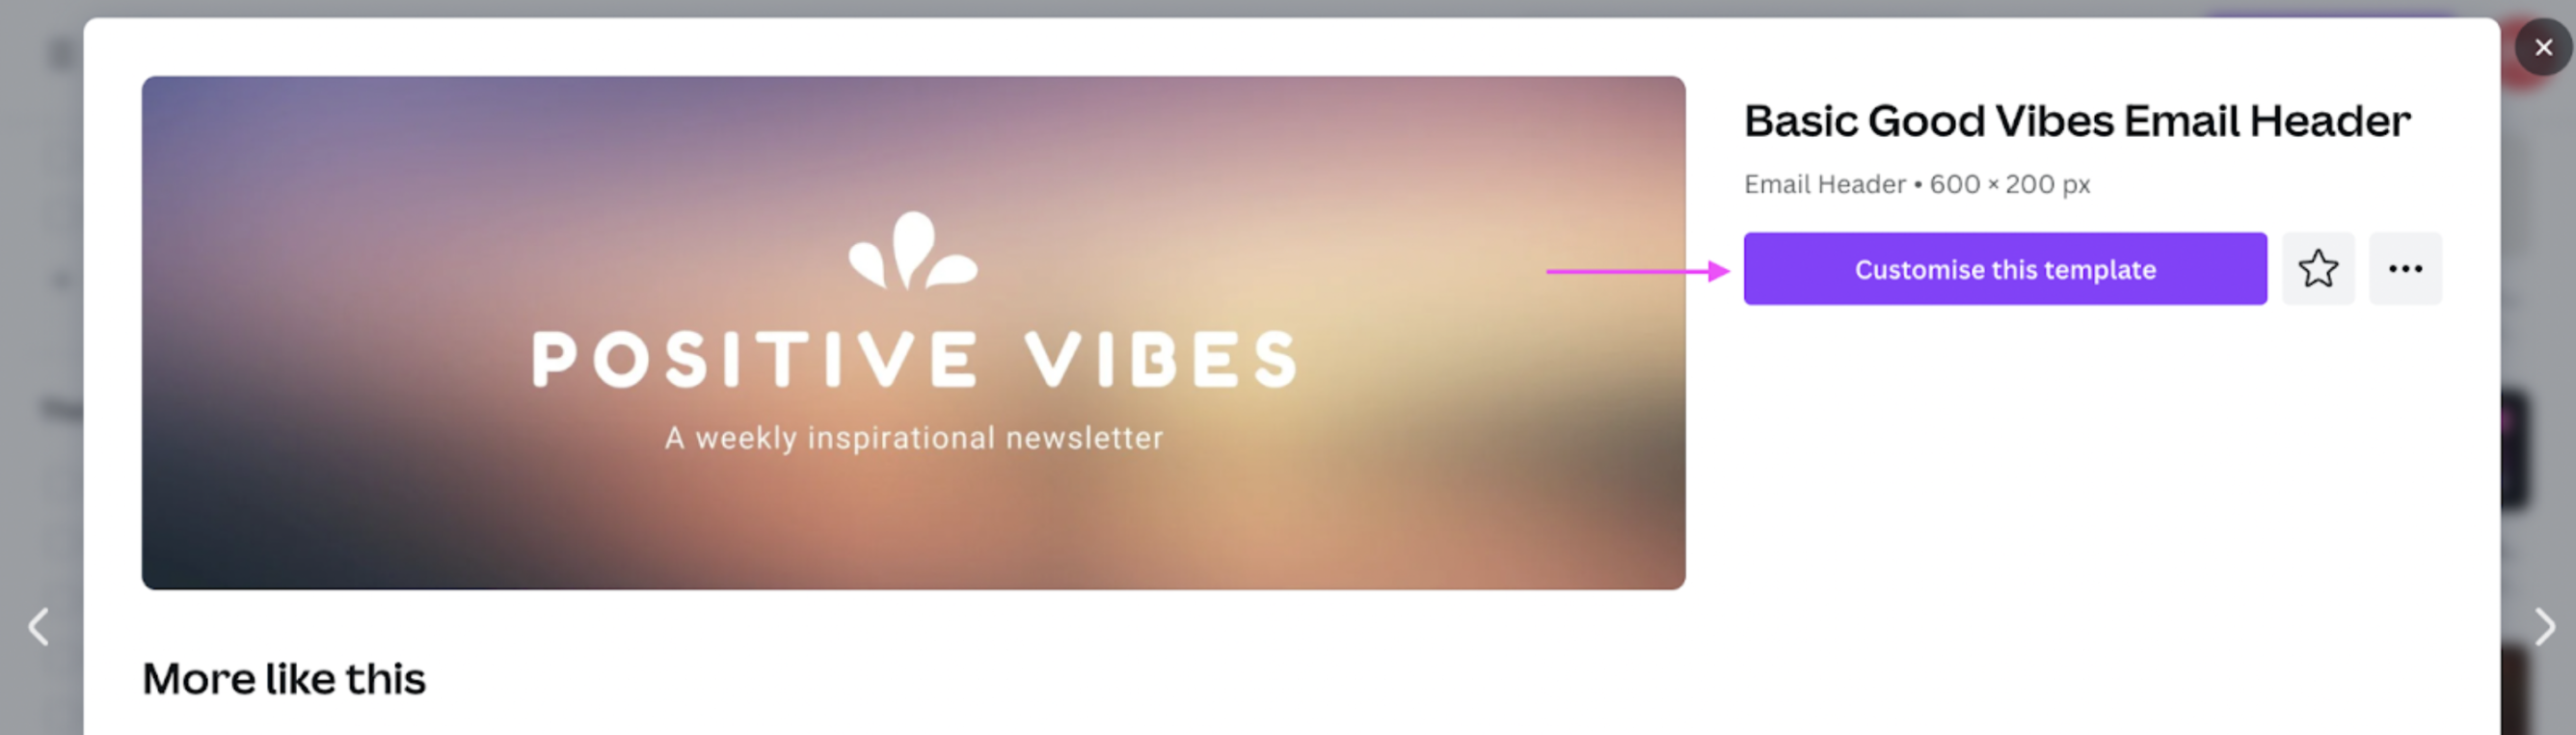
1. Pick a template from the Canva website. Here's a simple one — the Basic Good Vibes Email Header:

Select > Customize this template to get started:
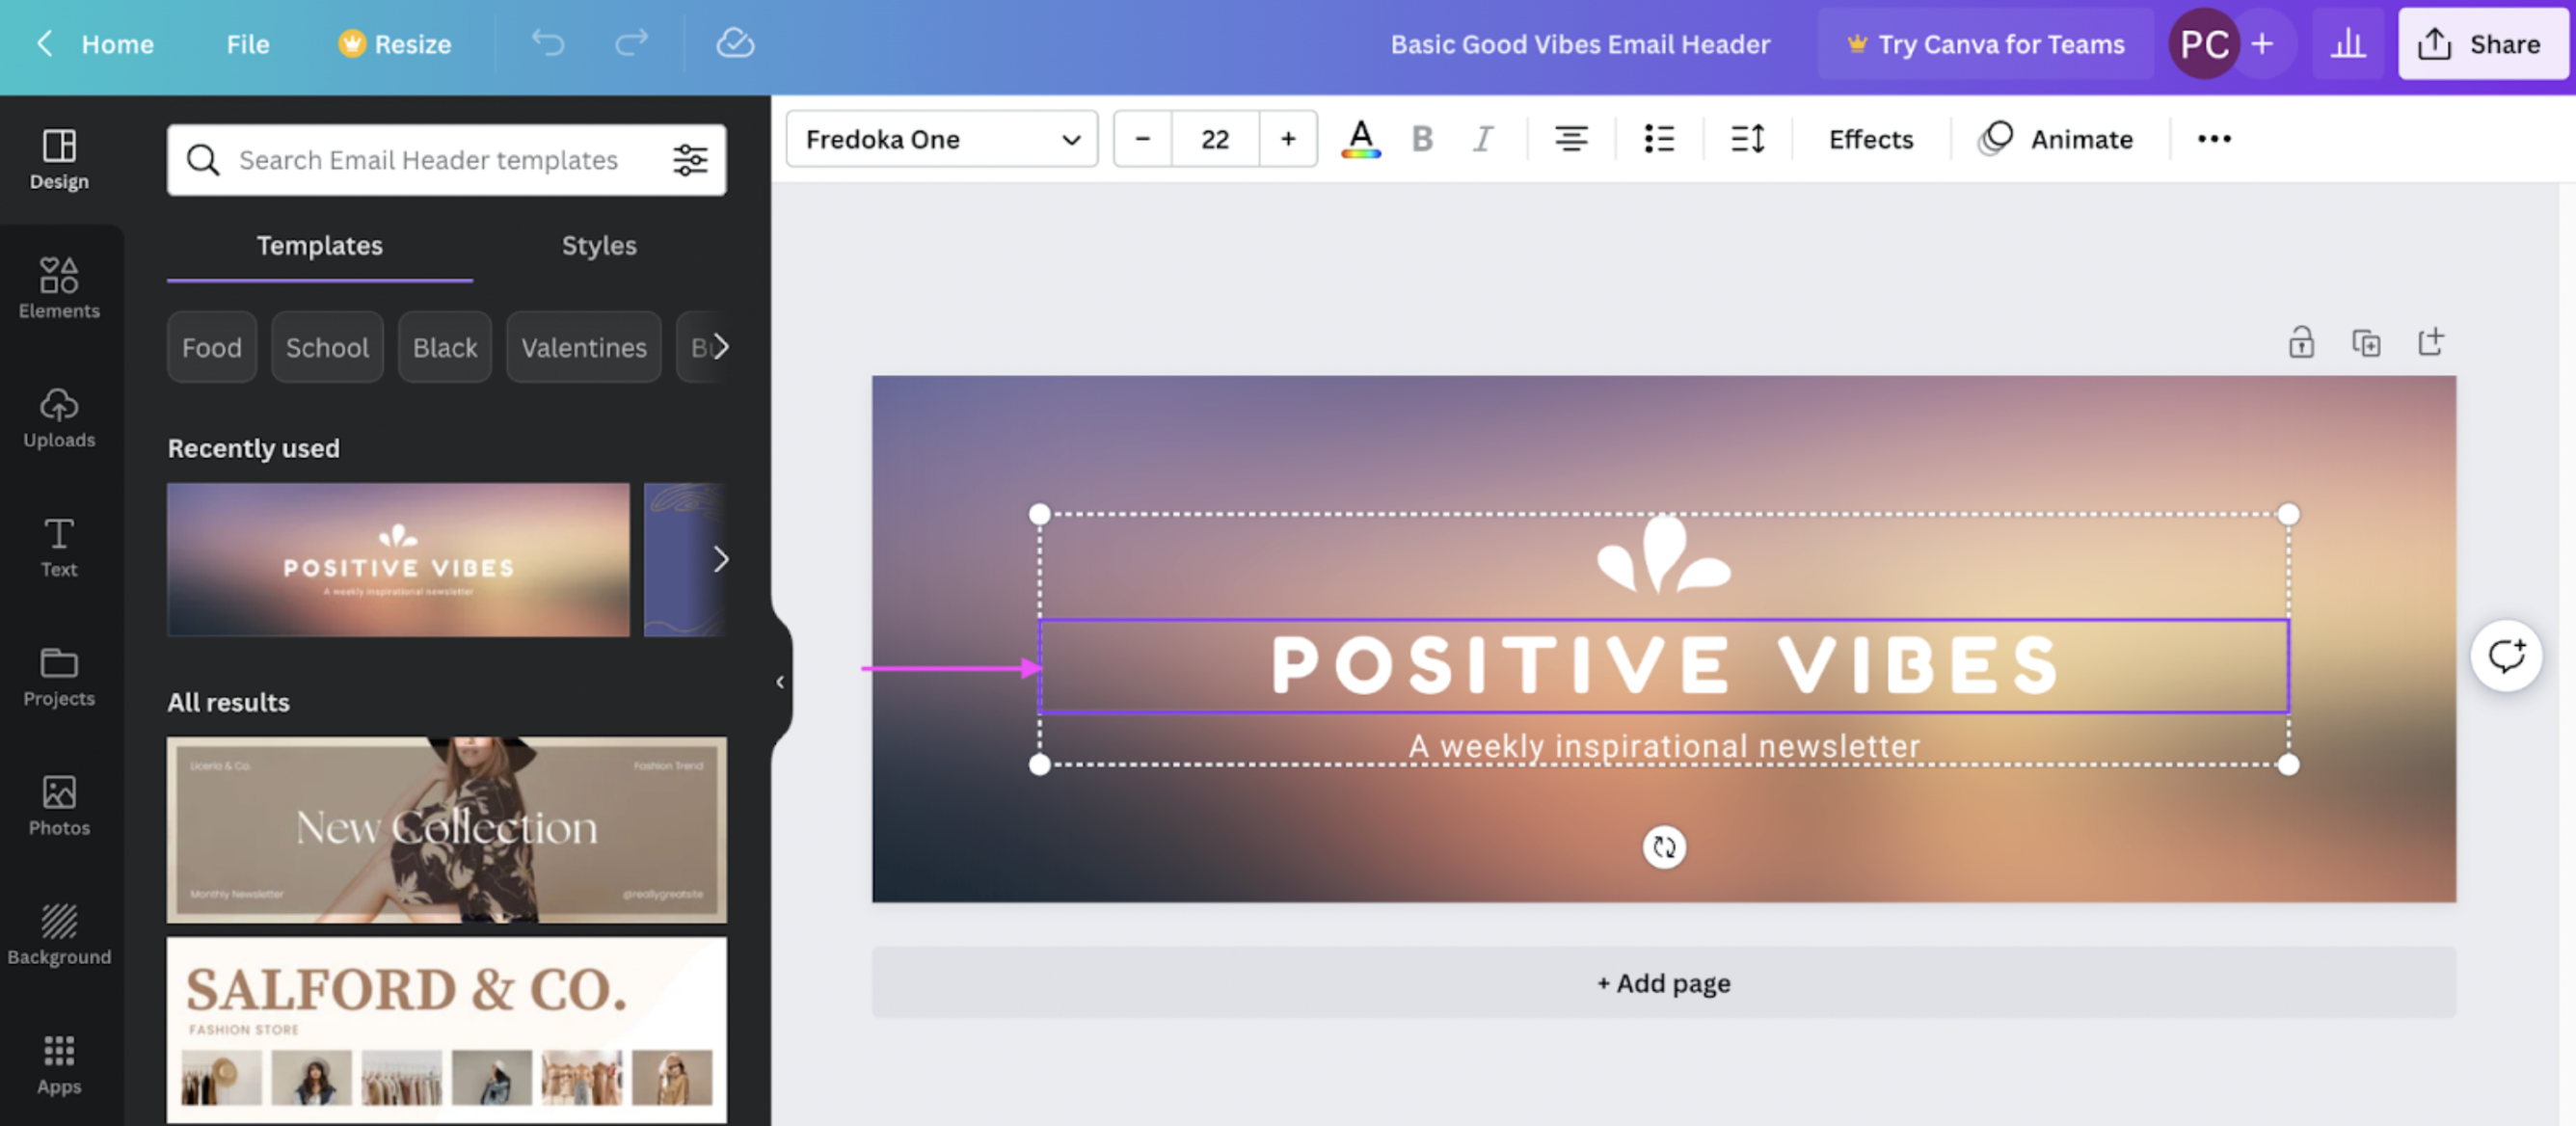
2. Click on the template elements to edit them:

3. Throw in some illustrations and blurbs from > Elements on the left-hand side:
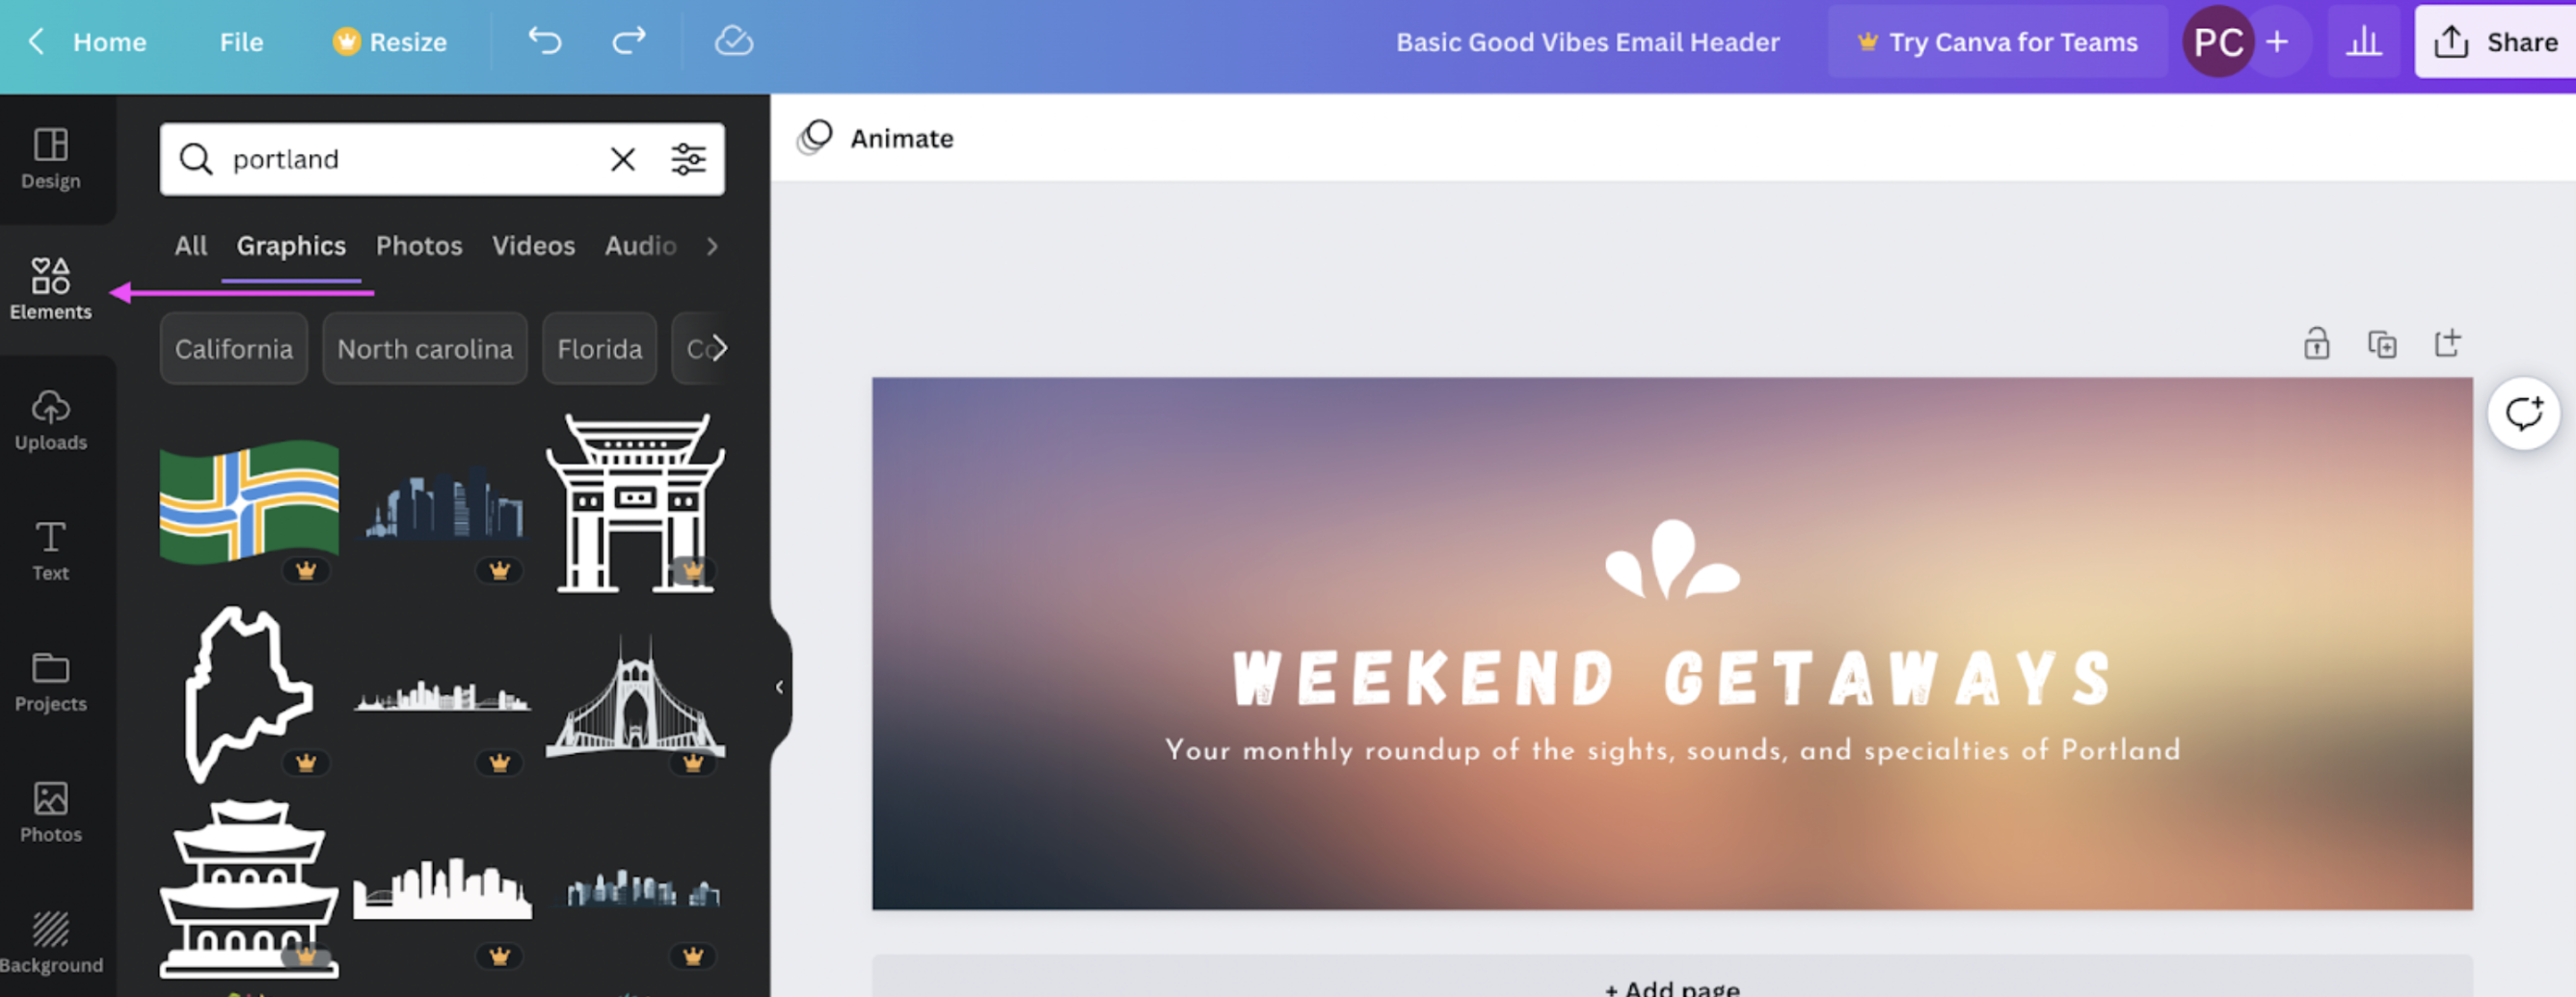
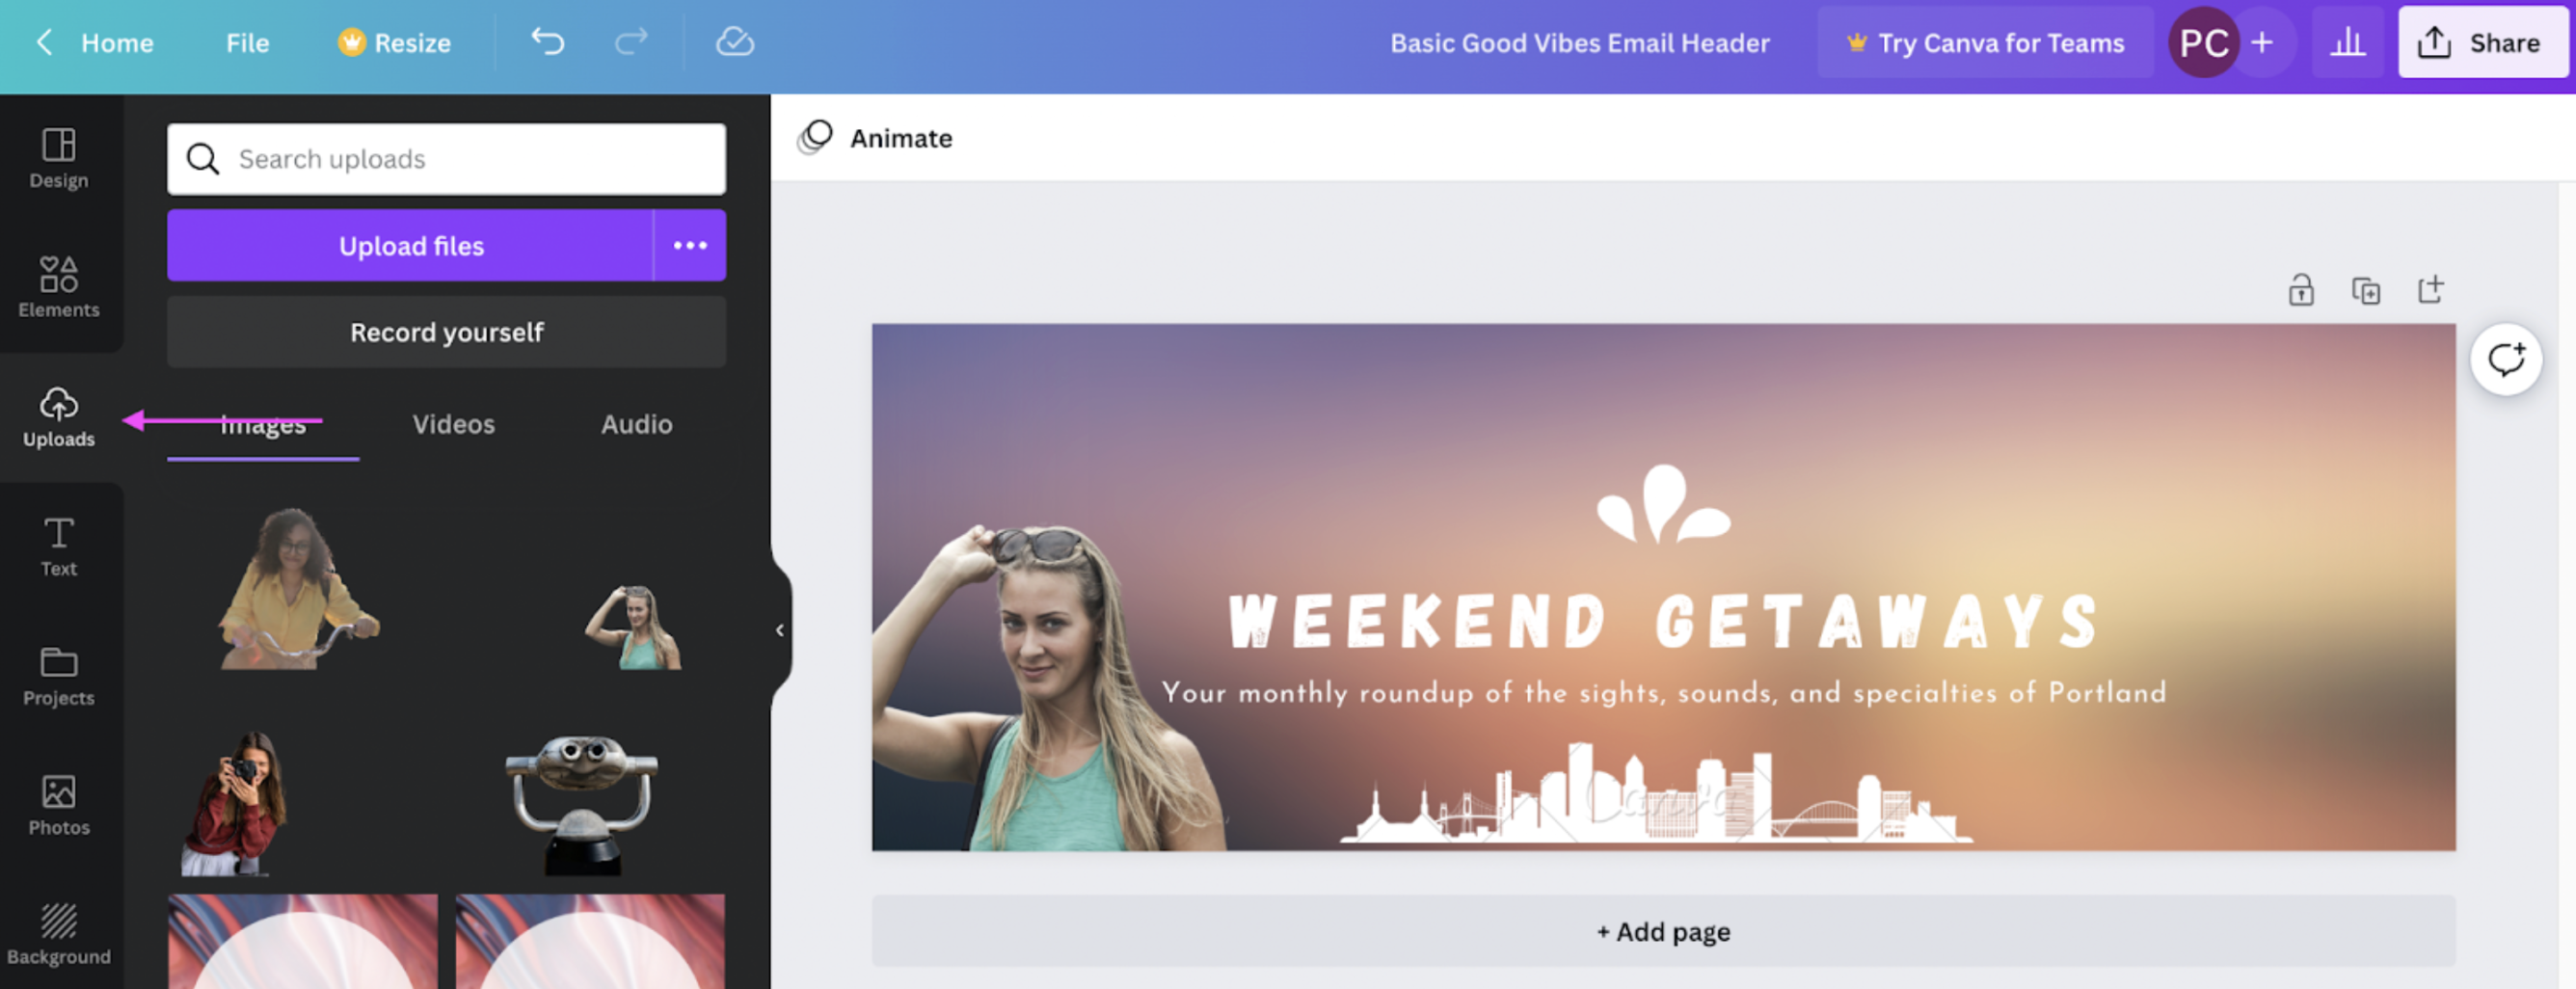
4. Drag and drop any images directly to the canvas (or through > Uploads). Just remove the image background first with remove.bg, so that it blends in with the template colors:
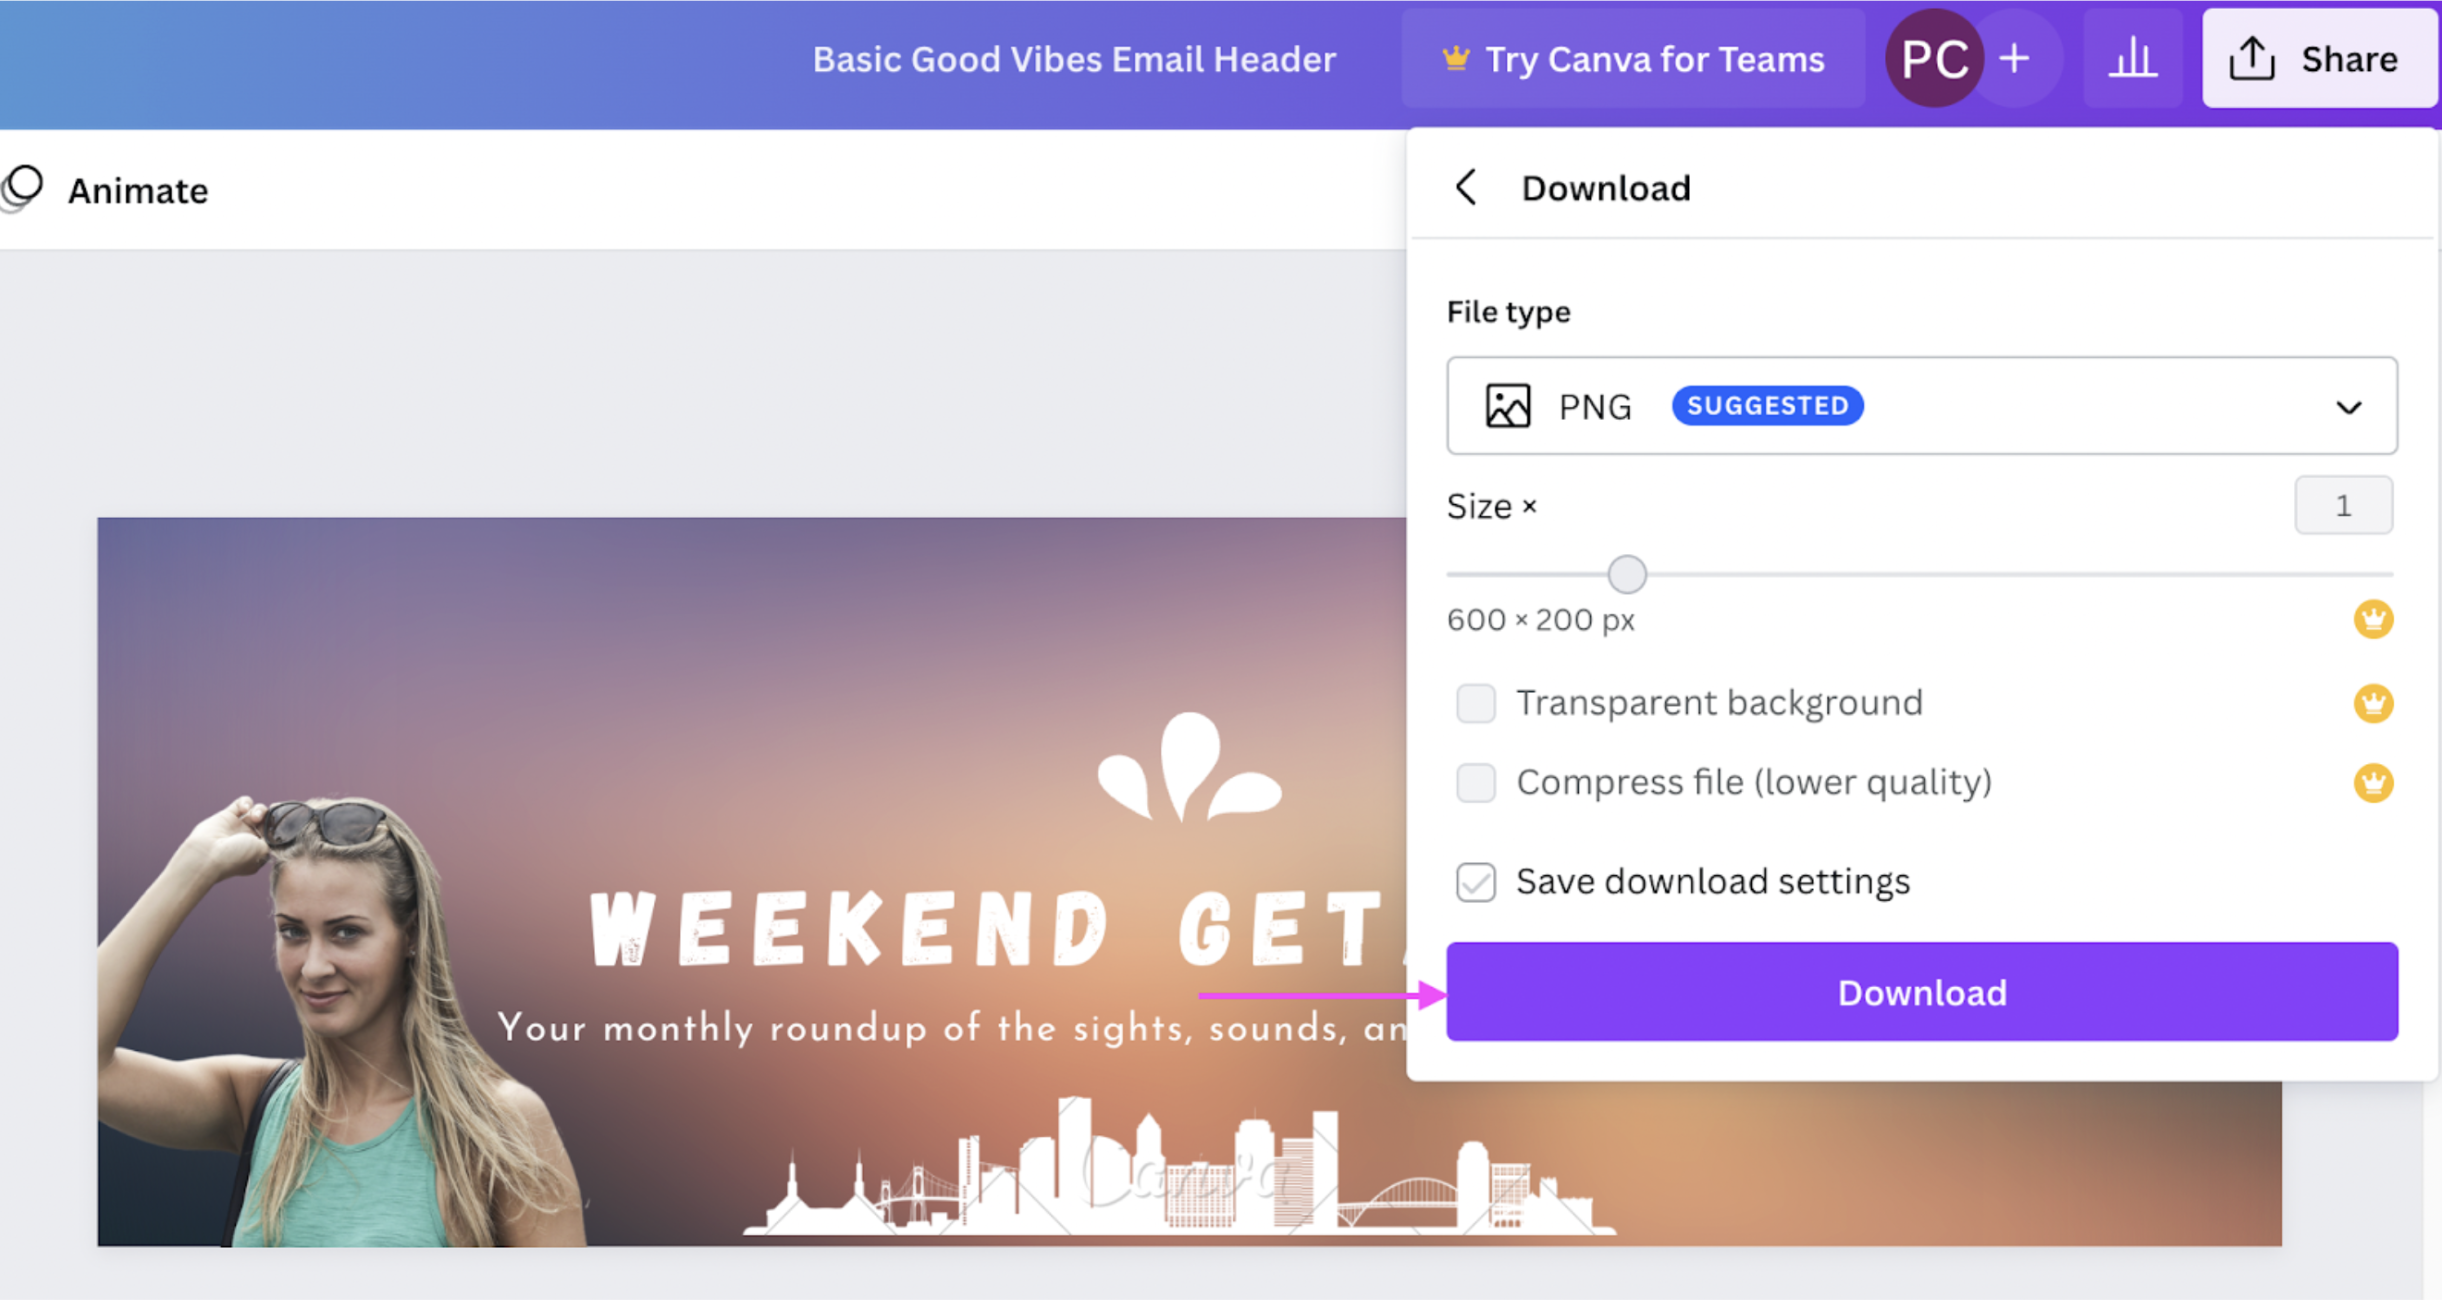
5. Once you're happy with your design, hit > Share and then > Download:

Click on Download again to save your email header as a PNG file:
Easy-peasy, right? And all you need is a bit of time and creativity. With these three tools, you'll be sending emails through your automated sequence in no time.
Add a custom CTA button
Once you have your text, images, and design elements in place, the final touch is to create a custom CTA button to encourage your readers to take further action from your email.
Custom Call-to-Action (CTA) buttons can help make your emails more visually appealing and increase the likelihood that your subscribers will click through to your website or landing page.
Remember to keep your branding and design elements consistent, as this can build trust with your subscribers, and make your emails more recognizable, ultimately increasing engagement, click-through rates, and driving more conversions.
For your CTA buttons to be effective, they should be:
Action-oriented (your CTA should include a verb to prompt the subscriber to complete an action);
Short & concise (your CTA should be max 2-4 words long and be placed within a button);
Eye-catching (use bright, contrasting colors);
Compelling (your CTA button should highlight the benefits of your offer, create a sense of urgency, evoke an emotional response in your readers and appeal to their self-interest).
Their placement should follow the logical progression of the story. To ensure a cohesive experience for the reader, make sure that the CTA button links to a landing page that complements the email content and continues the story.
In addition, there are also several design practices you should follow to create effective buttons:
Use contrasting colors (choose colors that stand out against your email's background and make your button visible)
Make your button big enough (your button should be large enough to be easily clickable on both desktop and mobile devices)
Use white space wisely (your button should have enough white space so that it stands out and is easy to find)
Add a hover effect (consider adding a hover effect to your button to make it more visually engaging and encourage subscribers to click)
By following these tips, you can create buttons that encourage subscribers to take action and improve the effectiveness of your email marketing campaigns.
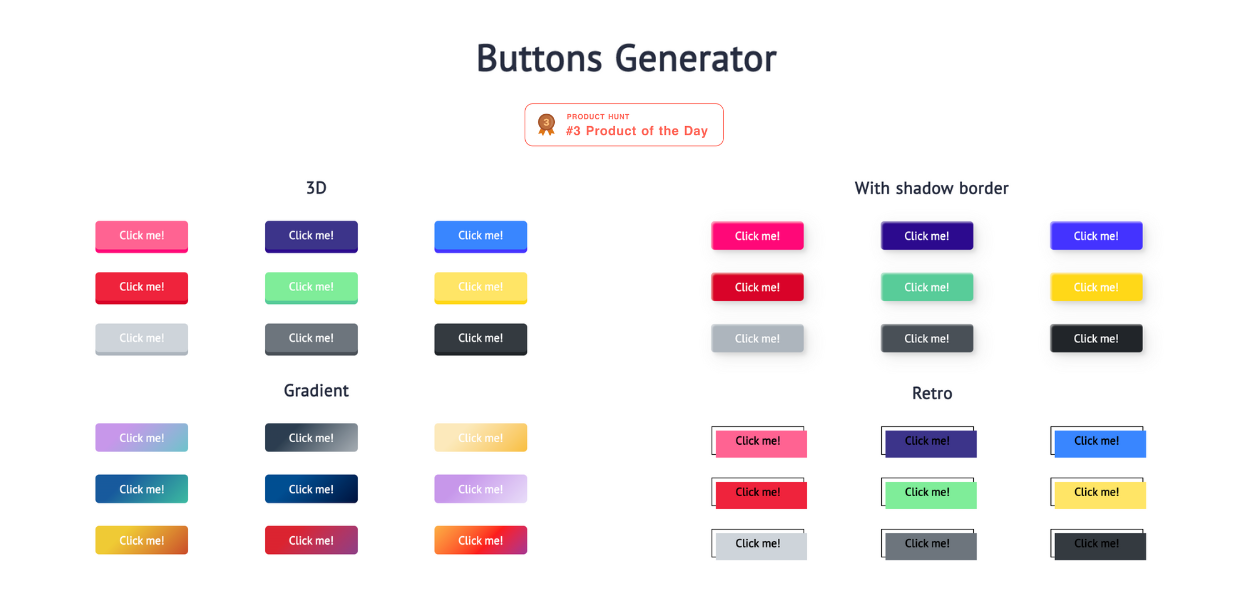
If you don't want to design your button from scratch, plenty of online tools have a selection of them you can choose from. On Buttons Generator, for example, all you need to do is pick a button style, click on it, and its code will be automatically copied for you to use in your email provider.
Hit 'Send' & make a killing online — with an automated email workflow

And just like that, you now have the basic steps for setting up an automated email workflow and speeding up your email design. We recommend starting with a simple platform like Mailchimp — and a welcome email.
The best thing: you just need to design your emails once. Your automated email sequence will help drive sales, traffic, and engagement while you sleep. And with a few simple tools, you can design your emails that much faster:
Remove the background and add a clean, professional edit to your email images with remove.bg.
Use a tool like Copy.ai for engaging, catchy email text.
Create your design elements (like an email header) with Canva.
Add a CTA button with a tool like Buttons Generator.
Want to start by editing your product or brand photos for your automated emails? Hop on over to remove.bg and give it a try today.
Commentaires
Pas de commentaire jusqu'à présent.